Pages

jeudi 19 janvier 2017

Christmas Trees - Maja Design DT

Bonjour à toutes,

Aujourd'hui, je suis sur le blog de Maja Design avec une nouvelle photo des arrangements floraux de noël du château de Chenonceau. Et petit bonus, je vous ai préparé un petit tutoriel video.

Hello Sweeties

Today I'm up on Maja Design blog with a new photo of the floral arrangements of the castle of Chenonceau. And there is a step-by-step video.


Et voici quelques gros-plans / Here are some close-ups:


Et la vidéo / And the step-by-step video:


Et n'oubliez pas que vous pouvez toujours gagner la collection Vintage Romance ici.

And don't forget that there still a giveaway here to win the Vintage Romance collection. 

Matériels / Materials:

Maja Design papers:

19151912 bs21st of December BS
Vintage Summer BasicsVintage Frost Basics
1915191221st of December bs

Other products:

Twinling H2O - ColourArte (Black Emerald, Golden Sand, Golden Nugget);
Flowers - Wild Orchid Crafts (Hellebore);
Chipboard - Blue Fern Studios (Circle Vine);
Stencil - TCW (Music Notes 6x6);
Art Alchemy - Finnabair Prima (Steampunk Copper);
Art Extravagance - Finnabair Prima (Crackle Paste: Platinum, White);
Art Basic - Finnabair Prima (Clear Gesso, 3D Matte Gel).


Where can you purchase MajaDesign Papers?

MajaDesign collections are sold all around the world - 33 countries and growing with new stores being added often. Are you looking for a store location that sells Maja collections? Here is a helpful Store Finder link to help you shop. If your favorite store is not on this list, consider asking them to carry MajaDesign.

lundi 16 janvier 2017

Anemone

Bonjour à toutes,

Aujourd'hui je vous propose une page que j'ai faite pour le plaisir. J'ai choisi une photo que j'ai prise au château de Chenonceau d'un simple bouquet d'anémones.

Hello Sweeties

Today I want to share with you a layout I made just for the fun. I chose a photo that I 've taken in the castle of Chenonceau of a simple bouquet of anemones. 


J'ai commencé par protéger le fond avec du gesso transparent. Une fois sec, j'ai tamponné le fond avec un des tampons du set Old Town que j'ai embossé avec de la poudre Sticky. Ce qui m'a permis d'ajouter un effet métallique sur le fond.

First I primed the background with clear gesso. When dry, I stamped the paper randomly with one of the Old Town stamp that I embossed with the Sticky powder. Then I just rubbed on "Rainbow Puddle" foil. 


Puis j'ai ajouté un motif à l'aide d'un pochoir et de gel 3D brillant.

Next I added a design with a stencil and 3D Gloss gel and let dry. 


J'ai découpé des feuilles dans du papier aquarelles et j'ai coloré les premières avec de la peinture argent et des Twinkling H2Os vertes. J'ai coloré les autres dans des tons de bruns.

I die-cut some leaves in a  watercolor paper and I colored the first ones with the Silver Art Alchemy and two shades of green Twinkling H2Os. I colored the other ones with brown shades.


J'ai coloré le fond avec des H2Os bleus et vertes et de la peinture métallique argent.

I colored the background with different shades of blues and green H2Os and silver Art Alchemy. 


J'ai ajouté du sisal noir, avant de coller tous les embellissements. J'ai terminé la page avec des microbilles et des glass glitter.

I added some black sisal, before gluing all the embellishments I finished the layout with some micro beads and glass glitter.


Matériels / Materials:
  • Papiers / Papers - 7 Dots Studio (Writer's Block : Torn, 6x6 pad) ;
  • Twinkling H2O - ColourArte (Sweet Alfalfa, Wild Vine, Go Navy, Rich Cobalt) ;
  • Fleurs / Flowers - Wild Orchid Crafts (Poppy, Tuscany Rose, Tuscany Rosebud) ;
  • Matrice de coupe / Die - Memory Box (Botanical Stem) ;
  • Embossing Powder - Ranger (Sticky) ;
  • Foil - Prima (Rainbow Puddle ) ;
  • Pochoir / Stencil - Finnabair Prima (Doily) ;
  • Tampon / Stamp - Finnabair Prima (Old Town) ;
  • Art Alchemy - Finnabair Prima (Silver) ;
  • Art Ingredient - Finnabair Prima (Micro Beads: Silver, Glass Glitter: Platinum) ;
  • Art Basics - Finnabair Prima (Clear Gesso, 3D Gloss Gel, Soft Matte Gel).

jeudi 12 janvier 2017

Vibrant - 49 and market DT

Bonjour à toutes,

Aujourd'hui, je suis sur le blog de 49 and Market avec une nouvelle page réalisée avec les collections Flower Fairies of Spring et Heirloom Botanicals. J'ai choisi une photo que j'ai prise dans le superbe château de Chenonceau renommé pour ses magnifiques compostions florales. Ce petit bouquet a des couleurs très vives d'où le titre de cet article.

Hello Sweeties,

Here I'm again on 49 and Market blog with a new layout featuring both the Flower Fairies of Spring and the Heirloom Botanicals collections. I chose a photo I've taken in the beautiful castle of Chenonceau well known for his amazing flower arrangements. This bouquet has vibrant colors hence the title of this post.


J'ai commencé par protéger le papier de fond avec du gesso transparent. J'ai ensuite ajouté un motif avec un des tampons du set Crackle Texture que j'ai embossé avec de la poudre Sticky. Puis j'ai frotté une feuille de métal or sur le motif.

I primed the background paper with clear gesso. Then I added a design with one of Gabi's Crackle Texture stamp that I embossed with the Sticky powder. Then I rubbed a gold foil on the design.


Ensuite, j'ai ajouté un deuxième motif à l'aide d'un pochoir et de pâte à craqueler transparente que j'ai laissé sécher naturellement. Puis j'ai ajouté de la couleur avec des Twinkling H2Os dans des nuances oranges et roses.

Next, I added a second design with a stencil and clear crackle paste which I let dry naturally. Then I added some color with different shades of orange and pink Twinkling H2Os.


J'ai coloré les plus grandes roses avec les mêmes couleurs que celles de la rose de la photo : rose vif, orange et jaune. J'ai juste vaporisé les petites (Melon et Vintage Pink) avec des micas or pour leur donner autant de brillant que les grandes.

I colored the big roses with the same colors so they matched the rose of the photo: bright pink, bright orange and yellow. I just sprayed the small ones (Melon and Vintage Pink ) with a gold mica to match the shine the big ones.


Jai découpé des feuillages et des branches. Les feuilles ont siplement été peintes en vert. Mais j'ai ajouté des « baies » sur les branches avec de la colle chaude et de la poudre à embosser.

I die cut some leaves and branches to add. The leaves were simply colored in green. But I added some "berries" to the branches with the help of hot glue and embossing powder.

J'ai collé tous les embellissements que j'ai préparé avec du gel 3D ainsi que du sisal pour apporter de la légéreté à la composition.

I glued all the embellishments I've prepared with a 3D gel as well as some sisal to add some lightness to the composition.


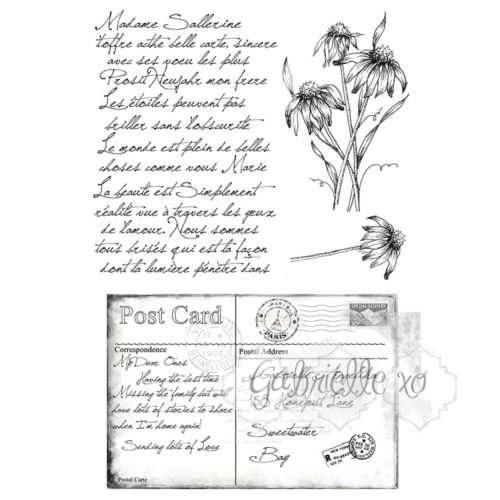
J'ai tamponné ii et là avec le tampon texte du set Postcard from Paris. J'ai terminé la page avec des flocons de mica et micro billes jaunes.

I added some random stamping with the Postcard from Paris stamp set. I finished the layout with some gold mica flakes and yellow microbeads.

Matériels / Materials:

49 and Market products:

FF With Love FFS Heirloom Cut OutsSanctuary
Flower FairiesHeirloom Botanicals 
With LoveCut OutsSanctuary
Gabi Crackle Texture Stamp SetGabi Postcard From Paris StampRoses - Vintage PinkBasics Roses Melon
Stamps setFlowers
Crackle TexturePostcard from ParisRoses - Vintage PinkRoses - Melon

Other products:

  • Twinkling H2O - ColourArte (Hopeful Honeysuckle, Gold Rose, Mandarine Blush, Yellow Rose, Wild Vine, Golden Bamboo);
  • Stencil - TCW (Rock Crystals 6x6);
  • Embossing Powder - Ranger (Sticky);
  • Foil - Prima (Intergalactic);
  • Art Extravagance - Finnabair Prima (Clear Crackle Paste);
  • Art Basic - Finnabair Prima (Clear Gesso, Soft Matte Gel).


mardi 10 janvier 2017

Ombelle - 49 and Market DT

Bonjour à toutes,

Aujourd'hui je suis sur le blog de 49 and Market avec mon premier projet pour cette nouvelle année. J'ai choisi une photo que j'ai prise dans mon jardin le 1er janvier.    ‎

Hello Sweeties

Today I'm up on 49 and Market blog with my first project for this new year. I chose a photo I've taken the first of January in my garden.


J'ai commencé par protéger le papier de fond avec du gesso transparent. Puis, j'ai ajouté une touche d'argent à l'aide de "rub-on" et de papier métallique. J'ai également ajouté un motif à l'aide d'un pochoir et de pâte de texture légère, que j'ai saupoudré de Art SUgar blanc.

I primed the background paper with clear gesso. Next, I added some silver foil with the help of a rub-on. I added a design with a stencil and light modeling paste, that I sprinkled with some white Art Sugar.


Pendant que la pâte de texture séchée, j'ai découpé des feuillages que j'ai peint avec diverses couleurs de Twinling H2Os.

While the modeling paste was drying, I die-cut some leaves that I colored with different colors of Twinkling H2Os.


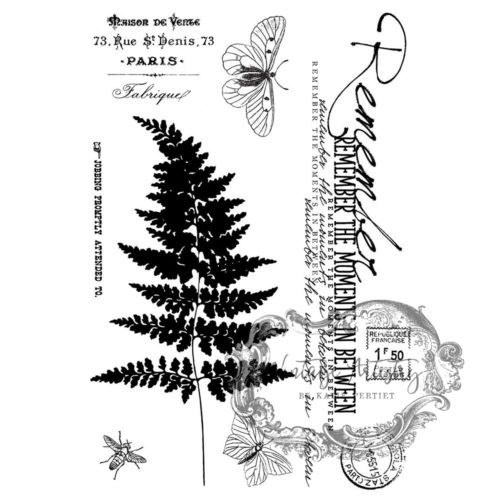
J'ai coloré le fond avec les mêmes couleurs de H2Os. Puis j'ai ajouté quelques tamponnages ici et là avec les sets Postcard from Paris et Vintage Artistry.

I colored the background with the same colors of H2Os. Then I added some random stamping with the Postcard from Paris set and the Vintage Artistry set.


J'ai découpé le grand papillon du set Vintage Artistry que j'avais tamponné sur un papier épais. Puis j'ai embossé le papillon avec une poudre vieil argent. Pendant que l'émail était encore chaud je l'ai de nouveau tamponné pour obtenir du relief.

I cut the big butterfly from the Vintage Artistry set which I've stamped on a cardstock. Then I embossed the butterfly with an aged silver enamel. While the enamel was still hot I stamped it again to obtain some texture.


J'ai ajouté quelques papiers du bloc 6x6 ainsi que quelques pages de livres sous la photo. Puis j'ai collé tous les embellissements (feuilles, fleurs et napperon) avec du gel 3D.

I added some papers from the 6x6 pad as well as some book pages under the photo. Then I glued all the embellishments (leaves, flowers, and doily) with a 3D gel.


Pour terminer la mise en page, j'ai ajouté des glitters, des micro billes et des perles de rocailles.

To finish the layout, I added some glitter, microbeads, and beads.

Matériels / Materials:

49 and Market products:

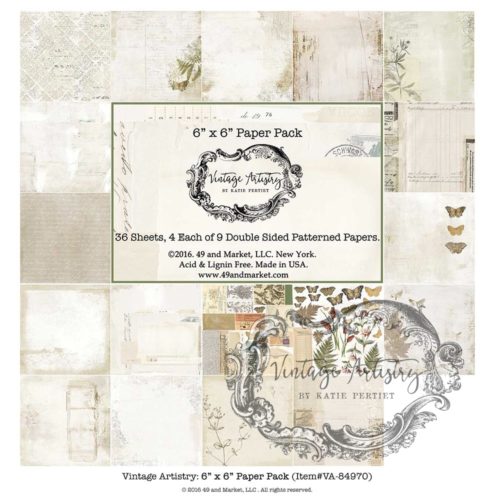
Vintage Artistry Seeds of LoveVintage Artistry 6x6 Paper PackBasics Roses White
Vintage ArtistryFBasics Roses
Seeds of Love6x6 Paper PackWhite
Vintage Artistry Stamp setGabi Postcard From Paris Stamp set
Stamps set
Vintage ArtistryPostcard From Paris

Other products:
  • Twinkling H2O - ColourArte (Smokey Diamond, Hunter Gray, Chestnut, Rich Cocoa, Black Emerald);
  • Die - Memory Box (Botanical Stem, Leafy Branch) ;
  • Stencil - Prima (Floral Petites) ;
  • Rub-on - Prima (Merry Christmas) ;
  • Foils - Prima (Intergalactic) ;
  • Embossing Powder - Stampendous (Aged Silver) ;
  • Archival Ink - Ranger (Jet Black, Coffee) ;
  • Art Ingredients  - Finnabair Prima (Art Sugar: White, Micro Beads: Silver, Glass Glitter: Pearl, Glass Beads: Crystal) ;
  • Art Basics - Finnabair Prima (Clear Gesso, Light Modeling Paste, 3D Matte Gel, Soft Matte Gel).


jeudi 5 janvier 2017

Romance Album - Maja Design DT

Bonjour à toutes,

Aujourd'hui je suis sur le blog de Maja Design avec un album réalisé avec la collection Vintage Romance.

Hello Sweeties

Today I'm up on Maja Design blog with an album featuring the Vintage Romance collection. 


J'ai collé quelques papiers sur la couverture. Puis j'ai ajouté quelques découpes que j'ai plus ou moins embossées, des chipboards, quelques fleurs et des morceaux de dentelle,

I glued a few papers on the cover. Then I added some die-cuts that I embossed more or less, some chipboards, some flowers and a few strips of lace.


On retrouve les même éléments à l'intérieur de l'album.

You will find the same embellishments inside the album.


Je vous laisse le soin de découvrir l'album sur cette vidéo.

I leave it to you the care to discover the album on this video.


Et n'oubliez que vous pouvez gagner cette collection ici.

And don't forget that you can win this collection here

Matériels / Materials:

Vintage-Romance-P
Vintage Romance collection
She's my LadyWalk with meLove storyLove poetry
Love is in the airEngagementWords of loveBride and Groom
He's my manTogether foreverDeep love841 - Vintage Romance Paper pack
He's my manTogether foreverDeep loveVintage Romance Paper pack


Did you know Maja Design is on Social Media?

Pinterest: Did you know that Maja Design has a Pinterest Page? You can find it right here.
Facebook: You can follow us on Facebook right here and of course "LIKE" us.
Instagram: Maja also has an Instagram account – majadesigninsweden.
(Use the hashtag #majadesigninsweden or the tag @majadesigninsweden
with your Maja papers so we can find you.)
YouTubehttps://www.youtube.com/user/MajaDesignChannel