Pages

mercredi 25 septembre 2019

Find your path - Lindy's Gang DT

Bonjour à toutes,

Aujourd'hui je suis sur le blog de Lindy's Gang avec un nouveau tutoriel en vidéo : une page.

Hello Sweeties,

Today I'm up on Lindy's Gang blog with a new video tutorial: a gorgeous scrapbook layout.  


Processus / Basic process:
  1. Protéger le fond d'un couche de gesso transparent ;
    Prime the background with clear gesso;
  2. Ajouter un motif à l'aide d'un pochoir et de pâte de papier ;
    Add a design with a stencil and paper paste;
  3. Une fois sec, colorer le fond avec Maple Syrup Bronze, Grab a Guy Gold, and Silhouette Silver ;
    When dry, color the background with Maple Syrup Bronze, Grab A Guy Gold, and Silhouette Silver;
  4. Colorer les fleurs avec les mêmes couleurs ;
    Color the flowers with the same colors;
  5. Découper quelqes feuilles dans du papier aquarelle et colorer les avec Sea Grass Green, Maple Syrup Bronze et Grab a Guy Gold ;
    Die-cut some leaves in a watercolor paper and color them with Sea Grass Green, Maple Syrup Bronze and Grab a Guy Gold;
  6. Avec que les encres ne séchent, saupoudrer les avec la poudre Orbit live Green, et embosser ;
    While the inks are still wet, sprinkle some Orbit Olive Green powder, and heat set;
  7. Découper quelques fioritures dans du papier aquarelle, et embosser les deux fois avec la poudre Midnight Gold ;
    Die-cut some flourishes in watercolor paper, and emboss them twice with the Midnight Gold powder.
  8. Couper quelques papiers pour mettre sous la photo et viellissez les;
    Cut some papers in to add under the photo and distress them;
  9. Colorer le cadre avec Maple Syrup ;
    Color the frame with Maple Syrup Bronze. 
  10. Une fois sec, recouvrer de pâte à craqueler transparente ;
    When dry, cover it with clear crackle paste;
  11. Coller tous les embellissements avec du gel épais ;
    Glue all the embellishments with a heavy body gel;
  12. Ajouter différentes tailles de Art Stones ;
    Add different sizes of Art Stones;
  13. Ajouter égaement des microbilles ;
    Add some microbeads as well;
  14.  Pour finir la mise en page, faire des taches avec un mélange d'eau, de gelmedium mat et de glitter or.
    To finish the layout, splatter a mix of gold glitter, soft gloss gel, and water.
Quelques gros plans / Some close-ups:


Et voici la vidéo / And here is the video:


Matériels / Materials:

Lindy's Gang products:
A.B. Studio products: 
Other products:
  • Flowers - 49 and Market (Country Blooms, Wild Flowers);
  • Die - Sizzix (Adorned);
  • Die - Magnolia DooHickey (Summer Foliage);
  • Findings - 7 Gypsie (Wings);
  • Art Ingredients - Finnabair Prima (Art Stones, Mini Art Stones, Mega Art Stones, Microbead: Copper, Glitters: Luminous set);
  • Art Extravagance - Finnabair Prima (Paper Paste);
  • Art Basics - Finnabair Prima (Clear Gesso, Heavy Body Gel, Soft Matte Gel).

mardi 24 septembre 2019

Fanta[sea] - 49 and Market DT

Bonjour à toutes,

Aujourd'hui je suis sur le blog de 49 and Market avec une nouvele page réalisée avec la nouvelle mini-collection Seaside et les Daisy Stems.

Hello Sweeties

Today I'm up on 49 and Market blog with a new layout featuring the new mini-collection Seaside and the Daisy stems.


J'ai tamponné le fond avec le tampon Flowery Tile. Puis, j'ai protégé le fond avec du gesso transparent. Une fois sec, j'ai ajouté un motif à l'aide d'un pochoir et de pâte de papier.

I stamped randomly the background with the Flowery Title stamp. Then, I primed the paper with clear gesso. When dry, I added a design with a stencil and paper paste. 


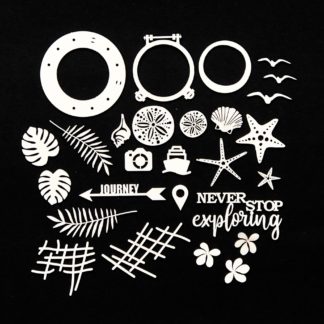
J'ai peint les barrières et le hublot du set de chipboard Never Stop Exploring avec le set Rust Effect Paste, les oiseaux avec la peinture Sparks Raven Black, les étoiles de mer avec de l'encre et de la peinture bleu et enfin les oursins avec une peinture acrylique beige.

I colored the fences and the porthole from the Never Stop Exploring chipboard set with brown and red Rust Effect Paste, the birds with the Raven Black Sparks, the seashells with blue ink and Sparks, and finally the sea urchin with beige acrylic paint.


Une fois la pâte sèche, j'ai coloré le motif avec des encres bleues et grises.

When the paste was dry, I colored the design with blue and gray inks. 


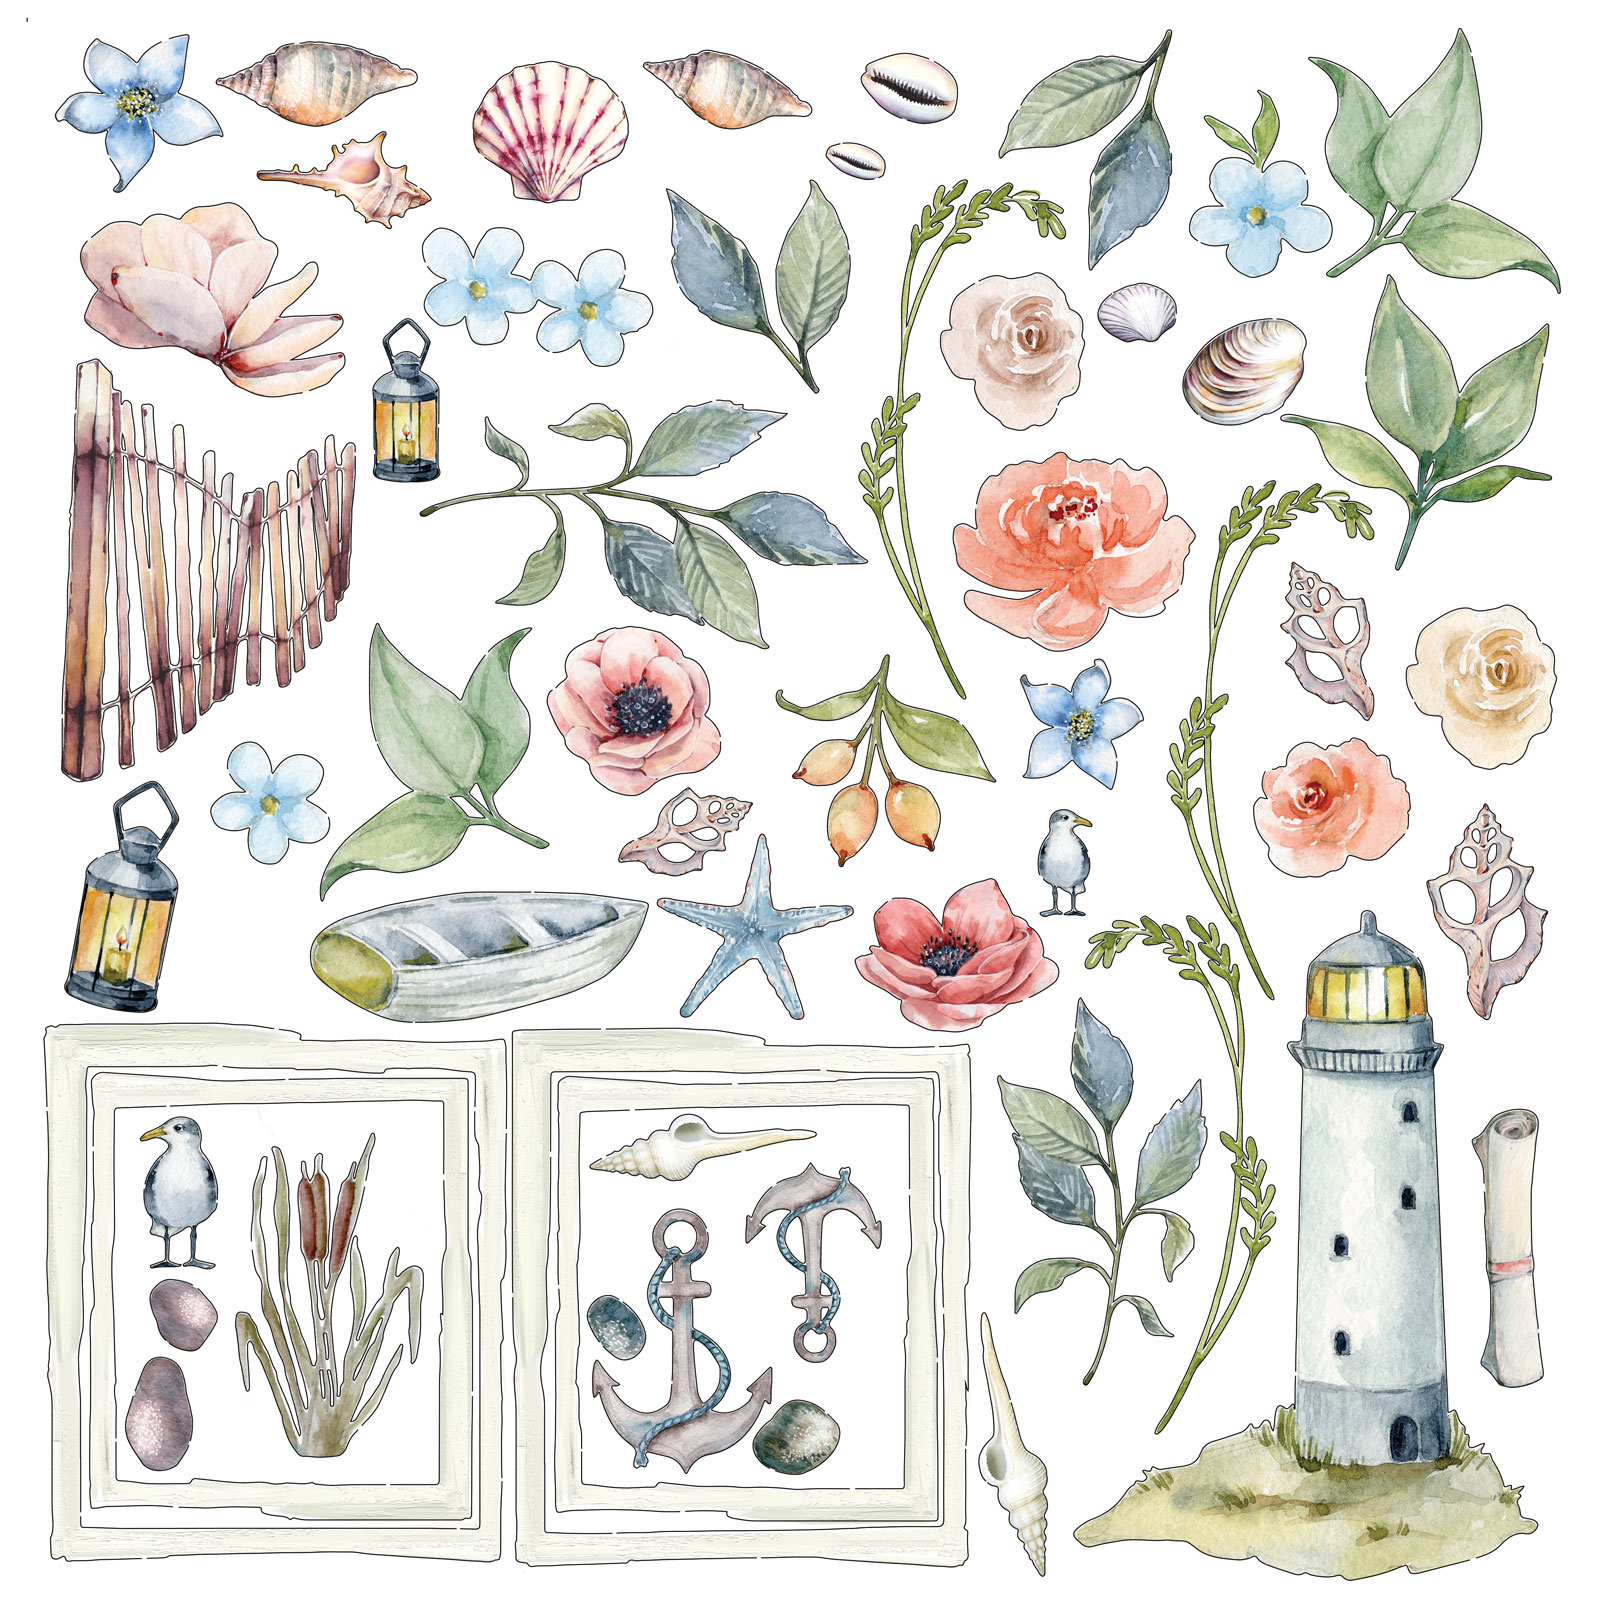
J'ai collé les chipboards, les Daisy Stems ainsi que quelques éléments de la planche laser-cut de la mini-collection Seaside. J'ai également ajouté quelques coquillages.

I glued the chipboards, the Daisy Stems as well as some laser cut element from the Seaside mini-collection. I added also some seashells. 


Pour finir la mise en page, j'ai ajouté des Art Stones ainsi que des glitters.

To finish the layout I added some Art Stones as well as glitter.


Matériels / Materials:

49 and Market:


Seaside
Seaside cottage

Seaside
Mini collection Pack

Daisy Stem
Cornflower
PB-87490-Flowery-Tile-Stamp
Stamp
Flowery Tile
AB-88695 Never Stop Exploring Archival Chipboard
Chipboard
Never Stop Exploring

Other products:
  • Spray inks - Lindy's Gang (Flat Fabio: Tweedle Denim Dee, Starburst: Gag Me with a Spoon Silver);
  • Glitter- BFS (Blue Ice);
  • Stencil - Finnabair Prima (12x12 Bubbles);
  • Art Alchemy - Finnabair Prima (Sparks: Magical Pond, Raven Black; Metallic: Soft Satin);
  • Art Ingredients - Finnabair Prima (Art Stone, Mega Art Stone);
  • Art Extravagance - Finnabair Prima (Rust Effect Paste,Paper Paste);
  • Art Basics - Finnabair Prima (Clear Gesso, 3D Matte Gel, Soft Matte Gel).

dimanche 8 septembre 2019

Purple Rain - 49 and Market DT

Bonjour à toutes,

Aujourd'hui, je suis sur le blog de 49 and Market avec une nouvelle page réalisée avec les collections Vintage Remnants et Ethereal.

Hello Sweeties,

Today I'm up on 49 and Market blog with a new layout featuring the Vintage Remnants and the Ethereal collection. 


J'ai protégé le fond avec du gesso transparent. Une fois sec, j'ai ajouté un motif avec de la pâte White Sand et d'un pochoir que j'ai séché.

I primed the background with clear gesso. When dry, I added a design with white sand texture paste. I dried it with a heat gun.


Tant que la pâte était encore collante, j'ai frotté délicatement une feuille argent pour ajouter une touche brillante. Enfin, j'ai ajouté un deuxième motif à l'aide d'un autre pochoir et de peinture acrylique.

While the paste was still sticky, I rubbed gently a silver foil to add a shiny touch to the design. Next, I added a second design with a stencil and an acrylic paint.


J'ai coloré quelques fleurs de plusieurs colletions (Botanical Blands, Botanical Potpourro, et Cotton Blooms) avec la même encre et j'en ai gardé quelques unes blanches pour rappeler les fleurs de la couronne.

I colored a few flowers from different collections (Botanical Blends, Botanical Potpourri, and Cotton Blooms) with the same ink and I kept some of them white to remind the flowers' crown. 


J'ai découpé quelques morceaux de papier pour mettre sous la photo, et j'ai commencé à coller les fleurs ainsi que les feuilles. J'ai également ajouter quelques éléments naturel. Une fois satisfaite, j'ai ajouté des glass glitters et des microbilles.

I cut a few pieces of paper to add under the photo, and I started to glue the flowers as well as the leaves. I added some natural elements too. When happy, I added some glass glitters and microbeads.


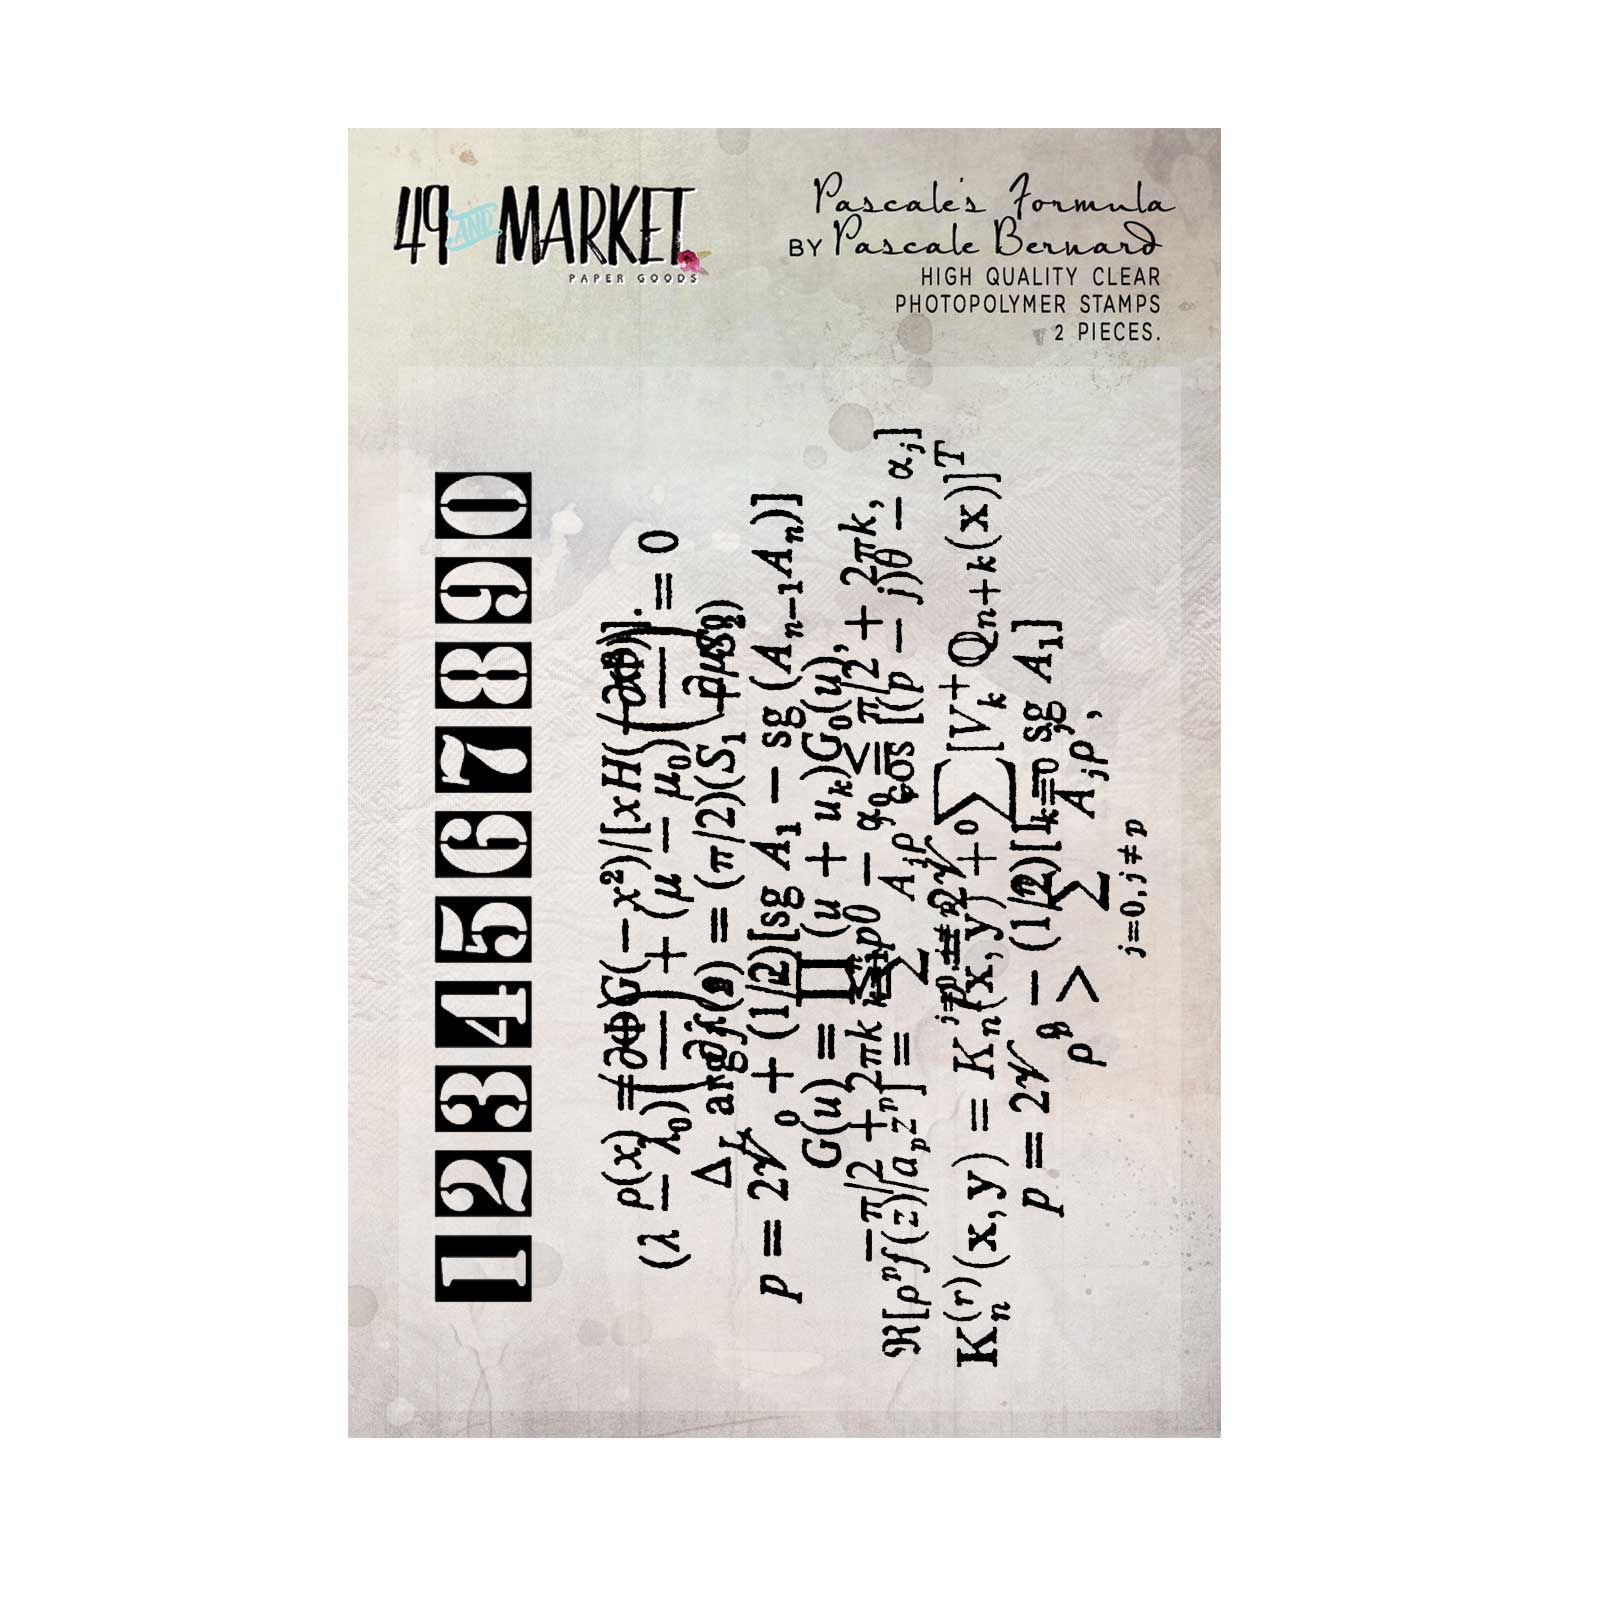
Pour finir la mise en page j'ai ajouté quelques tamponnages avec le set Pascale's Formula.

To finish the layout, I stamped with Pascale's Formula and I splattered with white ink.


Matériels / Materials:

49 and Market products:


Vintage Remnants
Paper n°4

Ethereal
Flora

Pascale's Formula


Botanical Potpourri
Snow

Botanical Blends
Snow

Country Blooms
Cloud

Other products:
  • Spray inks- Lindy's Gang (Open Arms Amethyst);
  • Stencil - A.B. Studio (Stencil ID-93, Stencil ID-84);
  • Foil - Prima (Clinquant);
  • Art Ingredients - Finnabair Prima (Microbeads: Berry; Glass Glitter: Silver);
  • Art Alchemy - Finnabair Prima (Plum Preserve);
  • Art Extravagance - Finnabair Prima (White Sand);
  • Art Basics - Finnabair Prima (Clear Gesso,3D Matte Gel, Soft Matte Gel).
dimanche 1 septembre 2019

September'sTag - Lindy's Gang DT

Bonjour à toutes,

Aujourd'hui je suis sur le blog de Lindy's Gang avec un tag pour le challenge de couleur du mois de Septembre.

Hello Sweeties

Today I'm up on Lindy's Gang with a new tag for September's color challenge. 


Et voici le combo de couleurs :


And here is the color combo for September:


Tout d'abord, j'ai découpé un tag dans du papier aquarelle. Puis, j'ai ajouté un motif avec de la pâte de texture légère et un pochoir. Une fois la pâte sèche, j'ai saupoudré de la poudre Yodeling Yellow, je l'ai vaporisé d'eau pour l'activer et j'ai séché.

First I die cut a tag in a watercolor paper. I added a design with a stencil and a light modeling paste. When the paste was dry, I sprinkled the Yodeling Yellow magical, sprayed some water to activate the magic, and dried. 


J'ai découpé divers éléments dans du papier aquarelle: des baies, des fruit d'églantier, des brindilles, des feuilles, ... toutes ces choses que l'on peut trouver lors d'une promenade dans la campagne. J'ai embossé les brindilles, la "montre" ainsi que le bout des fruits d'églantier avec la poudre Twilight Blue Slate.

I die cut different elements in watercolor paper: rosehips, berries, twigs, leaves, etc, all the kind of things that you can find during a walk in the countryside in September. I embossed the twigs, the "Hour" as well as the tips of the rosehips with the Twilight Blue Slate powder. 


J'ai coloré les fleurs avec l'encre Pop Rock Purple. J'ai coloré les diverses découpes ainis que deux morceaux de ruban avec Bling-y Blonde, Bayou Boogie Gold et Tea Pot Purple. J'ai également embossé les baies avec la poudre Aurora Amethyst. Une fois satisfaite, j'ai collé tous les éléments sur le tag.

I colored the flowers with the Pop Rock Purple Flat Fabio. I colored the differents die cut elements as well as  two pieces of binding ribbon with Bling-y Blonde, Bayou Boogie Gold, and Tea Pot Purple.  I embossed also the berries with Aurora Amethyst. When happy, I glued all the elements to the tag. 


Pour finir la composition, j'ai ajouté des glitters et des microbilles.

To finish the composition, I added some glitter and microbeads.

Lindy's Gang products:
Other products:
  • Flowers - Country Blooms (Cloud);
  • Stencil - A.B. Studio (Stencil ID-);
  • Die- Fantasy (Hour, Bolotnik);
  • Die - Mimi Cut (Herbarium);
  • Glitter - BFS (Eggplant);
  • Art Ingredients - Finnabair Prima (Microbead: Luminous Set);
  • Art Basics - Finnabair Prima (Light Modeling Paste, 3D Matte Gel, Soft Matte Gel).