Pages

lundi 30 décembre 2019

Star - Lindy's Gang DT

Bonjour à toutes,

Aujourd'hui je suis sur le blog de Lindy's Gang avec un nouveau projet inspiré du superbe combo de couleur de décembre.

Hello Sweeties,

Today I'm up on Lindy's Gang blog with a new project: a star inspired by the beautiful color of December's combo. 


Processus / Basic process:

  1. Colorer un papier aquarelle avec Polite Peaople et Banff Blue ;
    Color a watercolor paper with Polite People Purple and Banff Blue;
  2. COuper e papier à la taille de l'étoile
    Cut the paper to the size of the star;
  3. Puis coller le sur l'étoile ;
    Then glue it to the star;
  4. Ajouter un motif à l'aide d'un pochoir et de pâte à craqueler or ;
    Add a design with gold crackle paste;
  5. une fois sec, ajouter un peu de Hockey Puck Black ;
    When dry, add some Hockey Puck Black;
  6. Colorer  quelques fleurs avec Polite People Purple ;
    Color some flowers with Polite People Purple;


  7. Vaporiser quelques feuilles avec Ponderosa Pines Olive ;
    Spray some leaves with Ponderosa Pines Olive;
  8. Découper quelques baies, feuilles et brindilles dans un papier aquarelle ;
    Die-cut some berries, leaves, and sprigs in a watercolor paper;
  9. Colorer les découpes avec les encres utilisées précédemment ;
    Color the die-cut elements with the previous inks;


  10. Embosser les baies avec Aurora Amethyst EP ;
    Emboss the berries with Aurora Amethyst EP;

  11. Embosser les brindilles avec King Midas Gold ;
    Emboss the sprigs with King Midas Gold EP;
  12. Colorer un cadre en resine préalablement recouvert de gesso transparent avec Hockey Puck Black et Banff Blue ;
    Color a resin frame primed with clear gesso with Hockey Puck Black and Banff Blue;


  13. Puis accentuer les détails avec de la cire or ;
    Then add gold wax to highlight the texture;
  14. Coller tous les éléments ;
    Time to glue all the elements;
  15. Cirer les bords de l'étoile ;
    Add gold wax to the edge of the star;
  16. a=Pour finir, ajouter des min-étoiles or, des glitters et des microbilles.
    To finish add gold mini-stars, glitters, and microbeads.


Et voici la vidéo / And the video:


Matériels / Materials:

Lindy's Gang products:
Other products:
  • Flowers - 49 and Market (Cotton Blooms);
  • Stencil - A.B. Studio (Stencil ID-90);
  • Die - Alexandra Renke (Berries and Seeds);
  • Die - Mimi Cut (Herbarium);
  • Art Ingredients - Finnabair Prima (Mica Flakes: Gold Leaf; Glitter: Luminous Set);
  • Art Alchemy (Wax: Vintage Gold);
  • Art Extravagance - Finnabair Prima (Gold Crackle Paste);
  • Art Basics - Finnabair Prima (3D Matte Gel, Soft matte Gel).

mardi 24 décembre 2019

Timeless - 49 and Market DT

Bonjour à toutes,

Aujourd'hui je suis sur le blog de 49 and Market avec une nouvelle page réalisée avec la mini-collection Old School.

Hello Sweeties,

Today I'm up on 49 and Market blog with a new layout featuring the Old School mini-collection. 


J'ai tamponné ici et là avec une encre Archival noire et le set de tampons Rations. Puis j'ai protégé le fond d'une couche de gesso transparent. Une fois sec, j'ai ajouté un peu de couleurs: gris-bleu et violet.

I stamped randomly with black Archival ink and the Rations stamp. Next, I primed the background with clear gesso. When dry, I added some colors: grey-blue and purple. 


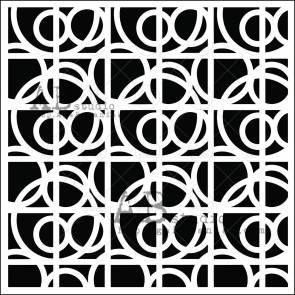
Puis, j'ai ajouté un motif à l'aide d'un pochoir et de pâte de paier. Pendant quue la pâte était encore humide, j'ai saupoudré de l'Art Sugar.

Next, I added a design with a stencil and Paper Paste. While the paste was still wet, I sprinkled some Art Sugar. 


J'ai découpé des feuilles et des branches dans du papier aquarelle. J'ai coloré les branches avec une encre argent et les feuilles avec des encres gris-bleu et vertes.

I die cut some leaves and branches in a watercolor paper. I colored the branches with silver ink and the leaves with blue and green inks.


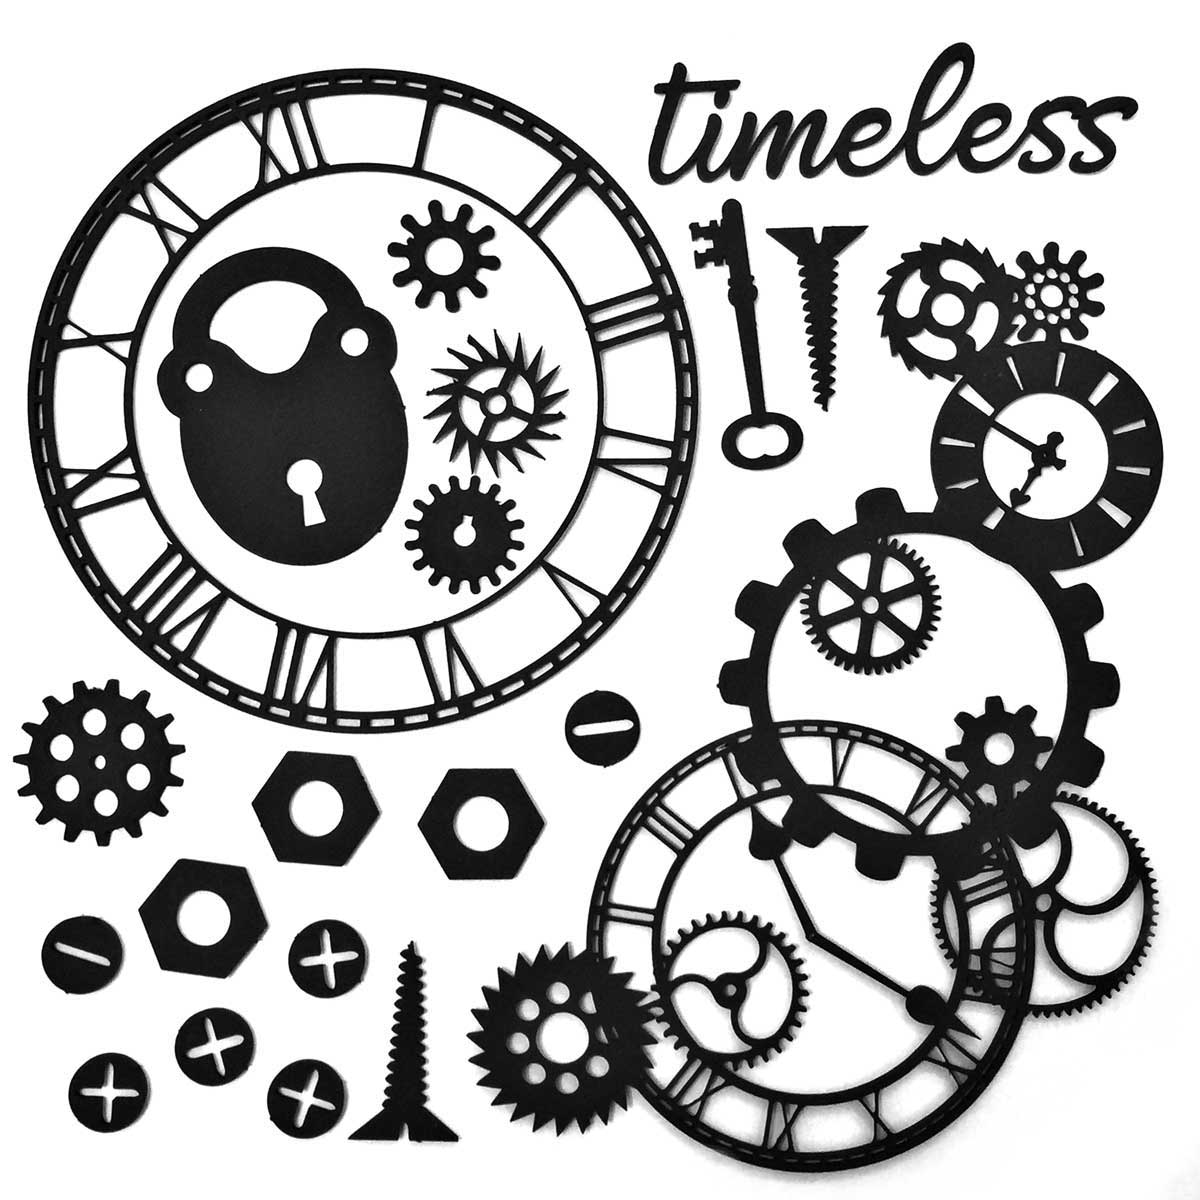
J'ai recouvert des rouages en résine de gesso noir. Puis, je les ai ciré avec des cires bleu et argent. J'ai utilisés les mêmes cires pour colorer les montres et les rouages du set de chipboard Timeless.

I primed some resin cogs with black gesso. Then, I colored them with blue and silver waxes. I used the same waxes to colors the clocks and cogs from the Timeless Archival Chipboard set.


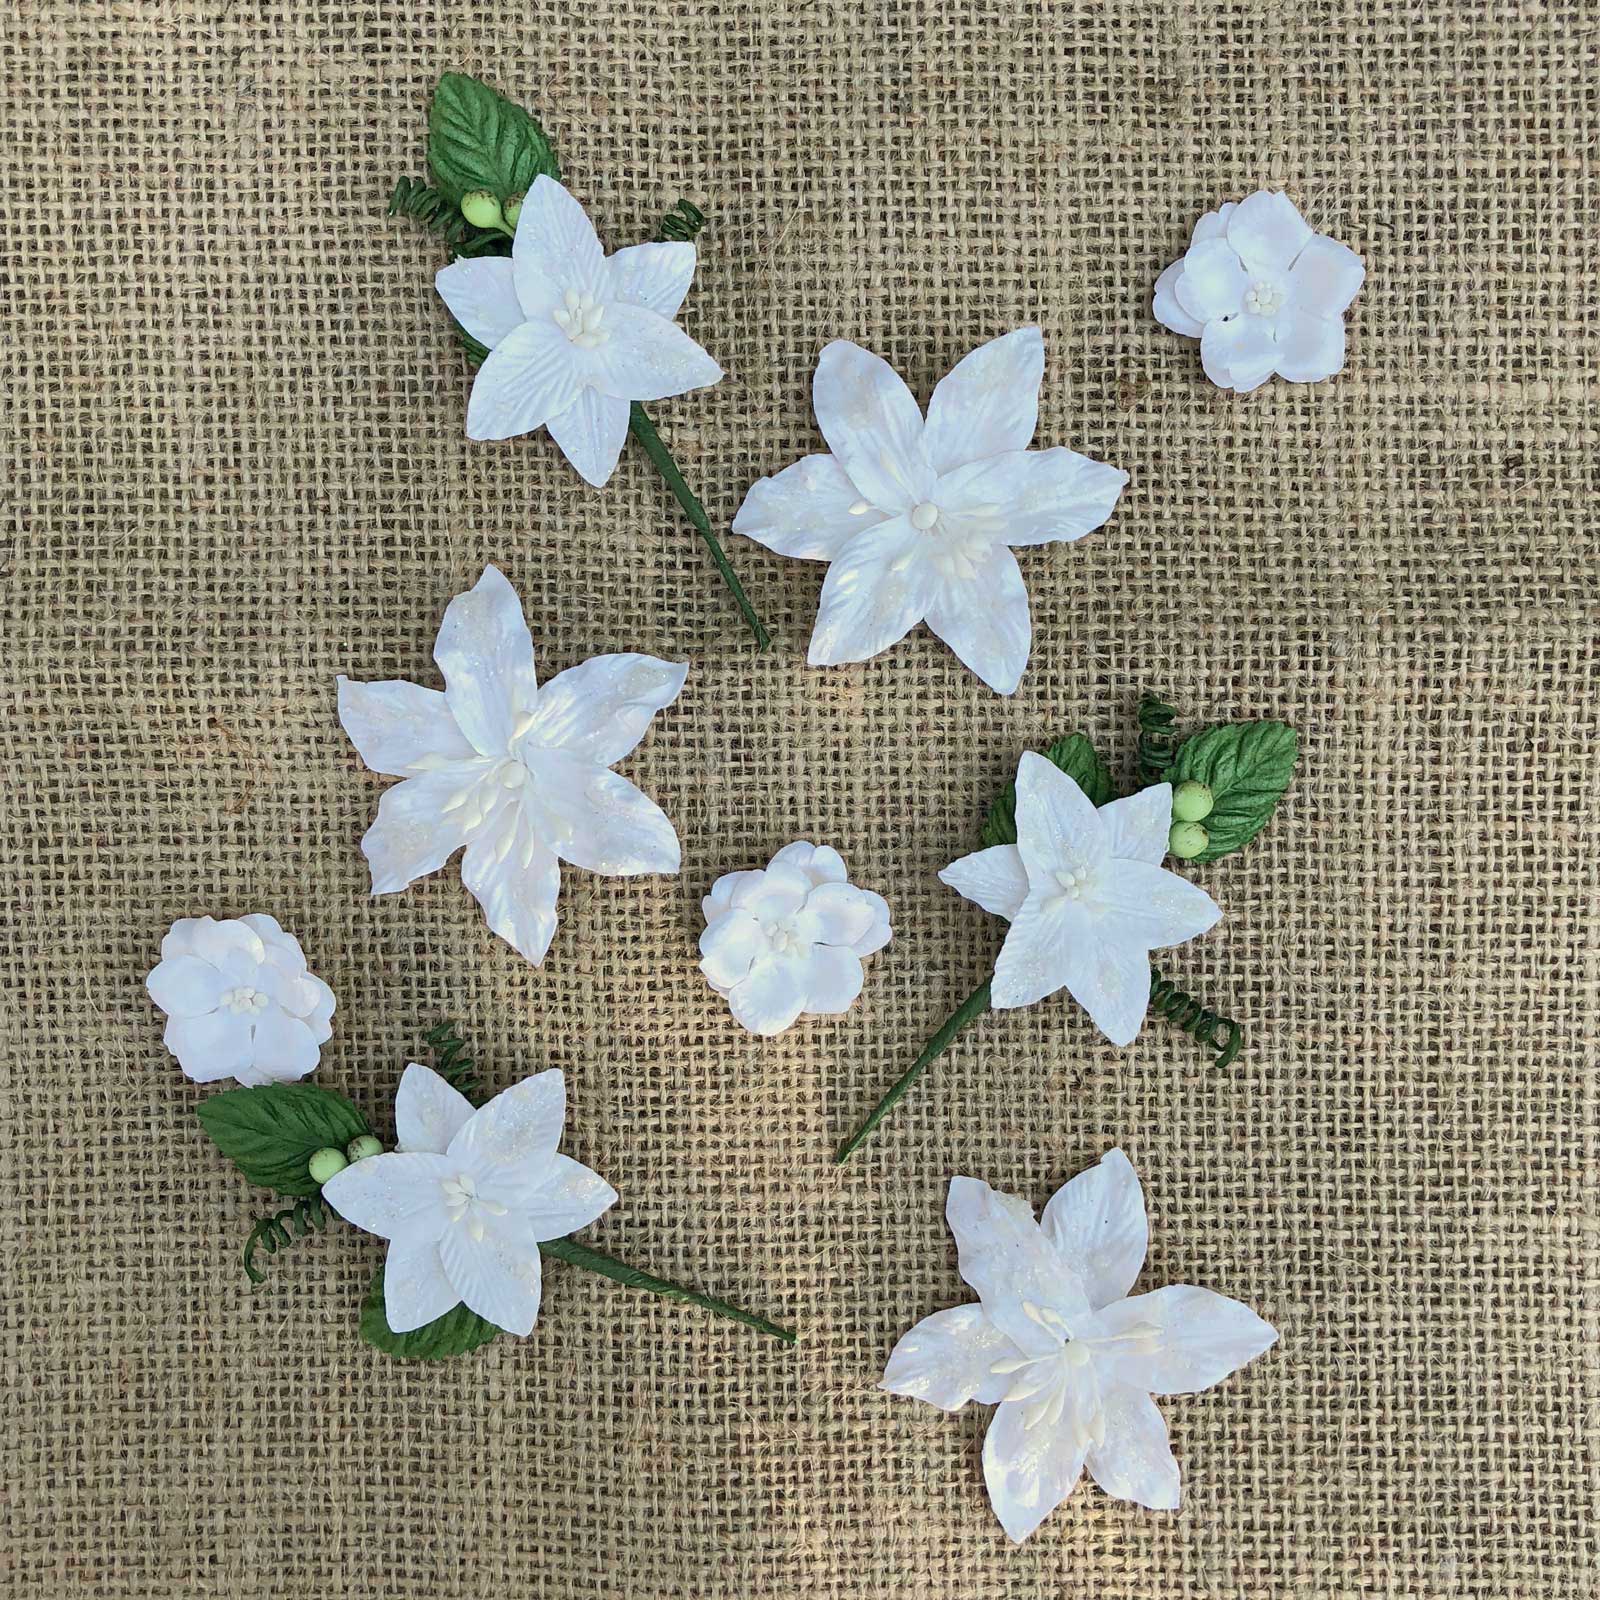
J'ai embossé le titre avec une poudre bleue. Puis, j'ai collé tous les embellissements avec du gel 3D ainsi que des fleurs Stargazer blanches et bleues.

I embossed the title with blue embossing powder. I glued all the embellishments with a 3D gel along with Simply White and Blue Sky Stargazers.


Pour finir la mise en page , j'ai ajouté des microbilles ainsi que des sequins.

To finish the layout, I added some microbeads and sequins.

Matériels / Materials:

49 and Market products:


Old School
High School

Archival Board
Timeless (Black)

Stargazer
Simply white

Stargazer
Sky Blue

Rations
Stamp set


Other products:

  • Spray inks - Lindy's Gang (Whale Watch Blue, Black Orchid Silver, Green With Envy Green);
  • Embossing Powders - Lindy's Gang (Lapis Lazuli Gold);
  • Stencil - A.B. Studio (Stencil ID-87);
  • Sequins - Dress my Crafts: Purely White;
  • Die - Mimi Cut (Herbarium 3);
  • Die - Memory Box (Leafy Branch);
  • Molds - Finnabair Prima (Cogs and Wings, Mechanica);
  • Art Ingredients - Finnabair Prima (Art Sugar: Antique Silver);
  • Art Alchemy - Finnabair Prima (Waxes: Old Silver, Mystic Turquoise; Liquid Acrylic: Purple););
  • Art Extravagance - Finnabair Prima (Paper Paste);
  • Art Basics - Finnabair Prima (Gesso: Clear and Black; 3D Matte Gel, Soft Matte Gel).


jeudi 19 décembre 2019

Just be you - AB Studio DT

Bonjour à toutes,

Aujourd'hui c'est un projet pour A.B. Studio que je vous propose. J'ai travaillé sur un chipboard 30 x 30 avant de le coller sur une page de la collection Behind Closed Doors.

Hello Sweeties,

Today I have a project for A.B. Studio to share with you. I worked on a 30 x 30 chipboard before I glued it on a sheet from the Behind Closed Doors collection. 


J'ai recouvert partiellement le chipboard de pâte à craqueler Platine, puis j'ai ajouter une très fine couche de pâte à craqueler or. Enfin, j'ai ajouté une couche encore plus fine de Icing paste Frosty.

I covered partially the chipboard first with Platinum Crackle paste. Then I added a very thin layer of Gold Crackle Paste. Finally, I added an even thinner layer of Frosty Icing Paste.


J'ai coloré quelques feuilles découpées dans du papier aquarelle avec divers tons de vert et de brun.

I colored a few leaves I've die-cut in a watercolor paper, with different shades of green and brown.


J'ai coloré quelques fleurs avec une poudre Magical rouge ainsi qu'un morceau de ruban.

I colored the flowers with a red magical as well as a piece of ribbon. 


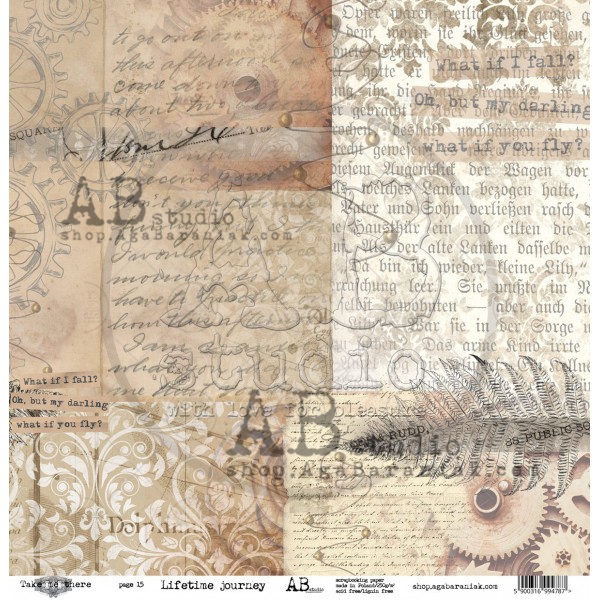
J'ai découpé trois tags de différentes tailles que j'ai recouvert avec la feuille Lifetime Journey de la collection Take Me There. J'ai attaché un bout de ruban à chacun des tags avant de les coller sous la photo.

I die-cut three tags of different sizes which I covered with the Lifetime Jurney sheet from the Take Me There collection. I attached a piece of ribbon on each one before gluing them under the photo. 


Après avoir coller tous les embellissements avec du gel 3D, j'ai collé la feuille Reverse Behind de la collection Behind Closed Door sous le chipboard.

After gluing all the embellishments with a 3D gel, I glued the Reverse Behind sheet from Behind Closed Door collection under the chipboard.


Pour finir la mise en page, j'ai ajouté des glitters et des microbilles.

To finish the layout, I added some glitter and microbeads.

Matériels / Materials:

A.B. Studio products: 


Chipboard background 30x30...
Chipboard ID-10
30 x 30

Take me there
Lifetime journey

Behind closed doors
Reverse Behind

Other products:
  • Starburst - Lindy's Gang (Sea Mint Green, My Mojito Green);
  • Flat Fabio - Lindy's Gang (Rizzo's Rowdy Red);
  • Moonshadow Mist (Burnt Umber);
  • Flowers - 49 and Market (Garden Seeds: Cotton; Botanical Blends: Cotton; Botanical Potpourri: Snow);
  • Dies - Sizzix (Tag and Bookplates, Tag and Tie, Tiny Tabs and Tag); 
  • Die - Craft EMotions (Tropical Leaves);
  • Die - Magnolia Doohickey (Summer Foliage);
  • Art Ingredients - Finnabair Prima (Glass Glitter: Pitch Black; Mica Flakes: Gold Leaf; Microbeads: Pollen);
  • Art Extravagance - Finnabair Prima (Crackle Pastes: Platinum, Gold; Icing Past: Frosty);
  • Art Basics - Finnabair Prima (3D Matte Gel, Soft Matte Gel).

jeudi 12 décembre 2019

Believe in yourself - Nomadic Soul Diaries DT

Bonjour à toutes,

Aujourd'hui c'est une page pour Nomadic Soul Diaries que je vous propose.

Hello Sweeties,

Today I have a project for Nomadic Soul Diaries to share with you.


J'ai suivi les règles du challenge de décembre :
  • Créer une page aquarelle
  • Créer votre propre fond
  • Ajouter des trous
Pour participer, il vous suffit de faire un projet respectant ces règles et de poster une photo de celui-ci sur votre profil Instagram avec le tag
#nomadicsouldiaries.

I follow the rule of December's challenge
  • Create a watercolor layout
  • Make your own background
  • Add holes

Toutes les conditions pour participer sont résumées ici :
All the requirements to participate are listed here:
https://www.instagram.com/p/B5row80IReF/?igshid=mcx9zoa67733


Processus de base / Basic process:
  1. Utiliser plusiers encres pour faire le fond : Bombshell Black, Silent Night Silver, and Smokey Sapphire
    Use different inks to make the background: Bombshell Black, Silent Night Silver, and Smokey Sapphire
  2. Préparer un morceau de papier aquarelle pour couper les feuilles avec Aloha Avocado, Sea Mint Green, and Treasure Island Aqua
    Prepare a piece of watercolor to cut the leaves with Aloha Avocado, Sea Mint Green, and Treasure Island Aqua
  3. Ajouter un motif à l'aide d'un pochoir et de pâte Graphite
    Add a design with a stencil and Graphite paste
  4. Colorer quelques napperons en papier avec Bombshell Black, Silent Night Silver, and Treasure Island Aqua
    Color some doilies with Bombshell Black, Silent Night Silver, and Treasure Island Aqua
  5. Cirer une clé en résine avec Iron Brushed, puis avec Vintage Gold
    Wax a key with Iron Brushed, then with Vintage Gold
  6. Colorer le trou de serrure et les ailes en résine avec Bombshell Black and Silent Night silver, puis cirer avec Vintage Gold
    Color the keyhole and the wings with Bombshell Black and Silent Night silver, then I wax them with Vintage Gold


  7. Coller tous les embellissements avec du gel très épais
    Glue all the embellishments with a heavy body gel
  8. Ajouter des flocons de mica, des glass glitter argent et des perle de rocaille cristal
    Add gold mica flakes, silver glass glitter and crystal glass beads
  9. Ajouter des tampons ici et là avec de l'encre noire
    Add some random stamping with black ink
  10. Trouer le trou de serrure.
    Make a hole in the keyhole.

Quelques gros plans / Some close-ups:


Et voici la vidéo / And here is the video:


Matériels / Materials:
  • Starburst - Lindy's Gang (Bombshell Black, Silent Night Silver,);
  • Moon Shadow - Lindy's Gang (Smoky Sapphire, Treasure Island Aqua);
  • Flat Fabio - Lindy's Gang (Aloha Avocado);
  • Magical - Lindy's Gang (Mint Sea Green);
  • Flowers - 49 and Market (Wild Flowers: Storm, Mini-Series: Storm);
  • Stencil - A.B. Studio (Stencil ID-94);
  • Die - Magnolia Doohickey (Summer Foliage);
  • Molds - Prima (Keys, Wings);
  • Stamp - Finnabair Prima (Text);
  • Glitter - BFS (Blue Ice);
  • Art Ingredients - Finnabair Prima (Mica Flakes: Gold Leaf; Glass Glitter: Sterling; Glass Beads: Crystal);
  • Art Alchemy - Finnabair Prima (Wax: Brushed Iron, Vintage Gold);
  • Art Extravagance - Finnabair Prima (Graphite Paste);
  • Art Basics - Finnabair Prima (Clear Gesso, Soft Gloss Gel, Heavy Body Gel ).


dimanche 8 décembre 2019

XMas cards - 49 and Market DT

Bonjour à toutes,

Aujourd'hui je suis sur le blog de 49 and Market avec un set de 6 cartes. Même si elles semblent toutes similaires, chacune d'entre elles est unique.

Hello Sweeties,

Today I'm up on 49 and Market blog with a set of 6 cards. Even if they look similar each one is still unique.


J'ai découpé 6 cartes dans le papier Frolic et dans la feuille bonus de la collection Winter Edge que j'ai protégé d'une couche de gesso.

I cut 6 cards in Frolic and in the extra sheet from the Winter Edge collection and I primed them with clear gesso.


J'ai mélangé de la pâte de texture avec des glitter argent et j'ai utilisé cette pâte maison pour ajouter un motif à l'aide d'un pochoir.

I mixed some modeling paste with silver glitter and I used this homemade paste to add a design.


J'ai coupé pleins d'éléments divers tels que des branches de pin, des pommes de pin, du gui, des baies, ... dans du papier aquarelle. J'ai coloré tous ces éléments avec diverses nuances de vert et de marron. J'ai embossé certaines parts de ces découpes comme les baies, les boules de gui ou encore les pomme sde pin.

I die cut a lot of elements such as pine branches, pine cones, mistletoe, berries, ... in watercolor paper. I colored all these elements with different shades of green and brown, I emboss some part of the embellishments such as the berries, the mistletoe balls, or the pine cones.


J'ai coloré le fond avec des encres rouges, vertes, ou marron.

I colored lightly the background with red, green, or brown inks.


Ensuite, j'ai collé tous les embellissements que j'ai préparé ainsi que des éléments naturel et des fleurs rouges. J'ai ajouté quelques tamponnages.

Next, I glued all the elements I have prepared as well as some natural elements and different red flowers.I added some random stamping..


Pour finir les cartes, j'ai ajouté des microbilles, des glass glitters ainsi que des mini-étoiles.

To finish the cards, I added microbeads, glass glitters as well as some little stars to add more texture.


Matériels / Materials:

49 and Market products:


Winter Edge
Frolic

Winter Edge
Bonus Sheet

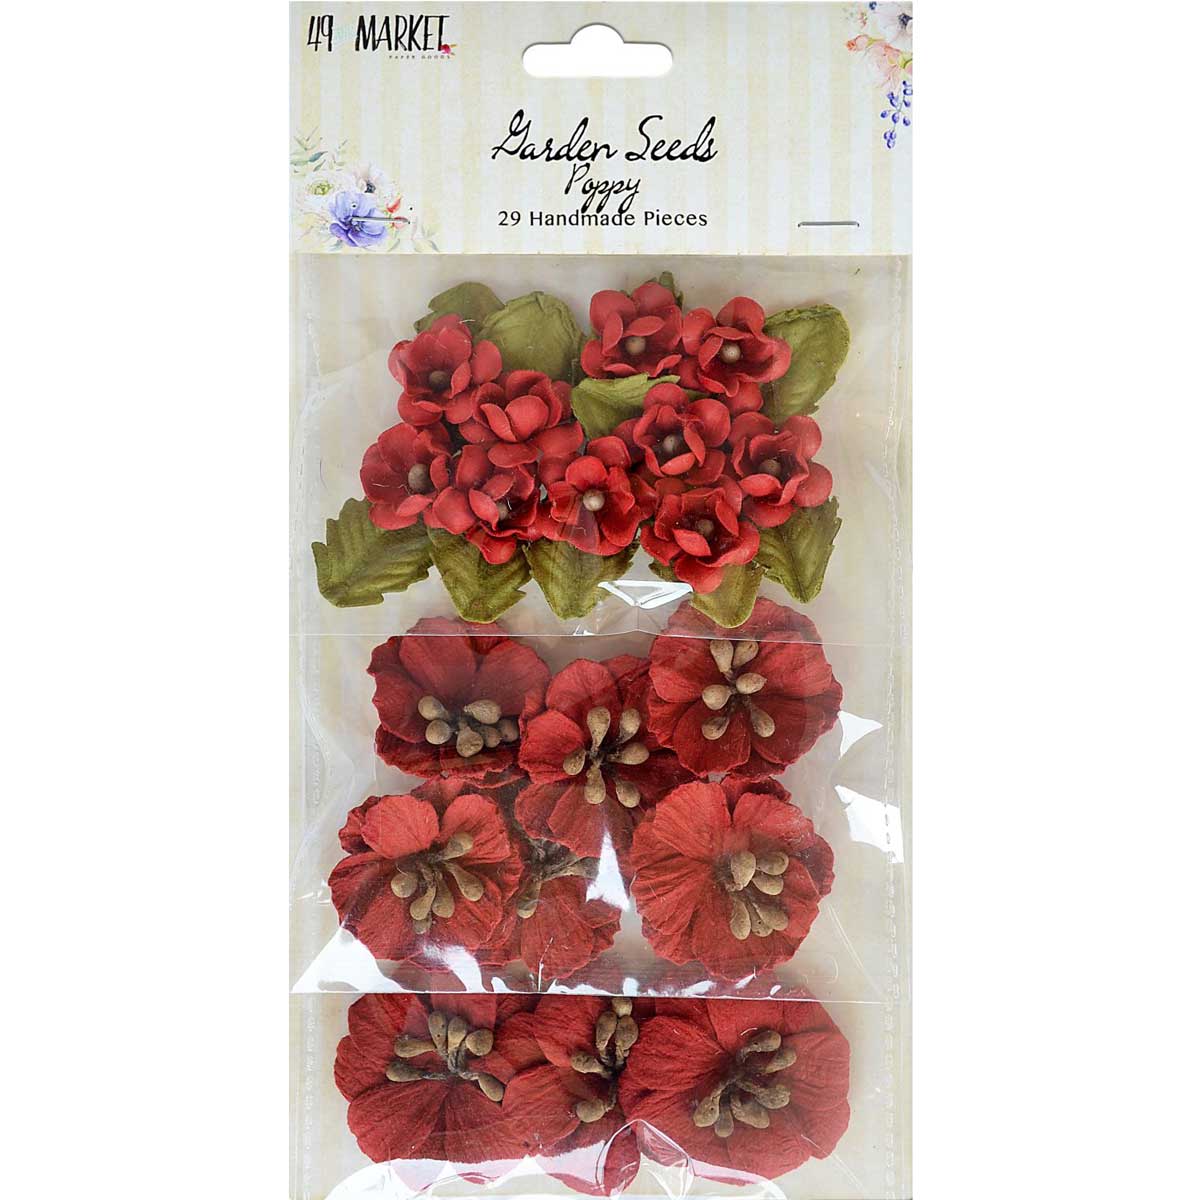
Garden Seeds
Poppy

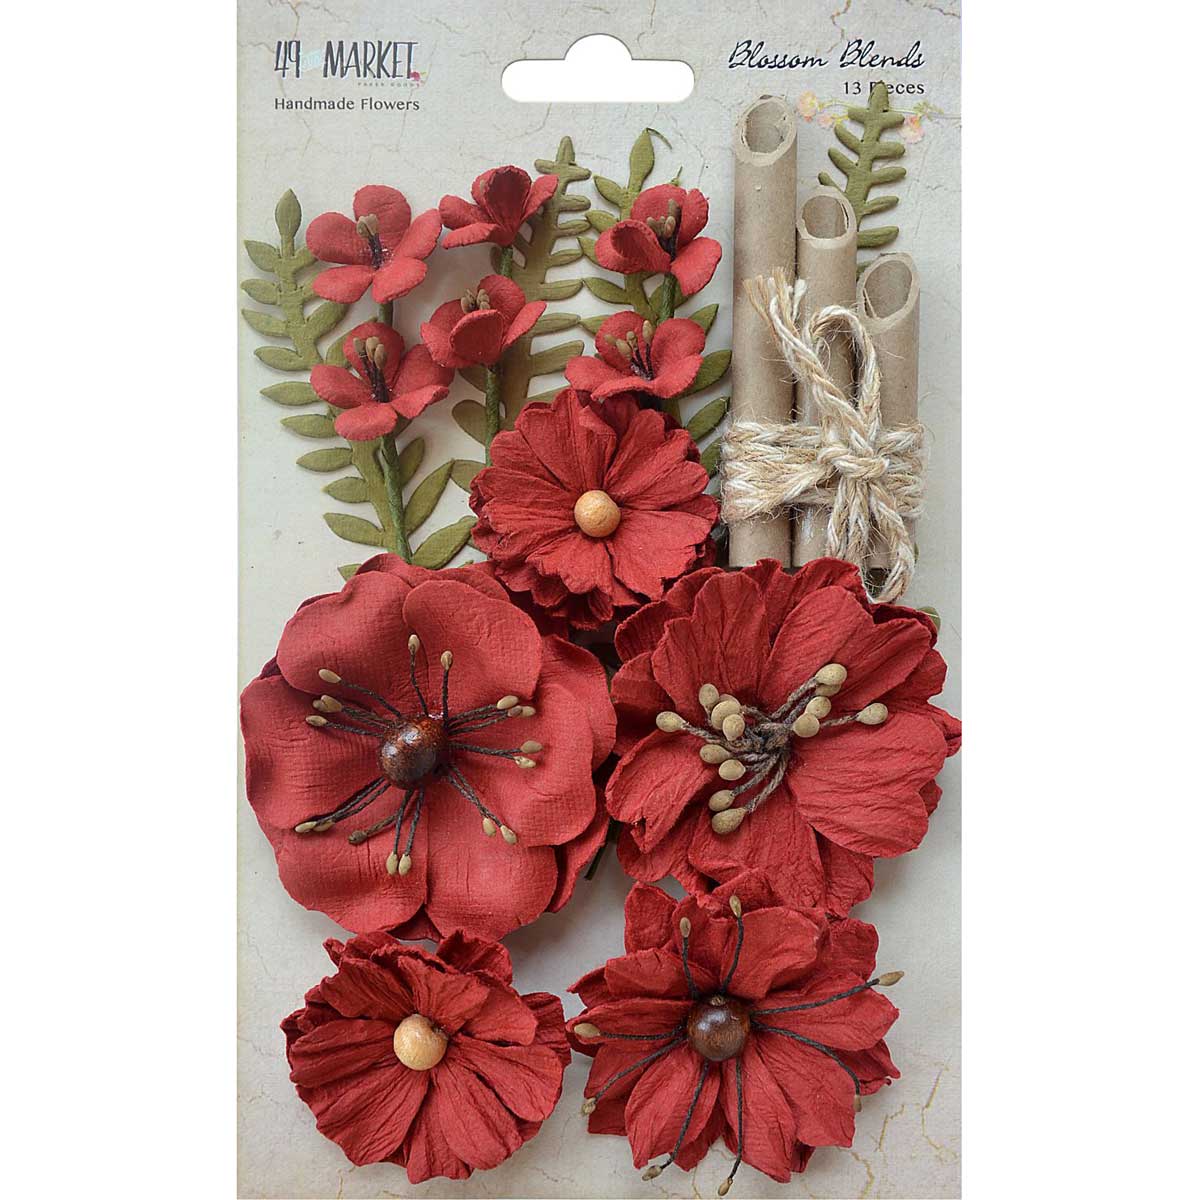
Blossom Blends
Poppy

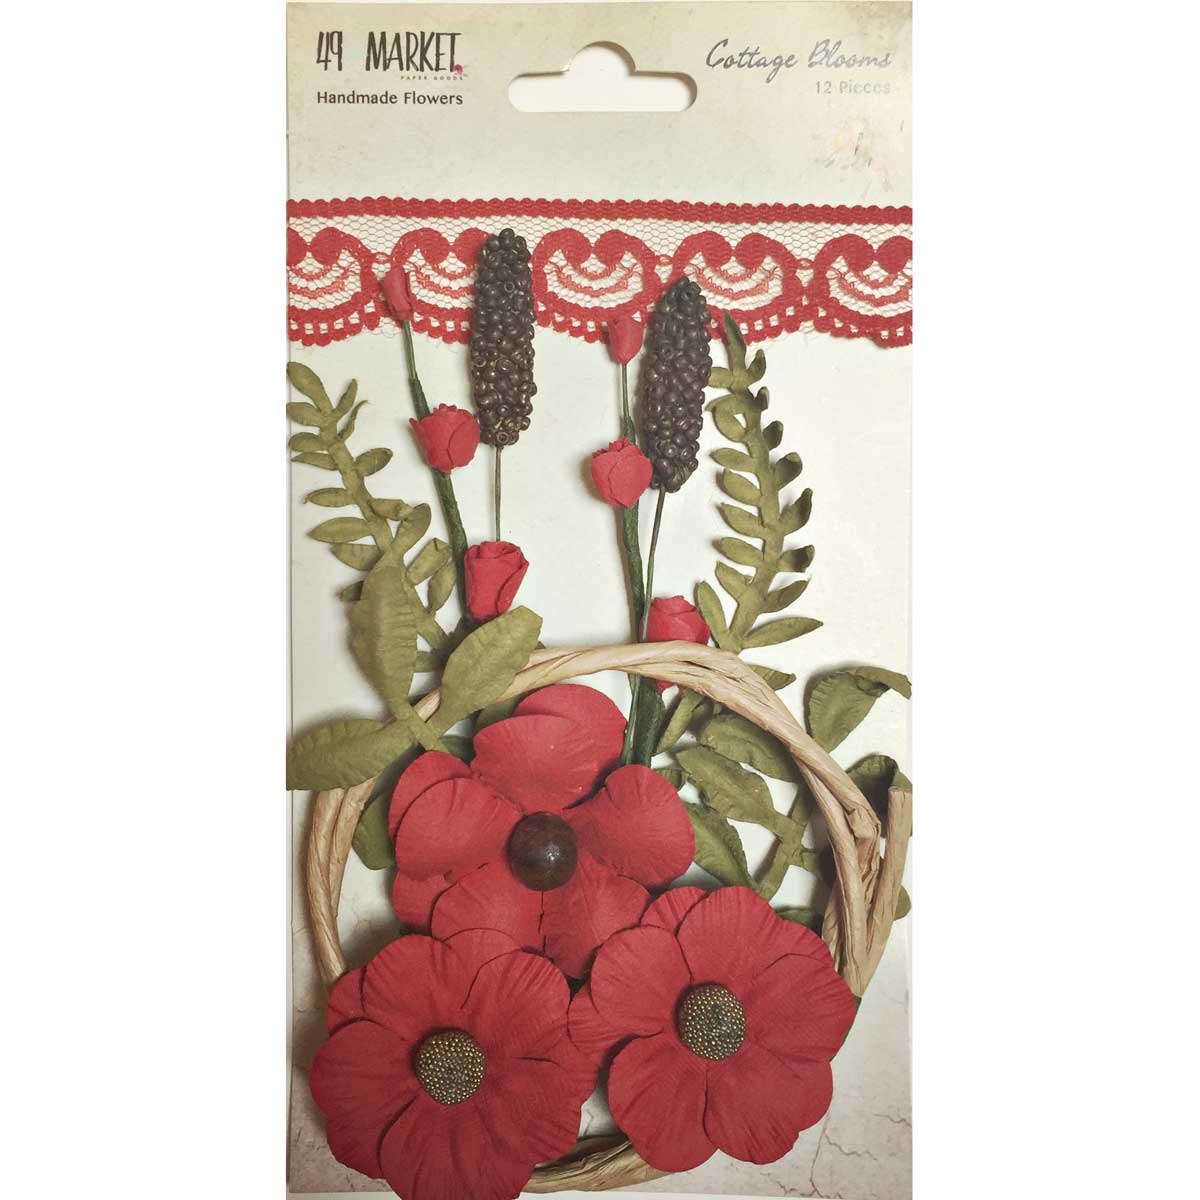
Cottage Blooms
Poppy

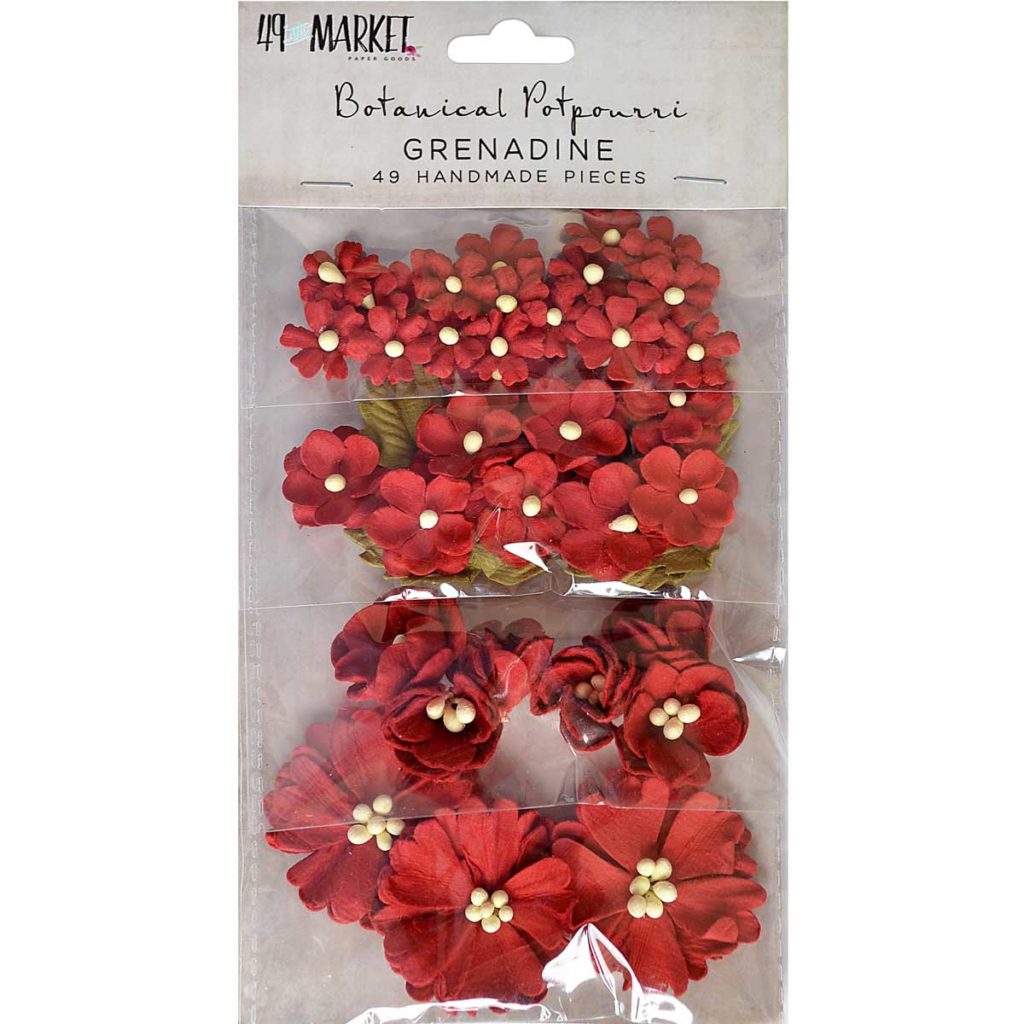
Botanical Potpourri
Grenadine

1787
Stamp

Pascale's Form
Stamp

Pascale's Grammar
Stamp


Other products:

  • Spray inks - Lindy's Gang (Cathedral Pines Green, Ponderosa Pines Olive, Dark Chocolate Truffle);
  • Magical - Lindy's Gang (Gag Me With a Spoon Gray (), Rizzo's Rowdy Red);
  • Embossing Powders - Lindy's Gang (Twilight Bronze Slate, Holly Berry Red Gold, Silver Moon Mistletoe);
  • Stencil - A.B. Studio (Stencil ID-160);
  • Art Ingredients - Finnabair Prima (Microbeads: Silver, Bronze, microbeads set; Glass Glitter: Sterling, Copper, Gold Rush; Glitter: Luminous set);
  • Art Basics - Finnabair Prima (Clear Gesso, Modeling Paste, 3D Matte Gel).