Pages

jeudi 24 juin 2021

Own your Story - Mixed media layout for 49 and Market DT

Hello Sweeties,

Today I'm up on 49 and Market blog with a new mixed media layout and a step-by-step video. I worked with a photo of Rose, one of the great-grandmothers of my children. She will be 100 years old this year.


Basic process:
  1. Cut the journal Cards sheet into pieces;
  2. Glue the cards on the background;
  3. When happy, cover everything with clear gesso;
  4. Add strips of the Essentials and Wedgewood washi tapes;
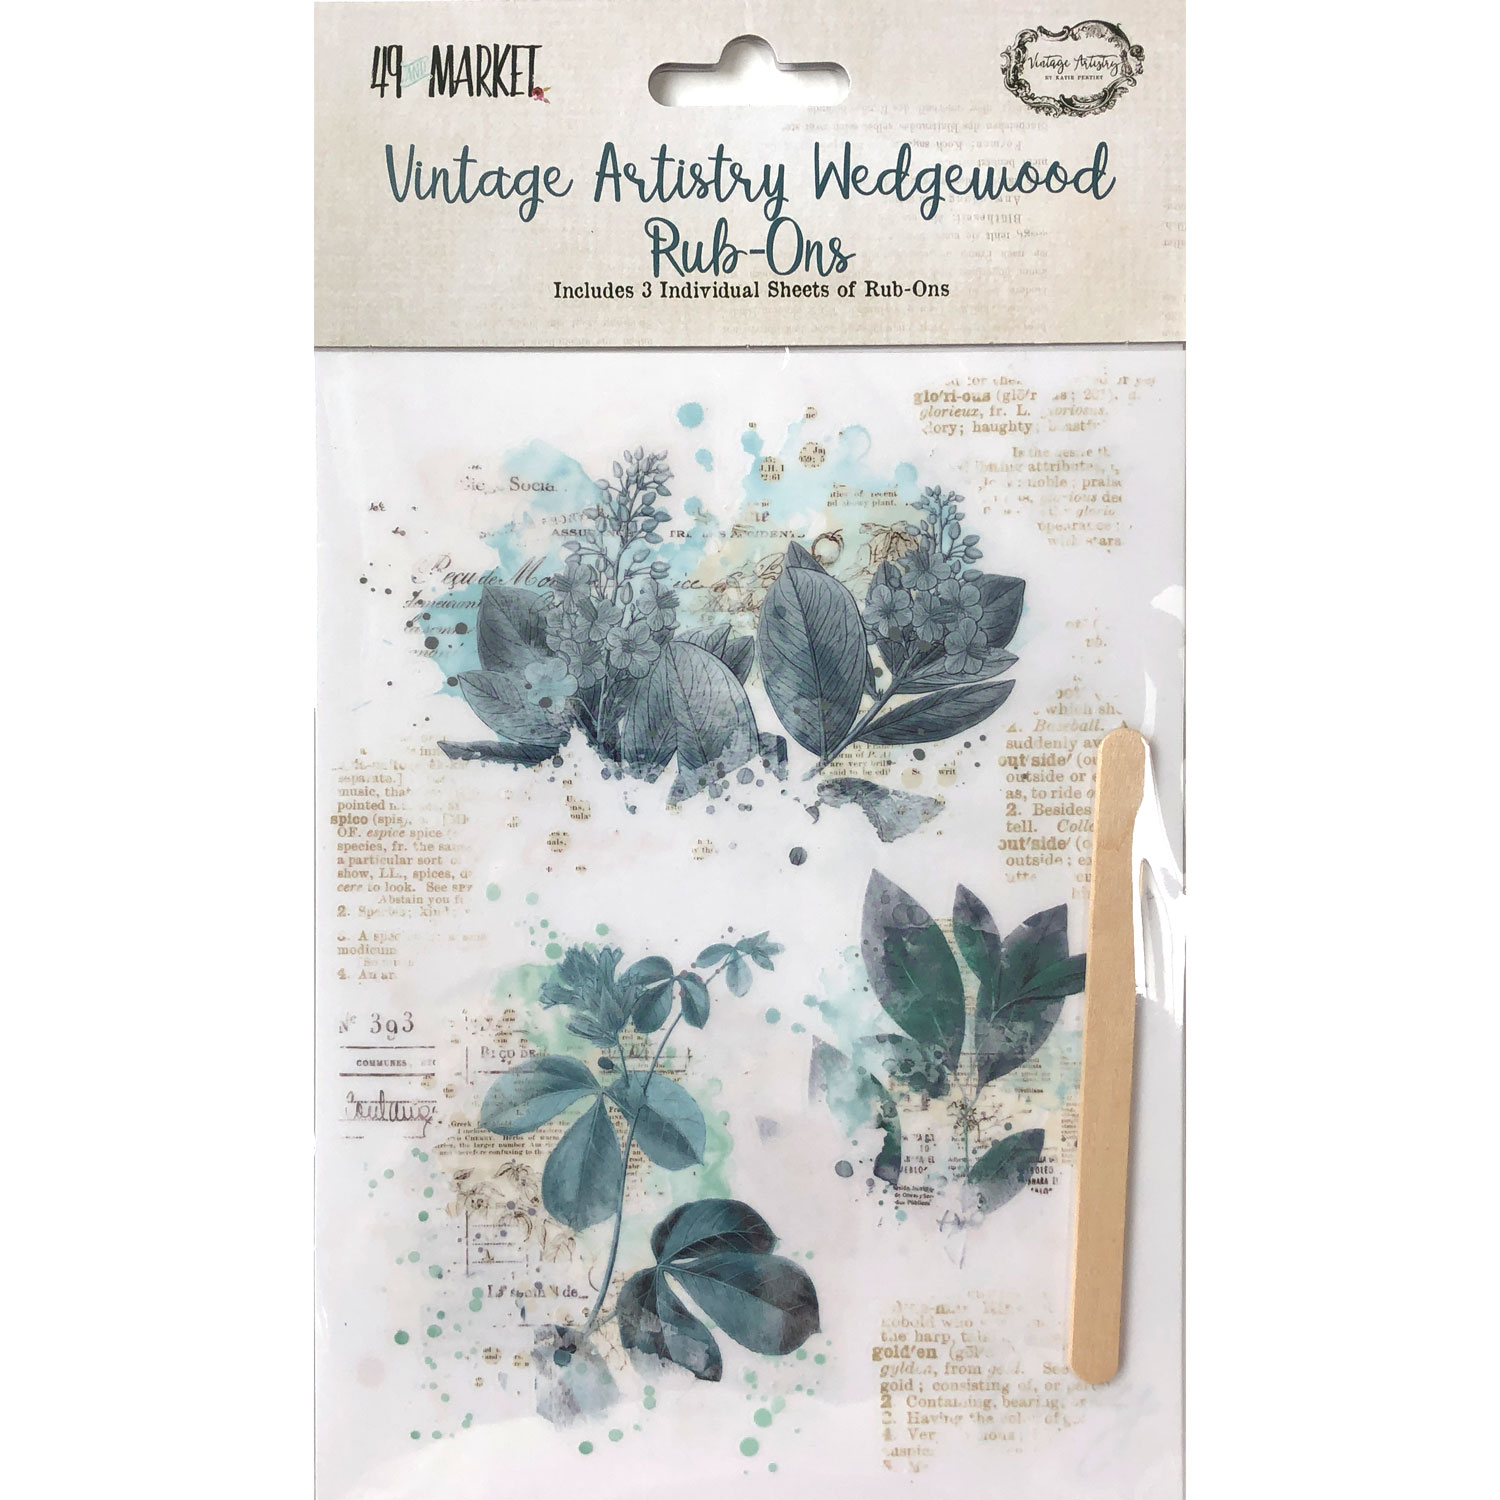
  5. Add Wedgewood rub-ons;
  6. Add some colors (blue and coral) to blend the collage with the background;
  7. Prime some resin elements with black gesso;
  8. Use waxes to color them.  Start with the Charcoal Black, then with Old Silver to highlight the details, and White Gold to add some nuance;
  9. Cut a few cards from the 6x8 collection to add under the photo;
  10. Build your composition and glue everything with 3D Matte Gel;
  11. To finish add some glitter and microbeads.
I hope you will enjoy the video.


Matériels / Materials:

49 and Market products:


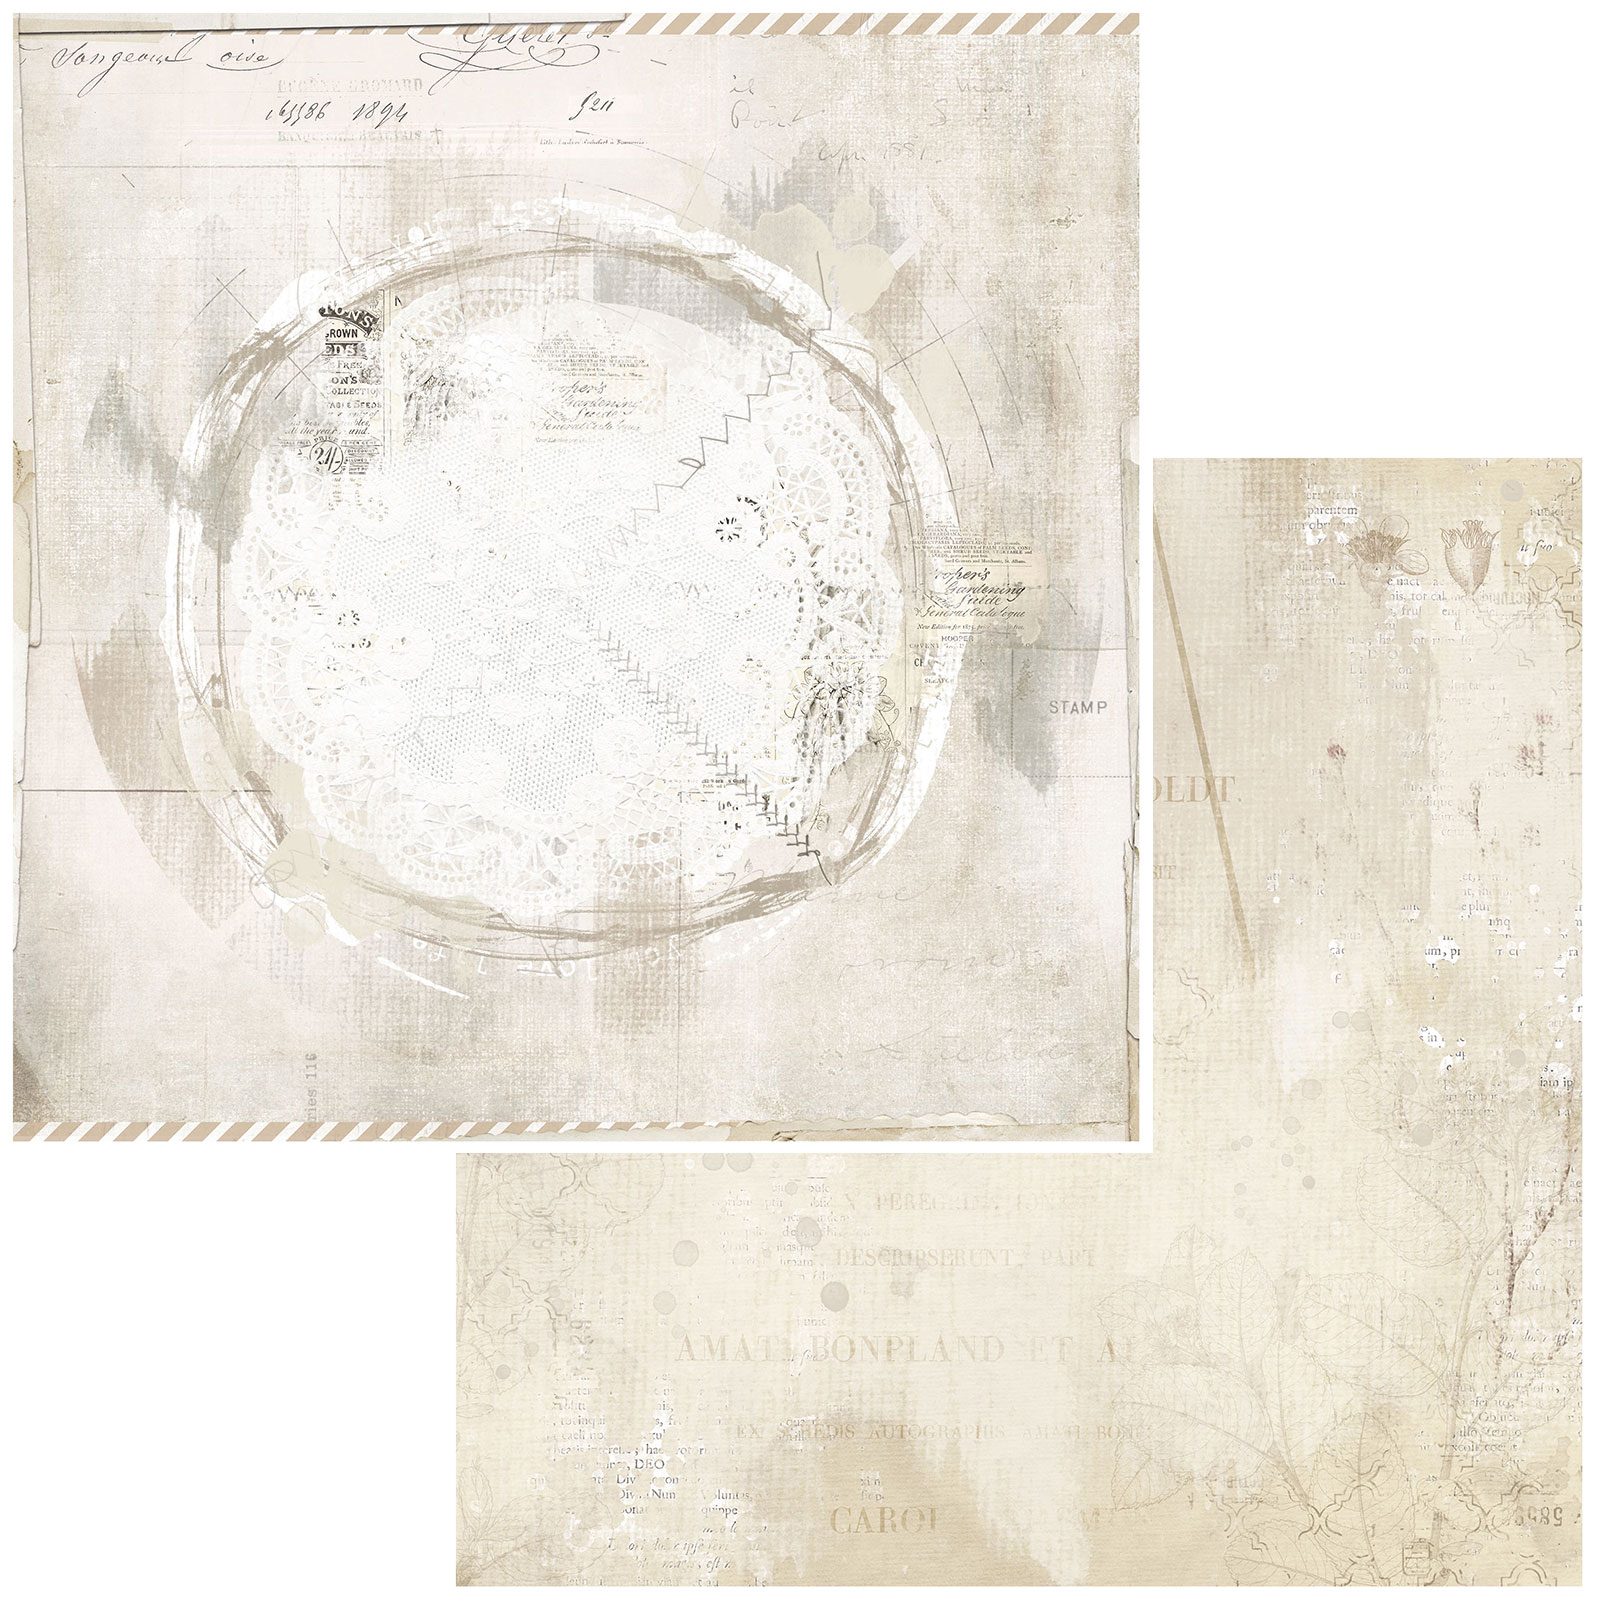
Vintage Artistry Essentials
 Savor


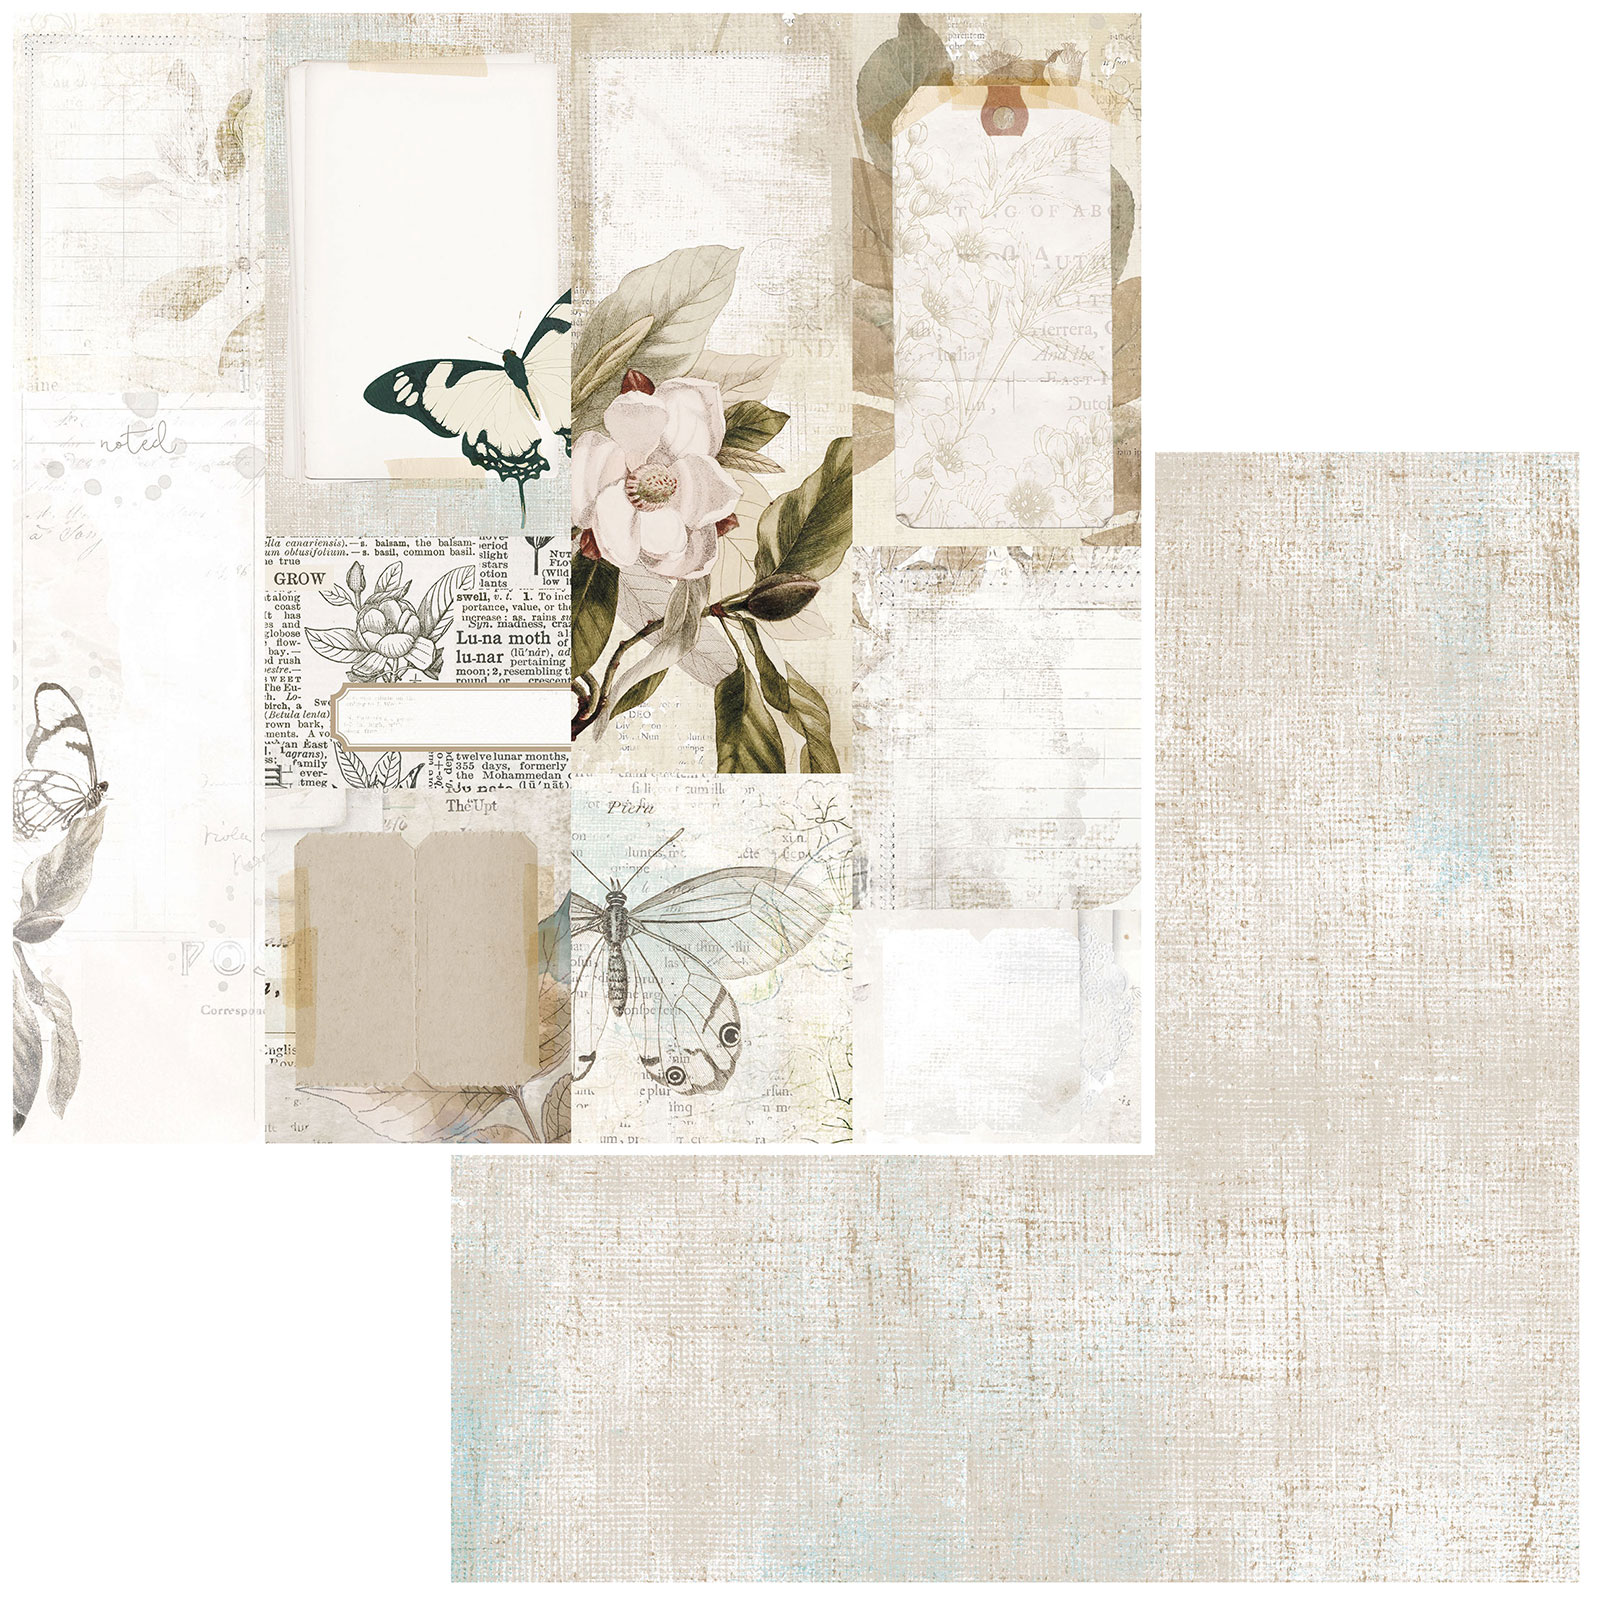
Vintage Artistry Essentials
Journal Card


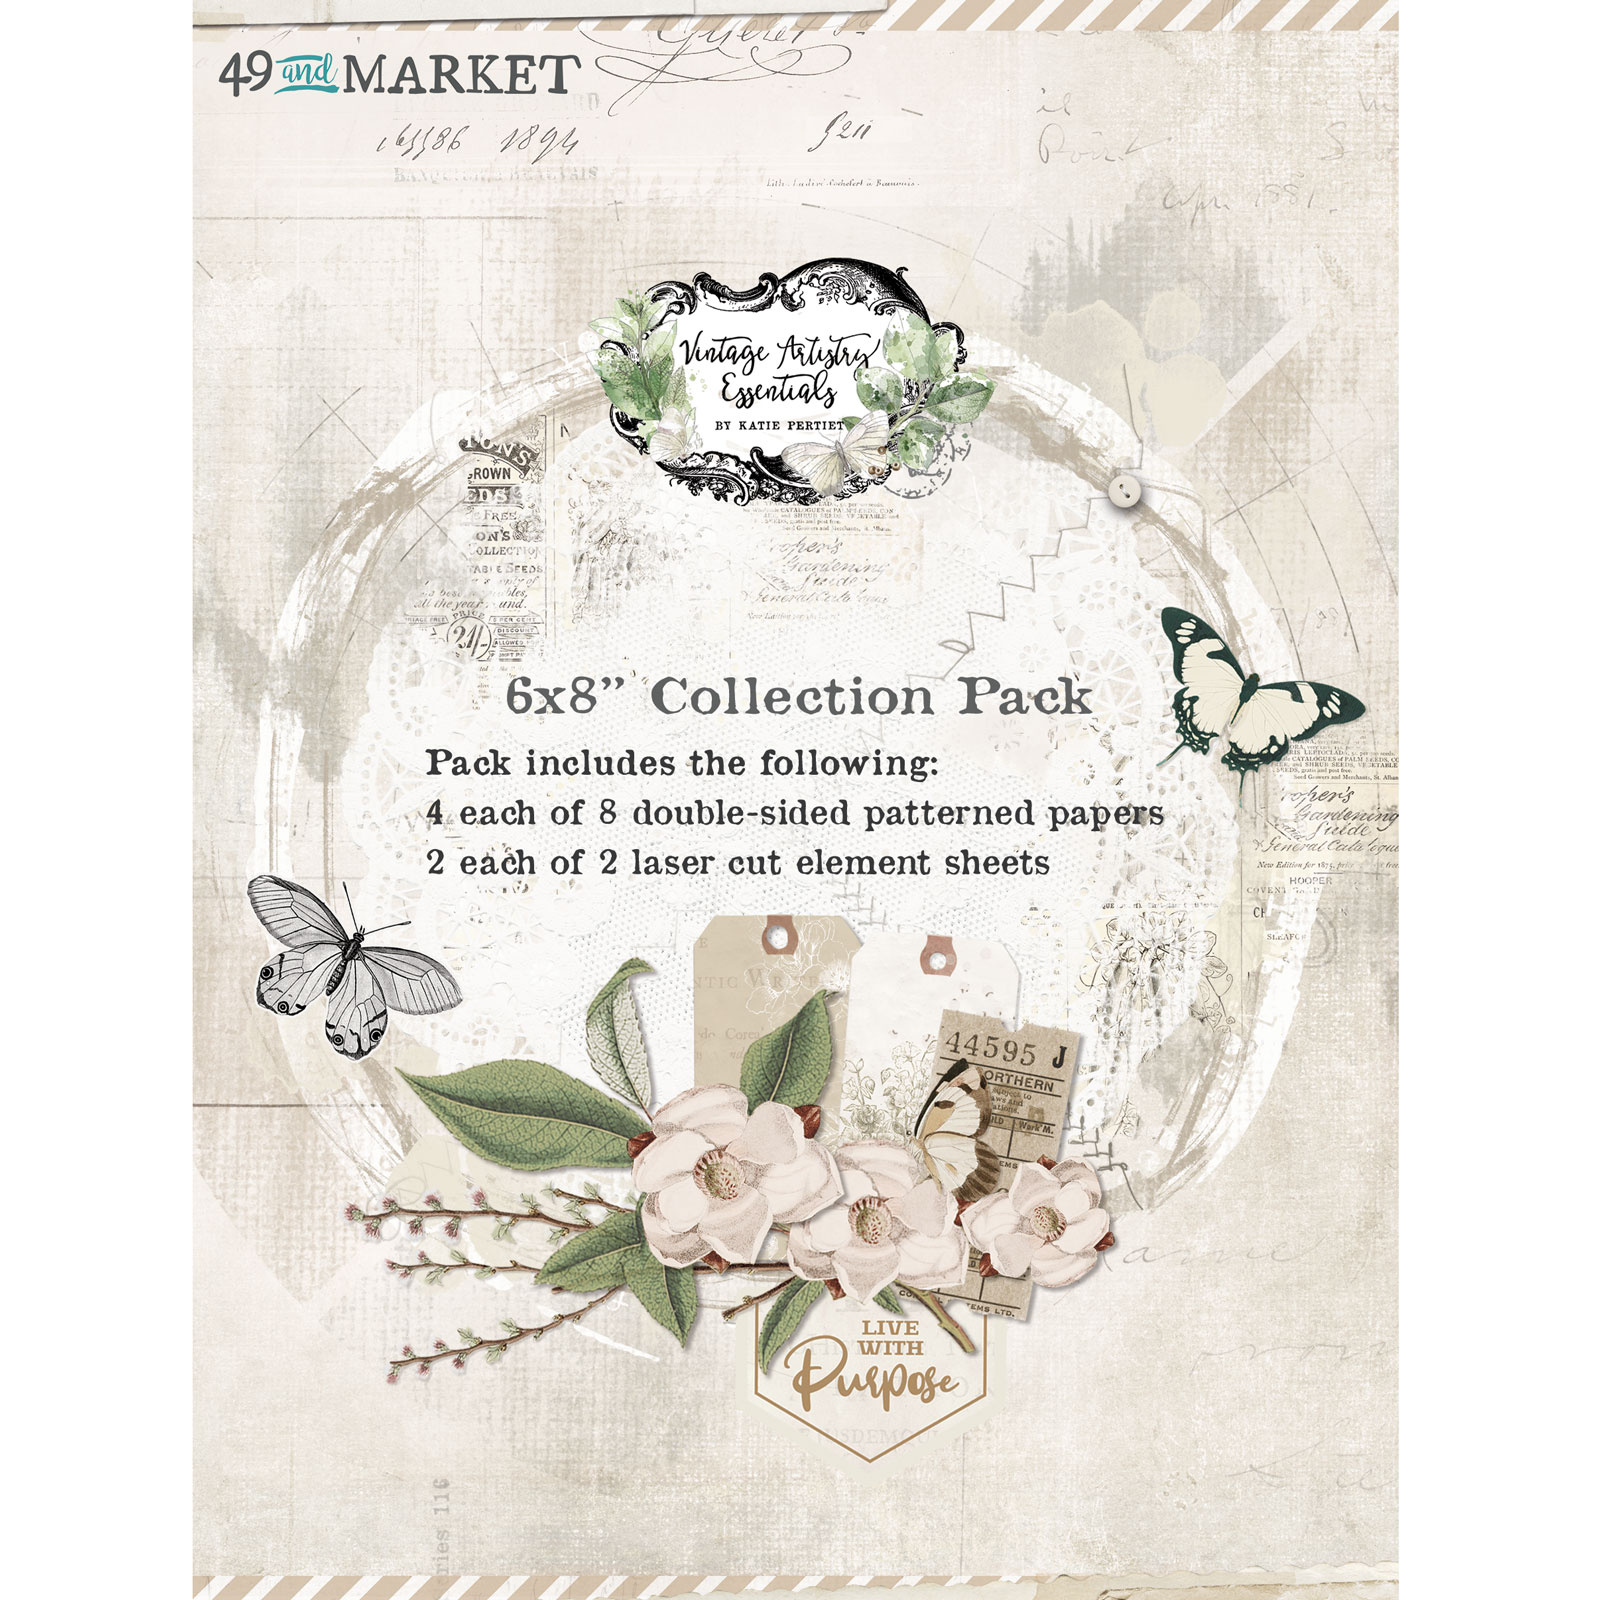
Vintage Artistry Essentials
6x8 Collection Pack


Vintage Artistry Essentials
Washi Tape

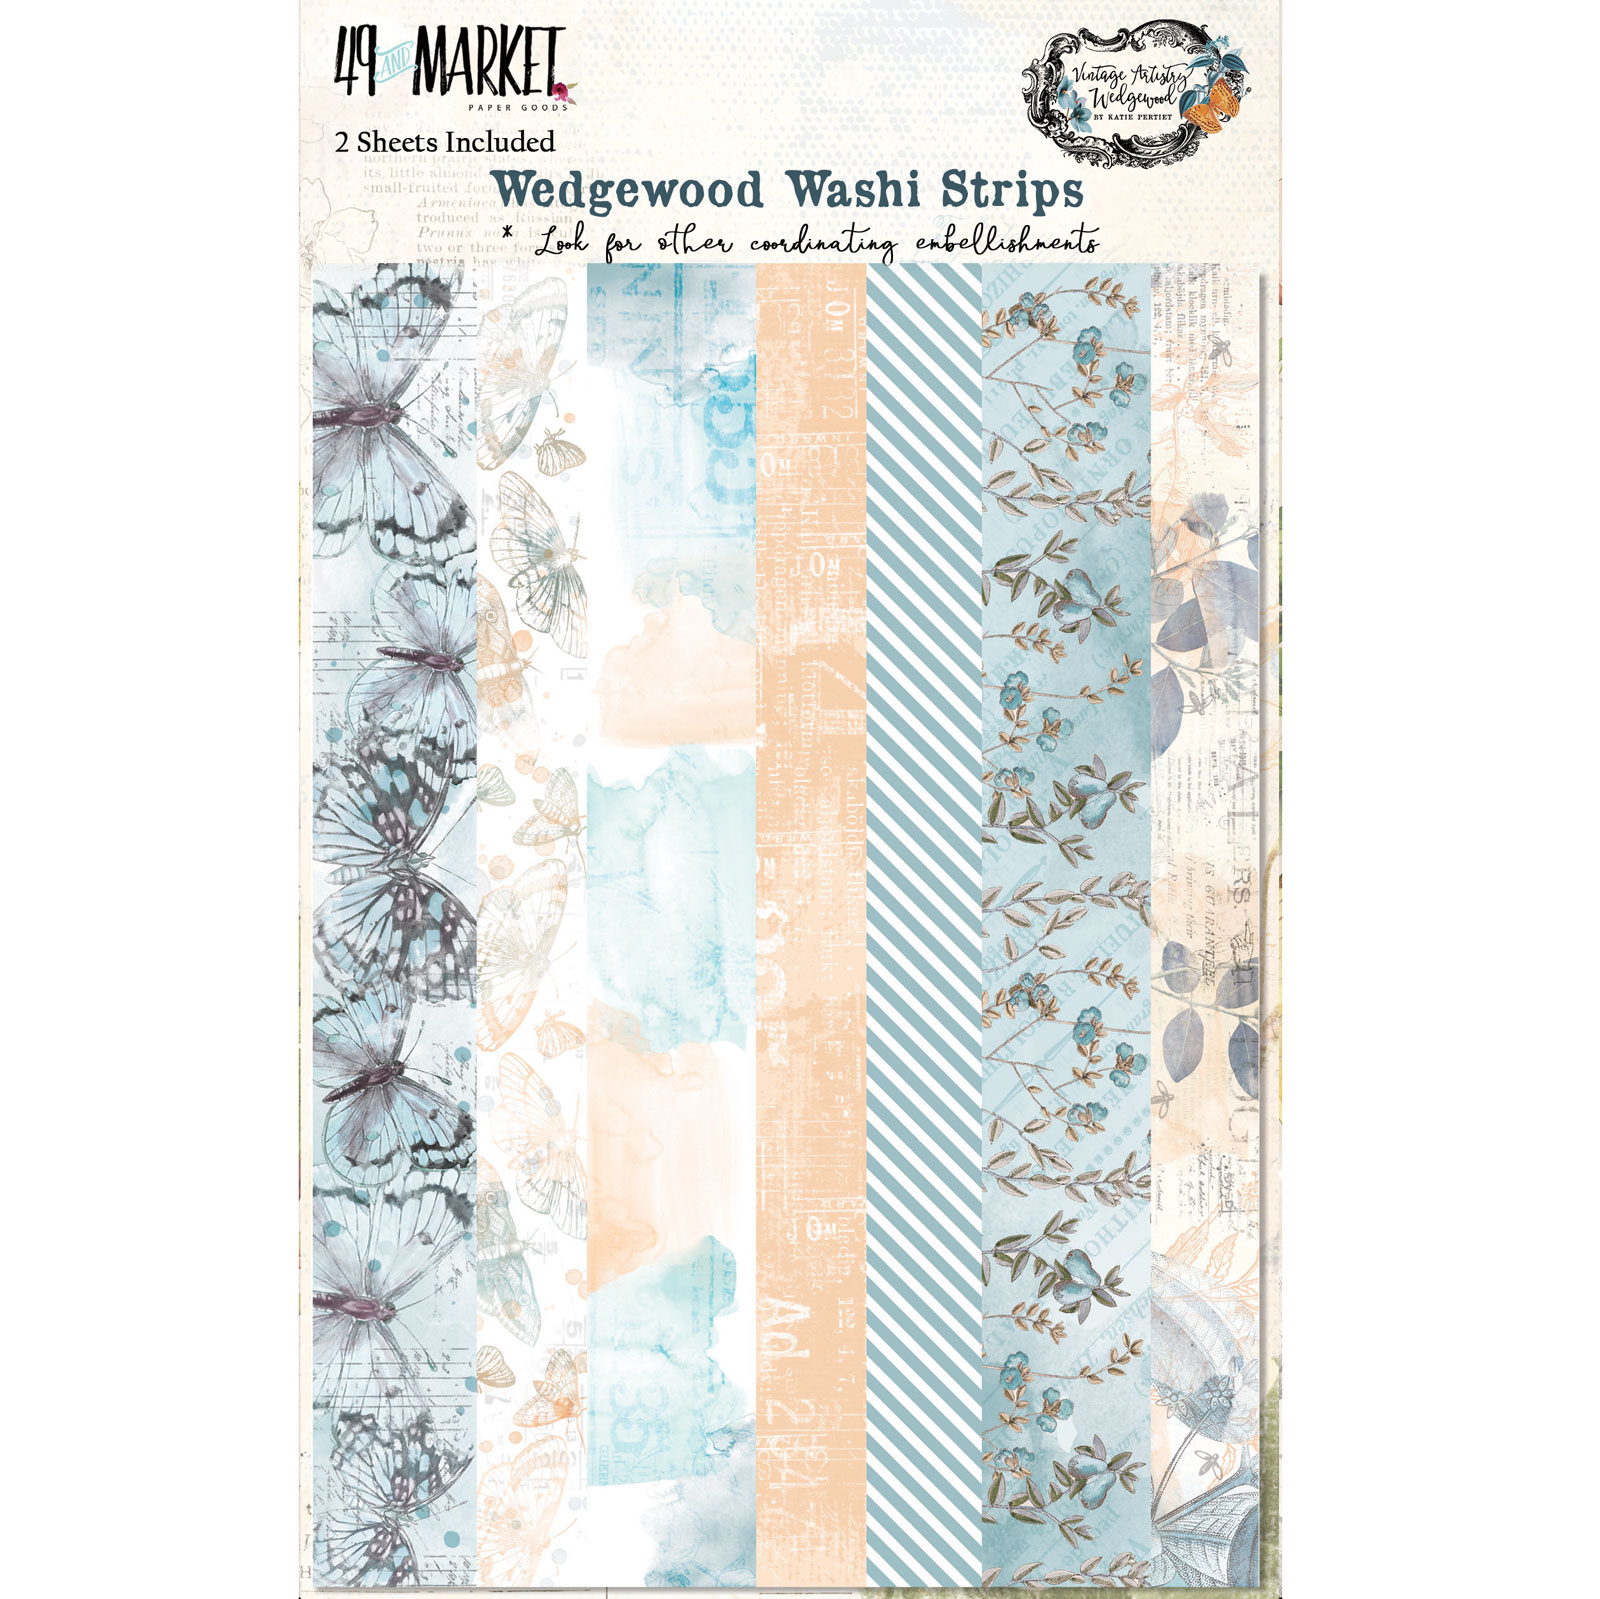
VAC-33133 Vintage Artistry Wedgewood Washi Tape

Wedgewood
Washi Tape
VAC-33003 Vintage Artistry Wedgewood Rub-Ons

Vintage Artistry Wedgewood
 Rub-Ons


Majestic Bouquet
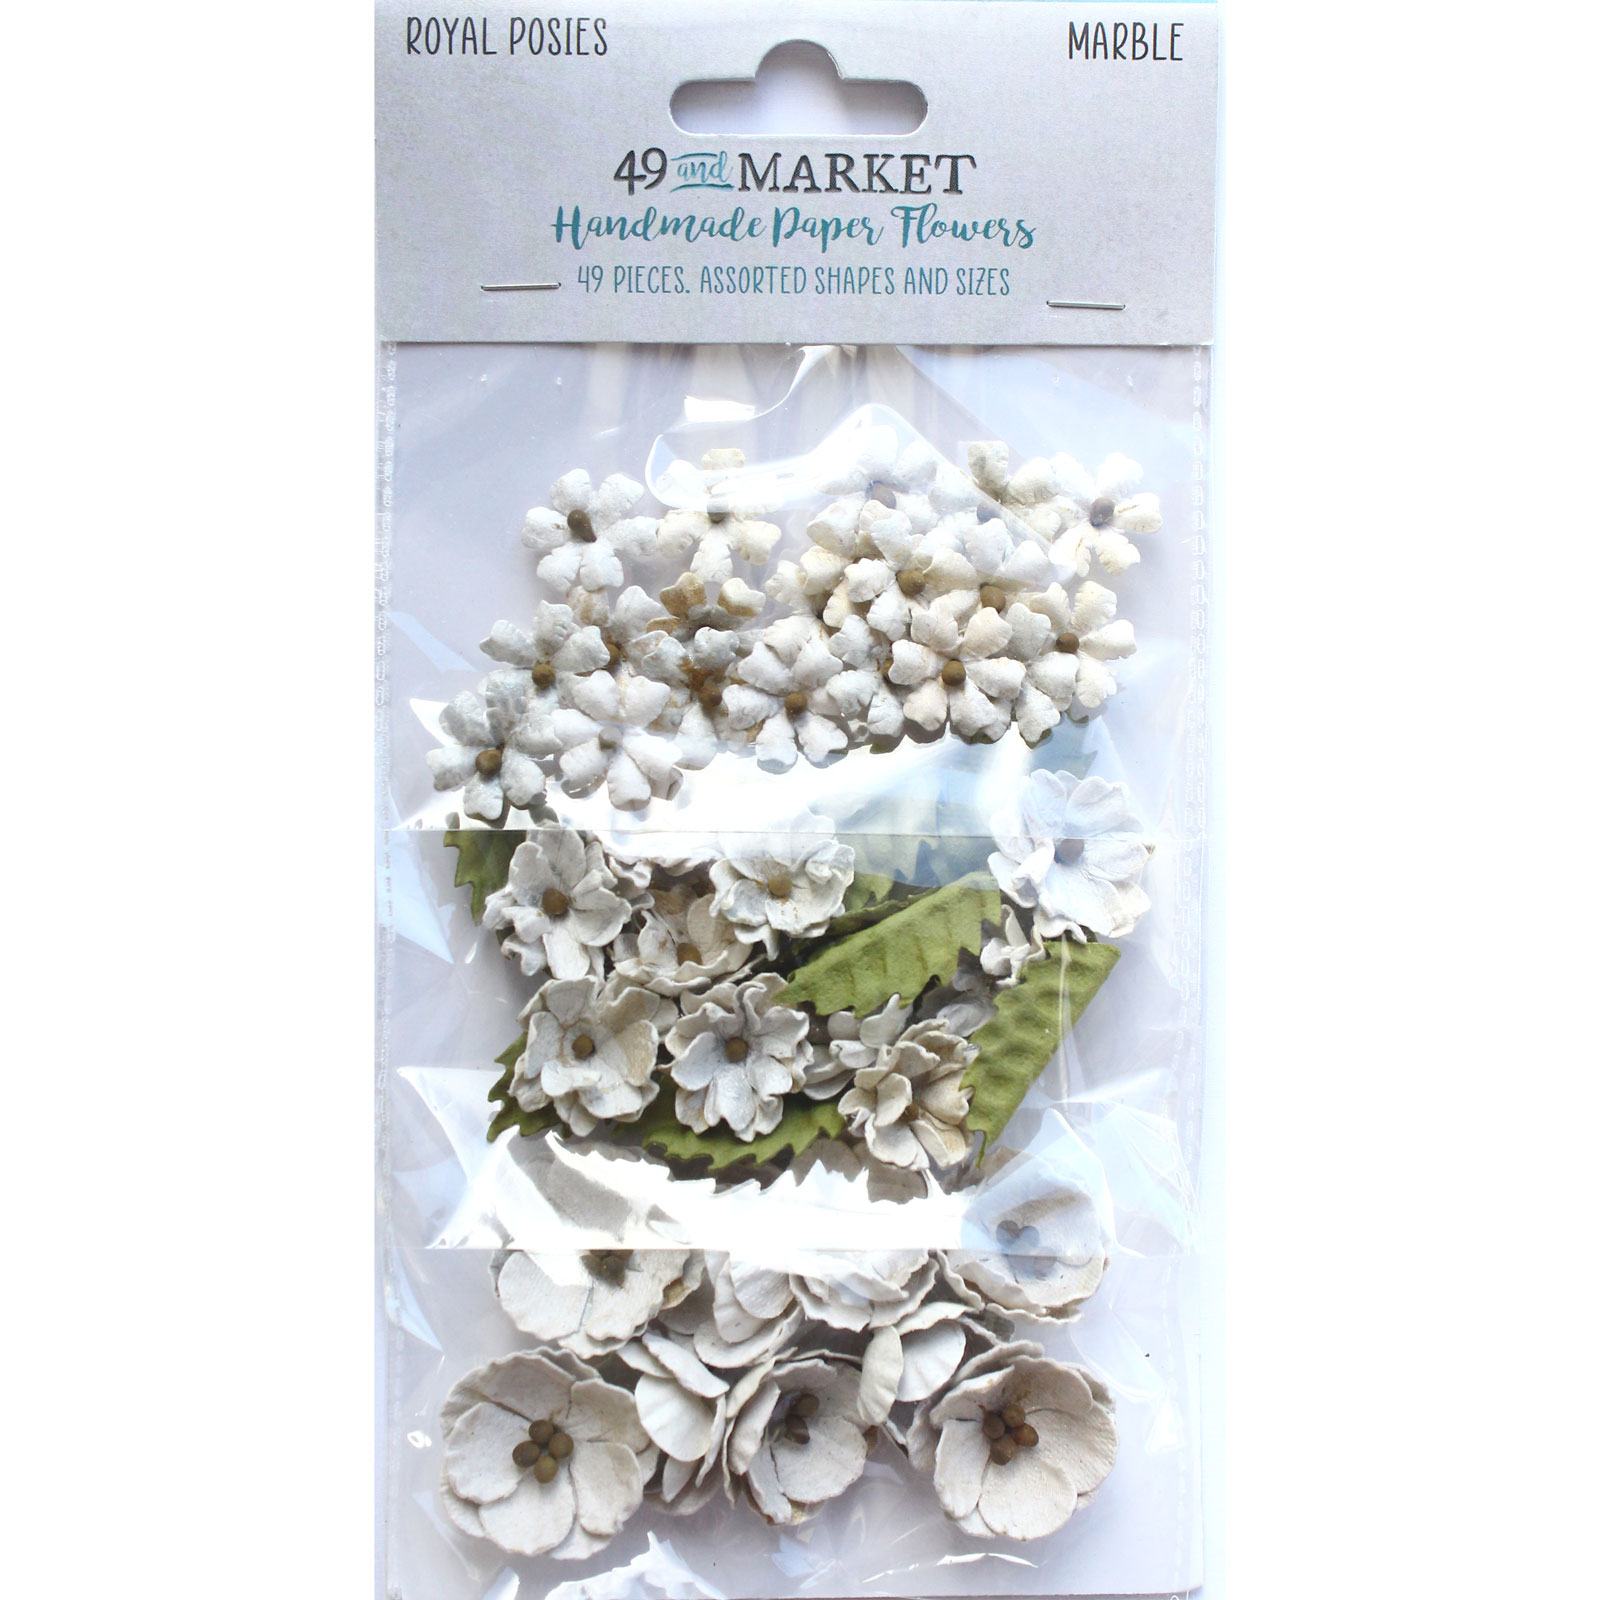
Marble


Royal Posies
Marble

Other products:
  • Starburst - Lindy's Gang (Whale Watch Blue, Cocklebells Coral);
  • Mould - Prima (Elysian Clockworks);
  • Mould - Finnabair Prima (Grungy Frames);
  • Art Ingredients - Finnabair Prima (Microbeads set);
  • Waxes Art Alchemy - Finnabair Prima (Charcoal Black, Graphit, Old Silver, White Gold);
  • Art Basic - Finnabair Prima (Clear Gesso, Heavy Black Gesso, 3D Matte Gel, Soft Gloss Gel).

vendredi 18 juin 2021

Be Brave - Mixed media panel for Dusty Attic DT

Hello Sweeties,

Today I'm on Dusty Attic blog with a mixed media panel inspired by the June color combo. 


Here is the lovely combo of color. 


I cut a piece of clear acrylic to add under the frame. I add a design with the Flourish stencil and Rose Gold Icing paste. When the paste was completely dry, I added some nuance to the Icing paste with different waxes to match the June colors. 


I primed the MDF frame with white gesso, then I added an uneven layer of plaster paste. When dry, I add an uneven layer of white crackle paste this time. 


While it dried, I primed the selected chipboards with black gesso.
I colored the flowers of the Mini Vines with the Eggplant Impasto, then I added a touch of Heather Hill wax. I used the Charcoal Black matte wax to color the Ferns, then highlight the details with Old Denim and White Gold waxes. 


For the Tropical Foliage, I used Old Denim, Graphite, and Heather Hill waxes. I waxed the Wrought Iron Fence as well as the birdhouse with Graphite and White Gold. 


I colored the frame with liquid acrylic paints and when dry, I give a vintage look with an antiquing paste. I glued all the elements of the composition and added a few flowers.


To finish I added some glitters. 


Matériels / Materials:

Dusty Attic products:


Flourish Stencil
DA2662


Wrought Iron Fence Border
DA0176

Ferns
DA0507

Mini Vines
DA0370

Tropical Foliage #9
DA2537

Mini Birdhouses
DA0706


Other products:
  • Flowers - 49 and Market (Enchanted Flowers: Ballet Slipper)
  • Clear Acrylic - Craftelier;
  • MDF Frame - Artistiko;
  • Vintage Antiquing Paste - Stamperia;
  • Art Daily - Finnabair Prima (Words You Need);
  • Liquid Acrylic Art Alchemy - Finnabair Prima (Prussian Blue, Violet, Purple, Nude);
  • Waxes Art Alchemy - Finnabair Prima (Heather Hill, Graphite, Old Denim, Charcoal Black, White Gold);
  • Art Extravagance - Finnabair Prima (Plaster Paste, Gold Rose Icing Paste, White Crackle Paste);
  • Art Basics - Finnabair Prima (White Heavy Gesso, Black Heavy Gesso, 3D Matte Gel, Soft Gloss Gel).

mardi 15 juin 2021

Be in the Moment - Mixed media canvas for Lindy's Gang DT

Hello Sweeties,

Today I'm up on Lindy's Gang with a new mixed media canvas.


Basic process:
  1. Stamp with an Archival ink a tissue paper;
  2. Glue the tissue paper with soft matte gel on the canvas;
  3. Prime the tissue paper with clear gesso;
  4. Add a design with a stencil and clear crackle paste;


  5. Prime the select resin elements with clear gesso;
  6. Glue the resin elements with 3D matte gel, you can use some hot glue too;


  7. Prepare different paints with Liquid Fluid Medium and Magicals: Stormy Sky, Galactic Teal, Outer Space Aqua, Alien Goo Green;
  8. Use these homemade paints to color the resin elements and the canvas;
  9. Emboss the elements with Chrome Doesn't Pay!, Chip Off the Old Black, and Silence is Golden;

  10. Prepare two orange paints with Red Hot Poker Orange and Hag's Wart Orange to add some rust accent to the composition;
  11. Dry brush the whole composition with white gesso;


  12. Wipe off some gesso to let the embossing appears;
  13. Add the title.

I hope you will enjoy the video:


Lindy's Gang products:
Other products:
  • Paper Dolls - Idea-Ology
  • Stamps - Stamper Anonymous (Mechanical, The Chemist);
  • Stencil - AB Studio (Stencil ID-59);
  • Moulds - Finnabair Prima (Machine Parts, Grungy Frame, Large Gears);
  • Mechanicals - Finnabair Prima (Antique Labels);
  • Art Alchemy - Finnabair Prima (Liquid Color Fluid Medium);
  • Art Extravagance - Finnabair Prima (Clear Crackle Paste);
  • Art Basic - Finnabair Prima (Clear Gesso, White Heavy Gesso, Soft Matte Gel, 3D Matte Gel).

jeudi 10 juin 2021

The Stag - Mixed media panel

Hello Sweeties,

Today I have a mixed media panel to share with you. 


I primed the MDF window with white gesso. Next, I added a design on the background with a stencil and white crackle paste. I covered the top part with an uneven layer of plaster paste.


I primed the handle and the scissors with black gesso, and the other resin elements with clear gesso. I colored the handle and the scissors with Burgundy wax and used White Gold wax to highlight the details. 


Next, I started the composition with the biggest elements like the frame and the leaves. I glued everything with 3D Matte Gel. I finished the composition with Art Stones.


I painted the panel with liquid acrylic paints. I used Burnt Sienna and Ink Black to add some shadow. When happy with the result, I used the Old White wax to tone down the colors.   


To finish, I used White Gold wax to highlight all the details. 


Matériels / Materials:
  • MDF Panel - Artistiko;
  • Stencil - A.B. Studio (Stencil ID-126);
  • Moulds - Prima (Herbology, My Sweet, Marseille Hardware, Leafy Blossoms);
  • Moulds - Finnabair Prima (Grungy Frames);
  • Art Ingredients - Finnabair Prima (Art Stones);
  • Liquid Acrylic Art Alchemy - Finnabair Prima (Prussian Blue, Crimson, Purple, Burnt Sienna, Ink Black);
  • Waxes Art Alchemy - Finnabair Prima (White Gold, Old White, Burgundy);
  • Art Alchemy - Finnabair Prima ();
  • Art Extravagance - Finnabair Prima (Plaster Paste, White Crackle Paste);
  • Art Basics - Finnabair Prima (Clear Gesso, Heavy White Gesso, Heavy Black Gesso, 3D Matte Gel, Soft Matte Gel).

lundi 7 juin 2021

Be True to Yourself - Mixed media panel

Hello Sweeties,

Today I have a new mixed media panel to share with you inspired by the June Moodboard from Art Daily Cafe. I worked with a photo from @Denis Chekanov Art.


The June theme is Rust & Dust.
 
June Art Daily Color is Rusty Red and Rusty Brown.
 
The technique is "use something forgotten in your stash".


First, I glued a few papers on the background on which I added a design with Modeling Paste. Next, I glued a piece of leftover plastic used to create the number for apartments. Next, I covered the whole panel with an uneven layer of Plaster Paste.


When dry, I painted everything with liquid acrylic paints in Burnt Sienna, Carmine, and Ochre. I added also some Brown Rus Paste and some Ink Black liquid Acrylic paint. Finally, I added Clear Crackle Paste here and there. 


I primed some gears and cogs with Black Gesso. Next, I colored them all with Brown and Red pastes. When dry, I added some Charcoal Black wax, then the Graphite, and finally the Brushed Iron. 


Next, I glued all the elements from the composition with the Heavy Body Gel. I added some Brushed Iron and White gold on the background to highlight all its details.


To finish, I added some Glass Glitter and Mica Flakes. 


Materials:
  • Moulds - Finnabair Prima (Machine Part, Large Gear, Grunge Frames);
  • Stencil - Finnabair Prima (Alpha);
  • Art Ingredients - Finnabair Prima (Glass Glitter: Sterling, Gold Rush; Mica Flakes: Granite);
  • Liquid Paints Art Alchemy - Finnabair Prima (Burnt Sienna, Carmine, Ochre, Ink Black);
  • Waxes Art Alchemy - Finnabair Prima (Charcoal Black, Graphite);
  • Art Extravagance - Finnabair Prima (Plaster Paste, Rust Effect Paste, Clear Crackle Paste);
  • Art Basics - Finnabair Prima (Black Gesso, Heavy Body Gel, Soft Gloss Gel).