Bonjour à toutes,
Aujourd'hui je suis sur le blog de 49 and Market avec une nouvelle page réalisée avec la collection Vintage Artistry Coral.
Hello Sweeties,
Today I'm up on 49 and Market blog with a new mixed media layout featuring the Vintage Artistry Coral collection.
Aujourd'hui je suis sur le blog de 49 and Market avec une nouvelle page réalisée avec la collection Vintage Artistry Coral.
Hello Sweeties,
Today I'm up on 49 and Market blog with a new mixed media layout featuring the Vintage Artistry Coral collection.
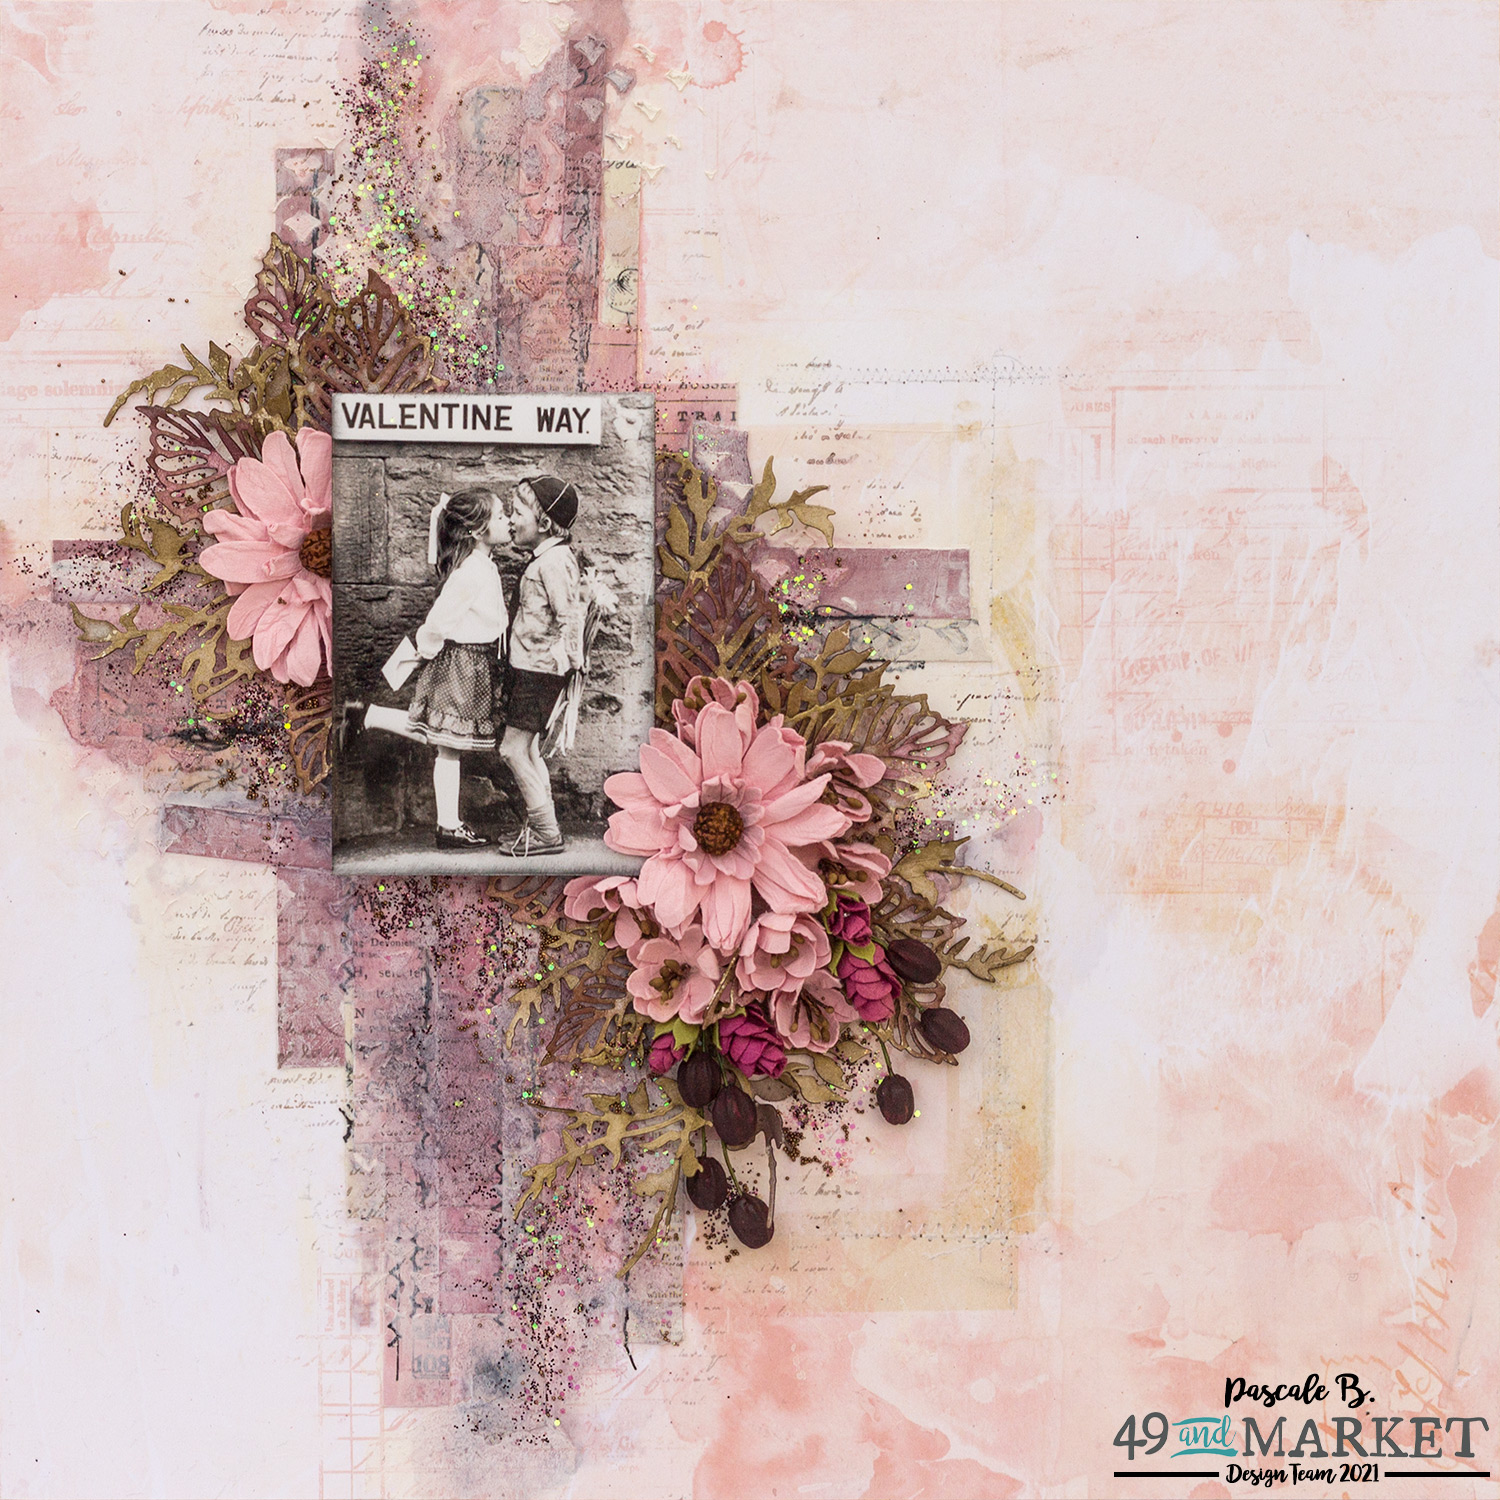
J'ai découpé quelques éléments du lot d'Ephemera Stack de la collection Vintage Artistry Coral en bandes que j'ai ensuite collé avec du gel mat. Puis, j'ai ajouté des morceaux de washi tape Vinatge Artistry Natural ainsi que des fausses coutures en rub ons.
I cut some elements from the Vintage Artistry Coral Ephemera Stack in strips. I glued the paper strips with a Soft Matte Gel. I added some Vintage Artistry Natural washi tape. I add some Roughly Sew rub-ons as well.

J'ai ensuite protégé le fond d'une couche de gesso transparent. Puis, j'ai recouvert le collage de gesso blanc pour le fondre avec le fond. Enfin j'ai ajouté un motif avec un pochoir et de la pâte de papier.
I primed the background with clear gesso. Next, I added white gesso to blend the design and the background. I added a design with a stencil and paper paste.

J'ai découpé des feuilles dans du papier aquarelle que j'ai coloré avec les encres Sea Grass Green, My Mojito Green, Black Orchid Silver, et Open Arms Amethyst.
I die cut some leaves in a watercolor paper which I colored with Sea Grass Green, My Mojito Green, Black Orchid Silver, and Open Arms Amethyst inks.
I die cut some leaves in a watercolor paper which I colored with Sea Grass Green, My Mojito Green, Black Orchid Silver, and Open Arms Amethyst inks.

J'ai coloré le motif avec les encres Open Arms Amethyst, Canadian Bacon Blush, Black Orchid Silver et Bombshell Black. Pui j'ai commencé à faire ma composition autour de la photo.
I colored the design with Open Arms Amethyst, Canadian Bacon Blush, Black Orchid Silver, and Bombshell Black. Next, I started to build the composition around the photo.
I colored the design with Open Arms Amethyst, Canadian Bacon Blush, Black Orchid Silver, and Bombshell Black. Next, I started to build the composition around the photo.

J'ai ajouté des microbilles et glitters. Pour terminer, j'ai tamponné avec une encre grise et le tampon Pascale's Writing.
I added microbeads and glitters. To finish the layout, I stamped with gray ink and Pascale's Writing stamp.
I added microbeads and glitters. To finish the layout, I stamped with gray ink and Pascale's Writing stamp.

J'espère que vous prendrez plaisir regarder cette vidéo :
I hope you will enjoy watching the step-by-step video:
Matériels / Materials:
49 and Market products:
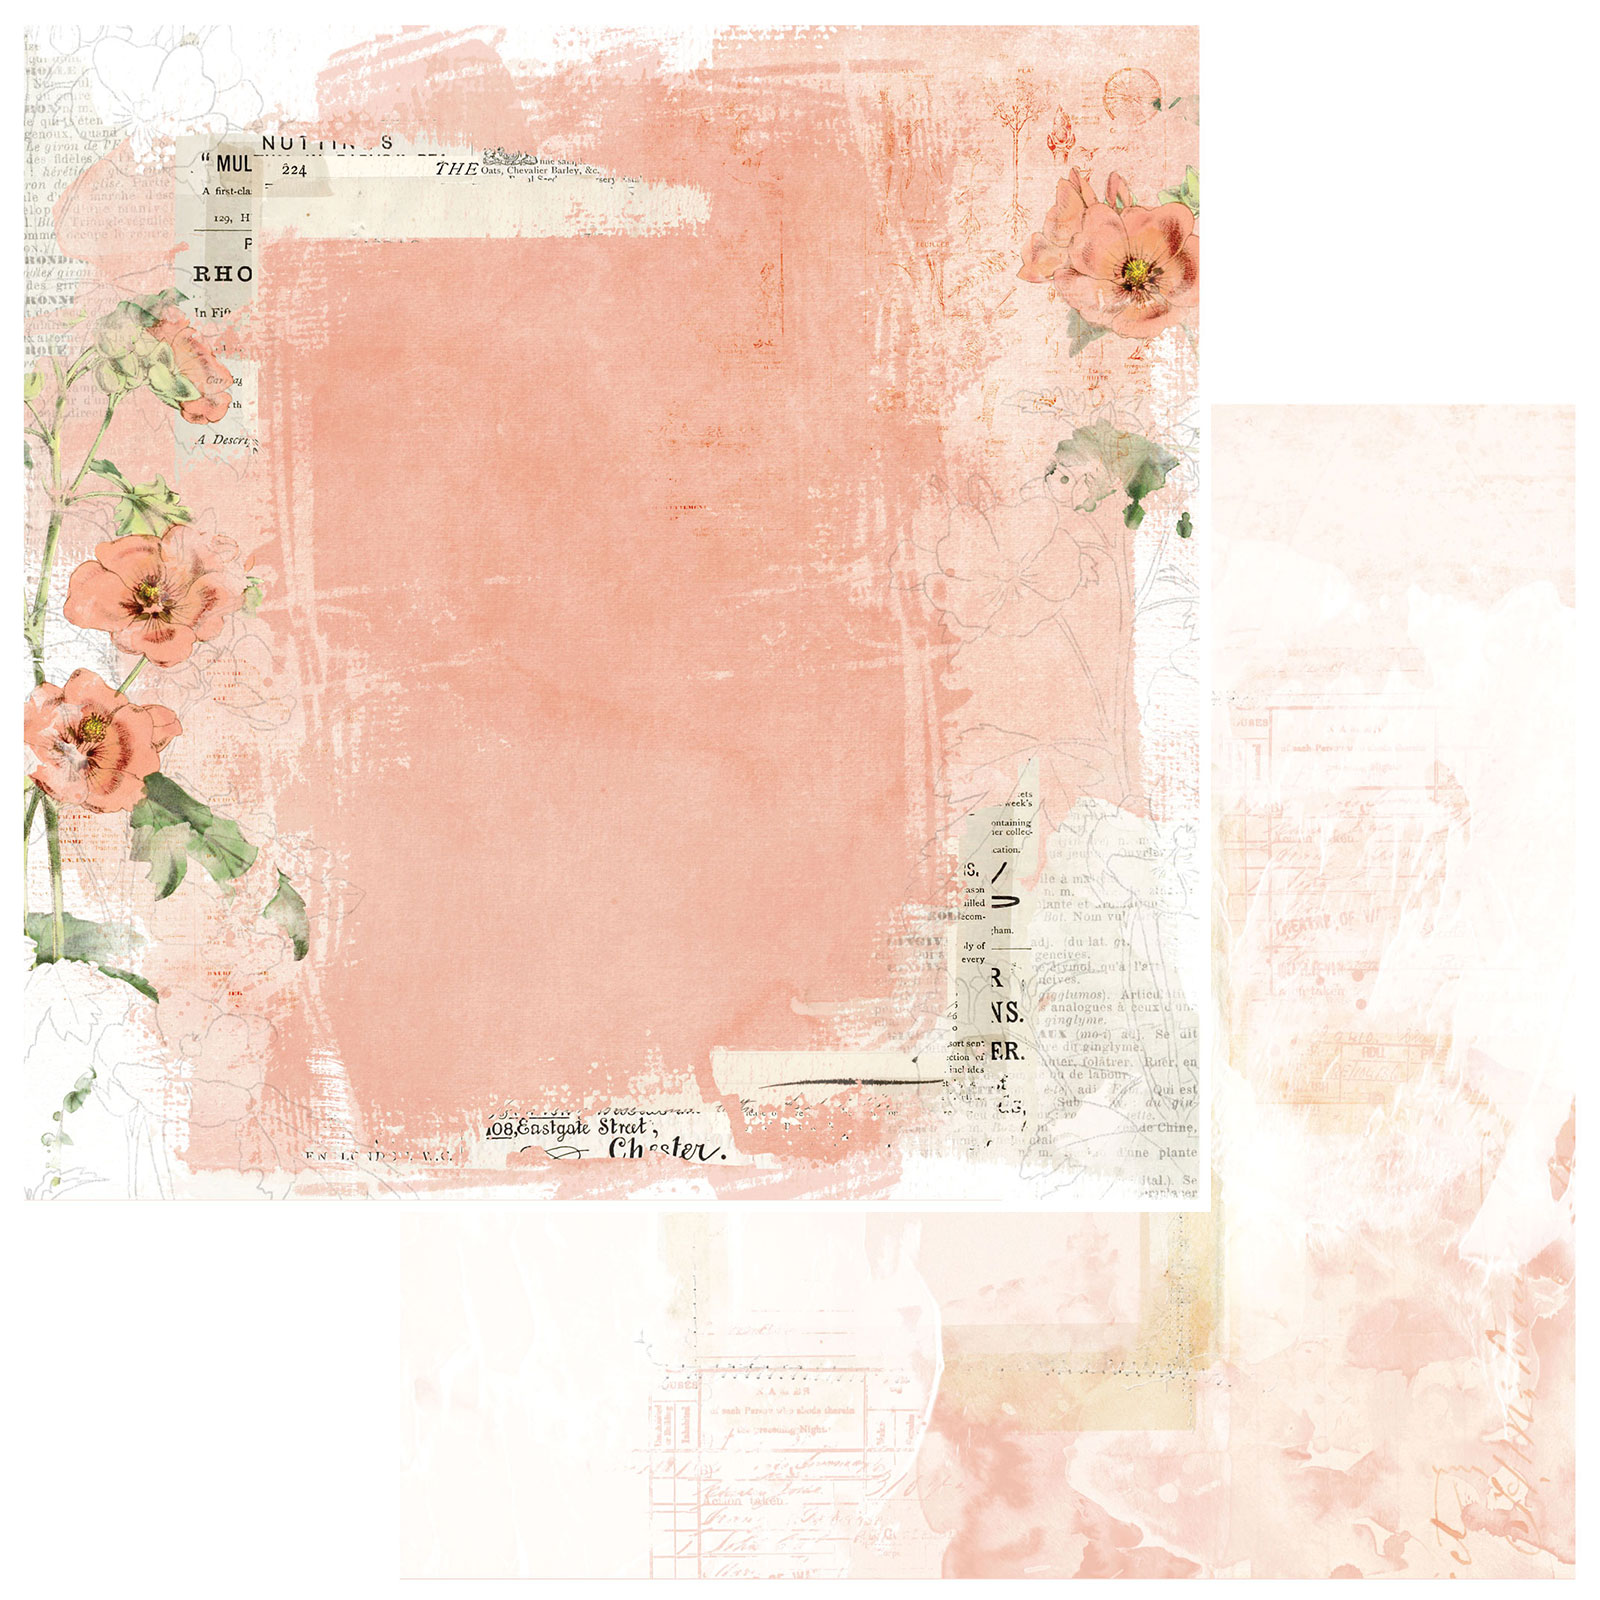 Vintage Artistry Coral
Love Letters |
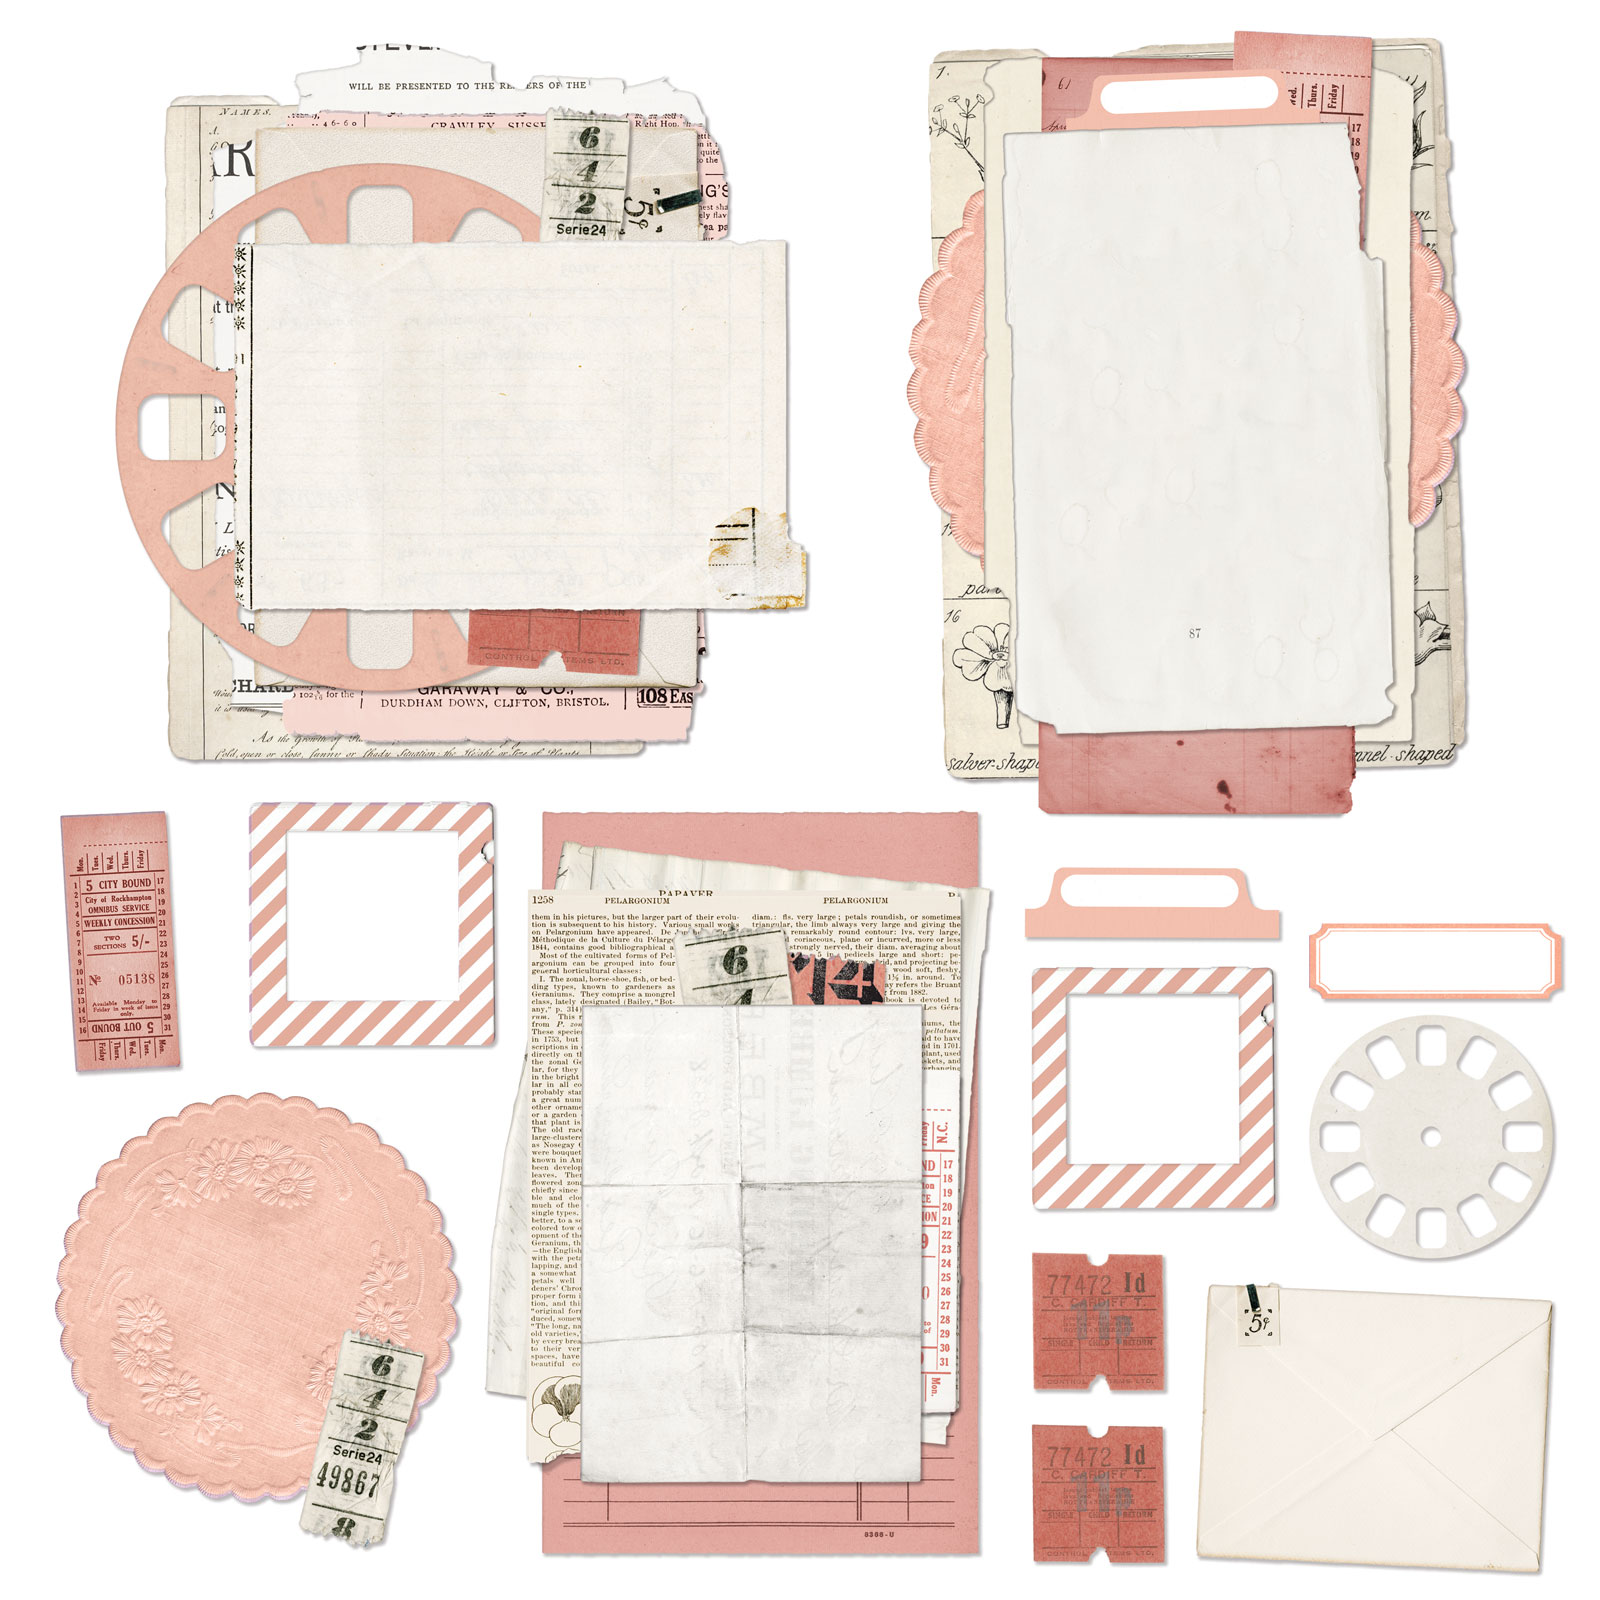
Vintage Artistry Coral Ephemera Stack |
 Vintage Artistry Natural Washi Tape |
Roughly Sewn in Black Rub-Ons |
||||||||
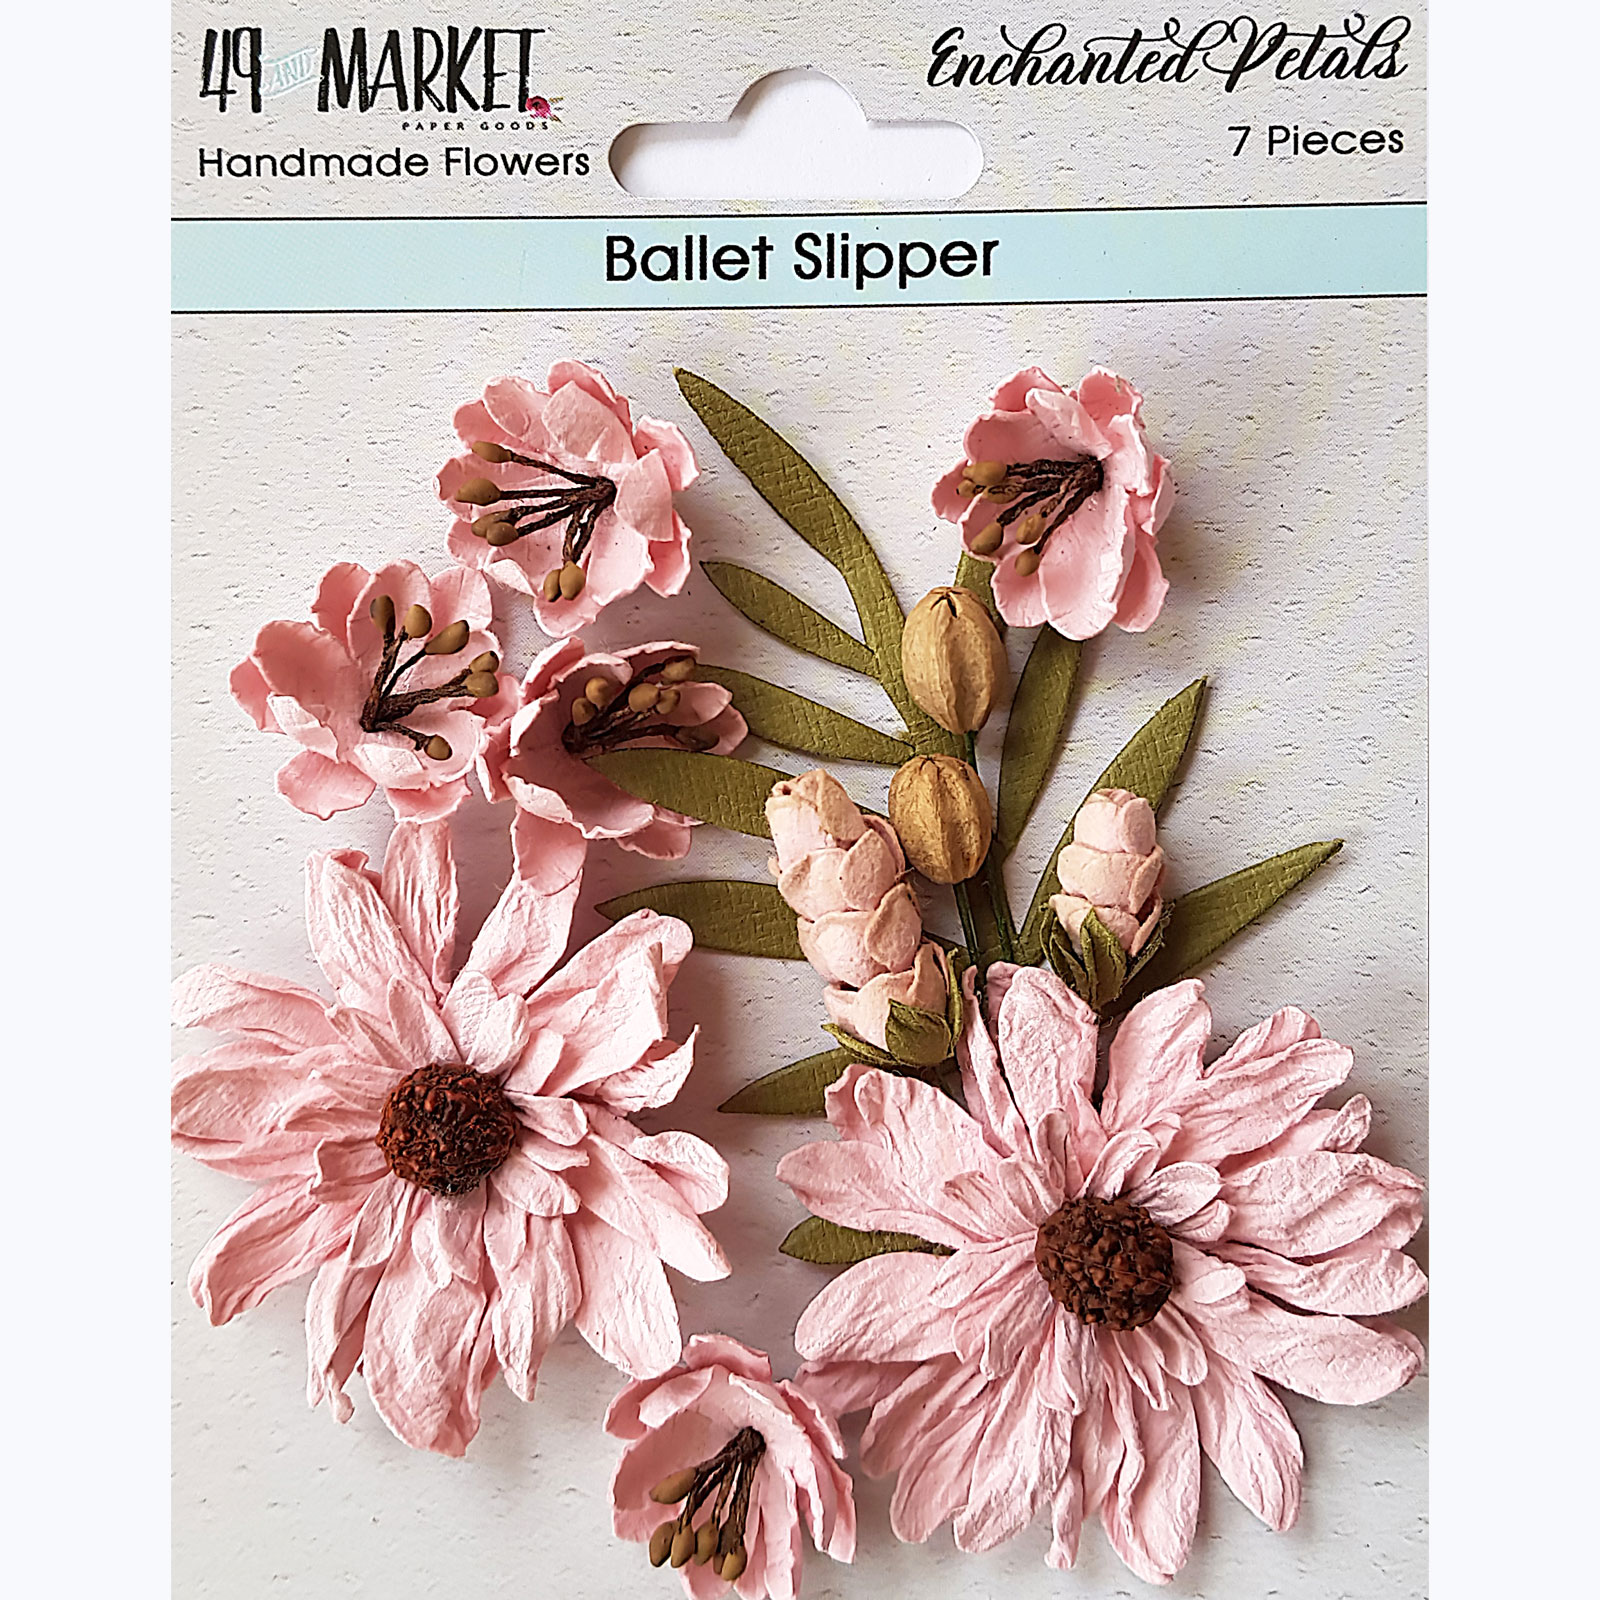
Enchanted Petals Ballet Slipper |
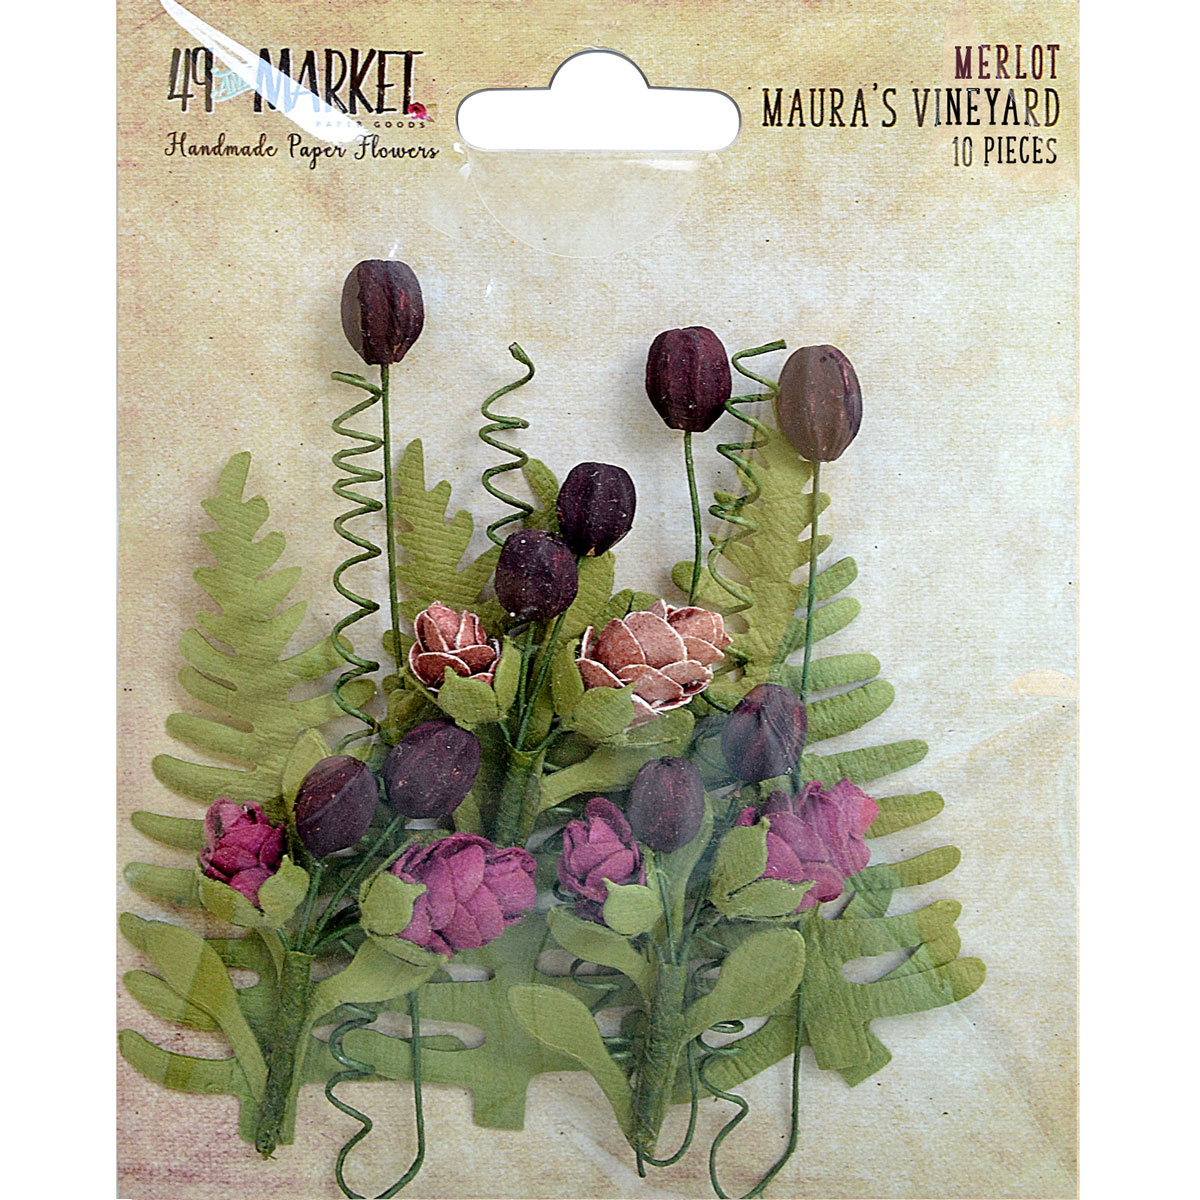
Maura's Vineyard Merlot |
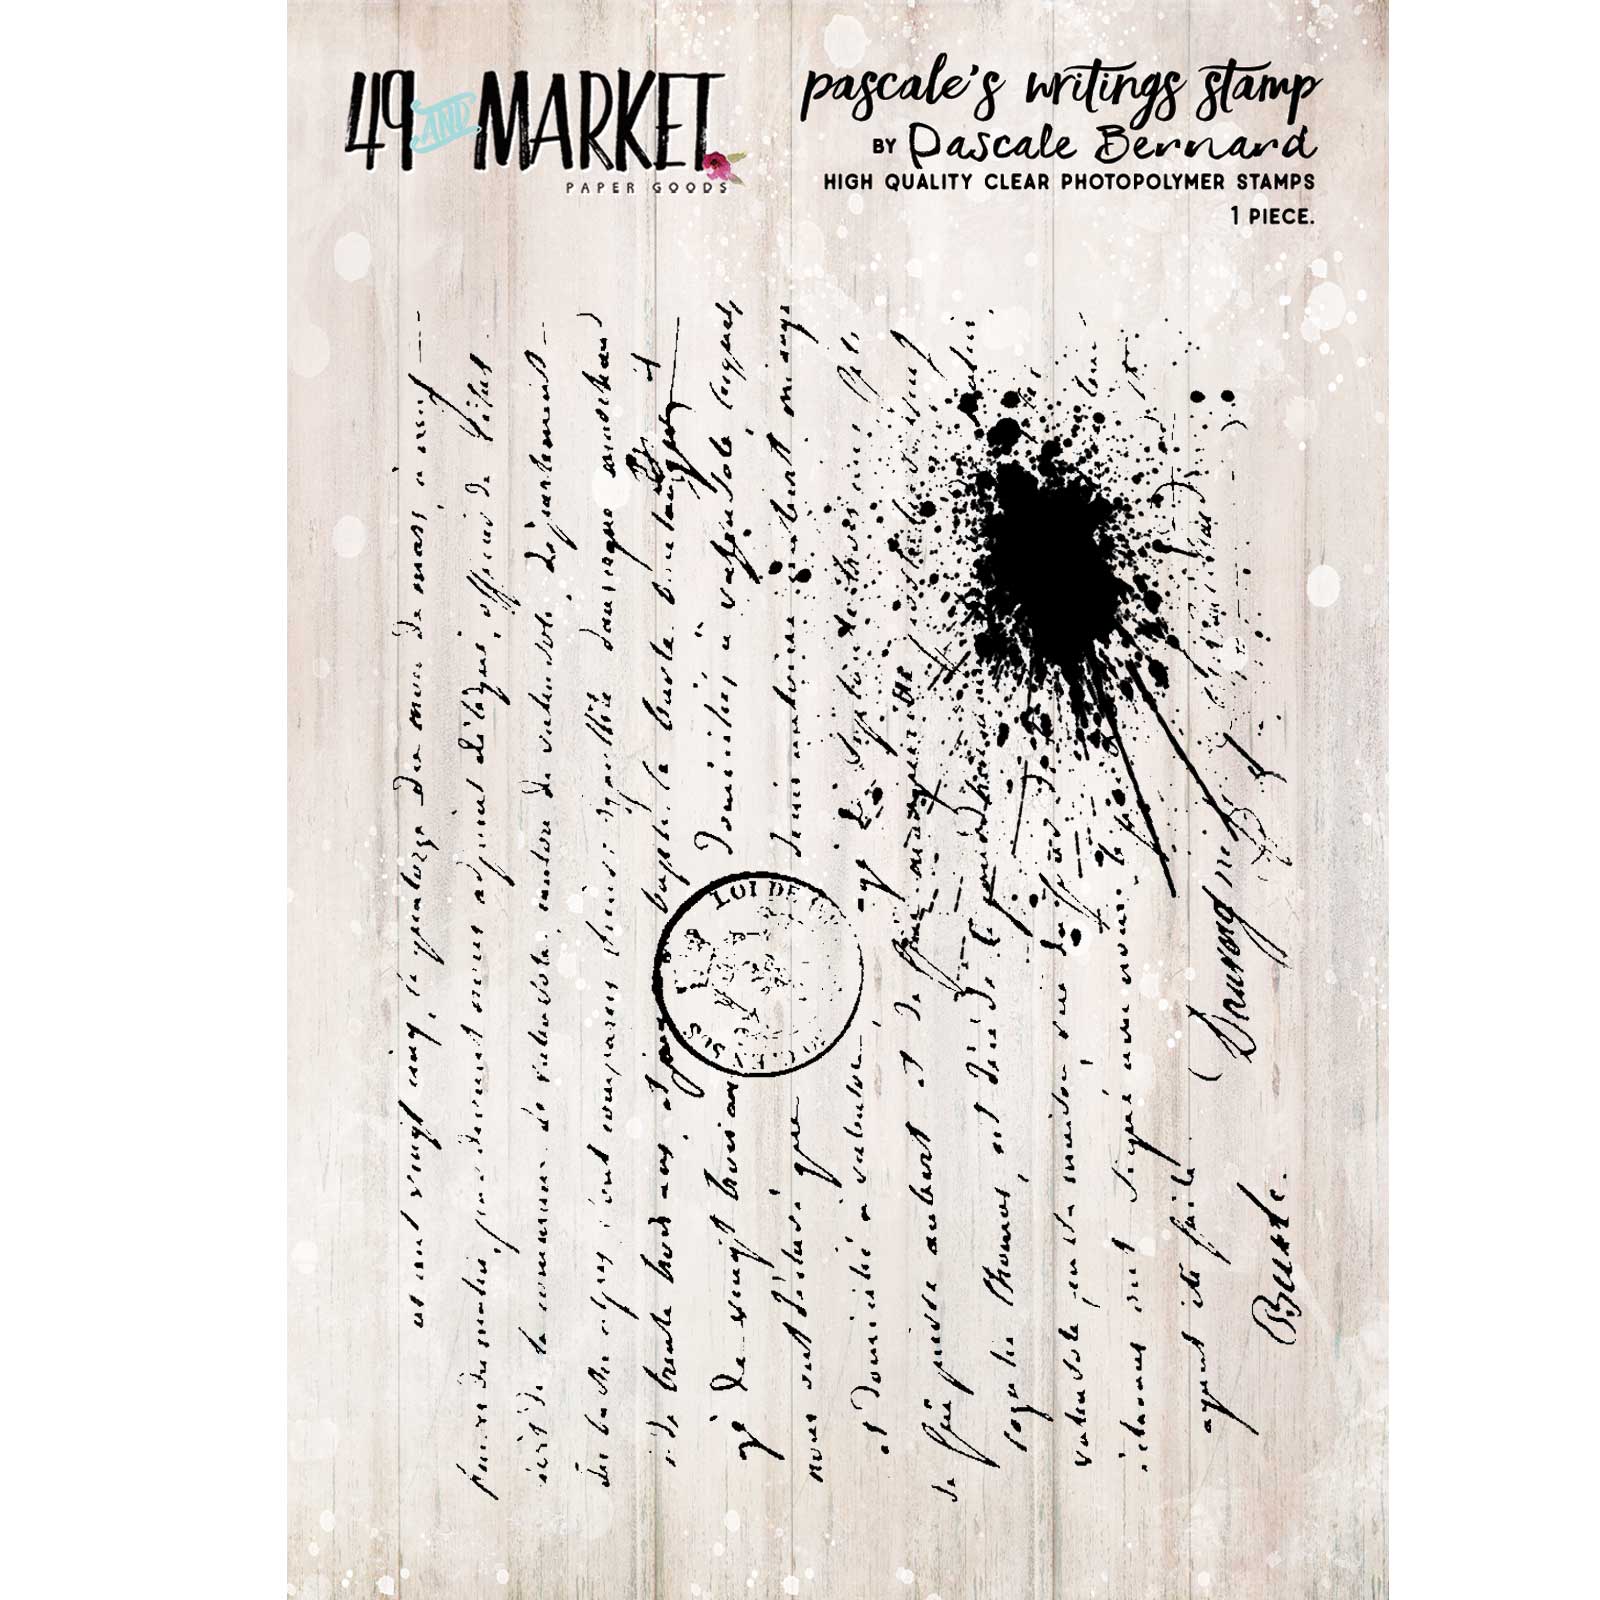
Pascale's Writing Stamp |
|||||||||
Other products:
- Starburst - Lindy's Gang (Sea Grass Green, My Mojito Green, Black Orchid Silver, Bombshell Black);
- Flat Fabio - Lindy's Gang (Open Arms Amethyst);
- Squirt - Lindy's Gang (Canadian Bacon Blush);
- Dies - Fantasy (Skeleton Leaves -Autumn, Bindweed);
- Stencil - Prima (Sparks);
- Art Ingredients - Finnabair Prima (Microbeads set);
- Art Extravagance - Finnabair Prima (Paper Paste);
- Art Basics - Finnabair Prima (Clear Gesso, White Heavy Gesso, Soft Matte Gel, 3D Matte Gel).