Bonjour à toutes,
Aujourd'hui je suis sur le blog de Lindy's Gang avec un home décor pour Noël. J'ai travaillé sur une étoile en bois.
Hello Sweeties,
Today I'm up on Lindy's Gang blog with a Christmas home decor. I work on a wooden star that a brought in a dollar store.
Aujourd'hui je suis sur le blog de Lindy's Gang avec un home décor pour Noël. J'ai travaillé sur une étoile en bois.
Hello Sweeties,
Today I'm up on Lindy's Gang blog with a Christmas home decor. I work on a wooden star that a brought in a dollar store.

J'ai commencé par protéger l'étoile en bois d'une couche de gesso.
Une fois sec, j'ai ajouté une couche inégale de pâte à craqueler blanche pour obtenir un effet vieilli : plus la couche est fine, plus les craquelures sont fines; plus lacouche est épaisse, plus les craquelures sont larges. J'ai laissé sécher naturellment.
First I primed the wooden star with white gesso.
When it was dry, I added a non-even layer of white crackle paste as I want to obtain a distressed look: the thinner the layer is, the finer the crackles are; the thicker the layer is the larger the crackles are. I let it dry on its own.

Pendant que la pâte séchait, j'ai recouvert quelques fleurs ainsi que des embellissements en pâte de papier avec du gesso blanc.
While the paste was drying, I primed some flowers as well as some paper clay embellishments with white gesso.
While the paste was drying, I primed some flowers as well as some paper clay embellishments with white gesso.

Une fois satisfaite du résultat, j'ai tout collé avec un gel épais.
J'ai coloré les éléments en pâte de papier et les feuilles avec Cathedral Pine Green et Tainted with Love Teal. POur les fleurs, j'ai utilisé Hag's Wart Orange.
When happy with the result, I glued everything with a heavy body gel.
I colored the paper clay embellishments and the leaves with Cathedral Pines Green and Tainted wit Love Teal. For the flowers, I used Hag's Wart Orange.

J'ai séché l'ensemble avant d'ajouter des Art Stones de différentes tailles avec du gel 3D mat.
J'ai rajouté encore plus de couleurs, en particulier sur les fleurs avec Tears my Pillow Tangerine et Grab a Guy Gold.
I dry everything before adding different sizes of Art Stones with 3D Matte Gel.
I added more colors especially the flowers with Tears my Pillow Tangerine and Grab a Guy Gold.
J'ai rajouté encore plus de couleurs, en particulier sur les fleurs avec Tears my Pillow Tangerine et Grab a Guy Gold.
I dry everything before adding different sizes of Art Stones with 3D Matte Gel.
I added more colors especially the flowers with Tears my Pillow Tangerine and Grab a Guy Gold.

Ensuite j'ai embossé quelques diamants avec Fiesta Pumpkin EP. La poudre étant transparente, j'ai embossé chaque pierre deux fois.
Après avoir collé les diamants, j'ai brossé à sec l'ensemble des éléments avec du gesso blanc pour donner plus de profondeur au projet.
Next, I embossed a few diamond pebbles with Fiesta Pumpkin EP. As the embossing powder is clear, I embossed each pebble twice.
After gluing the pebbles in place, I dry brush everything with white gesso to add more depth to the project.

Quelques gros plans / Some close-ups:


Et la video /
And the step-by-step video:
Matériels / Materials:
Lindy's Gang products:
- Spray inks - Tainted with Love Teal, Hag's Wart Orange;
- Flat Fabio - Tears on my Pillow Tangerine;
- Magical Shaker - Grab a Guy Gold, Cathedral Pine Green;
- Embossing Powder - Pumpkin Fiesta.
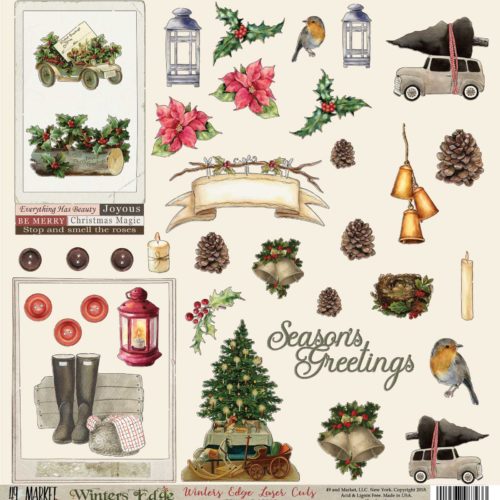
- Flowers - 49 and Market (Blossom Blends: Cantaloupe);
- Molds - Prima (Baroque 1, Baroque 6);
- Art Ingredients - Finnabair Prima (Art Pebbles - Diamonds, Art Stones - Mini, Mega);
- Art Extravagance - Finnabair Prima (White Crackle Paste);
- Art Basics - Finnabair Prima (White Heavy Gesso, Heavy Body Gel, 3D Matte Gel).