Bonjour à toutes,
Aujourd'hui je suis sur le blog de Lindy's Gang avec un nouveau tutoriel vidéo: une page vintage.
Hello Sweeties,
Today I'm up on Lindy's Gang blog with a new video tutorial: a vintage layout.
Aujourd'hui je suis sur le blog de Lindy's Gang avec un nouveau tutoriel vidéo: une page vintage.
Hello Sweeties,
Today I'm up on Lindy's Gang blog with a new video tutorial: a vintage layout.

Processus / Basic process:
Quelques gros plans / Some close-ups:- Mélanger du gel 3D brillant et Cattail Brown Copper ;
Mix together the Cattail Brown Copper and 3D Gloss Gel; - Ajouter un motif à l'aide de cette pâte et d'un pochoir ;
Use the mix to add a design with a stencil;

- Recouvrir le cadre de pâte à craqueler blanche ;
Cover the frame with a white crackle paste; - Une fois la pâte sèche, tamponner avec divers tampons (texte, feuille) et encres ;
When the paste is dry, stamp with different inks and stamps (text, leaves); - Protéger le fond d'une couche de gesso transparent - cela aurait normalement dû être la première étape .
Prime the background with clear gesso - normally it's the first step; - Colorer ensuite le cadre avec les encres Incandescent Copper et Bombshell Black ;
Next, color the frame with Incandescent Copper and Bombshell Black; - Colorer le fond avec les mêmes couleurs ;
Color the background with the same color; - Une fois l'ensemble sec, commencer votre composition : j'ai utilisé principalement des éléments naturels tels que des capsules de coquelicots ou de pavots, des graines d'érable, de la mousse, ... ;
When everything is dry, start to build the composition: I use mostly natural elements like poppies' capsules, maple seeds, moss, ... ;

- Ajouter des Art Stones colorées avec l'encre Long John's Silver ;
Add some Art Stones colored with Long John's Silver; - Cirer les bord du cadre et des divers éléments avec des cires or et bronze ;
Wax the edge of the frame, and the different elements with gold and bronze; - Embosser l'envers de quelques "peebles" avec la poudre Midnight Copper pour les ajouter à la composition ;
Emboss the back of diamond peebles with Midnight Copper to add to the composition; - Ajouter quelques tâches avec Tainted Love Teal;
Add some splatters of Tainted Love Teal; - Cirer les bords du cadre avec une cire turquoise.
Wax the edge of the frame with a teal wax.


Et voici la vidéo / And the step-by-step video:
Matériels / Materials:
Lindy's Gang products :
- Magical - Cattail Brown Copper (Autumn Leaves Set);
- Starburst - Bomshell Black, Tainted Love Teal;
- Moon Shadow Mist - Incandescent Copper;
- Embossing Powder - Midnight Copper.
A.B. Studio products:
 Behind Closed Doors Not For All |  Stencil ID-160 |  Chipboard A4 ID-1 |
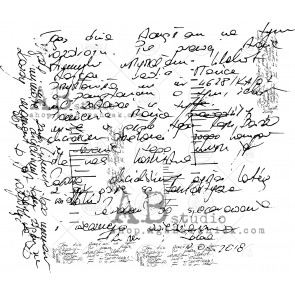 Stamp ID-208 | 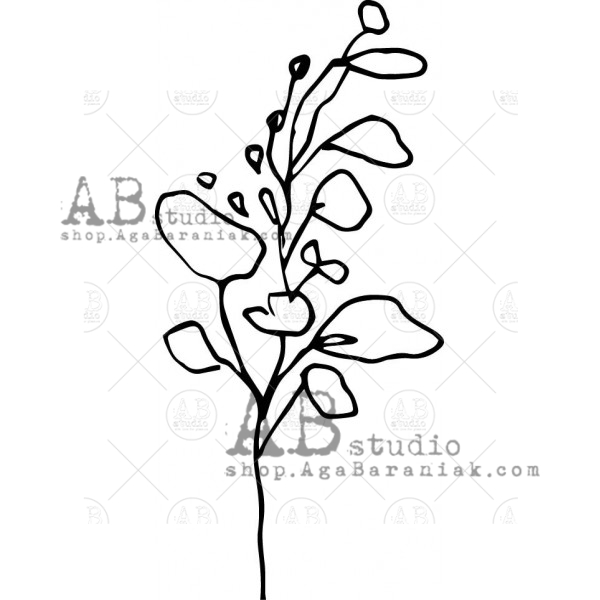 Stamp ID-179 |
Other products:
- Flowers - 49 and Market (Botanical Potpourri - Yellow);
- Art Ingredients - Finabair Prima (Art Stone, Mini Art Stone, Mega Art Stone
- Art Extravagance - Finnabair Prima (White Crackle White);
- Art Basics - Finnabair Prima (3D Gloss Gel, Soft Matte Gel).