Affichage des articles dont le libellé est Blue Fern Studios. Afficher tous les articles

mercredi 16 mai 2018

Memories - More than Words

Bonjour à toutes,

Aujourd'hui je suis sur le blog de More than Words avec l'équipe créative de Maja Design. Maja Design sponsorise le blog de challenge cette année.

Hello Sweeties

Today I'm up on More than Words blog with Maja Design creative team. Maja Design is sponsoring the blog challenge this year. 


Et voici le challenge :
Un mot pour vous inspirer : MEMORIES
Une challenge créatif : FRAME.

And here is the challenge:
One word inspiration: MEMORIES
One creative challenge: FRAME


Quand j'ai vu le mot MEMORIES j'ai juste pris la box dans laquelle je conserve mes photos de famill. Mais ça c'était la partie facile, le plus difficile a été de trouver celle que je voulais utilisé pour ce projet ! J'ai finalement choisi cette photo de ma maman quand elle avait seulement 19 mois ! J'ai ajouté un chipboard de cadres imbriqués les uns dans les autres.

When I saw the word MEMORIES, I just had to take the box where I keep my family’s photos. But that was the easiest part, the hard part was to find the one that I want to use on this project! I finally chose this photo of my mother when she was just 19 months old! I added a chipboard made of interlocking FRAMES.


J'ai commencé par tamponné le fond avec deux tampons et deux encres : une marron et une noire. Puis j'ai protégé le fond avec du gesso transparent.

First I stamped the background with two stamps and two inks: one brown and the other black. Next, I primed the background with clear gesso. 


Ensuite, j'ai ajouté un motif aà l'aide d'un pochoir et deux pâtes à craqueler : transparente et blanche afin d'obtenir un motif discret.

Next, I added a design with a stencil and two crackle pastes: clear and white to obtain a faded design. 


Pendant que les pâtes séchaient, j'ai découpé des feuilles et des brindilles dans du papier aquarelle. Je les ai coloré avec plusieurs encres en spray ainsi que les fleurs et le chipboard.

While the pastes were drying, I die cut some leaves and stems in a watercolor paper. I colored them with different spray inks as well as the flowers and the chipboard


Ensuite, j'ai peint le fond avec les mêmes couleurs que j'ai utilisé pour colorer les embellissements. J'ai coupé quelques papiers pour mettre sous la photo et j'ai collé les embellissements avec une gel 3D.

Next, I painted the background with the same colors I used to color all the embellishments. I cut some papers to add under the photo and I glued all the embellishments with a 3D gel. 


Pour terminer la mise en page, j'ai ajouté des microbilles et des Art Stones.

To finish the layout, I added some microbeads and Art Stones.

Matériels / Materials:

Maja Design papers:

Vintage-Summer-Basics-P

1932 bs
Paper-Pad-Vintage-Summer-Basics
6x6 pack

1912

1921

Other products:
  • Flowers - 49 and Market (Botanical Potpourri: Buttermilk);
  • Stamps - 49 and Market (1787, Bohemian Damask);
  • Spray inks - Lindy's Gang (Open Arms Amethyst, Gag Me With a Spoon, Long John's Silver, Black Orchid Silver); 
  • Magical - Lindy's Gang (Steel Shimmer)
  • Chipboards - Blue Fern Studios (Framington Medley, Quatrefoil Panel);
  • Stencil - Stencilgirls (Square Celtic Knots);
  • Art Ingredients - Finnabair Prima (Microbeads: Silver, Berry; Art Stones); 
  • Art Extravagance - Finnabair Prima (Clear Crackle Paste, White Crackle Paste); 
  • Art Basics - Finnabair Prima (Clear Gesso, 3D Gloss Gel, Soft Matte Gel); 


Where can you purchase MajaDesign Papers?

MajaDesign collections are sold all around the world - 33 countries and growing with new stores being added often. Are you looking for a store location that sells Maja collections? Here is a helpful Store Finder link to help you shop. If your favorite store is not on this list, consider asking them to carry MajaDesign.

dimanche 10 septembre 2017

Montpoupon - 49 and Market DT

Bonjour à toutes,

Aujourdh'ui je suis sur le blog de 49 and Market avec une nouvelle page réalisée avec la collection Cottage Life. J'ai choisi que j'ai prise au château de Montpoupon (Vallée de la Loire, France).

Hello Sweeties

Today, I'm up on 49 and Market blog with a new layout featuring the Cottage Life collection. I chose a photo I've taken at the castle of Montpoupon (Loire Valley, France). 
The gate and the tower are just some of the castle 's outbuildings.    


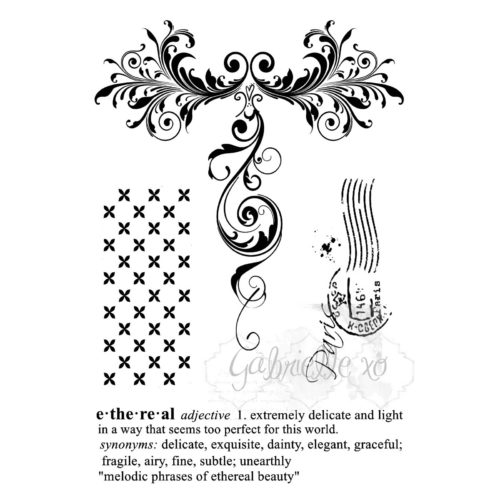
J'ai commencé par appliquer une couche gesso transparent sur le fond pour le protéger. Puis j'ai utilisé le tampon Flourish du set Gabi's Etheral pour ajouter un motif avec une encre grise.

I primed the background with clear gesso to protect the background. Then I used the flourish stamp from Gabi's Etheral set to add a design with a gray ink.


Pis j'ai ajouté une autre motif avec de la pâte à craqueler platine et un pochoir.

Next, I added another design with a stencil and Platinum crackle paste. I let dry naturally. 


J'ai recouvert le chipboard avec de la pâte Graphite.

I covered the chipboard with a graphite paste and let them dry. 


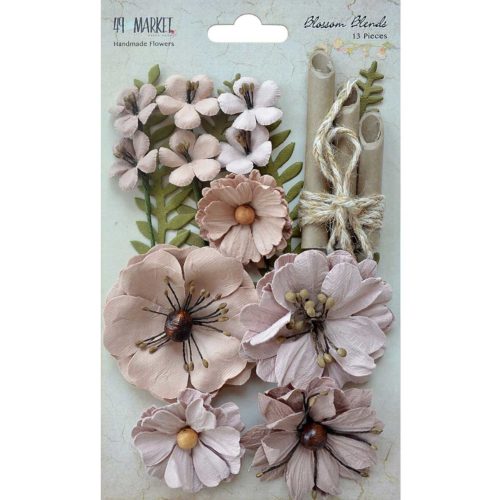
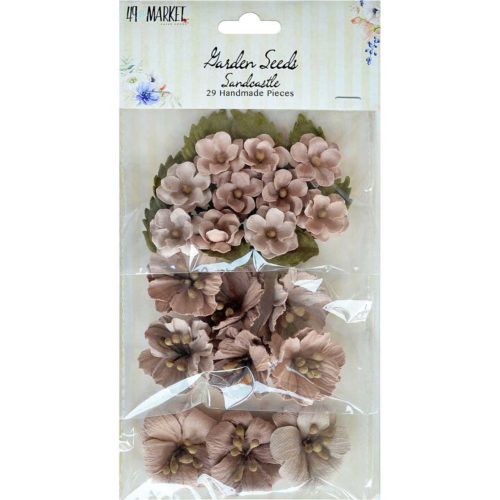
J'ai coupé quelques papiers pour mettre sous la photo et je les ai collé ainsi que tous les embellissements : j'ai utilisé des fleurs des collections Seaside Blooms, Blossom Blends et Garden Seeds.

I cut a few papers to add under the photo and I glued them with all the embellishments: I used flowers from the Seaside Blooms, the Blossom Blends, and the Garden Seeds collections. 


Pour terminer la mise en page, j'ai ajouté une touche de couleur ainsi que des microbilles et des flocons de mica.

To finish the layout I added just a little bit of color along with micro beads and mica flakes.


Matériels / Materials:

49 and Market products:

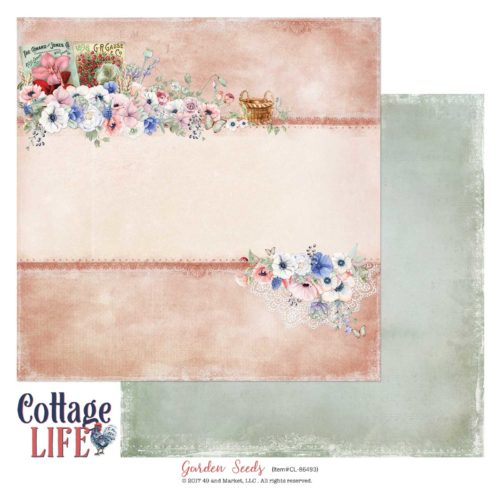
CL-86493 Cottage Life - Garden Seeds
Cottage Life - Garden Seeds
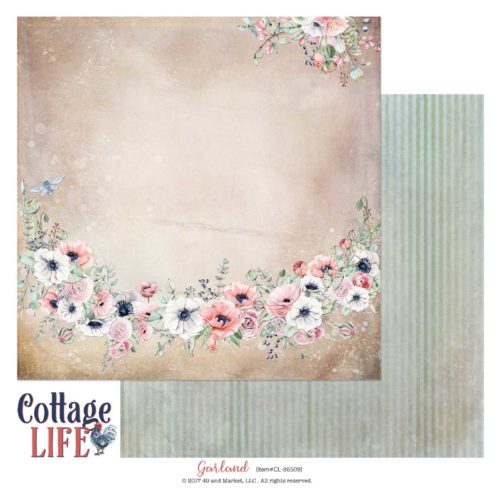
CL-86509 Cottage Life - Garland
Cottage Life - Garland
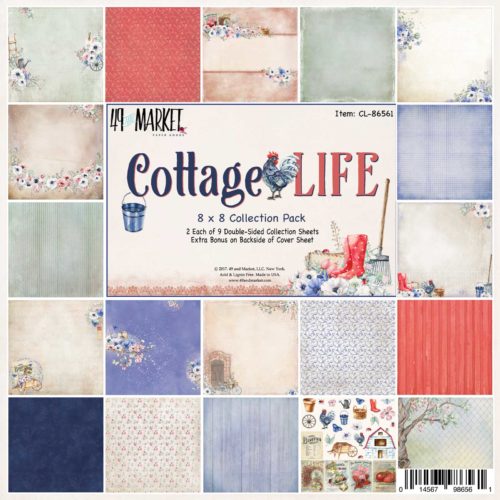
CL-86561 8x8 Cottage Life Collection Pack
8x8 Cottage Life Pack
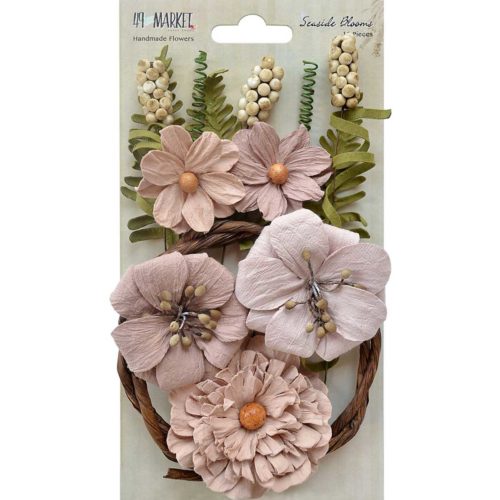
SB-86066 Seaside Blooms - Sandcastle
Seaside Blooms

Sandcastle
BB-86202 Blossom Blends - Sandcastle
Blossom Blends

Sandcastle
GS-86301 Garden Seeds - Sandcastle
Garden Seeds

Sandcastle
GP-85564 Gabi's Ethereal Stamp Set
Gabi's Ethereal

Stamp Set

Other products: 

  • Twinkling H2O - ColourArte (Mocha Rose);
  • Archival Ink - Ranger (Watering Can);
  • Chipboard - Blue Fern STudios (Garden Lattice Bits);
  • Stencil - Prima (Corner);
  • Art Ingredients - Prima Marketing (Mica Flakes: Granite; Microbeads: Silver);
  • Art Extravagance - Finnabair Prima (Platinum Crackle Paste, Graphite Paste);
  • Art Basics - Finnabair Prima (Soft Matte Gel, 3D Matte Gel).


jeudi 3 août 2017

The Elfant - Maja Design DT

Bonjour à toutes,

Aujourd'hui je suis sur le blog de Maja Design avec une nouvelle page réalisée avec la collection Denim and Friends. J'ai choisi un photomontage que j'ai réalisée.

Hello Sweeties

Today I'm up on Maja Design blog with a new layout featuring the Denim and Friends collection. I chose a photo I created. 


J'ai commencé par protéger le fond avec du gesso transparent. Une fois sec, j'ai ajouté un motif à l'aide d'un pochoir et de gesso noir. Puis j'ai vaporisé deux tons d'encres en spray au travers d'un deuxième pochoir. Enfin j'ai ajouté des tâches avec deux Magicals.

I primed the background with clear gesso. When dry I added a design with a stencil and black gesso. Then I sprayed two shades of inks through a second stencil. Then I added some splatters with two Magicals. 


Pendant que le fond séchait, j'ai vaporisé les chipboards avec les même encres. J'ai lassée séché avec d'appliquer un peu de pâte à craqueler Platine.

While the background was drying, I sprayed the chipboard with the same inks.I dried them before applying some Platinum Crackle Paste. 


J'ai ajouté un dernier motif au fond avec un troisième pochoir et de la pâte à craqueler Platine. J'ai coloré quelques fleurs ainsi que des feuilles que j'ai découpé dans du papier aquarelle.

I added the last design to the background with a third stencil and Platinum Crackle Paste. I colored some flowers as well as some leaves I've die-cut in a watercolor paper.


Une fois contente du résultat, j'ai collé tous les embellissements : chipboards, fleurs et feuillages avec un gel 3D.

When happy with the result, I glued all the embellishments: chipboards, flowers, and leaves with a 3D gel.


Pour finir la mise en page j'ai ajouté des flocons de mica et des microbilles.

To finish the layout I added some mica flakes and micro beads.


Matériels / Materials:

Maja Design papers:

Jeans and T-shirt
Denim and Friends
Jeans and T'Shirt
no.XXI
Vintage Autumn Basics
N°XXI

Other products:
  • Flowers - 49 and Market (Flowers Mixology - Pina Colada, Ocean Breeze);
  • Chipboard - Blue Fern Studios (Mini Ring Panel);
  • Ink sprays - Lindy's Stamp Gang (Tainted Love Teal, Whale Watch Blue);
  • Magicals - Lindy's Stamp Gang (Rusty Lantern Lime, Shabby Turbine Teal);
  • Stencils:
    • TCW (Art is 6x6, Specimen 6x6);
    • Finnabair Prima (Bubbles);
  • Art Ingredients - Finnabair Prima (Mica Flakes: Frosted; Micro Beads: Grass, Splash);
  • Art Extravagance -Finnabair Prima (Platinum Crackle Paste);
  • Art Basics - Finnabair Prima (Clear Gesso, Black Gesso, 3D Matte Gel, Soft Matte Gel).


Did you know Maja Design is on Social Media?

Pinterest: Did you know that Maja Design has a Pinterest Page? You can find it right here.
Facebook: You can follow us on Facebook right here and of course "LIKE" us.
Instagram: Maja also has an Instagram account – majadesigninsweden.
(Use the hashtag #majadesigninsweden or the tag @majadesigninsweden
with your Maja papers so we can find you.)
YouTubehttps://www.youtube.com/user/MajaDesignChannel

mercredi 17 mai 2017

Carnaval

Bonjour à toutes,

Aujourd'hui c'est une page très colorée que je vous propose.

Hello Sweeties

Today I have a very colorful layout to share with you.

(Photo : Boenz)

Comme d'habitude j'ai  protégér le papier de fond avec du gesso transparent. Une fois sec, j'ai ajouté deux motifs avec des tampons et des podres à embosser :l'une argent, l'autre grise.

As usual, I primed the background paper with clear gesso. When dry, I added two designs with two stamps and two embossing powders: one silver, one gray.


Puis j'ai coloré le fond avec plusieurs Art Alchemy.

Then I colored the background with several Art Alchemy. 


J'ai coloré un papier avec des cires pour rappeler l'armure.

I colored a paper with waxes to match the armor. 


J'ai découpé des feuilles dans du papier aquarelle. J'ai peint les petites avec la peinture Sparks Raven Black et la cire Rich Copper. J'ai peint les autres avec des aquarelles vertes. J'ai peint l'une des fleurs avec l'Art Alchemy Rusty Red et l'autre avec la Rich Turquoise.

I die-cut some leaves in a watercolor paper. I painted the small ones with the Raven Black Sparks and the Rich Copper wax. I painted the others with green watercolors. I painted one of the flowers with the Rusty Red and the Rich Turquoise Art Alchemy.


Avant de coller tous les éléments, j'ai ajouté un motif à l'aie d'une pocjoir et de pâte Graphite.

Before gluing all the elements, I added a design with a  stencil and the Graphite paste.


J'ai fini la mise en page avec des microbilles et des sequins.

I finished the layout with some micro beads et des sequins. 

Matériels / Materials:
  • Paper - Blue Fern Studios (Sanctuary: Bird Song Melody);
  • Embossing Powders - Blue Fern Studios (Silver, Mushroom);
  • Flowers - Wild Orchid Crafts (Wild Rose 30 mm);
  • Art Ingredients - Finnabair Prima (Micro Beads: Silver, Copper, Splash; Mica Powder: Pale Silver);
  • Art Alchemy - Finnabair Prima (Rich Turquoise, Light Patina, Rusty Red, Royal Red, Vintage Rose, Green Olive; Sparks: Raven Black, Irish Potion; Waxes: Brushed Iron, Rich Copper);
  • Art Extravagance - Finnabair Prima (Graphite Paste);
  • Art Basics - Finnabair Prima (Clear Gesso, Soft Matte Gel, 3D Matte Gel).

mardi 21 mars 2017

My Castle's Journal cover

Bonjour à toutes,

Aujourd'hui, c'est un projet personnel que je vous propose : la couverture mon Castle's Journal.

Hello Sweeties

Today, I want to share with you a personal project: the cover of my Castle's Journal.


J'ai recouvert la couverture du journal avec de papiers de la colletion Salvage District. Puis j'ai ajouté deux motifs avec deux pochoirs différents: l'un avec de la pâte à craqueler transparente, l'autre avec tu gel 3D brillant et j'ai laissé sécher.

I covered the journal cover with papers from the Salvage District collection. I added two designs with two different stencils: one with clear crackle paste, the other with 3D Gloss Gel and I leave it to dry.


Puis j'ai commencé à faire ma composition. J'ai tout collé avec du gel Heavy Body. Je n'ai pas collé tout de suite les éléments rouillés, je les ai mis de côté pour les ajouter après.

Then I started to build my composition. I glued everything with the Heavy Body Gel. I didn't glue the rusted embellishments, I kept them to add them later.


J'ai recouvert tous les éléments avec du gesso blanc. J'ai également couvert le fond du très fine couche de gesso blanc.

I covered all the elements with the White Gesso. I also dry brushed the background with the white gesso.


Une fois tout sec, j'ai commencé à ajouter de la couleur: tout d'abord avec des Primary Elements que j'ai mélangé à de l'eau pour pouvoir les vaporiser.

When everything was dry, I started to add some colors: first  with the Primary Elements that I've mixed with water and sprayed.


J'ai ajouté de la pâte Rust Effect ici et là. J'ai paint certains éléments avec une peinture Opal Magic, en particulier les 'pebbles" et avec la Patina Light.

I added some Rust Effect Paste here and there. I painted some elements with the Opal Magic, especially the pebbles and with the Patina Light.


Une fois satisfaite du résultat, j'ai collé les éléments rouillés.

I glued the rusted elements when all the paints were done.


Matériels / Materials:
  • Primary Elements - ColourArte (Honey Amber, Desert Clay, Bashful Blue);
  • Journal - Finnabair Prima (Mixed Media Journal);
  • Papers - Prima (Salvage District A4);
  • Relic & Artifacts - Prima (Flaming Heart Ex Votos II);
  • Stencils: 
    • Finnabair Prima (Doily 1);
    • Idea-ology (Lattice Work);
  • Flowers - Prima (Gold Kiss);
  • Chipboards - Blue Fern Studios (Roman Clock Set Small, Grand Ornament);
  • Mechanicals - Finnabair Prima (Gears, Steampunk Gears, Rustic Washers, Mini Knobs);
  • Art Ingredients - Finnabair Prima (Pebbles);
  • Art Alchemy - Finnabair Prima (Light Patina; Opal Magic Blue-Gold );
  • Art Extravagance - Finnabair Prima (Rust Effect Paste, Clear Crackle Paste);
  • Art Basics - Finnabair Prima (3D Gloss Gel, Heavy Body Gel, Soft Matte Gel, White Heavy Gesso).

samedi 11 mars 2017

Remember - 49 and Market DT

Bonjour à toutes,

Aujourd'hui je suis sur le blog de 49 and Market avec une page réalisée avec la nouvelle collection Looking Through. J'ai combiné la nouvelle collection des fées avec l'ancienne.

Hello Sweeties

Today I'm up on 49 and Market blog with a layout featuring the new paper collection Looking Through. I combined the new Fairies collection with the old one.


Avant de recouvrir le fond avec du gesso transparent, j'ai collé le papier sur un carton épais. Puis j'ai collé quelques morceaux de papier que j'ai découpé dans la collection Flower Fairies pour donner un peu de texture. Je les ai recouvert d'une fine couche de gesso.

Before priming the background with clear gesso, I glued the paper on a thick cardstock. Then I glued some scrap of papers I've cut in the Flower Fairies collection to add some texture. And I covered them with a thin layer of gesso.


Un fois sec, j'ai ajouté un motif à l'aide d'un pochoir et de gel 3D brillant. Pendant ce temps, j'ai peint les chipboards avec la peinture Sparks Raven Black, puis j'ai ajouté de la cire Mystique Turquoise. Le résultat est superbe et la couleur est parfaitement assortie à celle du fond.

When dry, I added a design with a stencil and 3D Gloss Gel. While it was drying, I painted the chipboards with the Raven Black Sparks, then I added some Mystic Turquoise wax. The result is so beautiful and matched perfectly the color of the background.


J'ai découpé quelques feuilles que j'ai coloré avec des Twinkling H2Os. J'ai ajouté une peu de brillant aux fleurs avec des micas Silver Pearl.

I die-cut some leaves that I colored with Twinkling H2Os. I added some shimmer to the flowers with the Silver Pearl mica powder.


Puis j'ai peint le fond avec quelques H2Os et la SParks Raven Black. J'ai ajouté quelques morceaux de napperon sous la photo et j'ai collé tous les embellissements: fleurs, chipboards et feullages.

Then I painted the background with some H2Os and the Raven Black Sparks. I added some scraps of doily under the photo and glued all the embellishments: flowers, chipboards, and leaves.


J'ai ajouté quelques tamponnages ici et là. Puis j'ai décidé d'ajouter des papillons. J'ai tamponné les papillons sue un carton et je les ai decoupés. Puis, je les ai embossés avec une poudre argent et je les ai tamponnés tant qu'ils étaient encore chaud. La dernière étape a été de les cirer avec la cire Mystic Turquoise.

I added some random stamping on the background. Then I decided to add some butterflies. I stamped the butterflies on a cardstock and I cut them. Next, I heat embossed them with a silver embossing powder and stamped them while the embossing powder was still hot. The last step was to cover them with the Mystic Turquoise Wax. 


J'ai également ajouté des taches avec la peinture Sparks Raven Black. Pour terminer, j'ai ajouté des microbilles et des glass glitter.

I also added some splatters with the Raven Black Spark. Finally, I added some micro beads and glass glitter.


Matériels / Materials:

49 and Market products:

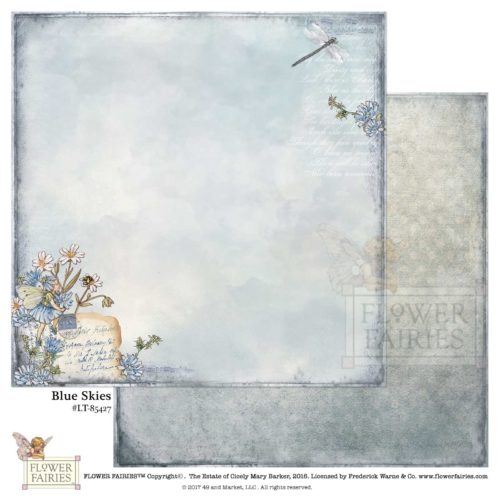
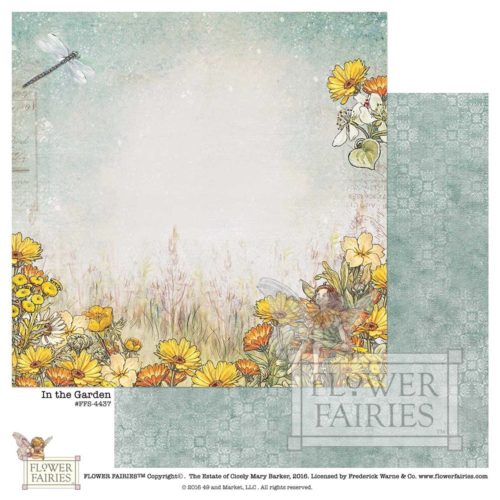
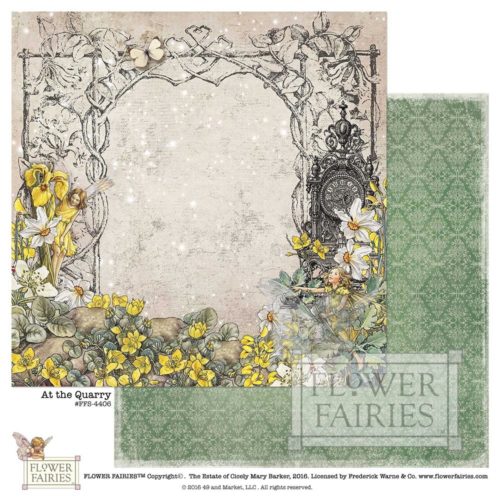
LT-85427 Looking Through: Blue SkiesFF In the Garden FFS 4437FF At The Quarry FFS 4406
Looking ThroughFlower Fairies 
Blue SkiesIn the GardenAt The Quarry
Multi Blue BM-85120Gabi Butterflies are free Stamp Set GP4611Gabi Label Stamp Set
Basic FlowersStamp Sets
Multi BlueGabi's Butterflies are freeGabi's Label
Other products: 
  • Twinkling H2O - ColourArte (Smokey Diamond, Wintermist Grey, Go Navy, Sweet Alfalfa);
  • Die - Memory Box (Wild Prairie Stem);
  • Stencil - Kesi'Art (Constellation);
  • Chipboard - Blue Fern Studios (Ginger's Poppies);
  • Glitter - Blue Fern Studios (Blue Ice);
  • Embossing Powder - Stampendous (Aged Silver);
  • Art Ingredients - Finnabair Prima (Mica Powder: Pale Silver, Micro Beads: Silver, Black, Glass Glitter: Platinum);
  • Art Alchemy - Finnabair Prima (Sparks: Raven Black, Antique Brillance Wax: Mystic Turquoise);
  • Art Basics - Finnabair Prima (Clear Gesso, White Gesso, Soft Gloss Gel, 3D Gloss Gel).
Related Posts Plugin for WordPress, Blogger...