Affichage des articles dont le libellé est Botanical Potpourri. Afficher tous les articles

dimanche 8 décembre 2019

XMas cards - 49 and Market DT

Bonjour à toutes,

Aujourd'hui je suis sur le blog de 49 and Market avec un set de 6 cartes. Même si elles semblent toutes similaires, chacune d'entre elles est unique.

Hello Sweeties,

Today I'm up on 49 and Market blog with a set of 6 cards. Even if they look similar each one is still unique.


J'ai découpé 6 cartes dans le papier Frolic et dans la feuille bonus de la collection Winter Edge que j'ai protégé d'une couche de gesso.

I cut 6 cards in Frolic and in the extra sheet from the Winter Edge collection and I primed them with clear gesso.


J'ai mélangé de la pâte de texture avec des glitter argent et j'ai utilisé cette pâte maison pour ajouter un motif à l'aide d'un pochoir.

I mixed some modeling paste with silver glitter and I used this homemade paste to add a design.


J'ai coupé pleins d'éléments divers tels que des branches de pin, des pommes de pin, du gui, des baies, ... dans du papier aquarelle. J'ai coloré tous ces éléments avec diverses nuances de vert et de marron. J'ai embossé certaines parts de ces découpes comme les baies, les boules de gui ou encore les pomme sde pin.

I die cut a lot of elements such as pine branches, pine cones, mistletoe, berries, ... in watercolor paper. I colored all these elements with different shades of green and brown, I emboss some part of the embellishments such as the berries, the mistletoe balls, or the pine cones.


J'ai coloré le fond avec des encres rouges, vertes, ou marron.

I colored lightly the background with red, green, or brown inks.


Ensuite, j'ai collé tous les embellissements que j'ai préparé ainsi que des éléments naturel et des fleurs rouges. J'ai ajouté quelques tamponnages.

Next, I glued all the elements I have prepared as well as some natural elements and different red flowers.I added some random stamping..


Pour finir les cartes, j'ai ajouté des microbilles, des glass glitters ainsi que des mini-étoiles.

To finish the cards, I added microbeads, glass glitters as well as some little stars to add more texture.


Matériels / Materials:

49 and Market products:


Winter Edge
Frolic

Winter Edge
Bonus Sheet

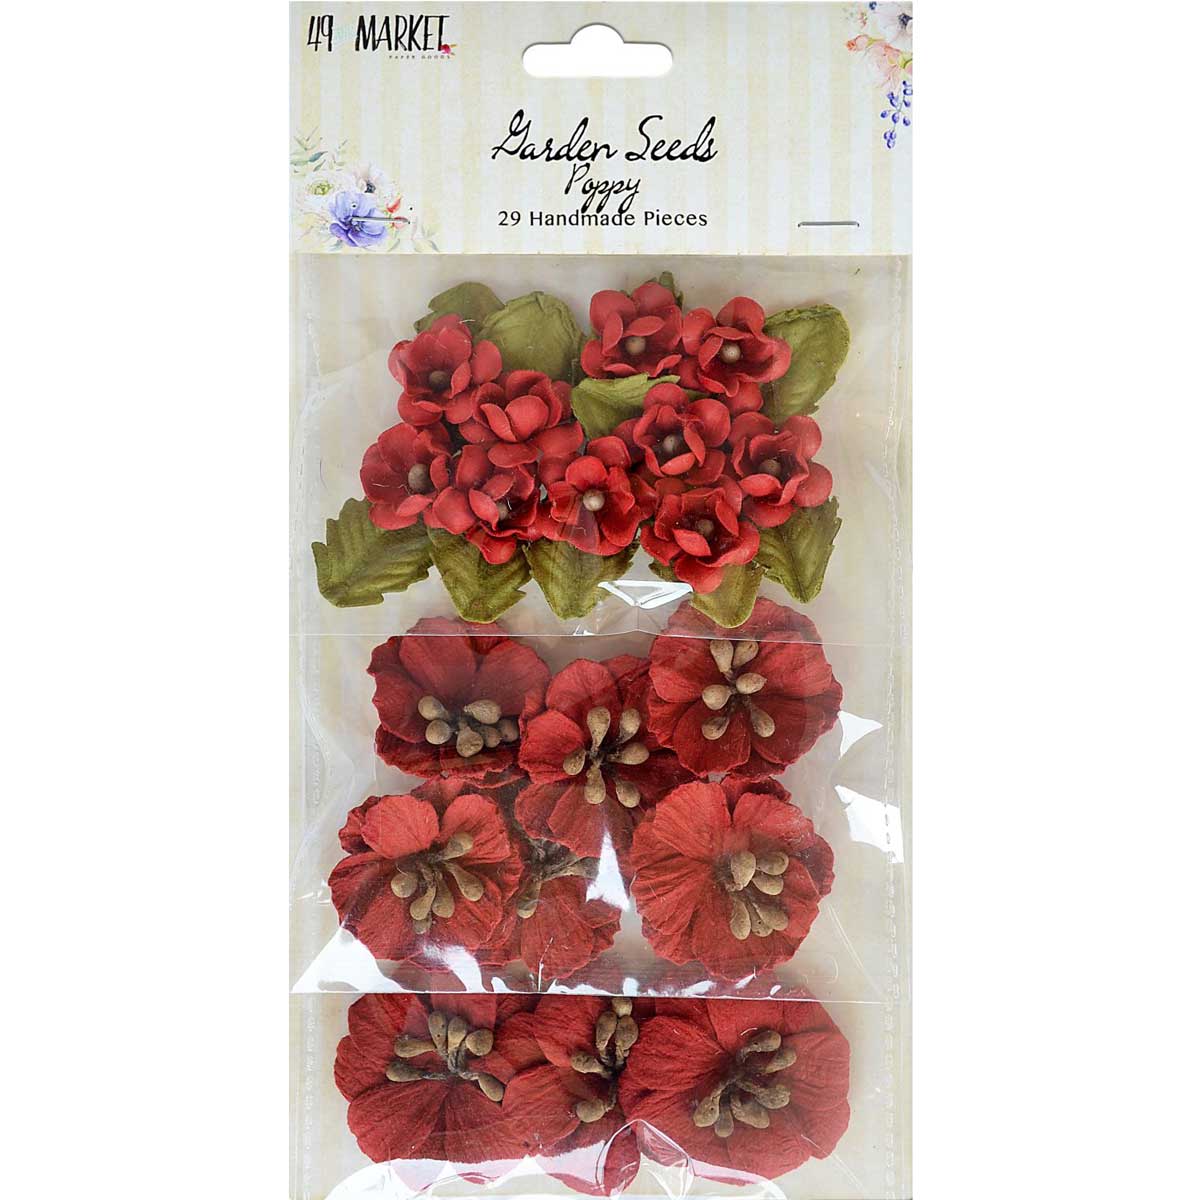
Garden Seeds
Poppy

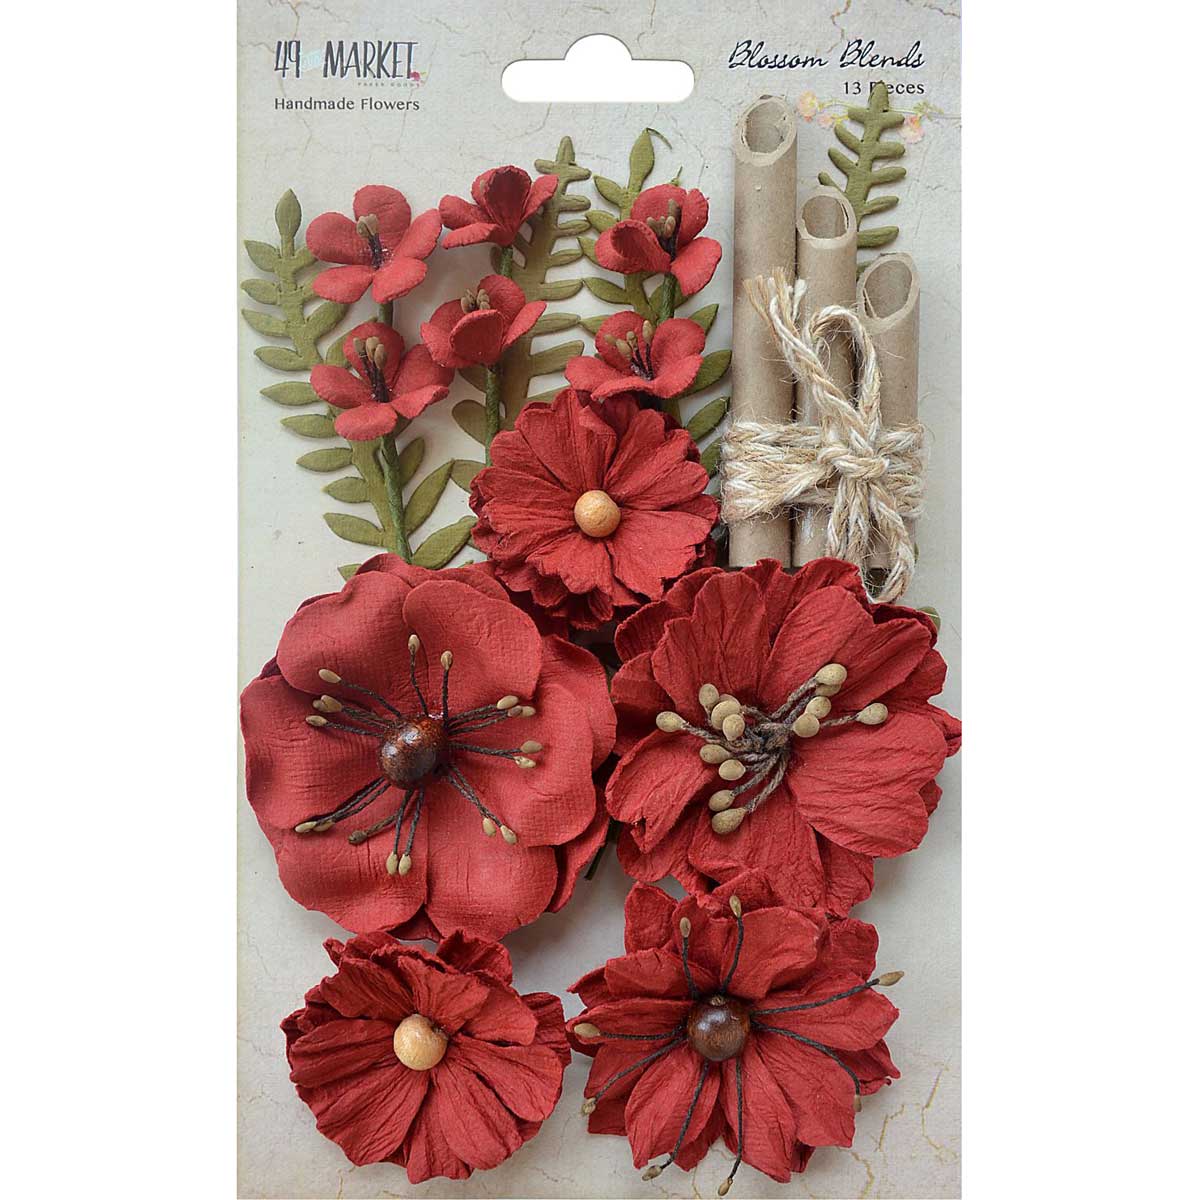
Blossom Blends
Poppy

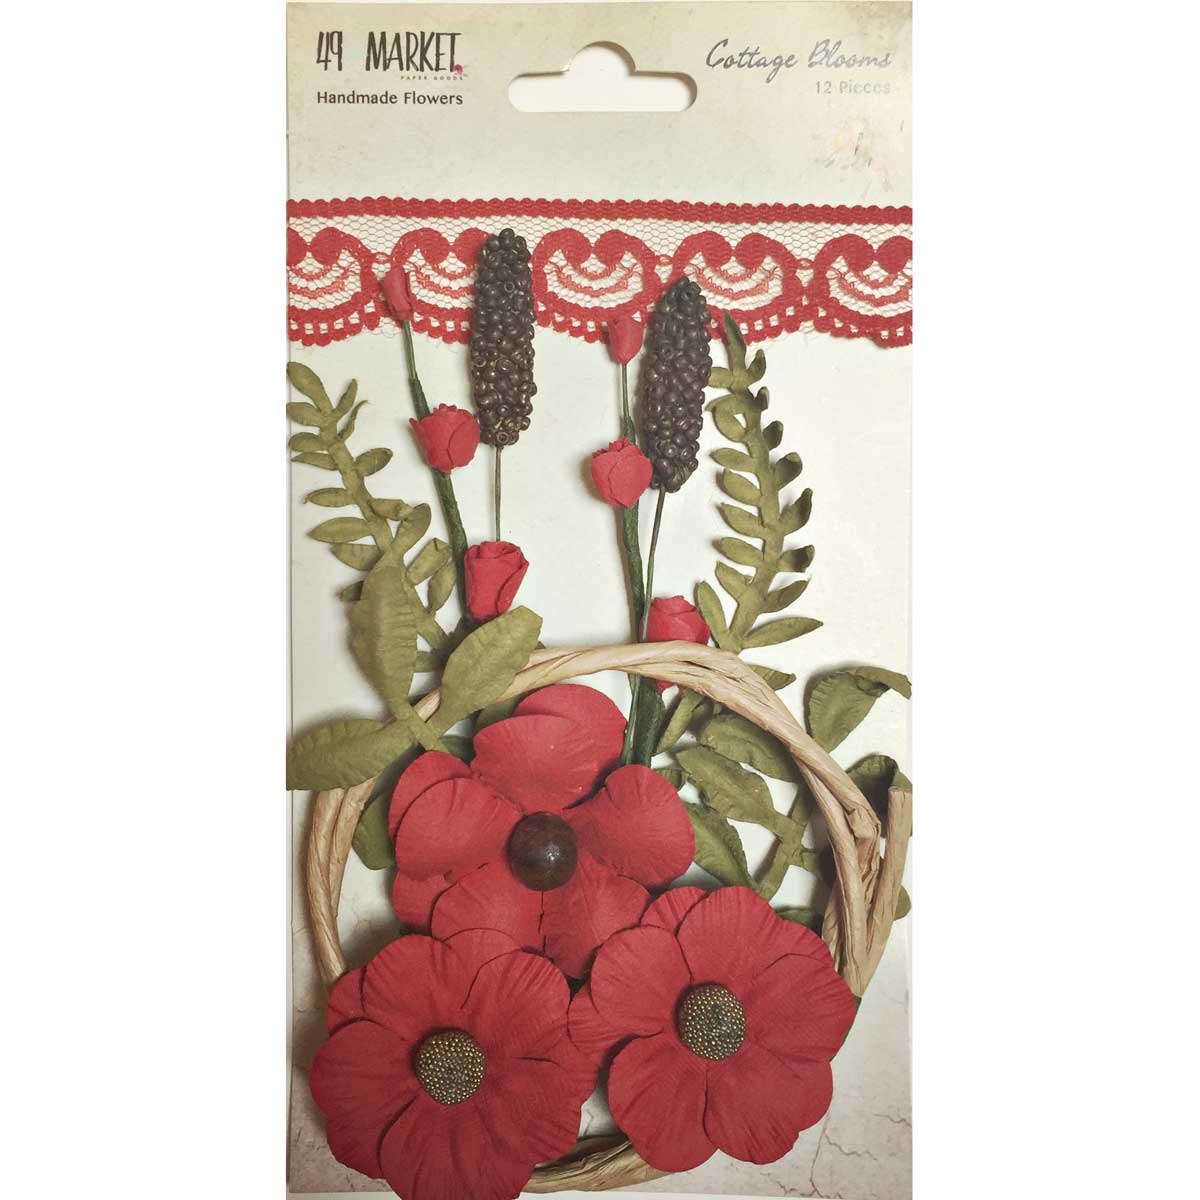
Cottage Blooms
Poppy

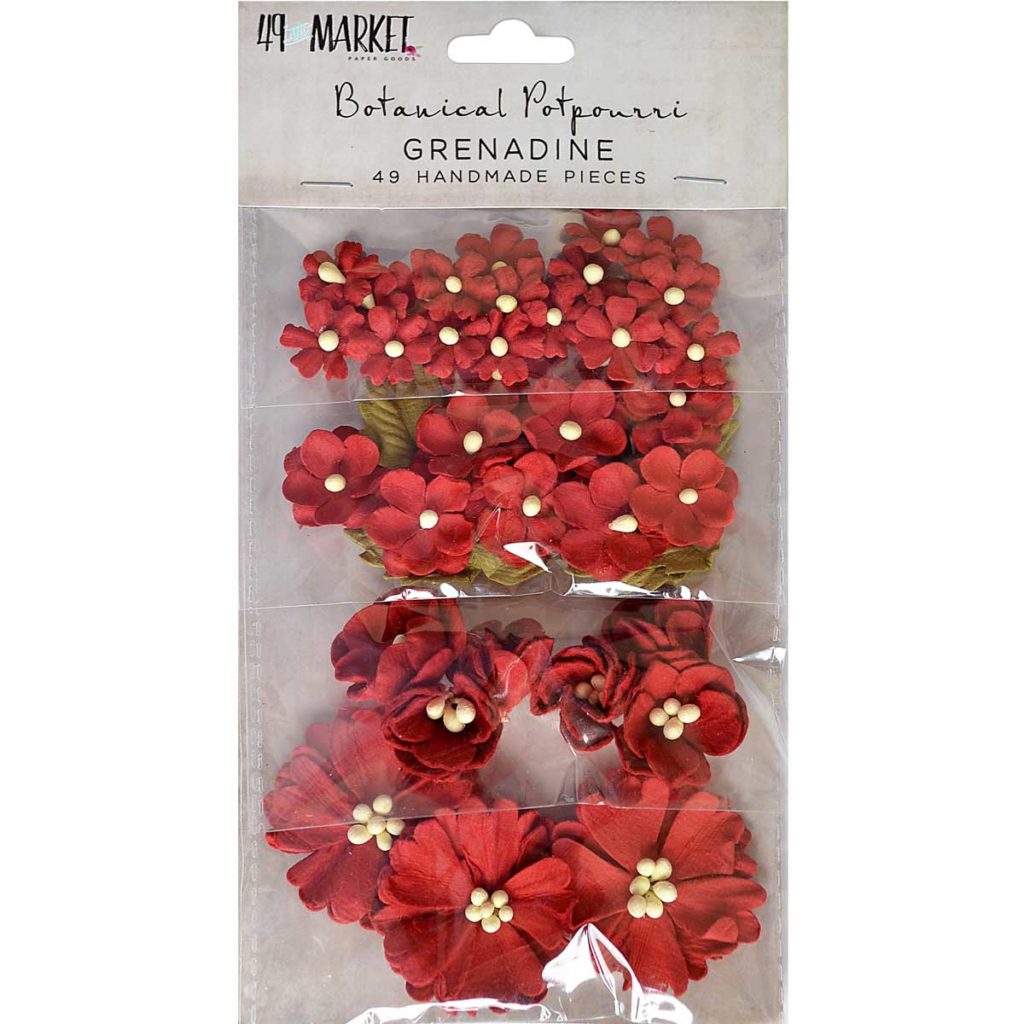
Botanical Potpourri
Grenadine

1787
Stamp

Pascale's Form
Stamp

Pascale's Grammar
Stamp


Other products:

  • Spray inks - Lindy's Gang (Cathedral Pines Green, Ponderosa Pines Olive, Dark Chocolate Truffle);
  • Magical - Lindy's Gang (Gag Me With a Spoon Gray (), Rizzo's Rowdy Red);
  • Embossing Powders - Lindy's Gang (Twilight Bronze Slate, Holly Berry Red Gold, Silver Moon Mistletoe);
  • Stencil - A.B. Studio (Stencil ID-160);
  • Art Ingredients - Finnabair Prima (Microbeads: Silver, Bronze, microbeads set; Glass Glitter: Sterling, Copper, Gold Rush; Glitter: Luminous set);
  • Art Basics - Finnabair Prima (Clear Gesso, Modeling Paste, 3D Matte Gel).


dimanche 8 septembre 2019

Purple Rain - 49 and Market DT

Bonjour à toutes,

Aujourd'hui, je suis sur le blog de 49 and Market avec une nouvelle page réalisée avec les collections Vintage Remnants et Ethereal.

Hello Sweeties,

Today I'm up on 49 and Market blog with a new layout featuring the Vintage Remnants and the Ethereal collection. 


J'ai protégé le fond avec du gesso transparent. Une fois sec, j'ai ajouté un motif avec de la pâte White Sand et d'un pochoir que j'ai séché.

I primed the background with clear gesso. When dry, I added a design with white sand texture paste. I dried it with a heat gun.


Tant que la pâte était encore collante, j'ai frotté délicatement une feuille argent pour ajouter une touche brillante. Enfin, j'ai ajouté un deuxième motif à l'aide d'un autre pochoir et de peinture acrylique.

While the paste was still sticky, I rubbed gently a silver foil to add a shiny touch to the design. Next, I added a second design with a stencil and an acrylic paint.


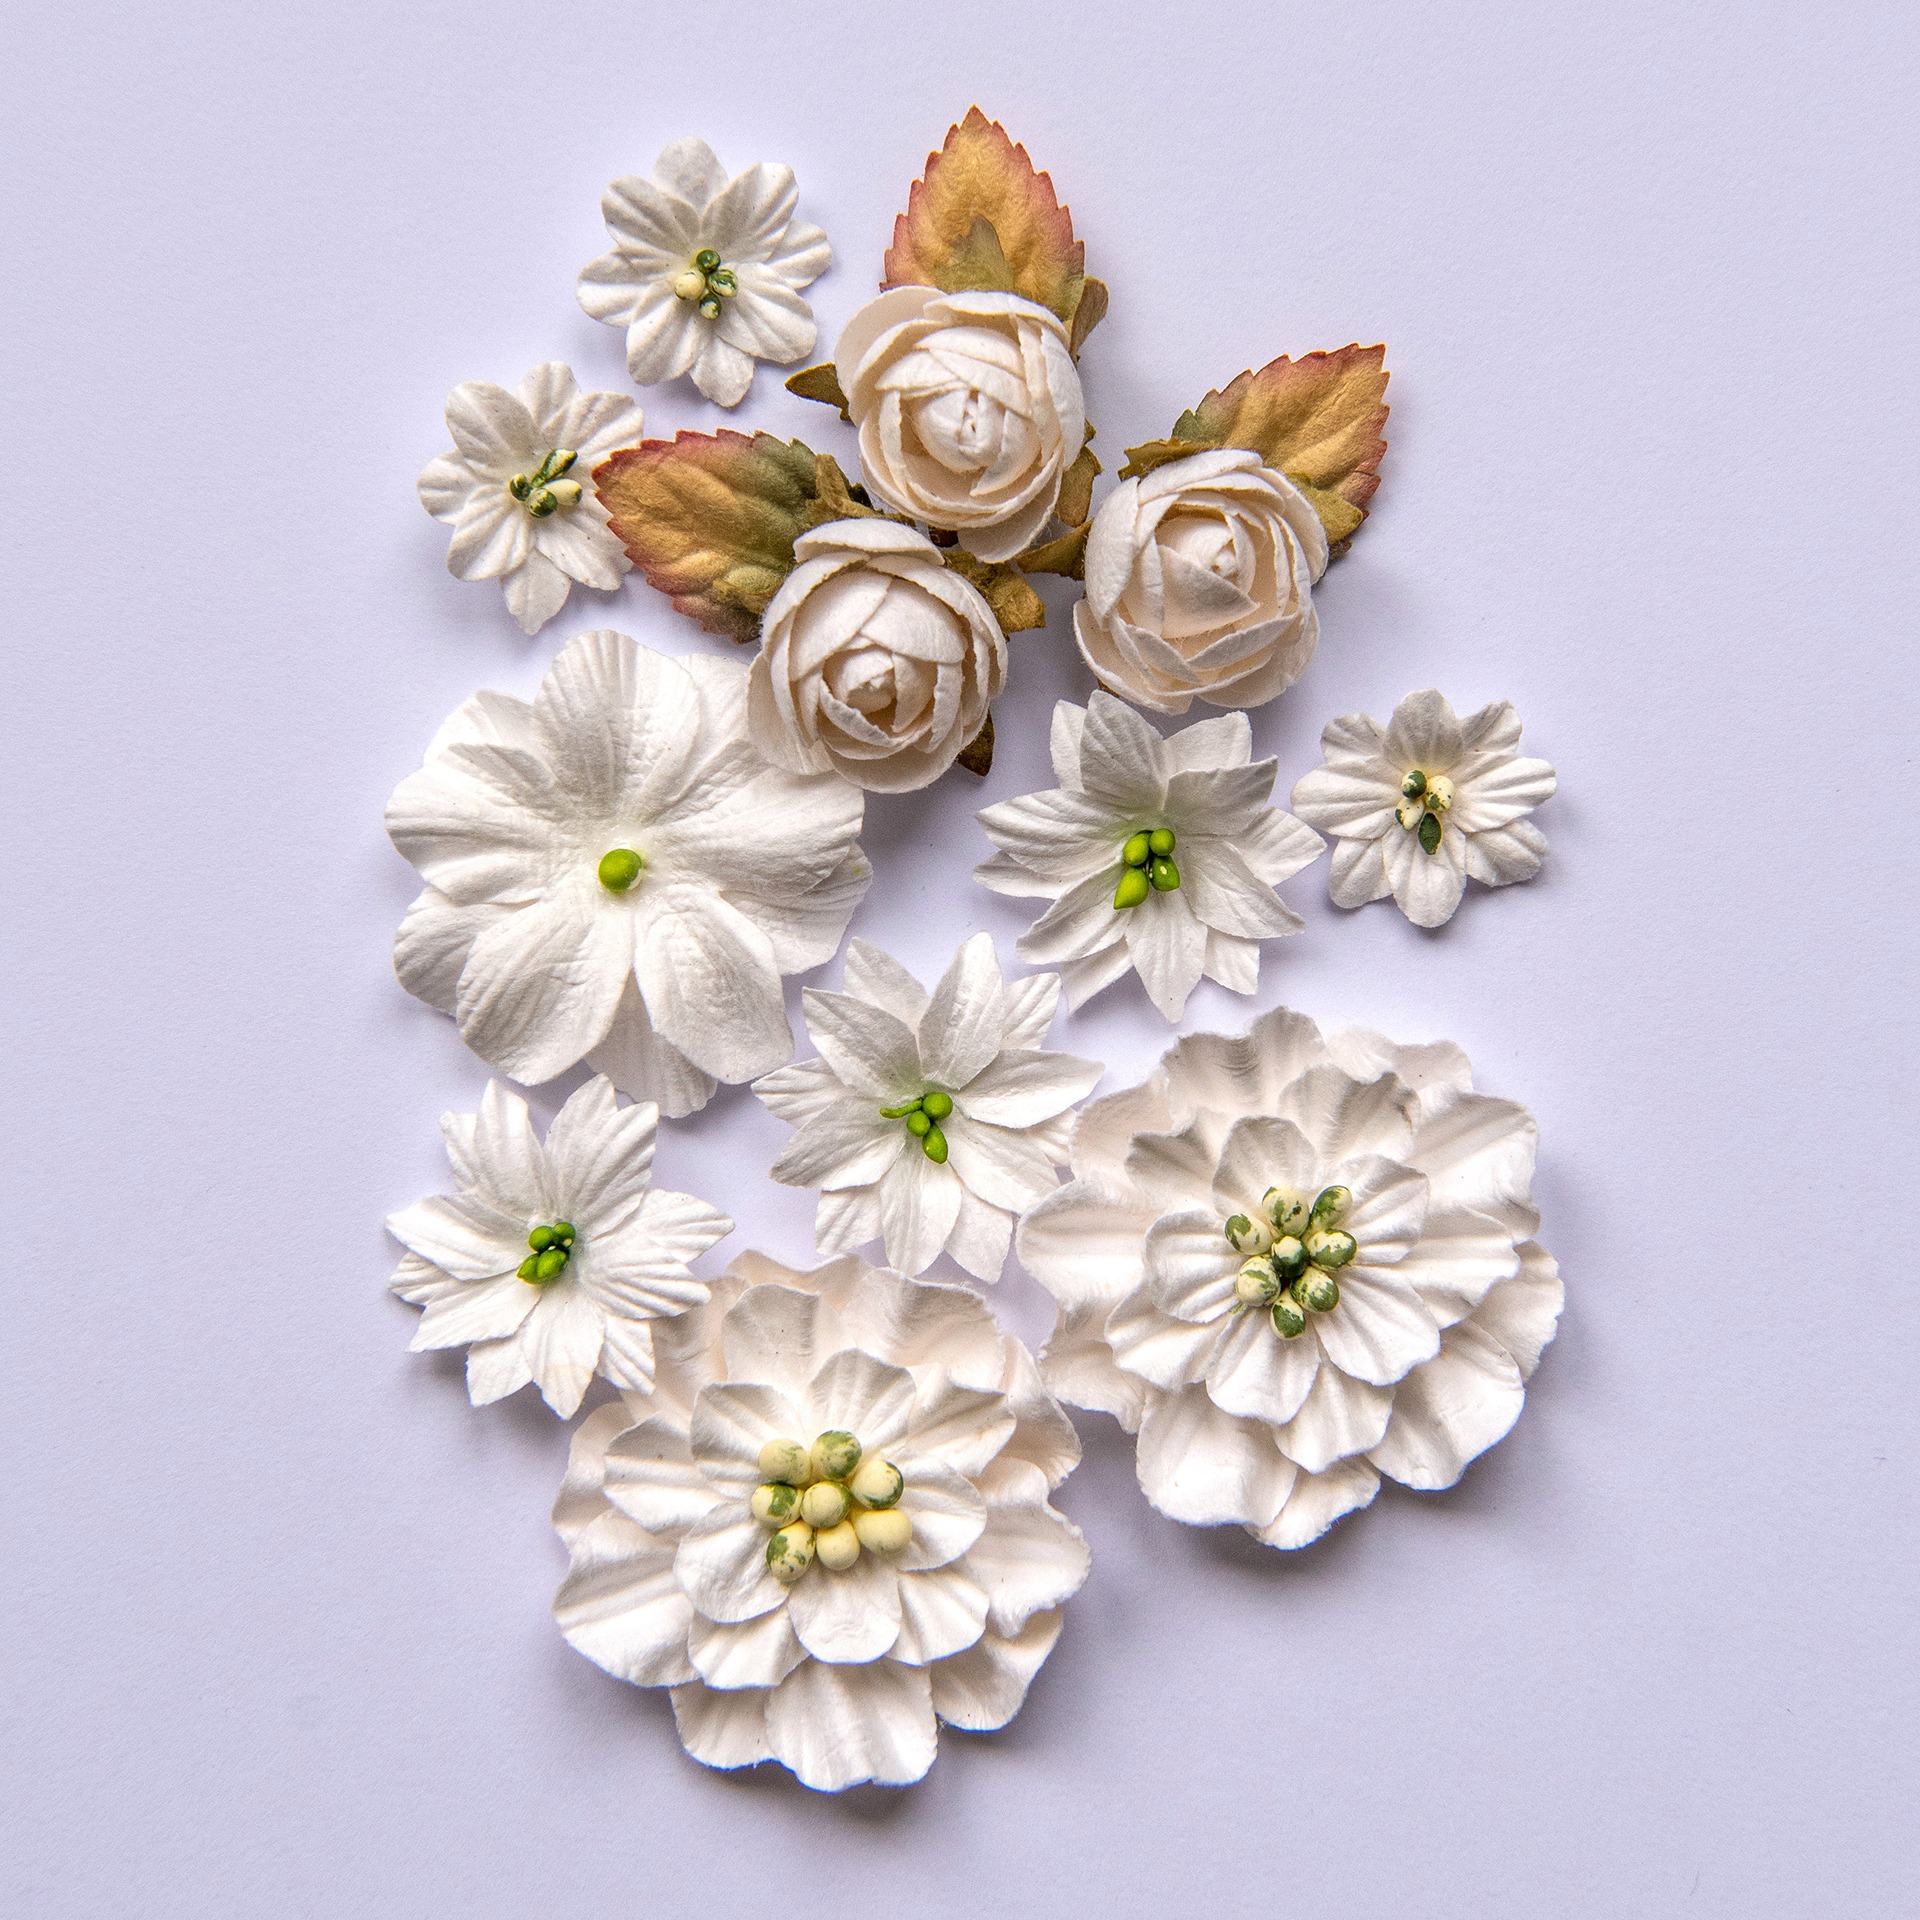
J'ai coloré quelques fleurs de plusieurs colletions (Botanical Blands, Botanical Potpourro, et Cotton Blooms) avec la même encre et j'en ai gardé quelques unes blanches pour rappeler les fleurs de la couronne.

I colored a few flowers from different collections (Botanical Blends, Botanical Potpourri, and Cotton Blooms) with the same ink and I kept some of them white to remind the flowers' crown. 


J'ai découpé quelques morceaux de papier pour mettre sous la photo, et j'ai commencé à coller les fleurs ainsi que les feuilles. J'ai également ajouter quelques éléments naturel. Une fois satisfaite, j'ai ajouté des glass glitters et des microbilles.

I cut a few pieces of paper to add under the photo, and I started to glue the flowers as well as the leaves. I added some natural elements too. When happy, I added some glass glitters and microbeads.


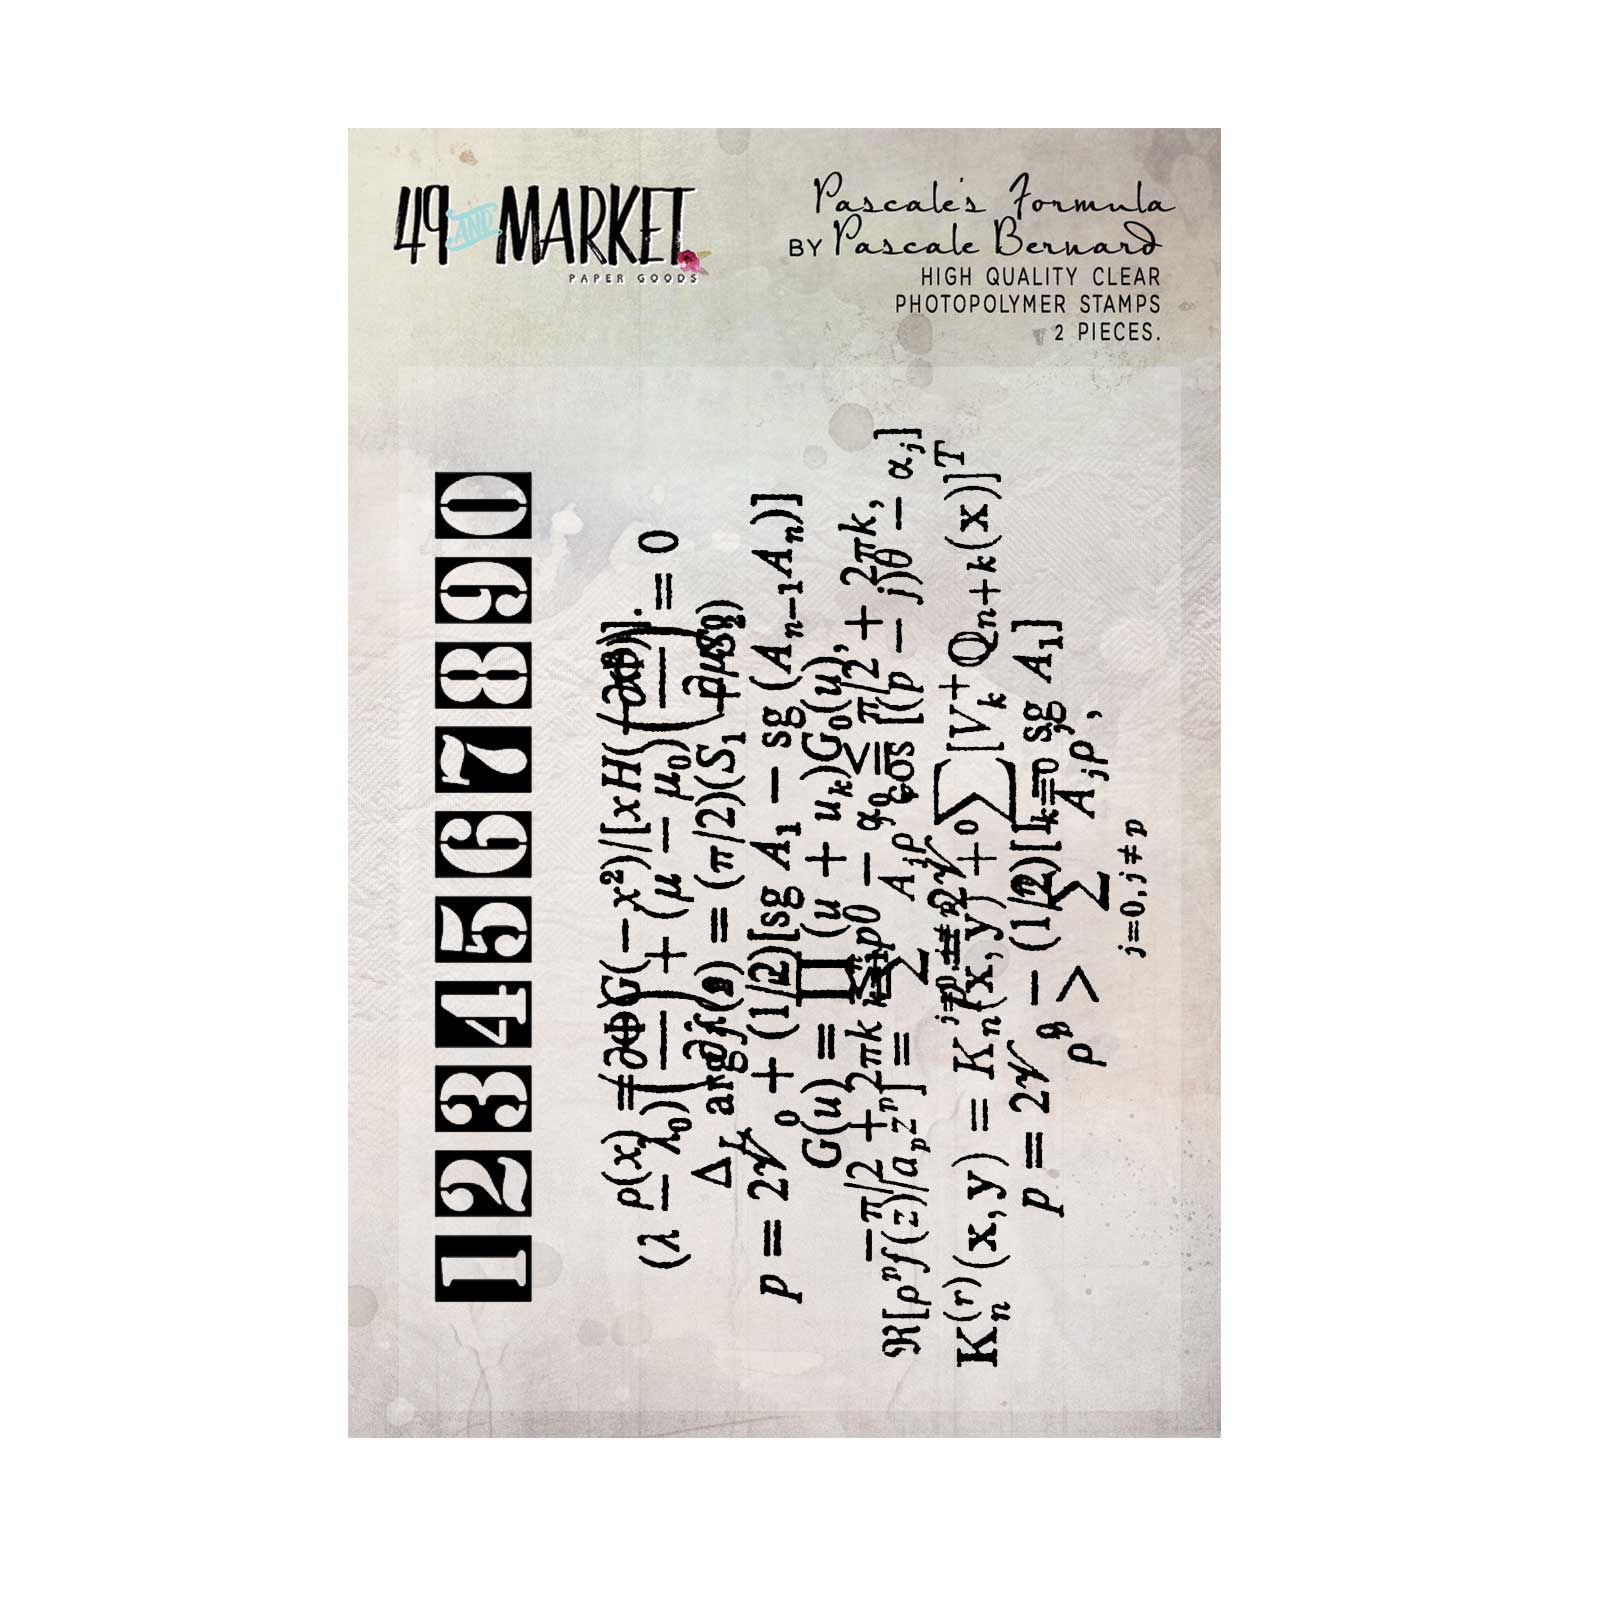
Pour finir la mise en page j'ai ajouté quelques tamponnages avec le set Pascale's Formula.

To finish the layout, I stamped with Pascale's Formula and I splattered with white ink.


Matériels / Materials:

49 and Market products:


Vintage Remnants
Paper n°4

Ethereal
Flora

Pascale's Formula


Botanical Potpourri
Snow

Botanical Blends
Snow

Country Blooms
Cloud

Other products:
  • Spray inks- Lindy's Gang (Open Arms Amethyst);
  • Stencil - A.B. Studio (Stencil ID-93, Stencil ID-84);
  • Foil - Prima (Clinquant);
  • Art Ingredients - Finnabair Prima (Microbeads: Berry; Glass Glitter: Silver);
  • Art Alchemy - Finnabair Prima (Plum Preserve);
  • Art Extravagance - Finnabair Prima (White Sand);
  • Art Basics - Finnabair Prima (Clear Gesso,3D Matte Gel, Soft Matte Gel).

jeudi 16 mai 2019

Be(you)tiful - A.B. Studio DT

Bonjour à toutes,

Aujourd'hui c'est une page réalisée pour l'une des classes que j'ai donné en Nouvelle-Zélande lors d'Autumn Escape 2019 que je vous propose de découvrir. J'ai travaillé avec des papiers de la collection Paradise Lost de A.B. Studio.

Hello Sweeties,

Today it's a layout I made for one of the classes I've taught in New Zealand during Autumn Escape 2019 that I want to share with you. I worked with the collection Paradise Lost from A.B. Studio. 


J'ai protégé le fond d'une couche de gesso transparent ainsi que les papiers et tag que j'ai découpé pour mettre sous la photo.

I primed the background with clear gesso as well as the papers and tag I cut to add under the photo.


Puis, j'ai préparé deux pâtes : l'une avec du gel 3D brillant et une peinture métallique, l'autre avec la même peinture et de pâte de papier. J'ai utilisé ces deux pâtes pour ajouter un motif sur le fond et le tag.

Next, I prepared two pastes: one with 3D Gloss Gel and metallic paint, the other one with the same metallic paint and paper paste. I used both homemade pastes to add a design with different stencils to the background and the tag.


J'ai découpé quelques feuilles dans du papier aquarelle que j'ai coloré avec des encres vertes et brunes. J'ai également coloré quelques fleurs.

I die cut some leaves in a watercolor paper that I colored with green and brown inks. I colored some flowers too. 


J'ai collé l'ensemble des embellissements avec du gel 3D.

I glued all the embellishments with a 3D gel.


Pour finir la mise en page, j'ai ajouté des mini Art Stones.

To finish the layout, I added some mini Art Stones.


Matériels / Materials:

A.B. Studio products:


Paradise Lost
Don't be afraid

Paradise
Forgotten place

Stencil ID-64


Stencil ID-92


Other products:
  • Flowers - 49 and Market (Botanical Potpourri: Buttermilk);
  • Jute Cording - 49 and Market;
  • Spray inks - Lindy’s Gang (Salt Water Taffy, Fuzzy Navel Peach, Opal Sea Oats, Ponderosa PinesOlive, Sea Mint Green);
  • India Ink;
  • Die - Memory Box (Grape Vines)
  • Art Ingredients - Finnabair Prima (Mini Art Stones);
  • Art Alchemy Sparks - Finnabair Prima (Unicorn Hairs);
  • Art Extravagance - Finnabair Prima (Paper Paste);
  • Art Basics - Finnabair Prima (3D Gloss Gel, Heavy Body Gel).


lundi 15 avril 2019

The Flying Key - Lindy's Gang DT

Bonjour à toutes,

Aujourd'hui je suis sur le blog de Lindy's Gang avec un nouveau projet avec video. ça commencé avec un simple ta et finis avec une mini-pallette altérée.

Hello Sweeties

Today I'm on Lindy's Gang blog with a new project with video to share with you. It starts with a tag and finishes as an altered mini-pallet.


Processus / Basic process:

Palette / Pallet:
  1. Protéger la palette avec du gesso transparent.
    Prime the pallet with clear gesso.
  2. Embosser la palette avec le même tampon et la poudre à embosser Twilight Bronze Slate.
    Emboss the pallet with the same stamp and Twilight Bronze Slate embossing powder.
  3. Ajouter un motif avec des pâtes à craqueler transparente et blanche.
    With clear and white crackle pastes and a stencil, add a design.
  4. Colorer la palette avec les mêmes couleurs utilisés pour faire les tâches.
    Color the pallet with the same colors used to make the splatters.
  5. Assembler les éléments : les tags, les fleurs et les éléments en résine.
    Assemble all the elements: the tags, the flowers, the resin elements.


Tags:
  1. Faire des tâches sur du papier aquarelle en utiliser les bouchons barbouilleurs au lieu des vaporisateurs.
    Using dauber caps instead of the spray, make some splatter on a watercolor paper.
  2. Tamponner le papier aquarelle et embosser l'image tamponné.
    Stamp the watercolor paper and emboss the stamp image.
  3. Découper deux tags: un grand et un petit.
    Cut two tags: one big and one small.
  4. Recouvrir des éléments en résine avec du gesso transparent.
    Prime some resin elements with clear gesso.
  5. Colorer les éléments en résine avec des encres Lindy's Gang. Souligner les détails avec de la cire.
    Color the resin elements with Lindy's Gang inks. Highlight the details with wax.
  6. Colorer ques découpes de feuilles dans du papier aquarelle. Saupoudrer de poudre à embooser immédiatement et embosser.
    Color a few leaves die cut in a watercolor paper. Sprinkle with embossing powder immediately and heat set.
  7. Cirer les fleurs.
    Wax a few flowers.
  8. Assembler les tags.
    Assemble the tags.


Assemblage:
  1. Coller les derniers éléments en résine et les tags.
    Glue the last resin elements and the tags.
  2. Ajouter des microbilles.
    Add some microbeads


Quelques gros plans / Some close-ups:


Et voici la vidéo / And here is the video:


Matériels / Materials:
Lindy's Gang products:
Other products:
  • Flowers - 49 and Market (Botanical Potpourri: );
  • Stamp - 49 and Market (Vintage Remnants Doilies);
  • Stencil - A.B. Studio (Stencil ID-67);
  • Die - Memory Box (Botanical Stem);
  • Die - Sizzix (Tag and Bookplates, Tag and Tie);
  • Mold - IOD Prima (Baroque 6);
  • Mold - Finnabair Prima (Cogs and Wings);
  • Art Alchemy - Finnabair Prima (Wax: Old Silver);
  • Art Ingredients - Finnabair Prima (Microbeads: Silver, Bronze);
  • Art Extravagance - Finnabair Prima (Crackle Pastes: White, Clear);
  • Art Basics - Finnabair Prima (Clear Gesso, Heavy Body Gel, Soft Matte Gel).

vendredi 8 février 2019

Don't forget to fly - 49 and Market DT

Bonjour à toutes,

Aujourd'hui je suis sur le blog de 49 and Market avec un nouveau tag.

Hello Sweeties

Today I'm up on 49 and Market blog with a mixed media tag.


J'ai protégé le papier avec du gesso transparent. J'ai ajouté un motif avec un pochoir et un mélange de poudre de mica et de gel 3D brillant.

I primed the paper with clear gesso. Next, I add a design with a mixture of mica powder and 3D gloss gel and a stencil.


J'ai peint une paire de pinceaux et des ailes en résine avec du gesso noir. Une fois secs, je les ai cirés avec diverses couleurs. J'ai embossé quelques pierre avec de la poudre à embosser or.

I paint a couple of paintbrushes and resin wings with black gesso. When dry, I wax them with different colors. I embossed a few pebbles with gold embossing powder.


J'ai découpé quelques feuilles dans du papier aquarelle et je les ai ciré avec une cire or. J'ai collé le papeir sur un carton et ajouté un peu de couleur. Puis, j'ai collé tous les embellissements.

I die cut a few leaves in a watercolor paper and I wax them with gold wax. I glued the paper on cardboard and add some color. Next, I glue all the embellishments.


J'ai légérement ciré les fleurs, les bords du tag ainsi ques le motif. J'ai coloré du ruban avec une encre bleue et de la cire or.

I wax lightly the flowers, the edges of the tag as well as design. I color a binding ribbon with blue ink and gold wax.


Pour terminer le tag, j'ai ajouté quelques tamponnages.

To finish the tag, I add some random stamping.


Matériels / Materials:

49 and Market products:
CA-87414-Explorer
Captured Adventures
Explorer
BP-87070-Botanical-Potpourri-Shadow
Botanical Potpourri
Shadow
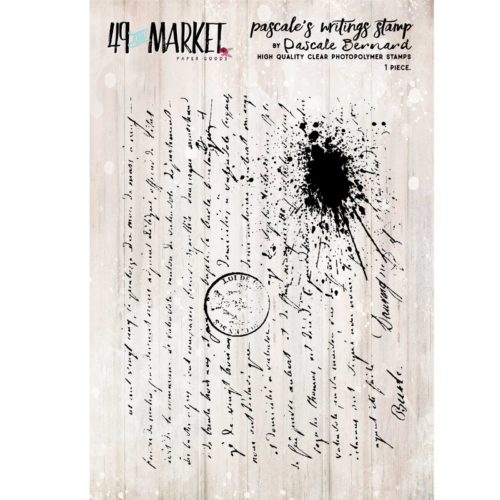
PB-86660 Pascale's Writings Stamp (3x4)
Pascale's Writings
Stamp

Other products:
  • Spray inks - Lindy's Gang (Whale Watch Blue);
  • Stencil - A.B. Studio (Stencil ID-66);
  • Embossing Powder - BFS (Taupe);
  • Mould - Prima (Wings);
  • Art Ingredients - Finnabair Prima (Mica Powder: Deep Water; Art Pebbles);
  • Art Alchemy - Finnabair Prima (Waxes: Mystic Turquoise, Magic Turquoise, White Gold);
  • Art Basics - Finnabair Prima (Clear Gesso, Black Gesso, 3D Gloss Gel).

Related Posts Plugin for WordPress, Blogger...