Bonjour à toutes,
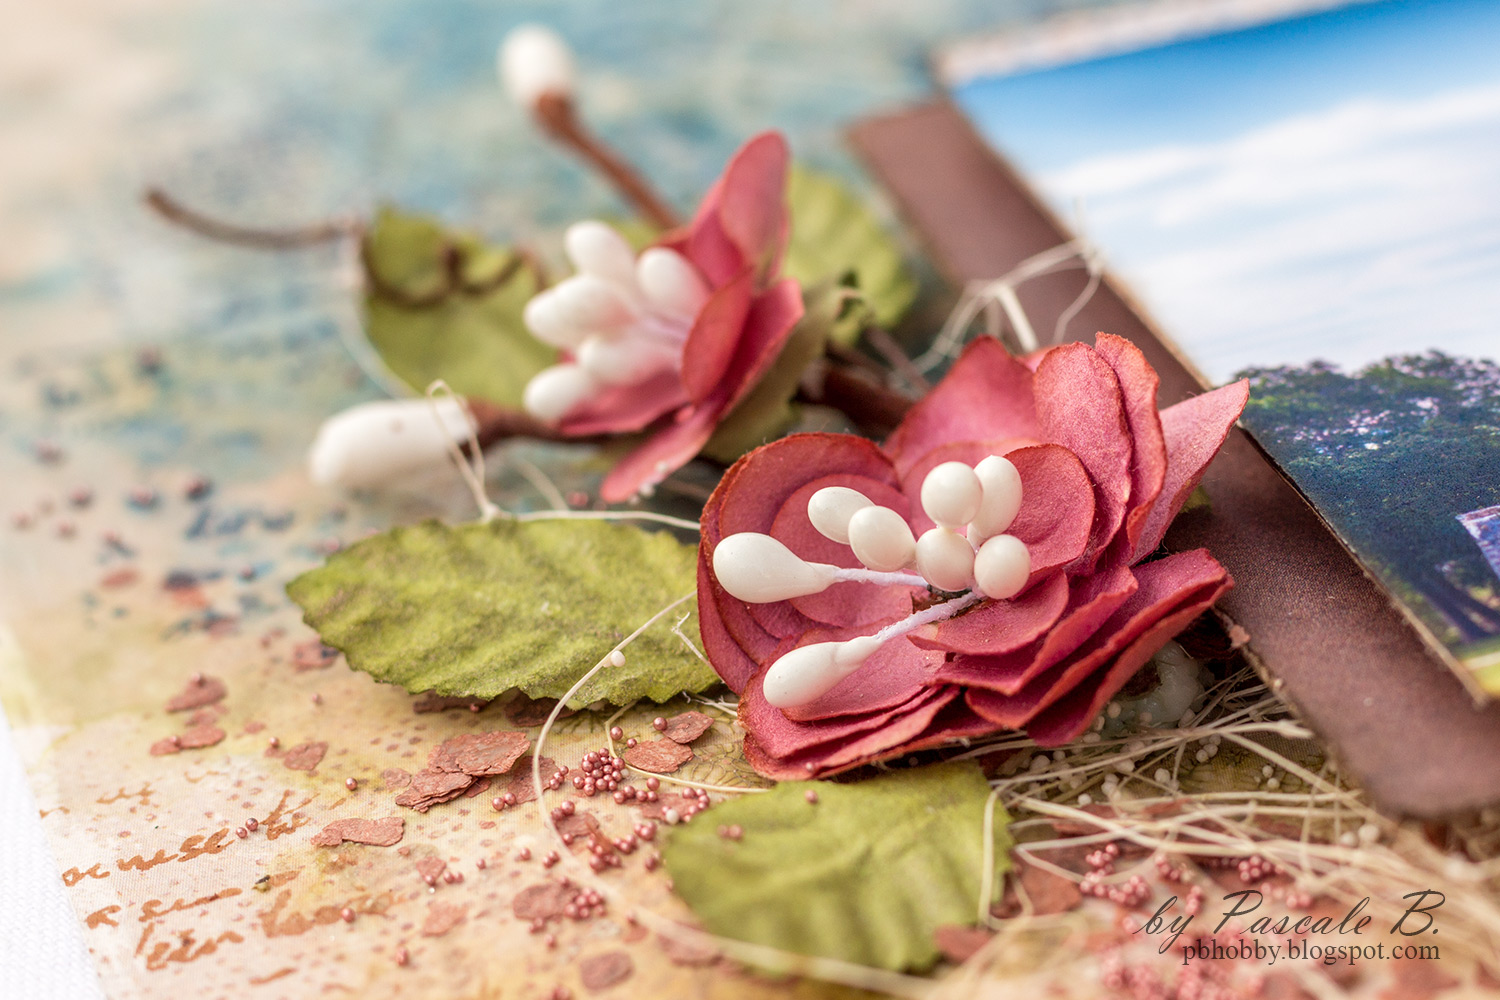
Voici mon troisième project mensuel pour Blue Fern Studios. J'ai travaillé avec la collection Happy Accident pour mettre en page cette photo du château de l'Islette qui abrita les amours tumultueuses de Camille Claudele t Auguste Rodin.
Hello Sweeties
Here is my third monthly project for Blue Fern Studios. I work with the Happy Accident collection to showcase a photo I've taken of the castle of L'Islette where the tempestuous love affair between the two sculptors Camille Claudel and Auguste Rodin was sheltered.
Voici mon troisième project mensuel pour Blue Fern Studios. J'ai travaillé avec la collection Happy Accident pour mettre en page cette photo du château de l'Islette qui abrita les amours tumultueuses de Camille Claudele t Auguste Rodin.
Hello Sweeties
Here is my third monthly project for Blue Fern Studios. I work with the Happy Accident collection to showcase a photo I've taken of the castle of L'Islette where the tempestuous love affair between the two sculptors Camille Claudel and Auguste Rodin was sheltered.

Comme d'habitude j'ai protégé le fond avec du gesso transparent. Puis j'ai ajouté un motif à l'aide d'un pochoir et de pâte graphite. Une fois sec, j'ai adouci le motif avec du gesso blanc.
As usual, I primed the background with clear gesso. Then I added a design with a stencil and Graphite paste. When dry, I toned down the design with white gesso.
As usual, I primed the background with clear gesso. Then I added a design with a stencil and Graphite paste. When dry, I toned down the design with white gesso.

Pendant que le fond séchait, j'ai recouvert les "Leafy twigs" avec du gesso blanc et le cadre Manchester aec du gesso noir. J'ai utilisé des cires pour terminer le cadre.
While the background was drying, I primed the Leafy Twigs with white gesso and the Manchester Frame with black gesso. I used some waxes to alter the frame.
While the background was drying, I primed the Leafy Twigs with white gesso and the Manchester Frame with black gesso. I used some waxes to alter the frame.

J'ai coloré les feuilles avec différentes teintes d'aquarelles vertes et je les ai saupoudrées de poudre à embosser Avocado tant qu'elles étaient encore humide. Après les avoir embossées, j'ai ajouté de la cire verte.
I colored the leaves with different shades of green watercolor and sprinkled them with the Avocado embossing powder while they were still wet. After having embossed them, I added some green wax.
I colored the leaves with different shades of green watercolor and sprinkled them with the Avocado embossing powder while they were still wet. After having embossed them, I added some green wax.

J'ai coupé quelques papiers pour mettre sous la photo dans la feuille Layering Cards et j'ai collé tous les embellissements avec du gel 3D.
I cut some papers to add under the photo in the Layering Cards sheet and I glued all the embellishments with a 3D gel.
I cut some papers to add under the photo in the Layering Cards sheet and I glued all the embellishments with a 3D gel.

Pour terminer la page j'ai ajouté quelques microbilles, des glitters et des flocons de mica.
To finish the layout I added some seedlings and glitter.
To finish the layout I added some seedlings and glitter.

Matériels / Materials:
Blue Fern Studios products:
 Incident |  Layering Cards |
 Leafy Twigs |  Manchester Frame |
 Twig |  Paprika |  Mustard |  Avocado |  Orange Peel |
Other products:
- Twinkling H2O - ColourArte (Mocha Rose, Jasper Red, Fern, Forest Green);
- Flowers - 49 and Market (Garden Blooms: Alabaster);
- Stencil - TCW (Music Note);
- Art Ingredients - Finnabair Prima (MIca Flakes: Gold);
- Art Extravagance - Finnabair Prima (Graphite Paste);
- Art Basics - Finnabair Prima (Clear Gesso, White Gesso, Black Gesso, 3D Matte Gel, Soft Matte Gel).