Affichage des articles dont le libellé est Pascale's stamp. Afficher tous les articles

vendredi 8 novembre 2019

Perfection is overrated - 49 and Market DT

Bonjour à toutes,

Aujourd'hui je suis sur le blog de 49 and Market avec une page réalisée avec les mini-collections Ethereal et Serendipitous.

Hello Sweeties,

Today, I'm up on 49 and Market blog with a layout featuring the mini-collections Ethereal and Serendipitous.


J'ai commencé par tamponner le fond avec le set de tampons Rations. Une fois satisfaite, j'ai protégé le fond d'une couche de gesso transparent. Puis, j'ai ajouté un motif inversé à l'aide d'un pochoir et de peinture acrylique : j'ai peint le pochoir que j'ai ensuite posé sur le papier pour obtenir une image inversée du pochoir.

First, I stamped randomly with the Rations stamps set. When satisfied, I primed the background with clear gesso. Next, I added a reversed design with a stencil and acrylic paint: I painted the stencil and then I pressed it on the paper to obtain a reversed image of the stencil.


J'ai découpé le cadre de la collection Serendipitous que j'ai collé que le papier de fond.

I cut the frame from the Serendipitous collection and I glued it on top of the background. 


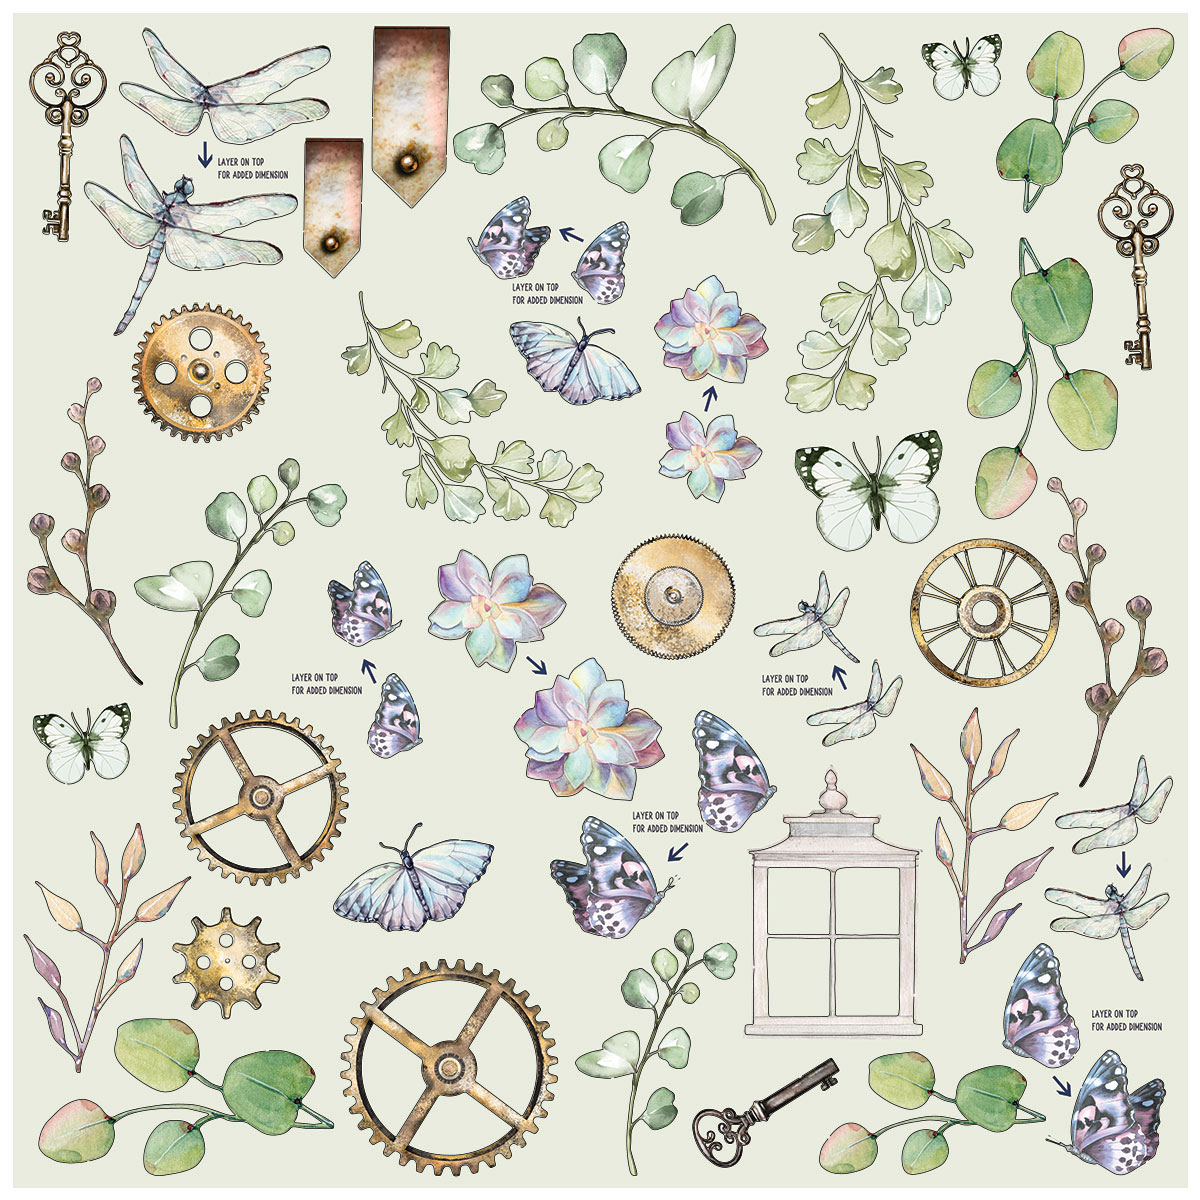
J'ai coloré les Cotton Blooms avec deux encres oranges. J'ai recouvert les rouages en résine avec du gesso noir, puis je les ai cirés avec une cire cuivre.

I colored the Cotton Blooms with two shades of orange inks. I primed some resin elements with black gesso, and I waxed them with a copper wax.


J'ai coloré le fond avec des encres orange et noire avant de coller les embellissements avec du gel 3D mat: les Cotton Blooms, les rouages, ainsi que des feuilles de la collection Ethereal.

I colored the background with orange and black inks, before gluing with 3D Matte Gel all the embellishments: Cotton Blooms, resin gears, and leaves from the Ethereal Layered Embellishments. 


J'ai coloré quelques Art Stones avec de l'encre de chine et je les ai également cirées avec le cire cuivre.

I colored some Art Stones with Indian ink. When dry, I waxed them with the copper wax. 


Pour finir la mise en page, j'ai ajouté des tâches à l'aide d'un mélange de glitter, d'eau et de gel mat ainsi qu'une plaque avec le titre du tableau.

To finish the layout, I added some splatters made of a mixture of glitter and soft matte gel, as well as a title's plate.

Matériels / Materials:

49 and Market products:
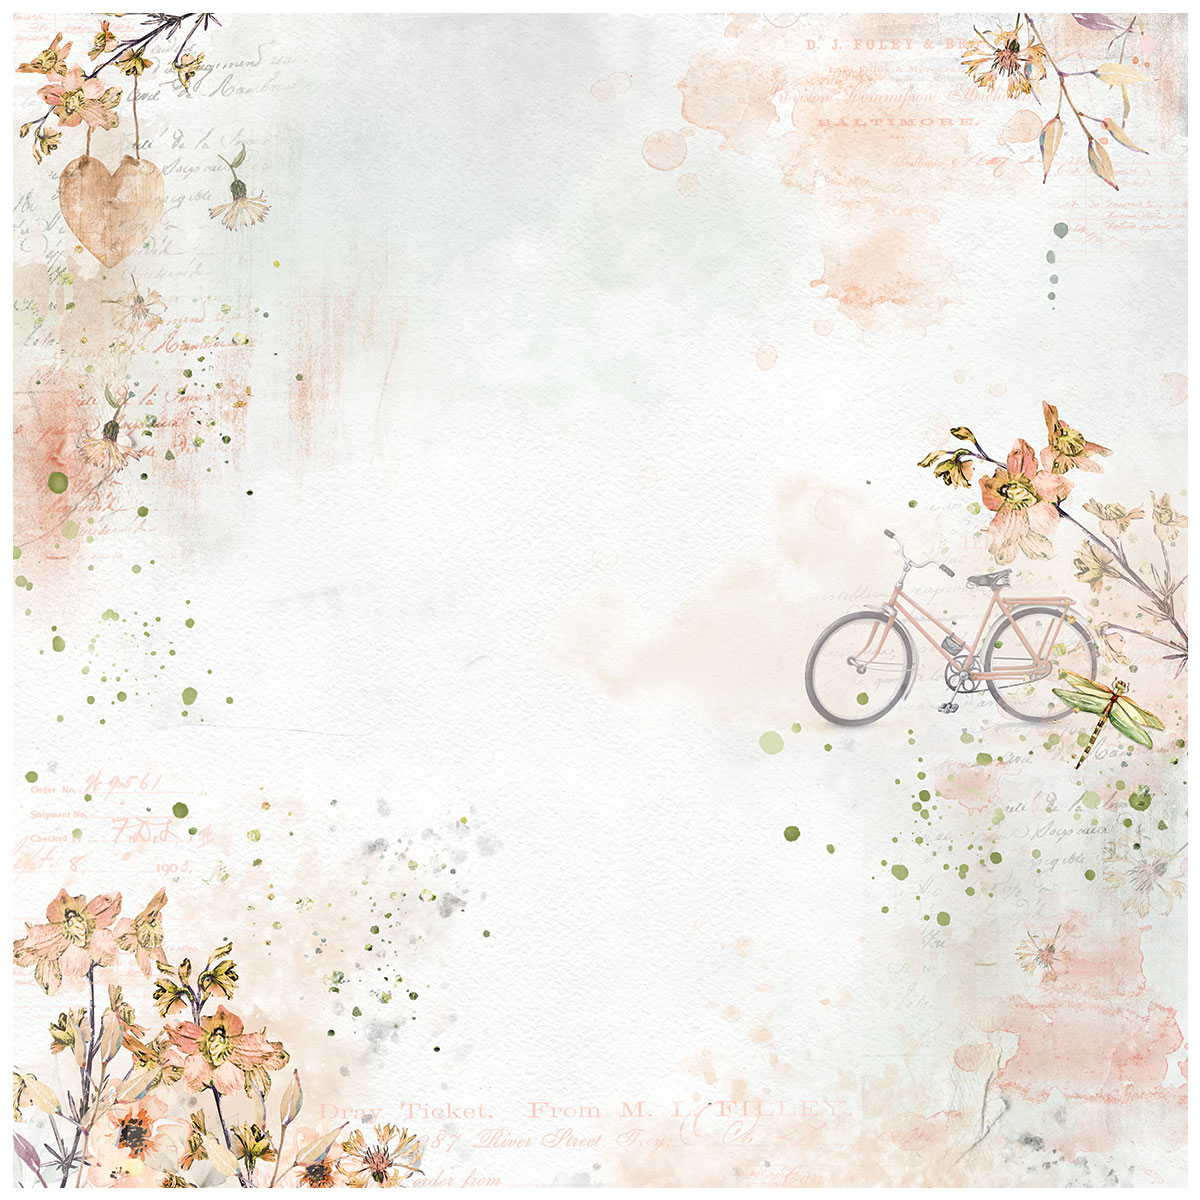

Ethereal
Daydream

Serendipitous
Mini collection

Ethereal
Layered Embellishments

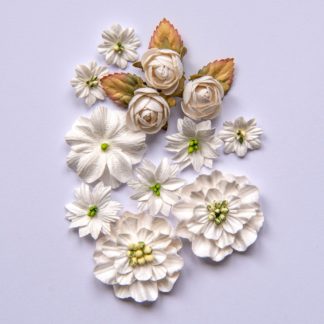
Cotton Blooms
Cloud

Rations
Stamp Set

Other products:
  • Spray inks - Lindy's Gang (Frolic in the Forest);
  • Magical - Lindy's Gang (Cowabunga Copper, Red Hot Poker Orange);
  • Stencil - A.B. Studio (Stencil ID-90);
  • Molds - Finnabair Prima (Mechanica);
  • Mechanical - Finnabair Prima (Rusty Labels);
  • Art Ingredients - Finnabair Prima (Glitter: Luminous set; Art Stones, Micro Art Stones);
  • Art Alchemy - Finnabair Prima (Acrylic Paint: Flame; Wax: Rich Copper);
  • Art Basics - Finnabair Prima (Clear Gesso, Black Gesso, 3D Matte Gel, Soft Mate Gel).

jeudi 24 octobre 2019

The Tortle - 49 and Market DT

Bonjour à toutes,

Aujourd'hui je suis sur le blog de 49 and Market avec une nouvelle page réalisée avec la mini-collection Serendipitous.

Hello Sweeties,

Today I'm up on 49 and Market blog with a new layout featuring the Serendipitous mini-collection. 


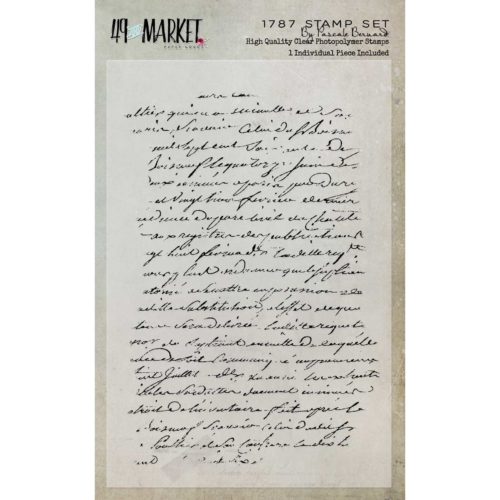
J'ai tamponné le fond avec le tampon 1787. Une fois satisfaite, j'ai protégé le fond avec du gesso transparent. J'ai mélangé du gel 3D avec des paillettes vertes. J'ai utilisé ce mélange pour ajouter un motif à l'aide de deux pochoirs cercles.

I stamped the background with the 1787 stamp. When done, I primed the paper with clear gesso. I mixed some 3D Gloss Gel with green glitters. I used the mixtures to add a design with two circle stencils.


Pendant que la pâte séchait, j'ai coloré les Country Blooms avec une encre marron. J'ai découpé quelques feuilles que j'ai coloré avec des encres brunes et vertes.

While the paste was drying, I colored the Country blooms with brown ink. I die cut some leaves that I colored with brown and green inks. 


J'ai recouvert quelques éléments avec du gesso transparent pour les matifier. J'ai fait des tâches avec du thé et de l'encre verte.

I primed some layered elements with clear gesso to mattify them. I splattered the background with tea and green ink.


J'ai ajouté une feuille de livre et un sachet de thé sous la photo. Puis j'ai collé l'ensemble des embellissements ainsi que des découpes laser.

I added a book page and a tea bag under the photo. Then, I glued all the embellishments, I added some laser cut elements as well. 


bla

To finish the layout I added some microbeads and glass glitters.


Matériels / Materials:

49 and Market products:

Serendipitous
Rain Storm

Serendipitous
Layered Embellishments

Serendipitous
Laser cuts
Country Blooms - Cloud
Country Blooms
Cloud
PB-87506-1787-Pascale-Stamp
Stamp
1787


Other products:
Starburst - Lindy's Gang (Cathedral Pines Green, Mission Bells Brown)
Squirt - Lindy's Gang (Beaver Tail Brown);
Stencil - A.B. Studio (Stencil ID-78, Stencil ID-79);
Glitters - Blue Fern Studio (Peacock, Caribbean);
Art Ingredients - Finnabair Prima (Glass Glitter: Copper, Microbeads: Copper);
Art Basics - Finnabair Prima (Clear Gesso, 3D Gloss Gel, Soft Matte Gel).

lundi 24 juin 2019

Vintage layout - 49 and Market DT

Bonjour à toutes,

Aujourd'hui, je suis sur le blog de 49 and Market avec une nouvelle page réalisée avec la collection Old School. Il s'agit de la page que j'ai réalisé pendant un des atliers que j'ai animé.

Hello Sweeties,

Today, I'm up on 49 and Market blog with a new layout featuring the Old School collection. It's the sample I made during a class I taught.


Après avoir tamponné avec divers tampons, j'ai protégé le papier avec du gesso transparent. Puis, j'ai ajouté un motif avec un pochoir et de la pâte graphite.

After stamping with different stamps, I primed the paper with clear gesso. Next, I add a design with a stencil and graphite paste.


J'ai découpé deux tags et j'ai ajouté un motif avec le même pochoir et de la pâte perle.

I cut two tags, and I added a design with a pearl paste with the same stencil.


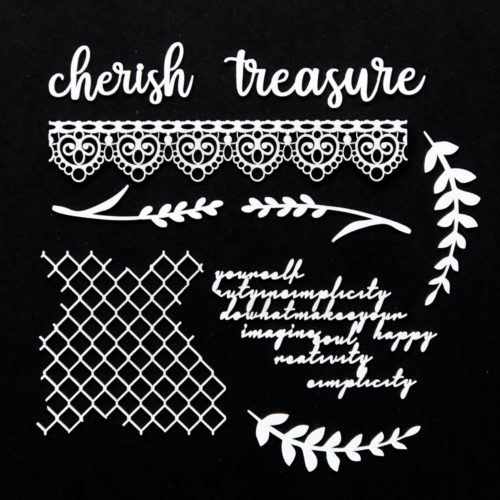
Pendant que les pâtes séchées, j'ai coloré avec une encre noire le texte et la grille dans set de chipboard Treasure. J'ai coloré les fleurs avec des encres grises et violettes. J'ai également coloré  des feuilles découpées dans du papier aquarelle.

While the pastes were drying, I colored with black ink the text and the grid from the Treasure archival board. I colored the flowers with grey and purple inks. I colored some leaves die cut in a watercolor paper.


Ensuite, j'ai ajouté un peu de couleur au fond. Et j'ai collé tous les embellissements.

Next, I added some color to the background. And I glued all the embellishments. 


Pour finir la mise en page j'ai ajouté des microbilles.

To finish the layout, I added some with microbeads


Matériels / Materials:

49 and Market products:


Old School
Penmanship

Old School
Off the Grid

Treasure
6x6 Archival Board

Country Blooms
Cloud

Pascale's Grammar
Stamp

Pascale's Form
Stamp

Other products:

  • Spray inks- Lindy's Gang (My Mojito Green, Bombshell Black);
  • Squirts - Lindy's Gang (Polite People Purple, Banff Blue, Maple Syrup Bronze);
  • Stencil - A.B. Studio (Stencil ID-94);
  • Art Extravagance - Finnabair Prima (Graphite Paste, Frost Icing Paste);
  • Art Basics - Finnabair Prima (Clear Gesso, 3D Matte Gel, Soft Matte Gel).

mercredi 8 mai 2019

Opale - 49 and Market DT

Bonjour à toutes,

Aujourd'hui je suis sur le blog de 49 and Market avec une nouvelle page réalisée avec la collection Vintage Remnants et un des nouveau set de fleurs Country Blooms.

Hello Sweeties

Today I'm up on 49 and Market blog with a new layout featuring the Vintage Remnants collection and one of the new flowers set Country Blooms.


J'ai tamponné ici et là avec le tampon 1787 avant de protéher le fond d'une couche de gesso transparent. Puis, j'ai ajouté un motif à l'aide d'un pochoir et de pâte graphite.

I stamped randomly with the 1787 stamp before priming the background with clear gesso. Next, I added a design with a stencil and graphite paste.


J'ai découpé deux tags dans le papier n°6 de la collection Vintage Remnants, que j'ai également recouvert d'une couche de gesso transparent. Puis j'ai ajouté un motif avec le même pochoir et de la pâte "Icing" perle.

I cut two tags in the paper n°6 from the Vintage Remnants collection, which I primed with clear gesso too. I added a design with the same stencil and a pearl icing paste.


J'ai découpé quelques feuilles dans du papier aquarelle et je les ai coloré avec des encres ainsi que les feuilles du set de chipboards Treasure. J'ai également coloré le fond.

I die cut a few leaves in a watercolor paper and I colored them with inks as well as the leaves from the Treasure Archival Board. I added some colors to the background too.


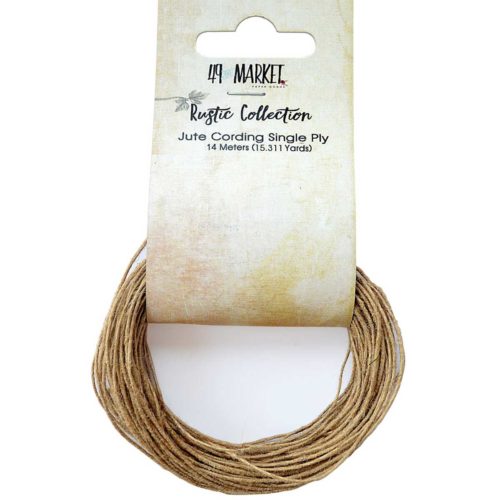
Une fois satisfaite, j'ai collé l'ensemble des éléments avec du gel 3D. J'ai ajouté de la ficelle de jute aux tags.

When happy, I glued all the elements with a 3D gel. I added some jute cording to the tags.


Pour finir la mise en page, j'ai ajouté des microbilles, des glass gliters et des flocons de mica.

To finish the layout, I added some microbeads, glass glitter, and mica flakes.


Matériels / Materials:

49 and Market:


Vintage Remnants
Paper n°1

Vintage Remnants
Paper n°6
AB-88718 Treasure Archival Chipboard
6x6 Archival Board
Treasure
a
a
a
PB-87506-1787-Pascale-Stamp
Stamp
1787
Country Blooms
Storm
RB-86325 Jute Cording - Single Ply
Jute Cording
Single Ply

Other products:
  • Squirts - Lindy's Gang (Polite People Purple, Banff Blue, Maple Syrup Bronze, Hockey Puck Black);
  • Stencil - A.B. Studio (Stencil ID-126);
  • Dies - Sizzix (Tag and Bookplates, Tag and Tie)
  • Die - Memory Box (Fine Cut Leaves);
  • Die - Elizabeth Crafts Designs (Curvy Leaves);
  • Art Ingredients - Finnabair Prima (Mica Flakes: Granit; Microbeads: Silver; Glass Glitter: Gold Rush);
  • Art Extravagance - Finnabair Prima (Graphite Paste, Frosty Pearl Icing Paste);
  • Art Basics - Finnabair Prima (Clear Gesso, 3D Matte Gel, Soft Matte Gel).

lundi 18 février 2019

Freedom - Lindy's Gang DT

Bonjour à toutes,

Aujourd'hui, je suis sur le blog de Lindy's Gang avec un nouveau pas-à-pas réalisé avec les Squirts: le nouveau concept de Lindy's Gang. Si vous n'avez pas encore eu la chance de vous amuser avec, vous devriez parce qu'elles sont géniales !


Hello Sweeties,

Today I'm up on Lindy's Gang blog with a new step-by-step project: canvas featuring the amazing squirts: the new concept from Lindy's gang. If you haven't had a chance to play with them yet, you really should as they are just amazing! 


Processus / Basic process :

  1. Couper un coeur dans du carton plume et attacher des ailes de chaque côté ;
    Cut a heart in cardboard and glue wings on both sides;
  2. Recouvrir le coeur de Modeling Paste. Sécher jusqu'à ce que la pâte soit séche au toucher, mais encore moelleuse. Enfin presser un tampon pour laisser une empreinte ;
    Cover the heart with modeling paste. Dry until the paste was dry to touch but still soft, then press a stamp in it to leave a print;
  3. Recouvrir le coeur et les ailes avec du gesso blanc ;
  4. Prime the heart and the wings with white gesso;
  5. Pendant qu'il séche, peindre le fond avec les squirts Hockey Puck Black et Loonie Toonie Teal . Ajouter ici et là une fine couche de pâte à craqueler blanche;
    While it dries, paint the background with Loonie Toonie Teal and Hockey Puck Black squirts. Add a thin layer of white crackle paste here and there;


  6. Peindre le coeur avec le squirt Polite People Purple et les ailes avec le magical Antique Gold ;
    Color the heart with Polite People Purple squirt and the wings with Antique Gold magical;


  7. Ajouter au fond un motif à l'aide d'un pochoir et de pâte à craqueler blanche ;
    Add a design to the background with a stencil and white crackle paste; 
  8. Mélanger le poudre Antique Gold avec du gel 3D brillant et utiliser ce mélange pour ajouter un motif à un tag en acrylic transparent ;
    Mix Antique Gold magical with 3D gloss gel and add a design on a clear acrylic tag with the mixture and a stencil;
  9. Colorer des découpes de feuilles avec Hockey Puck Black et Loonie Toonie Teal. Saupoudrer les avec la poudre Desert Moon Turquoise et embosser ;
    Color some die cut leaves with Loonie Toonie Teal and Hockey Puck Black. Sprinkle with Desert Moon embossing powder while they are still wet. Emboss;


  10. Colorer des découpes de fleurs sauvages avec Polite People Purple et Antique Gold. Saupoudrer de poudre Imperial Crown Purple Gold et embosser ;
    Color some die cut wildflowers with Polite People Purple and Antique Gold. Sprinkle with Imperial Crown Purple Gold embossing powder. Emboss;


  11. Coller tous les embellissements ;
    Glue all the embellishments;
  12. Colorer des rubans. Ajouter plus de couleur aux ailes avec Loonie Toonie Teal ;
    Color some binding ribbon. Add more color to the wings with the Loonie Toonie Teal.


  13. Ajouter quelques tamponnages ;
    Add some random stamping;
  14. Et pour terminer ajouter des flocons de mica et des microbilles.
    Add some mica flakes and microbeads to finish.

La video / The video tutorial:


Matériels / Materials:

Lindy's Gang products:
Other products:
  • Stencils - A.B. Studio (Stencil ID-71, Stencil ID-126);
  • Stamp - A.B. Studio (Stamp ID-208);
  • Stamp - 49 and Market (Pascale's Ration Stamp Set);
  • Mould - Prima (Wings);
  • Flowers - Prima (Rose Quartz);
  • Dies - SIzzix (Wild Flowers);
  • Die - Spellbinders (Leaves So Very Gorgeous)
  • Art Extravagance - Finnabair Prima (White Crackle Paste);
  • Art Basics - Finnabair Prima (White Gesso, Modeling Paste, 3D Gloss Gel).
Related Posts Plugin for WordPress, Blogger...