
Bonjour à toutes,
Aujourd'hui je suis sur le blog de 49 and Market with une page réalisée avec la nouvelle collection Rusry Autumn. J'ai choisi de travailler avec un photomontage que j'ai créé d'après Le Thérapiste de Magritte.
Hello Sweeties
Today, I'm up on 49 and Market blog with a layout featuring the new collection Rusty Autumn. I chose to work with a photomontage I've made according to The Therapist from Magritte.
Aujourd'hui je suis sur le blog de 49 and Market with une page réalisée avec la nouvelle collection Rusry Autumn. J'ai choisi de travailler avec un photomontage que j'ai créé d'après Le Thérapiste de Magritte.
Hello Sweeties
Today, I'm up on 49 and Market blog with a layout featuring the new collection Rusty Autumn. I chose to work with a photomontage I've made according to The Therapist from Magritte.

J'ai commencé par protéger le fond avec du gesso transparent. Puis, j'ai tamponné ici et là avec deux tampons et deux encres : une noire et une grise. Ensuite, j'ai ajouté un motif à l'aide d'un pochoir et de trois pâtes maison obtenues en mélangeant des Primary Elements ou des poudres de mica avec du gel brillant 3D.
I primed the background with clear gesso. When done, I stamped here and there with two stamps and two Archival inks: one black and one gray. Next, I added a design with a stencil and three different homemade pastes by mixing Primary Element or Mica Powder with 3D gloss gel.
I primed the background with clear gesso. When done, I stamped here and there with two stamps and two Archival inks: one black and one gray. Next, I added a design with a stencil and three different homemade pastes by mixing Primary Element or Mica Powder with 3D gloss gel.

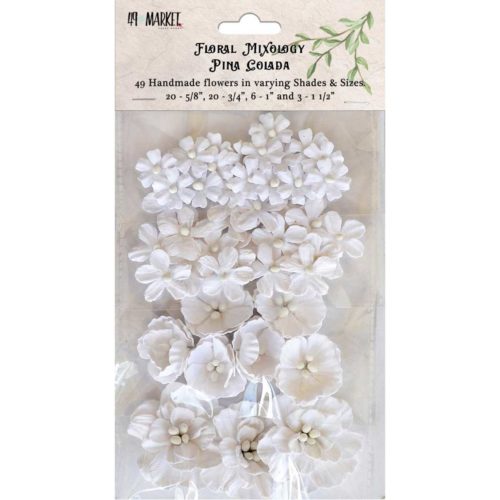
Pendant que le fond séchait, j'ai coloré quelques fleurs avec une encre en spray. J'ai découpé des feuilles que j'ai coloré avec poudre de mica verte et la même encre.
While the background was drying, I colored some flowers with a spray ink. I die cut some leaves in a watercolor paper and I colored them with a green mica powder and the same ink.
While the background was drying, I colored some flowers with a spray ink. I die cut some leaves in a watercolor paper and I colored them with a green mica powder and the same ink.

J'ai directement coloré les petites fleurs de la planche Wild and Free avec des Twinkling H2O sans avoir besoin de les préparer avant. Puis j'ai coloré les plumes et l'attrape-rêve avec des cires.
I colored the tiny flowers from the Archival Board with Twinkling H2O, there was no need to prime them before. Next, I colored the feathers and the dream-catcher with waxes.
I colored the tiny flowers from the Archival Board with Twinkling H2O, there was no need to prime them before. Next, I colored the feathers and the dream-catcher with waxes.

J'ai ajouté un peu de couleur au fond, coupé du papier pour ajouter sous la photo et j'ai collé les embellissements avec du gel 3D.
I added some color to the background, cut some paper to add under the photo and I glued all the embellishments with a 3D gel.
I added some color to the background, cut some paper to add under the photo and I glued all the embellishments with a 3D gel.

Pour finir la mise en page, j'ai ajouté des flocons de mica et des Prills.
To finish the layout, I added some Mica flakes and Prills.
To finish the layout, I added some Mica flakes and Prills.

Matériels / Materials:
Maja Design products:
 Rusty Autumn Reminescent |  Rusty Autumn Blooming Autumn bs | 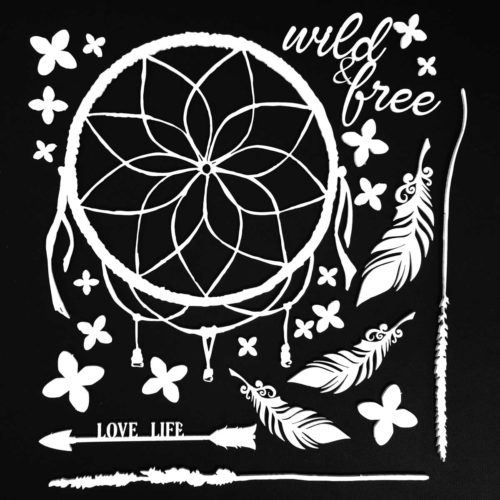 Archival Board White Wild and Free |
 Floral Mixology Pina Colada |  Seaside Blooms Cotton |  Stamp Pascale's Grammar | 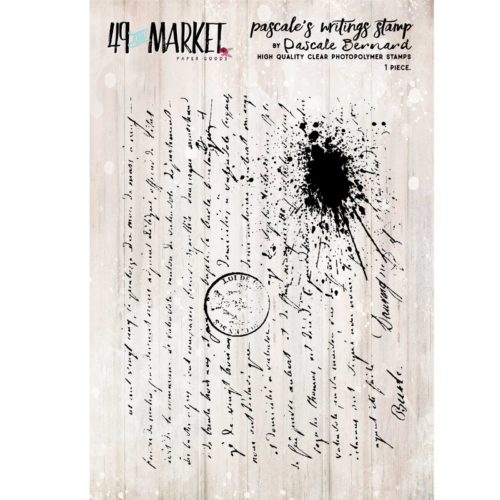 Stamp Pascale's Writings |
Other products:
- Twinkling H2O - ColourArte (Burnt Umber, English Lavender, Forest Green);
- Primary Element - ColourArte (Burnt Umber, English Lavender);
- Stencil - Stamper's Anonymous (Flourish);
- Prills - ArtQuest (Express-O-Yourself);
- Art Alchemy - Finnabair Prima (Waxes: White Gold, Rose Gold);
- Art Ingredients - Finnabair Prima (Mica Powder: Bottle Green; Mica Flakes: Mulberry);
- Art Basics - Finnabair Prima (Clear Gesso, 3D Gloss Gel, Soft Matte Gel).


