dimanche 29 mai 2016

You & Me - Maja Design DT

Bonjour à toutes,

Aujourd'hui, je suis sur le blog de Maja Design avec une nouvelle page et un tutoriel video. J'ai travaillé avec la nouvelle collection Vintage Romance.

Hello Sweeties

Today, I'm up on Maja Design blog with a new layout and a video tutorial. I worked with the new collection: Vintage Romance.


Quelques gros plans :

Some close-ups:


Et voici le tutoriel en video :

And here is the video tutorial:


Et n'oubliez qu'il vous reste deux jours pour essayer de gagner la collection Vintage Romance. Cliquez ici.

And don't forget that you still have two days left to win the Vintage Romance collection. Click here.

Matériels / Materials:

Maja Design papers:


Vintage-Romance-P
Bride & GroomLove is in the air
Bride and GroomLove is in the air

Other products used:

Twinkling H2O - ColourArte (Black Cherry, Wine and Roses, Burnt Umber, Fern, Moss Green, Golden Bambou) ;
Poudres à embosser / Embossing powders -Blue Fern Studios (Sage, Ginger) ;
Fleurs / Flowers - Wild Orchid Crafts (Wild Rose 30mm, Orchid) ;
Matrices de coupe / Dies - Memory Box (Botanical Stem, Slender Leaves) ;
Art Ingredients - Finnabair Prima (Mini Art Stones) ;
Art Extravangance - Finnabair Prima  (White Crackle Paste) ;
Art Basics - Finnabair Prima  (Clear Gesso, Soft Matte Gel, 3D Gloss Gel).


Did you know Maja Design is on Social Media?

Pinterest: Did you know that Maja Design has a Pinterest Page? You can find it right here.
Facebook: You can follow us on Facebook right here and of course "LIKE" us.
Instagram: Maja also has an Instagram account – majadesigninsweden.
(Use the hashtag #majadesigninsweden or the tag @majadesigninsweden
with your Maja papers so we can find you.)
YouTubehttps://www.youtube.com/user/MajaDesignChannel

jeudi 26 mai 2016

Smile - Scrapbook Diaries kit

Bonjour à toutes,

Aujourd'hui je vous présente mon nouveau kit pour The Scrapbook Diaries avec la nouvelle collection de Maja Design : Vintage Romance.
Les kits conçues par Janene contiennent tout le matériel nécessaire à la réalisation de la page ainsi qu'une page bonus et l'accès illimité à la vidéo montrant chaque étape de la création de cette page.

Hello Sweeties

Today I want to introduce my naw kit for The Scrapbook Diaries with the new collection of Maja Design: Vintage Romance.
The kits designed by Janene included all the material needed for these page and a bonus page as well as an unlimited access to a step-by-step video.


J'ai travaillé cette page avec la nouvelle collection Vintage Romance de Maja Design ...

I worked with the new Maja Design collection Vintage Romance ...


... des Twinkling H2Os ...

... some Twinkling H2Os ...


... des chipboards ...

... some chipboards ...


... des embellissements Prima.... et autres.

... some Prima embellishments ... and others goodies.


Vous pouvez commander ce kit ici.

You can order the kit here.


Matériels / Materials:
  • Papiers/Papers - Maja Design - Vintage Romance (Champagne, Love Notes, Words of Loves) ;
  • Twinkling H2O - ColorArte (Chiffon Pink, Iris Petal, Sweet Alfalfa, Rich Cocoa) ;
  • Imagine Ink - Blue Fern Studios  (Embossing powders: Pearl, Honey, Verdant) ;
  • Chipboards:
    • Blue Fern Studios (Chelsea Vines) ;
    • Scrapiniec (AppleTree Blossom Frame) ;
  • Flowers:
    • Prima (Parisa, Chaste Thandi) ;
    • Small white roses ;
  • Resins - Prima (The Fontain, Small Frame) ;
  • Art Ingredient - Finnabair Prima (Pebbles, Mini Art Stones) ;
  • Art Basic - Finnabair Prima (Clear Gesso, Soft Matte Gel, 3D Matte Gel)

mercredi 25 mai 2016

Calm - Blue Fern Studios DT

Bonjour à toutes,  

J'ai une autre page réalisée avec la collection Tranquility de Blue Fern Studios à vous montrer. Pour cette page, j'ai choisi une photo prise en Irlande d'un arbre solitaire.

Hello Sweeties

I have another project made with Tranquility collection from Blue Fern Studios to share with you. For this layout I chose a photo taken in Ireland of a lonely tree.


Vous avez très certainement remarqué que tous les papiers de Blue Fern Studios ont une jolie bande en bas de chaque page comme on peut le voir sur la page ci-dessous. Eh bien, j'ai gardé toutes ces petites bandes ... et je m'en suis servie pour créer une base texturée.

I'm sure that you certainly noticed that all the Blue Fern STudios's papers have an nice strip at the bottom of each page as can be seen below. Well, I kept all these small strips and I used them to create a texture base. 


J'ai collé tous les bandes de papier à l'i de gel medium mat et les ai recouvertes d'une légére couche de gesso noir. Une fois sec, j'ai ajouté des taches de gesso blanc dilué.

I glued all the paper strips soft matte gel and covered them with a thin layer of black gesso. When dry, I splattered some white gesso that I've watered down.


Pendant que le fond séché, j'ai recouvert les morceaux de Mesh de "Rust Paste".

While the background was drying, I covered the Mesh Bits with the Rust Paste.


J'ai coloré les feuilles avec une Twinkling H2O verte et ajouté des poudres à embosser Chili Powder et Verdant.

I colored the leaves with a green Twinkling H2O and added randomly some Chili Powder and Verdant embossing powders.


J'ai recouvert les chipboards "Blooming Flourishes" et "Serenity" de pâte à craqueler blanche et les ai laissé sécher naturellement. Puis je les ai colorés avec un Primary Element and une Izink ambre.

I covered the Blooming Flourishes and the title with white crackle paste and let dry naturally. Then I colored them with a Primary Element and amber Izink.


J'ai rajouté des tâches au fond avec de la " Rust Paste " et j'ai collé tous les embellissements.

I added more splatter to the background with the Rust Paste and glue all the emellishments.

Matériels / Materials:

Blue Fern Studios products used:

Tranquility - Serenity  Tranquility - Calling Cards Serenity, Calm, Hushed  Mesh Bits  Blooming Flourishes
Tranquility
    Serenity                     Calling Cards
Chipboards
Serenity, Clam, Hushed             Mesh Bits             Blooming Flourishes 
Tranquil Blooms     Embossing Powder - Chili Powder   Embossing Powder - Verdant
Flowers
Tranquil Blooms
Imagine Ink - Embossinge Powders
  Chili Powder         Verdant      

Other Products used:
  • Izink - Aladine (Ambre) ;
  • Twinkling H2O - ColourArte (Moss Green) ;
  • Primary Element - ColourArte (Autumn Butternut) ;
  • Art Extravagance - Finnabair Prima (Rust Paste Effect, White Crackle Paste) ;
  • Art Basics - Finnabair Prima (Black Gesso, Soft Matte Gel, 3D Matte Gel).

Et un petit bonus : un aperçu de la nouvelle collection Attic Charm qui est disponible !

A little bonus: a sneak peek of the new Attic Charm collection which is available!


lundi 23 mai 2016

Serenity - Blue Fern Studio DT

Bonjour à toutes,

Aujourd'hui, c'est une page réalisée avec la collection Tranquility de Blue Fern Studios que je vous propose. J'ai choisi cette photo que j'ai prise lors d'un récent voyage en Irlande de l'abbaye de Kilmore (co. Galway, Irlande).

Hello Sweeties

Today, it's a project made with the Tranquility collection from Blue Fern Studios that I want to share with you. I chose a photo taken during a trip in Ireland of the Kylemore Abbey (co Galway, Ireland).


J'ai commencé par appliquer une couche de gesso transparent pour protéger le papier, puis j'ai ajouté un motif à l'aide d'un pochoir et de gel 3D brillant. Une fois sec, j'ai ajouté quelques couleurs au fond.

I started to apply a thin layer of clear gesso to protect the paper, then I added a design with a stencil and 3D Gloss Gel. When dry, I added some colors to the background.


Pendant que le fond séché, j'ai recouvert le panneau Quatrefoil de pâte à craqueler transparente et je l'ai mis de côté pour sécher. Plus tard, je l'ai peint en gris argent.

While the background was drying, I covered the Quatrefoil Panel with clear crackle paste and put it aside to dry too. Later I painted it grey. 


J'ai paint le titre Serenity avec deux couleurs de Twinkling H2O bleu, puis je l'ai couvert de gesso et finalement je l'ai embossé avec de la poudre Pearl. La couleur bleu réapparait très légérement à travers les couches.

I painted the Serenity chipboard with two shades of blue Twinkling H2Os, then I covered it with white gesso and finally I embossed it with the Pearl Imagine Ink embossing powder. The blue color show through the white layers.


J'ai peint les feuilles en vert et ajouté plusieurs couleurs de poudres à embosser pour ajouter un peu de texture.

I painted the Seaweed chipboards in green and added different colors of Imagine Ink embossing powder to add some texture.


Après avoir collé tous les embellissements, j'ai terminé la mise en page avec queluqes glitters Eggplant.

After I've glued all the embellishments, I finished the layout with the Eggplant glitters.

Matériels / Materials:

Blue Fern Studios products used:


Tranquility - Peaceful  Tranquility - Calling Cards   Serenity, Calm, Hushed  Seaweed  Quatrefoil Panel
Tranquility
   Peaceful                 Calling Cards
Chipboards
Serenity, Clam, Hushed              Seaweeds                  Quatrefoil Panel    
  Tranquil Roses and Lilies  Embossing Powder - Mushroom   Embossing Powder - Sage   Embossing Powder - Ginger   Embossing Powder - Pearl  Glitter - Eggplant
Flowers
Tranquil Roses and Lilies
Embossing Powders
Mushroom             Sage                   Ginger                 Pearl
Glitter
  Eggplant

Other products used:
  • Twinkling H2O - ColourArte (Go Navy, Rich Cobalt, Burnt Umber, Sweet Alfalfa) ;
  • Primary Element - ColourArte (Warm Gray) ;
  • Art Ingredient - Finnabair Prima (Mica Powder: Pale Silver) ;
  • Stencil - Ideaology (Doily) ;
  • Art Extravagance - Finnabair Prima (Clear Crackle Paste) ;
  • Art Basics - Finnabair Prima (3D Gloss Gel, Heavy Gesso Clear, Soft Matte Gel).

jeudi 19 mai 2016

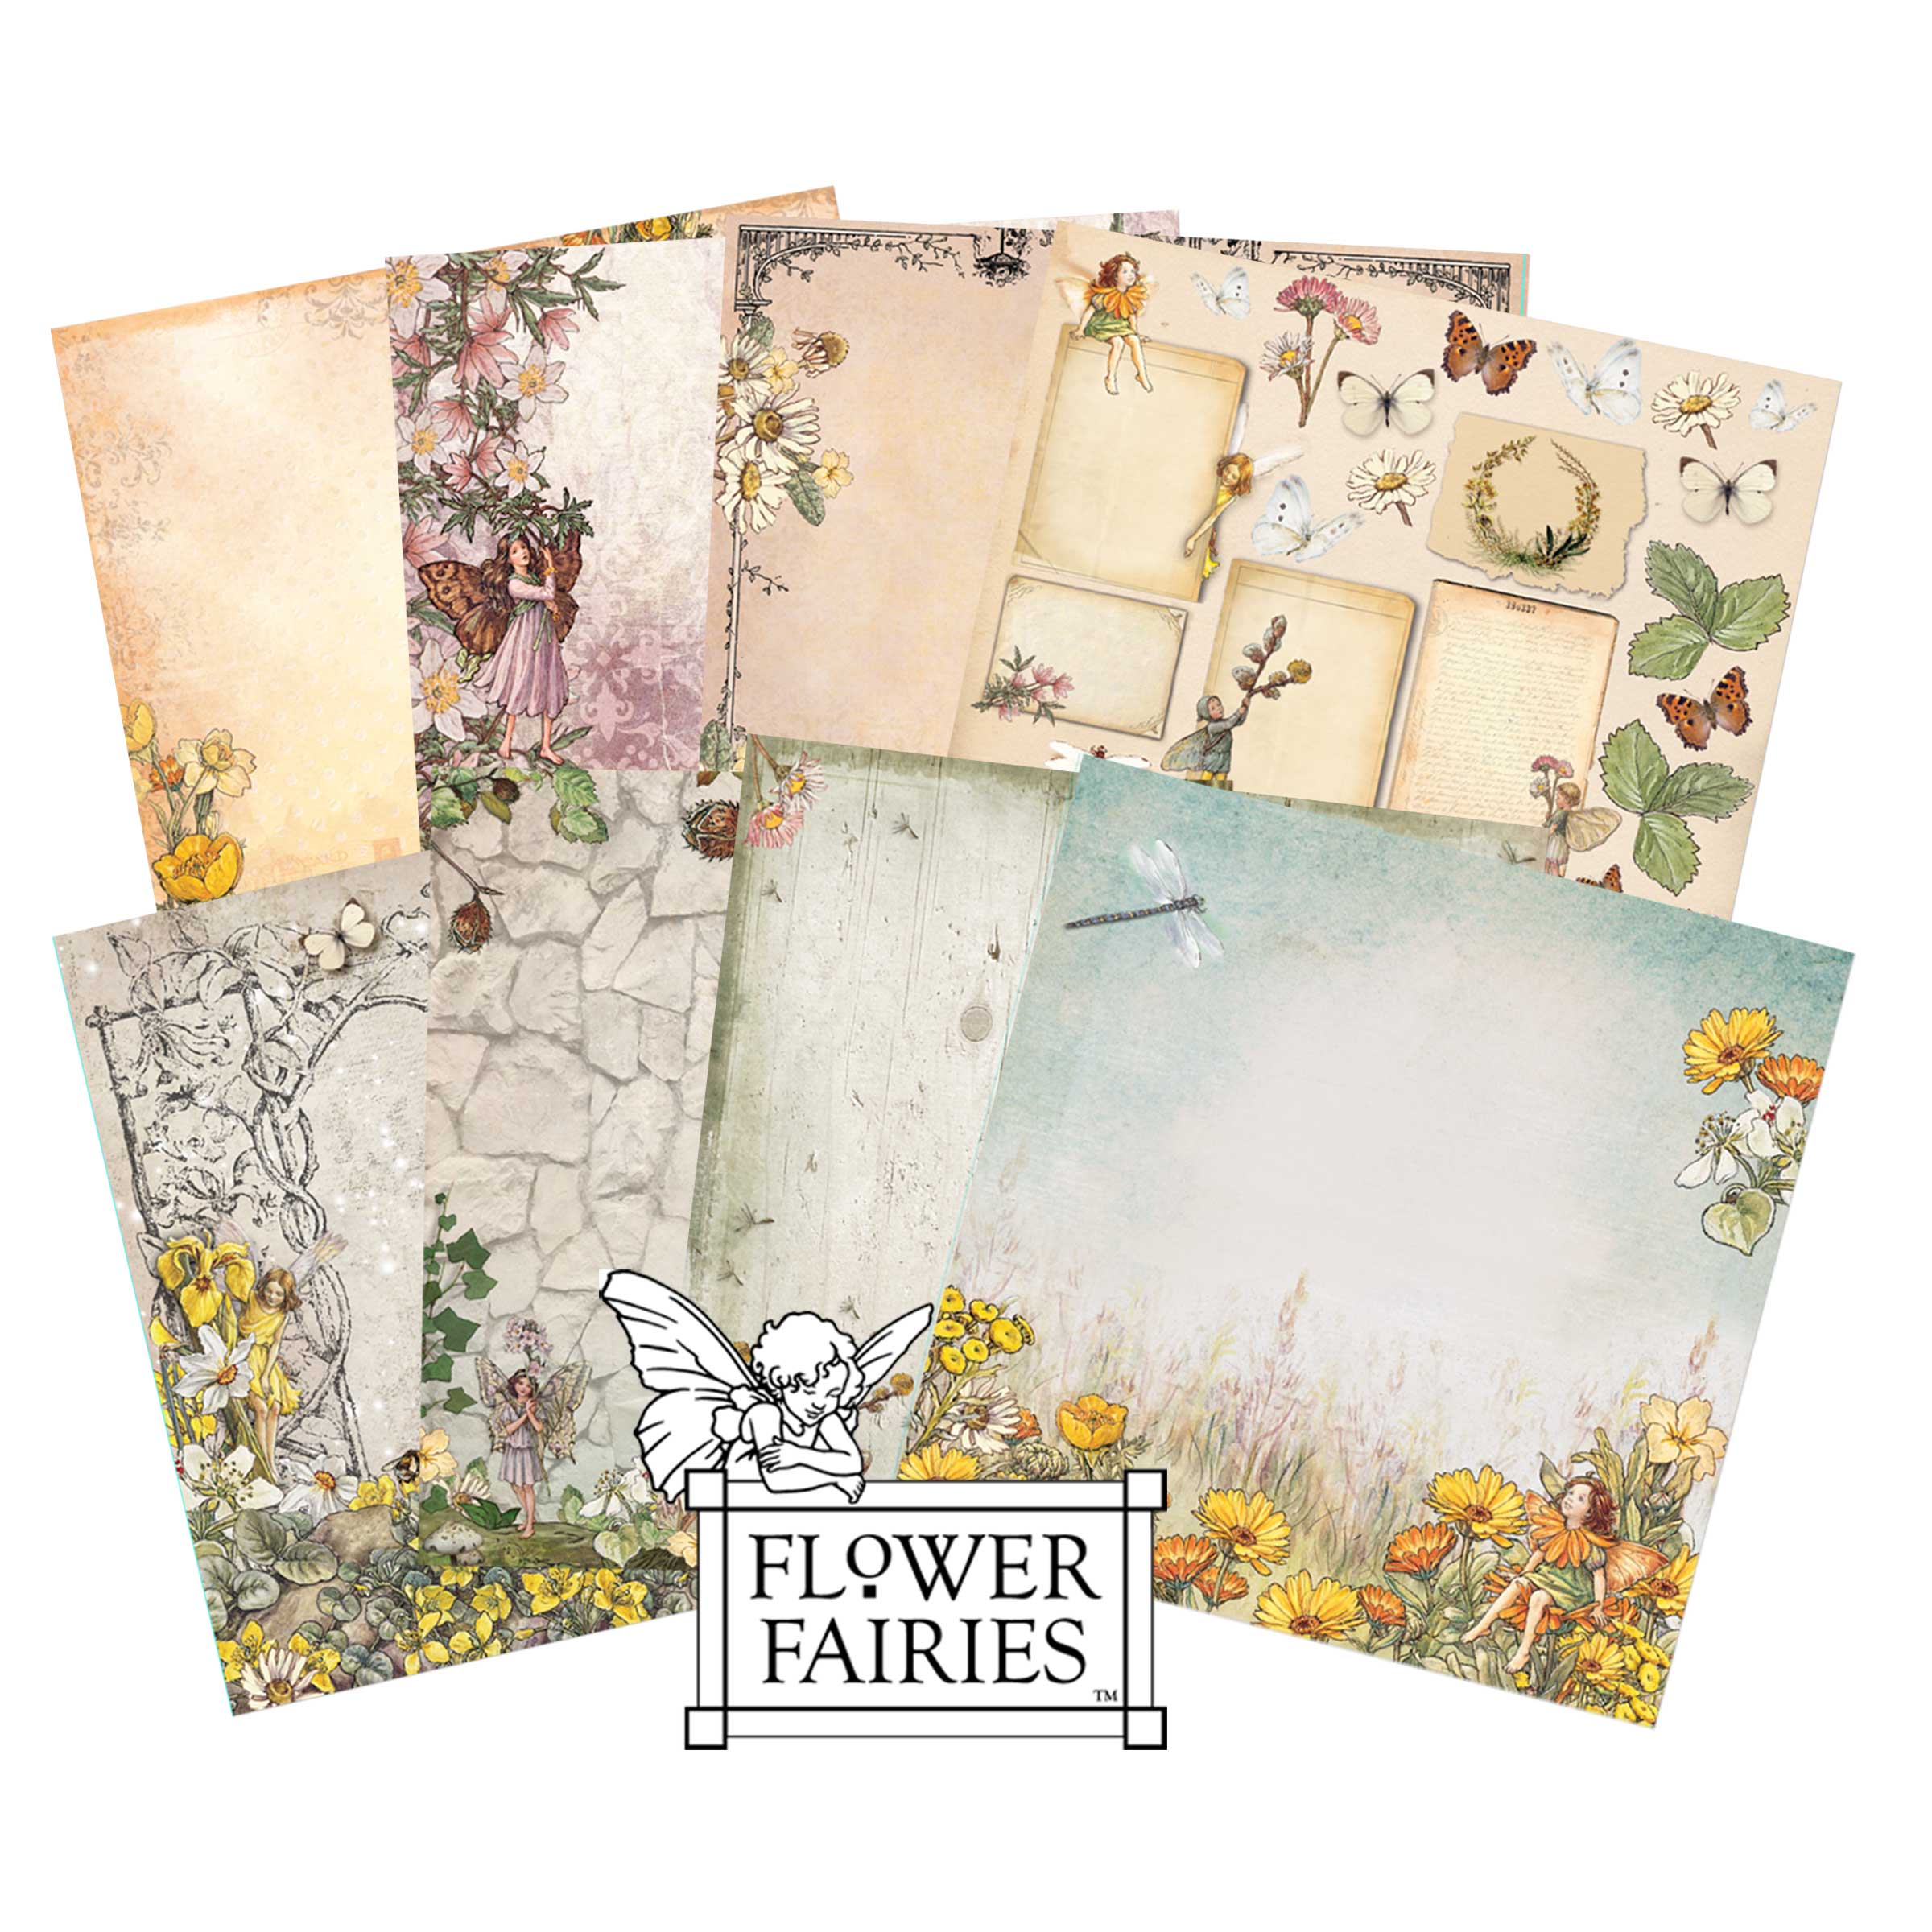
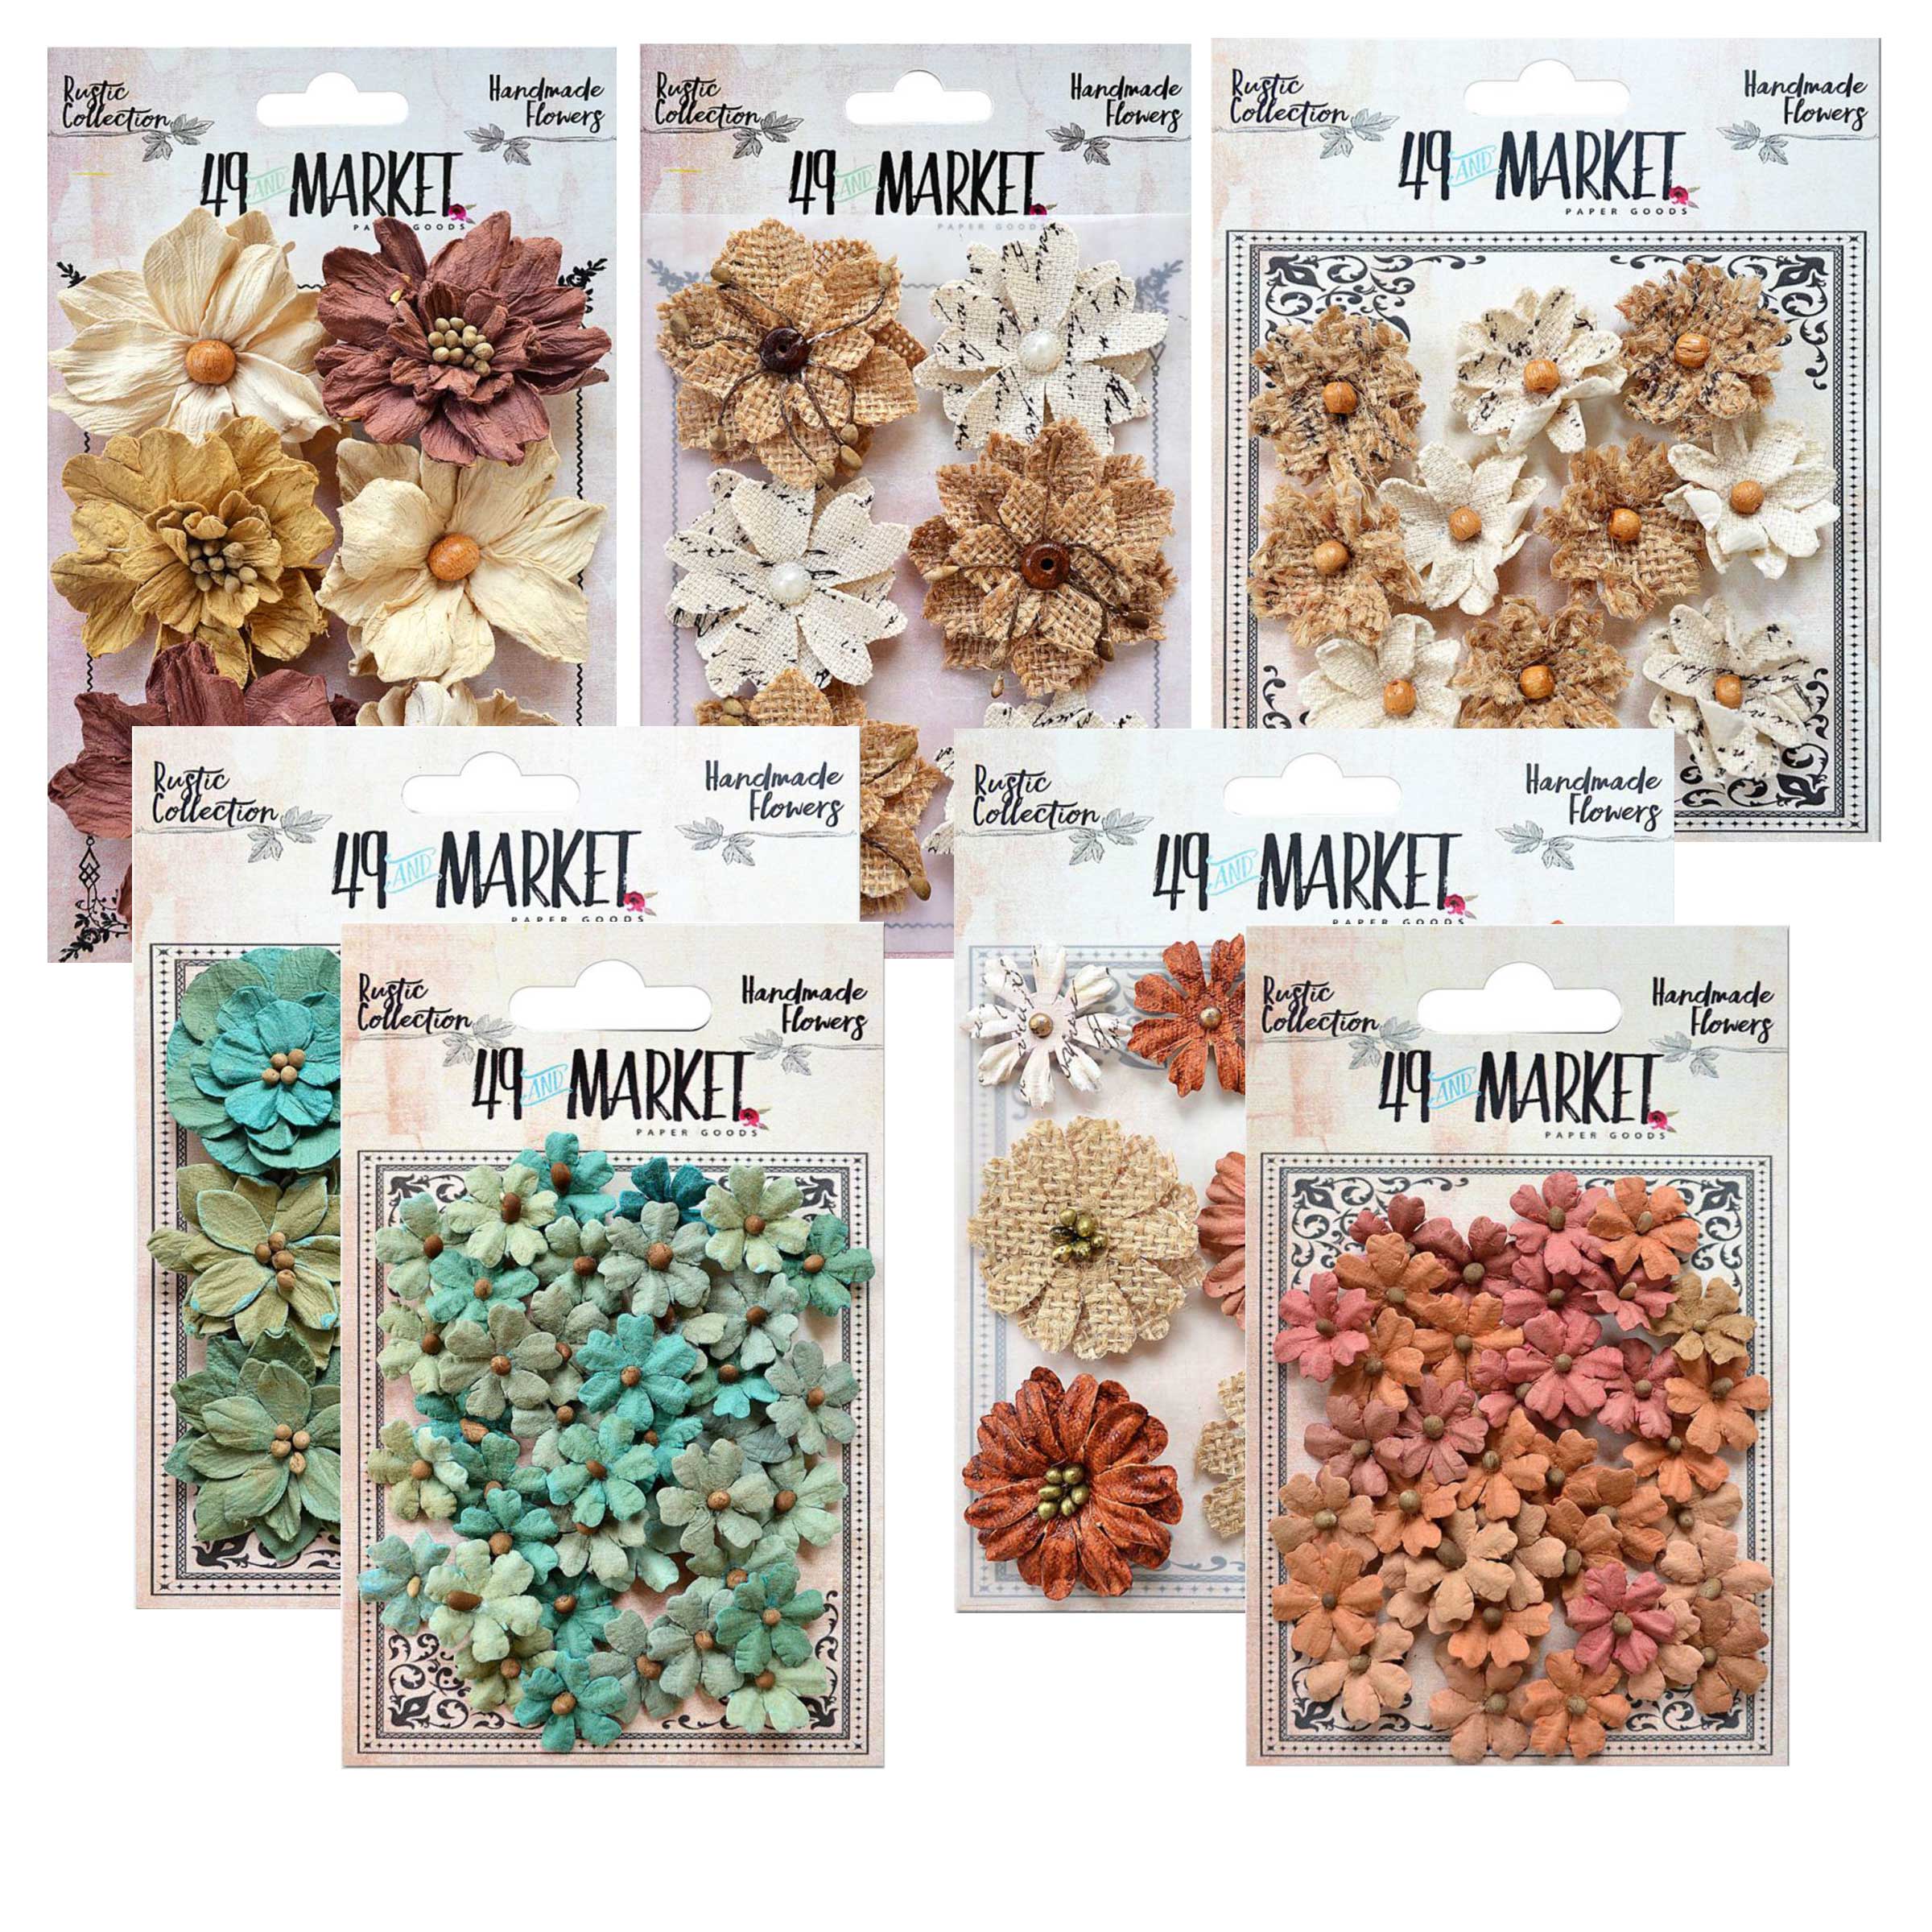
49 and market: A new journey

Bonjour à toutes,

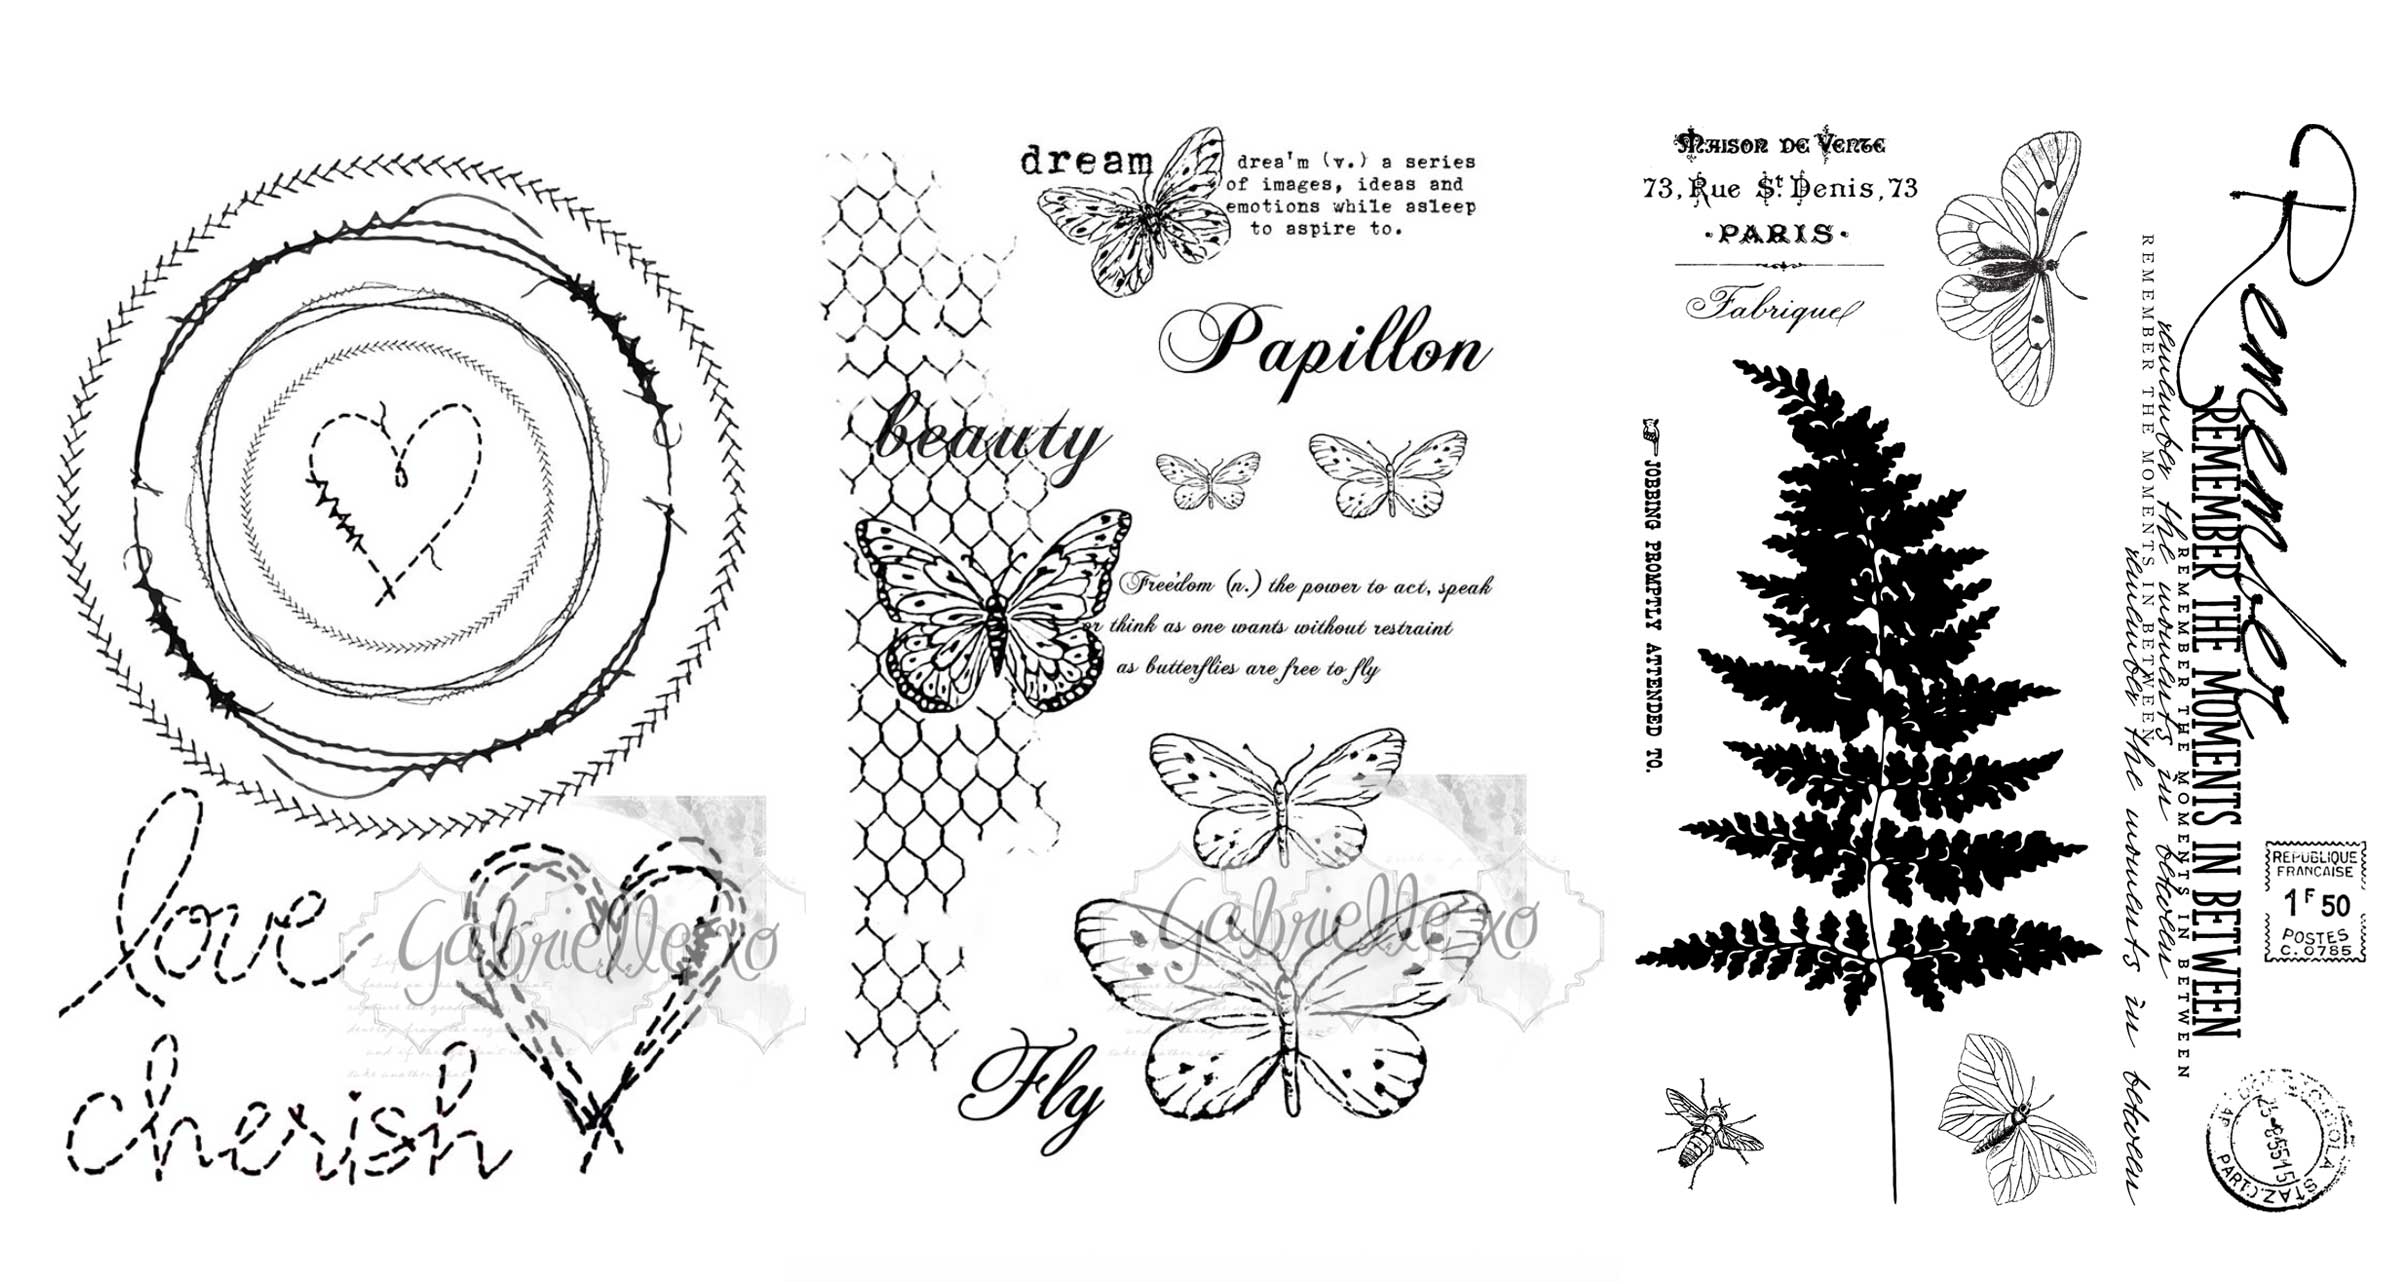
Une nouvelle aventure commence pour moi : Janene a eu la gentillesse de me demander à faire partie de la toute première équipe créative de son bébé 49 and Market : une nouvelle marque de papiers assortis de fleurs, tampons et autres. Les papiers sont d'une qualité extraordinaire adaptée au mixed-media, les fleurs sont magnifiques ... sans oublier les tampons dessinés par la talentueuse Gabrielle Pollacco.

Hello Sweeties

A new journey start for me: Janene has the kindness to invite me to be part of the first design team of her baby
 49 and Market a new brand of papers with assorted flowers, stamps and others goodies ... The quality of the papers is amazing suitable to play with all kind of media, the flowers beautiful, ... not to mention the stamps designed by the talented Gabrielle Pollacco.

Vintage ArtistryFlower Fairies
FlowersStamps

Et voici l'équipe créative au complet :

And here is the complete design team:


Di GarlingAustralia - http://discreativespace.blogspot.com.au/
Gerry Van Gent - Netherland - http://gerryscrafts.blogspot.fr/
Pascale B. - France http://pbhobby.blogspot.fr/
Rachelle Sigurdson - Canada - http://rachiebabe56.blogspot.com
Tina ollett - Australia - http://tinamarie-foreverandalways.blogspot.fr/

Et voici un petit aperçu de mon projet réalisé avec la collection vintage Artistry ....

And here is a sneakpeek of my layout realised with the Vintage artistry collection ...


N'oubliez pas à vous rendre sur la page Facebook de 49 and Market pour participer au "Giveaway".

Don't forget to go to the  49 and Market 's Facebook page: there is a giveaway .


Vous pourrez retrouver toutes les actualités de 49 and Market ici :

You will be able to follow all 49 and market's news here:

Related Posts Plugin for WordPress, Blogger...