Today I'm up on Dusty Attic's blog with an album cover, a gift for a friend.
I covered the Geo Panel #1with Graphite paste. I cut out the Number Panel two 9 which I embossed which I embossed with Chrome Doesn't Pay!
I selected gears from different sets like Jumbo Cogs #2, Gears #1 by nuneka, Mini Cogs, and Designer Disc #15. I chose also the Industrial Cluster #1.
I used a technique I haven't used for a very long time to alter the Jumbo Cog #2 and the Designer Disc #15. First I covered them with black gesso, then I added PVA glue with I heated until the glue bubbled. I covered the glue with black gesso and heat again; When cold, I highlight the details with silver wax. You can see the step-by-step here.
I decided to cover the other cogs with silver Metallic Flakes to add some contrast. I used Soot Antiquing wax to tone down the shine.
I glued the different chipboards with 3D Gel.
To finished I added a few screw heads.
Dusty Attic products:
Jumbo Cogs #2 DA2501
Gears #1 by Nuneka DA2734
Industrial Jumbo gears #2 DA3363
Mini Cogs #3 DA3364
Designer Disc #15 cogs DA2216
Industrial Cluster #1 DA3373
Geo Panel #1
DA1037
Word Strip #2 DA3322
Number Panel Large DA1050
Other products:
Embossing Powders - Lindy's Gang (Chrome Doesn't Pay!);
Mechanicals - Finnabair Prima (Hardware, Mini Knobs);
Art Ingredients - Finnabair Prima (Metallic Flakes Sparkling);
Art Alchemy Waxes - Finnabair Prima (Old Silver, Soot);
Art Extravagance - Finnabair Prima (Graphite Paste, Gilding Glue);
Today I'm up on Lindy's Gang blog to show how you can make your own color paste and
what to expect. For all the samples, I used the same three Magicals: Sandra Dee Sepia Flat Magical, Karin's Coral Magical, and Rizzy Rose Gold Glitzy Magical. I mixed each Magical with the select paste which I applied through a stencil.
I decided to not waste these samples and to use them to make a tiny album. I cut all the samples to the album size and darken the edge with the
Black Hole Black
and the
Sandra Dee Sepia
Magicals.
Here is the result of the different pastes I made. With the Clear Crackle Paste, the colors are very intense.
The result is three shiny and glossy pastes with the 3D Gloss Gel. The colors are even more intense.
Next, I mixed the three Magicals with 3D matte gel. The result is three matte pastes. The colors are still intense and transparent, but they are matte.
I continue with an opaque modeling paste. This time, the colors of the pastes
are still intense and they are no more transparent.
I used a paper paste this time. The colors are pastel and soft.
As
I needed two more pages to complete the album, I decided to make two more
samples.
This time, I mixed the 3 Magicals with Ice Crushed paste. It's a paste based on 3D Gloss Gel mixed with clear microbeads and clear glitter. The result is a
transparent and texture paste.
For the last sample, I mixed the 3 Magicals with a plaster paste. The colors are really pastel with a smooth touch.
Of course, I used the same Magicals to make the cover. But this time instead of mixing the magical with a paste, I simply applied the Opaque Modeling Paste through a stencil. I wait until the paste was dry to color it with the
Magicals.
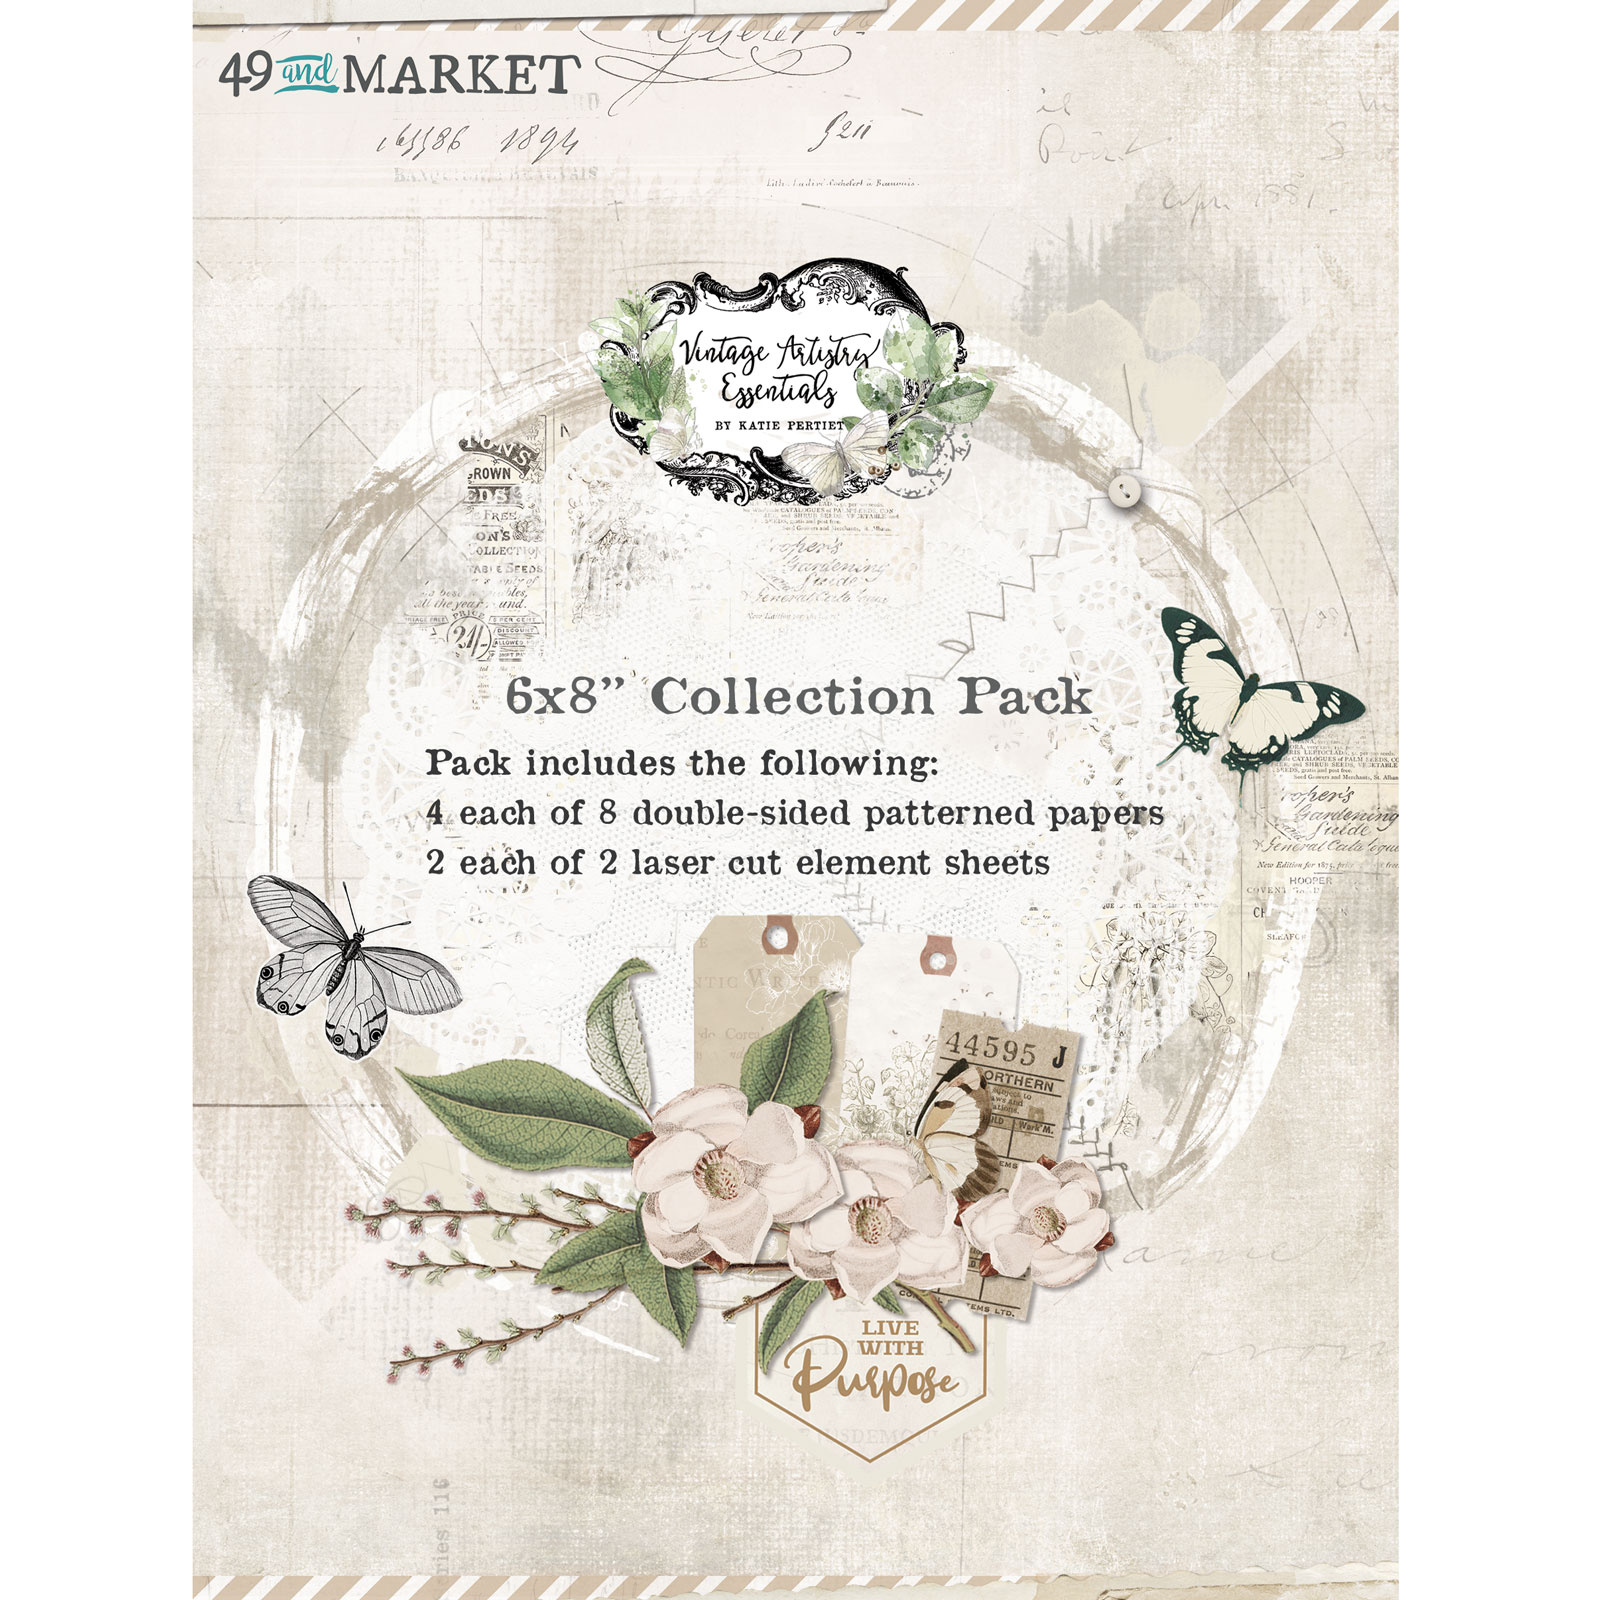
Today I'm up on 49 and Market blog with a small project: a tiny album. The base is the new Foundations Waterfall Enclosure. There are two of them in each packet. I used the 6x8 Vintage Artistry Essentials collection pack to decorate the waterfall. Then I played with different elements from the same collection.
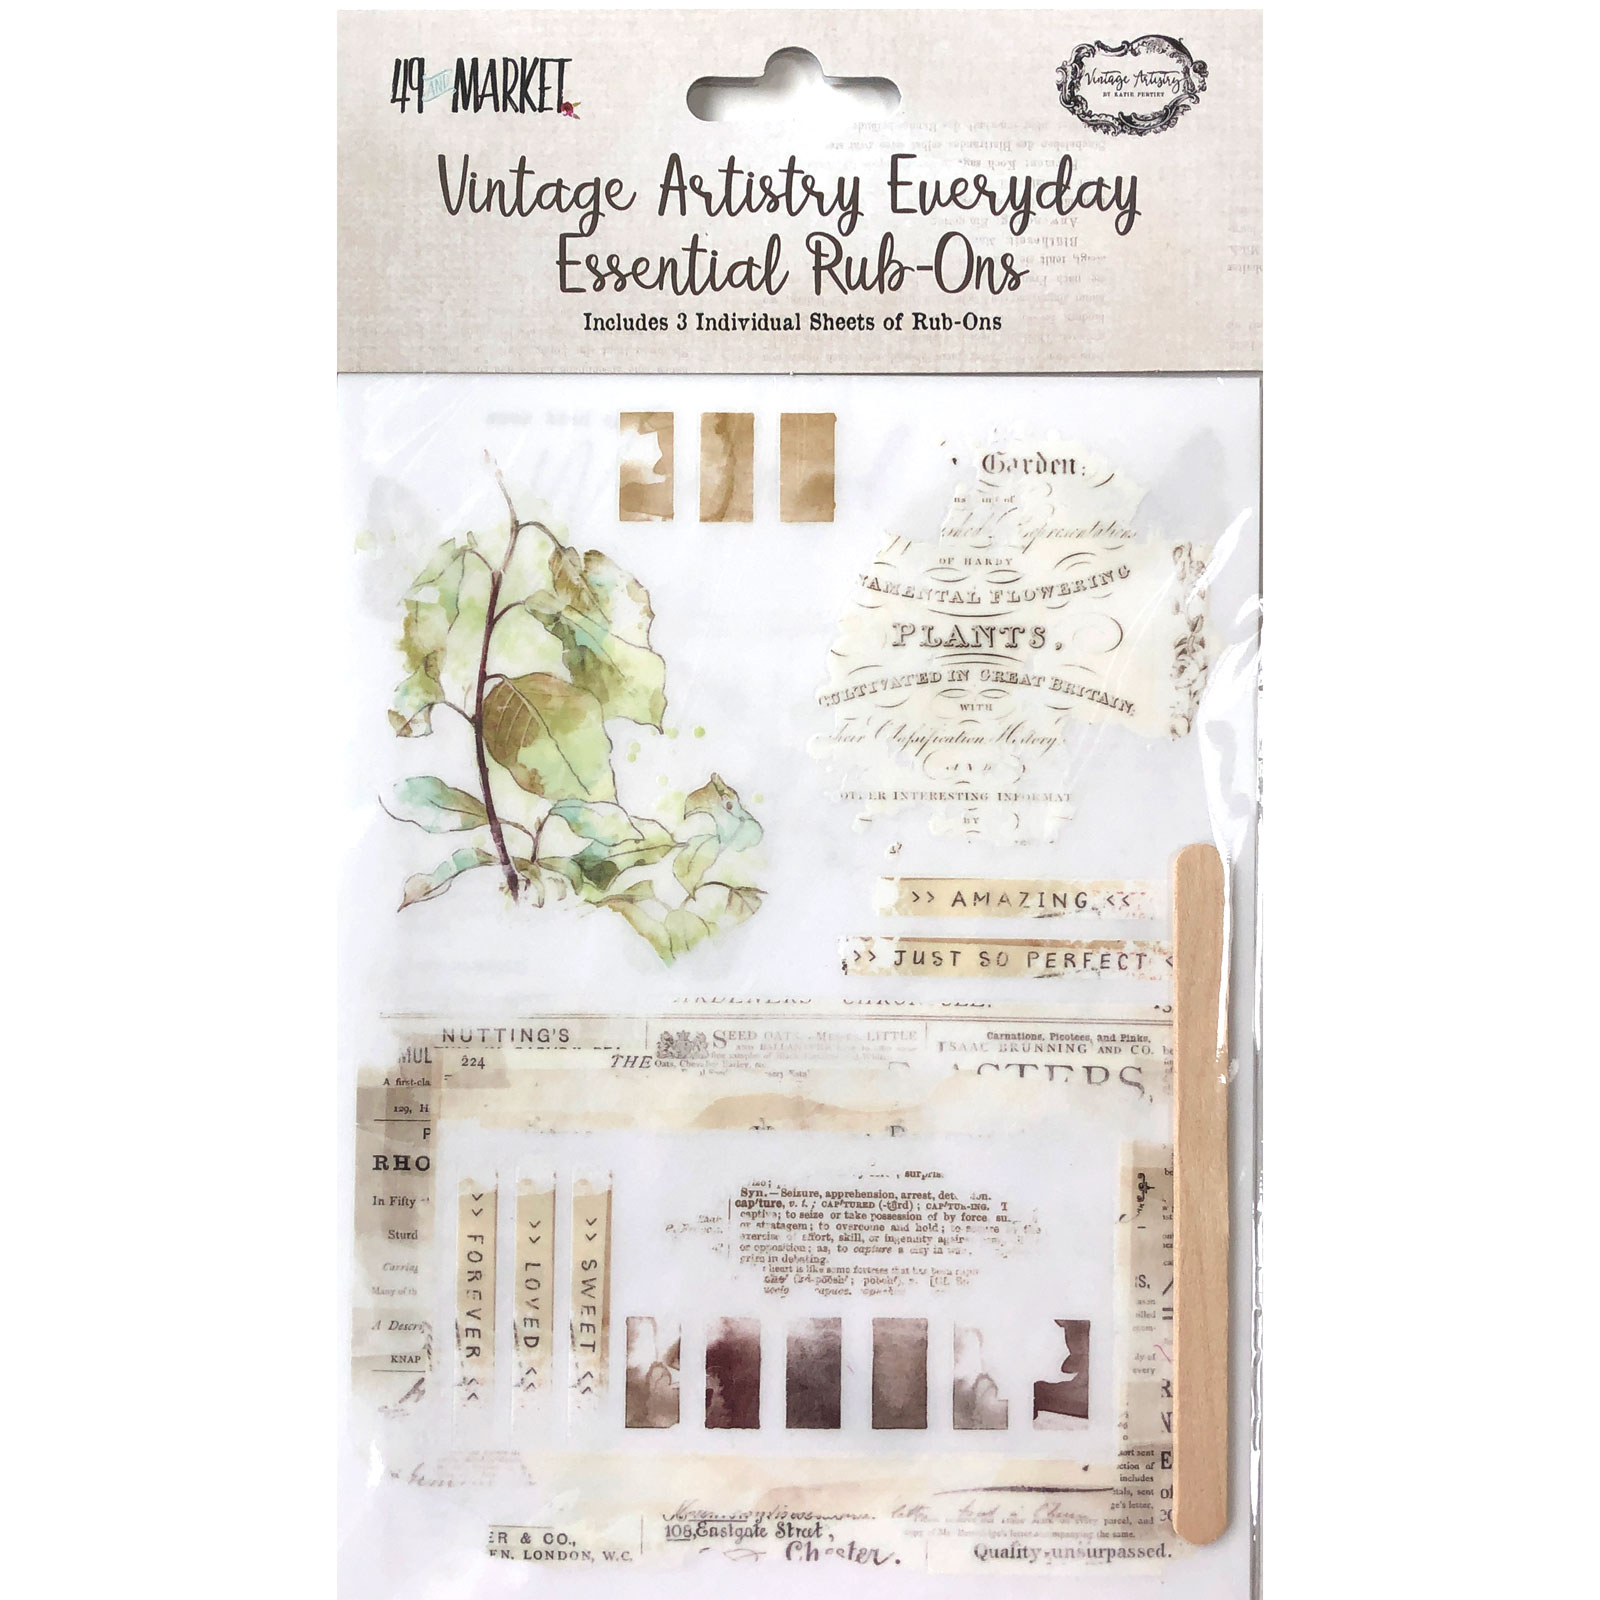
On the cover, I added some rub-ons from the Vintage Artistry Everyday pack.
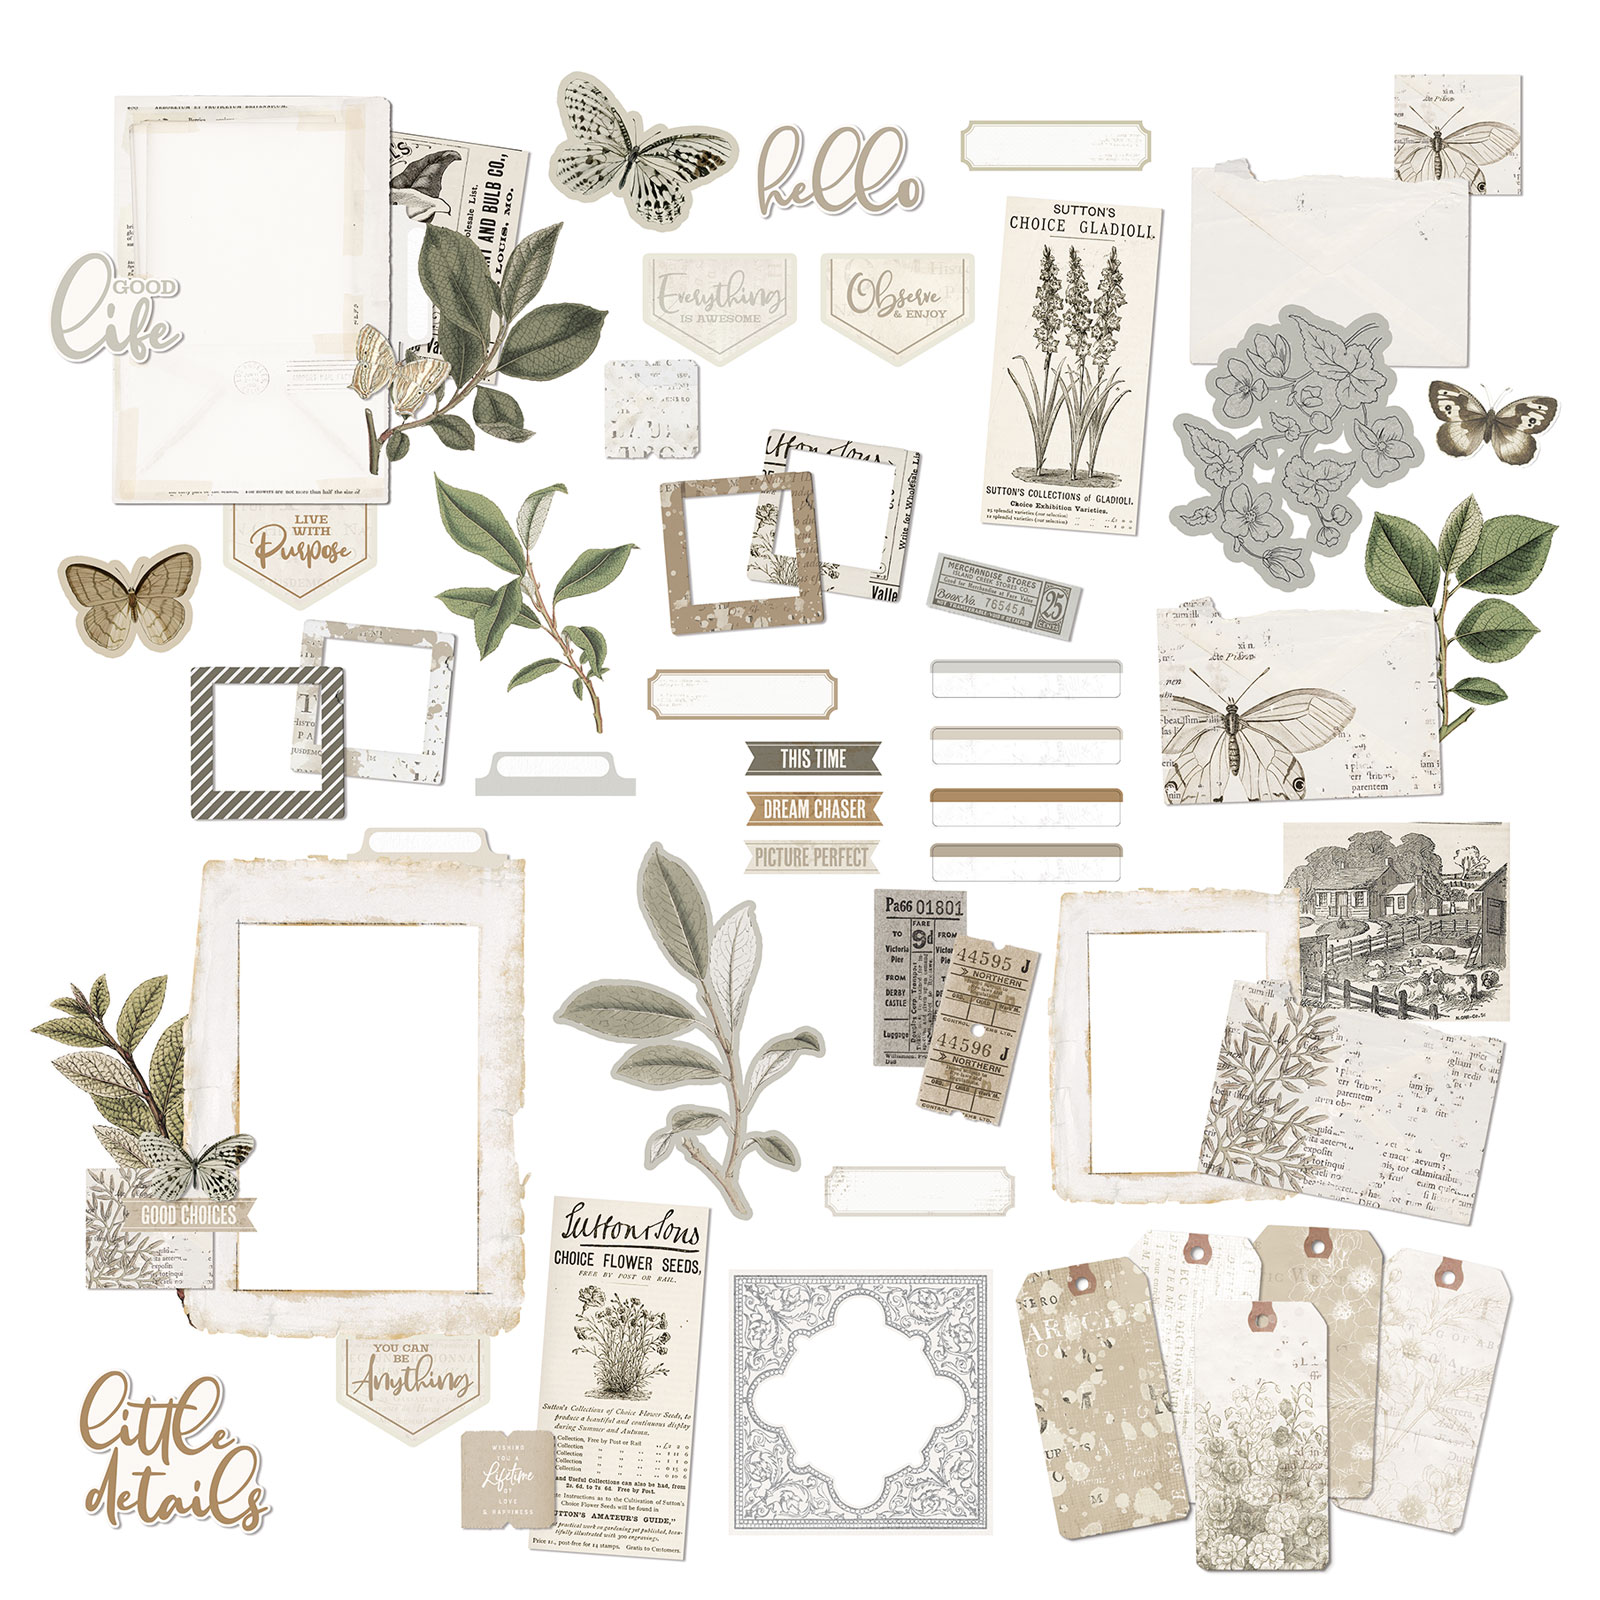
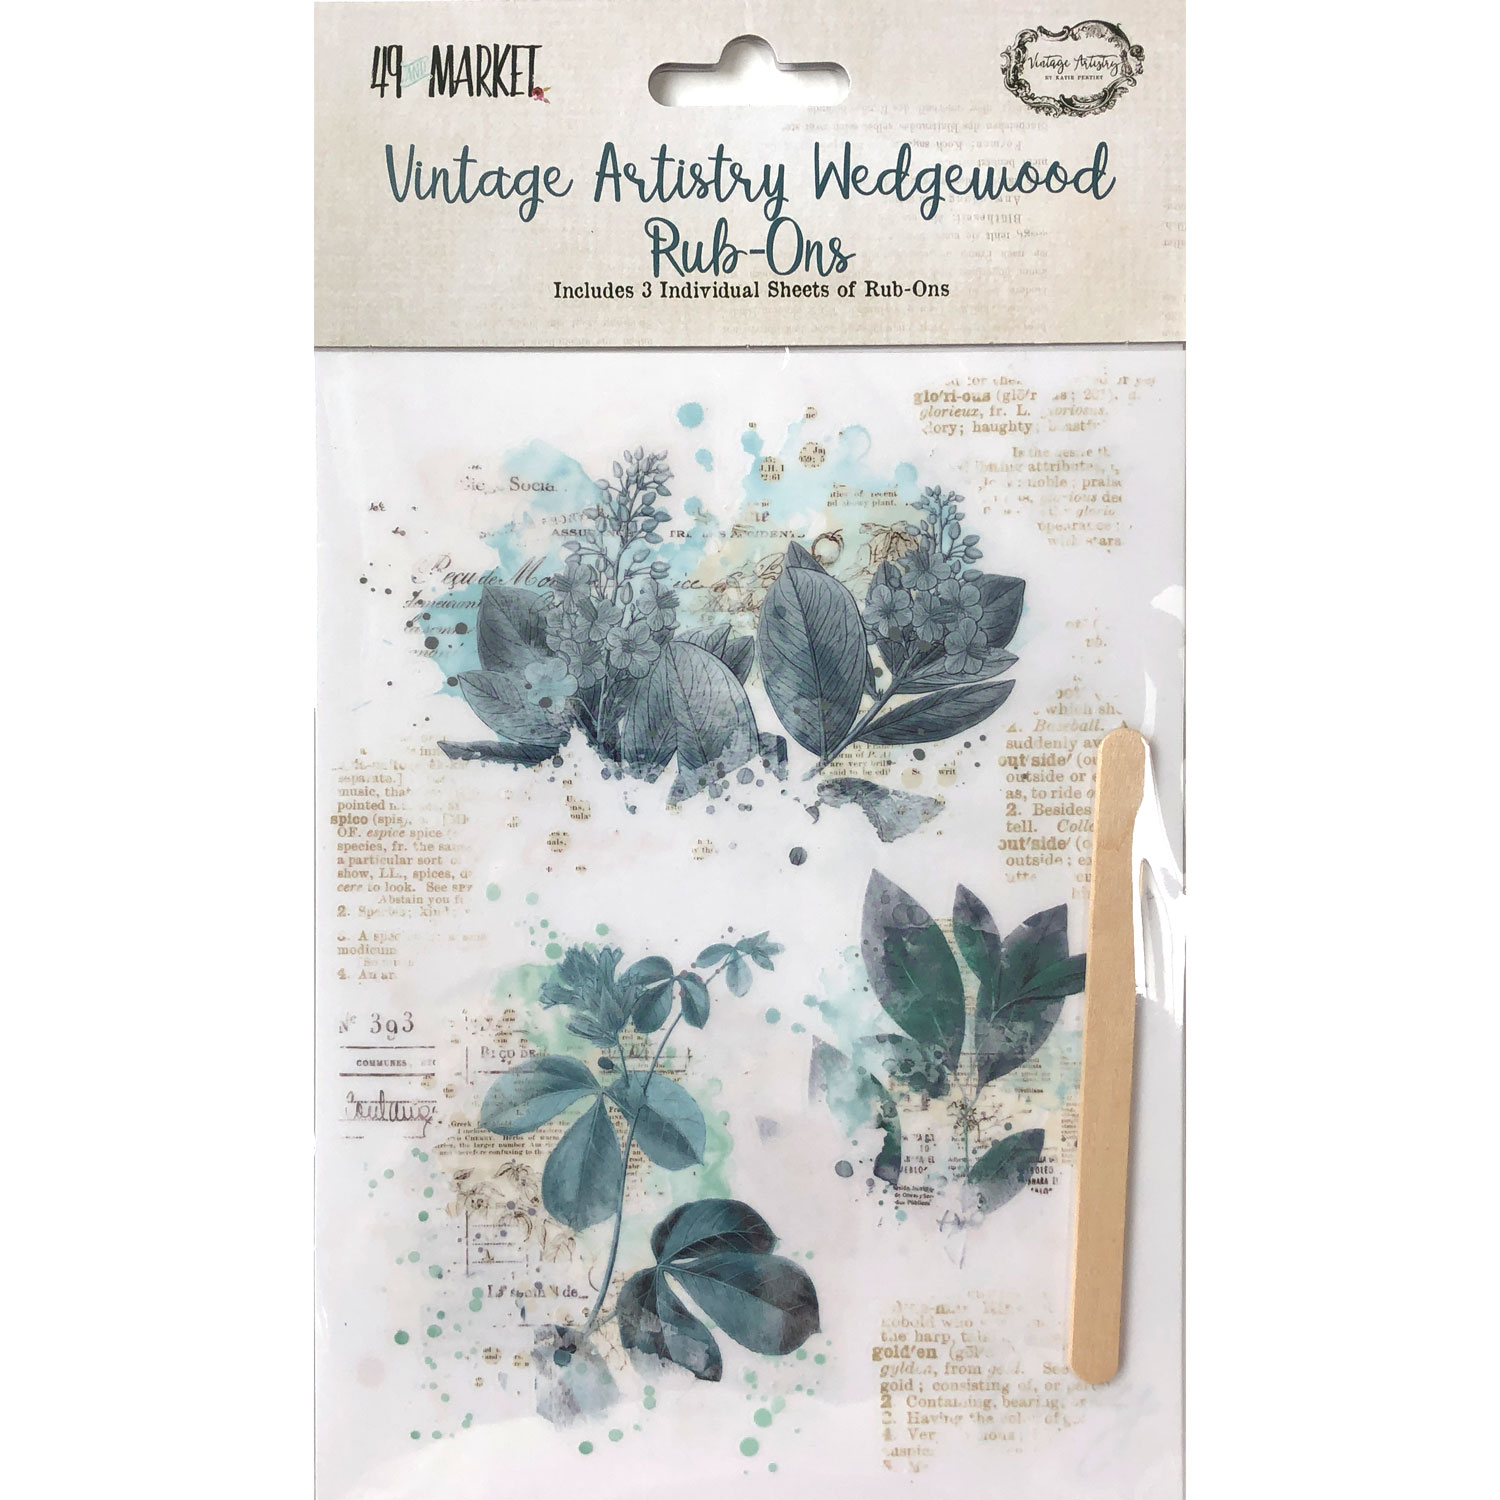
The rub-ons from the VA Wedgewood are perfect to complement the VA Essentials collection. I add some elements from the new Ephemera BIts. I cut two butterflies from the VA Essentials Whishing Bubbles & Trinkets to add under the paper dolls.
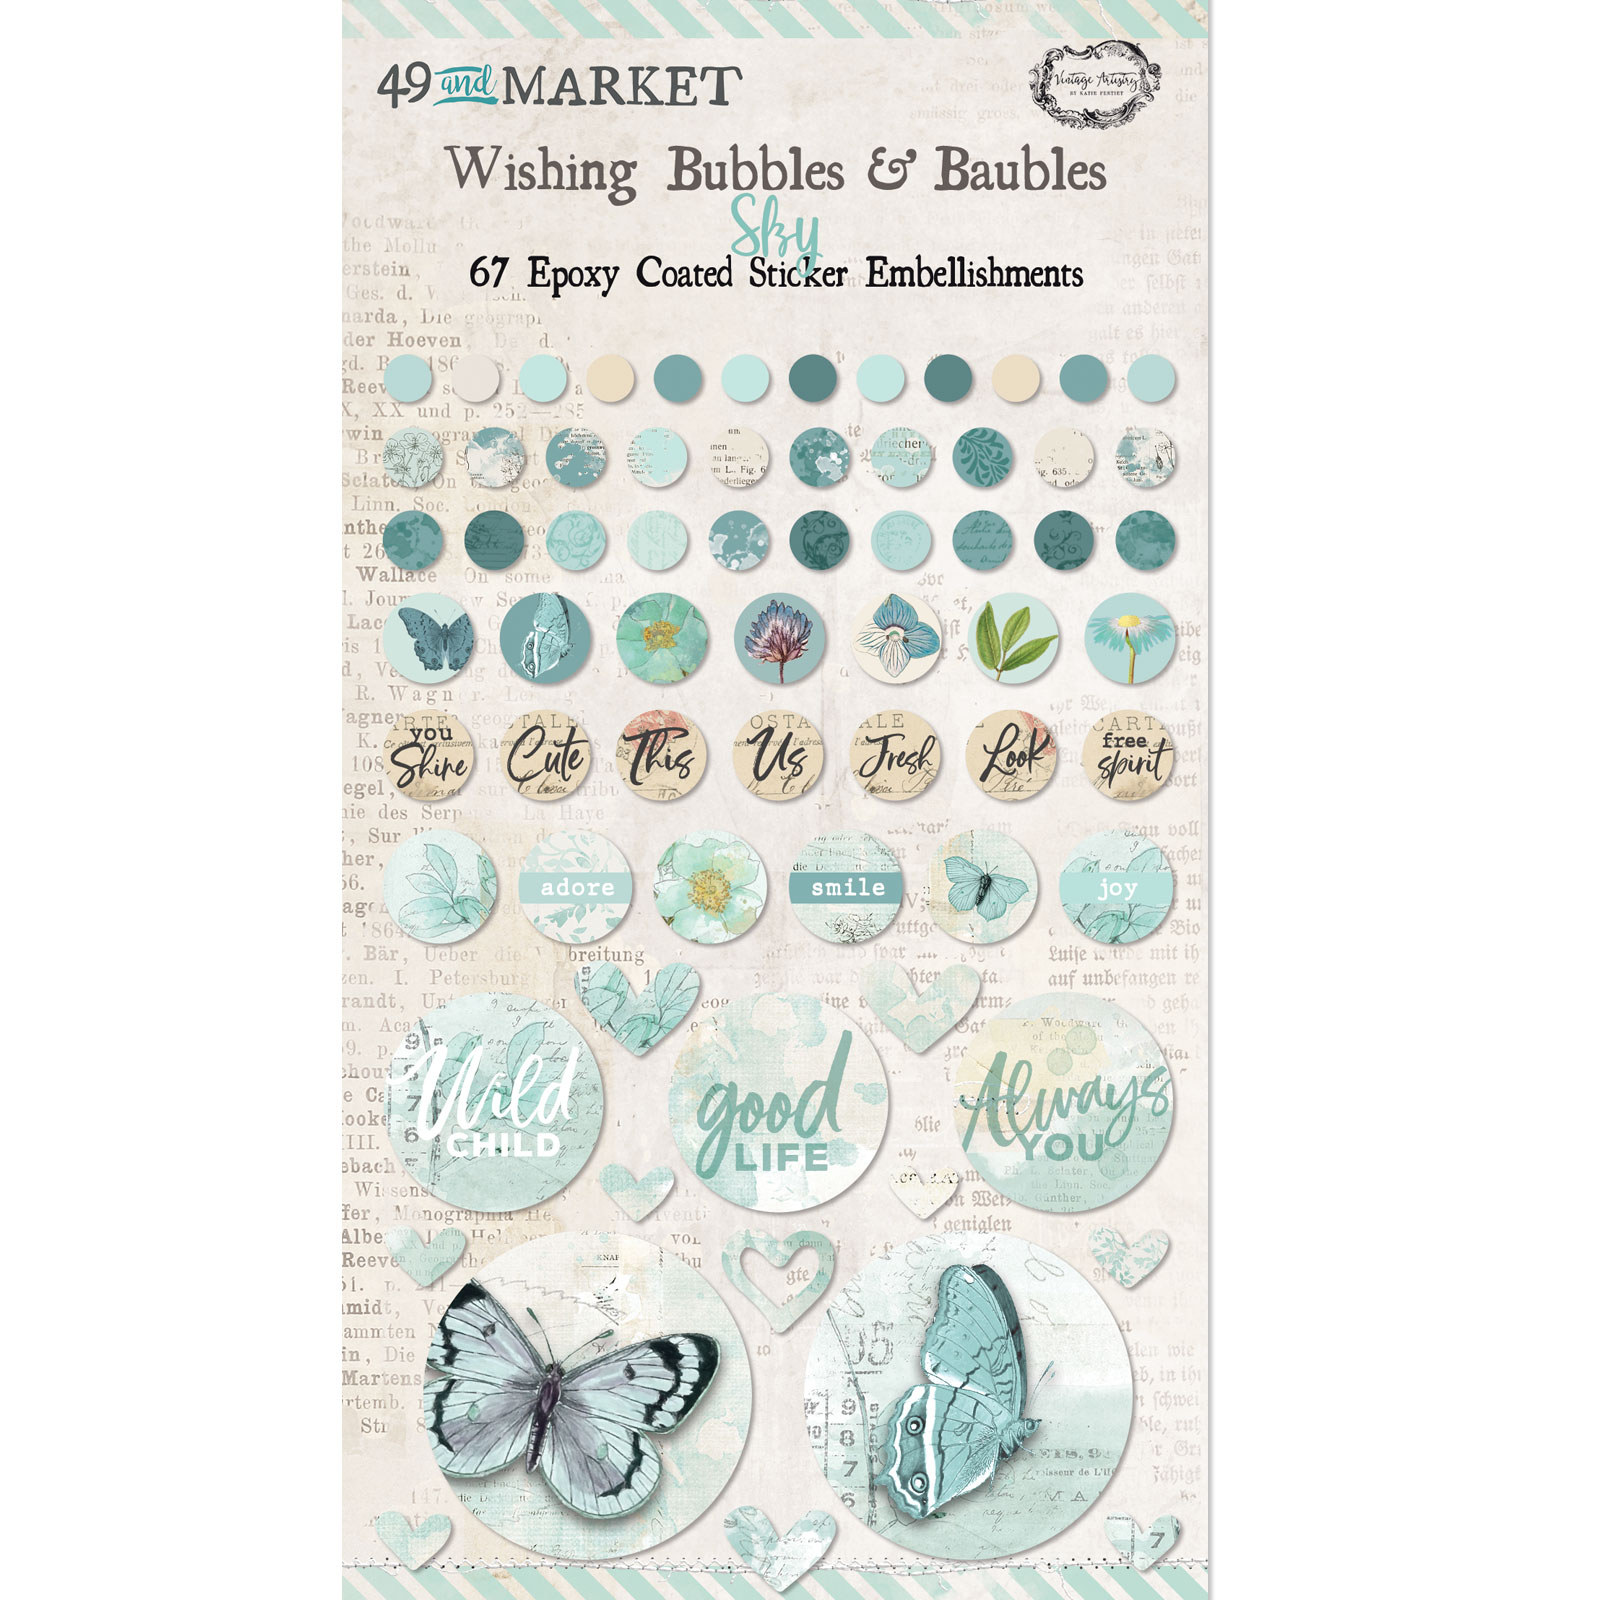
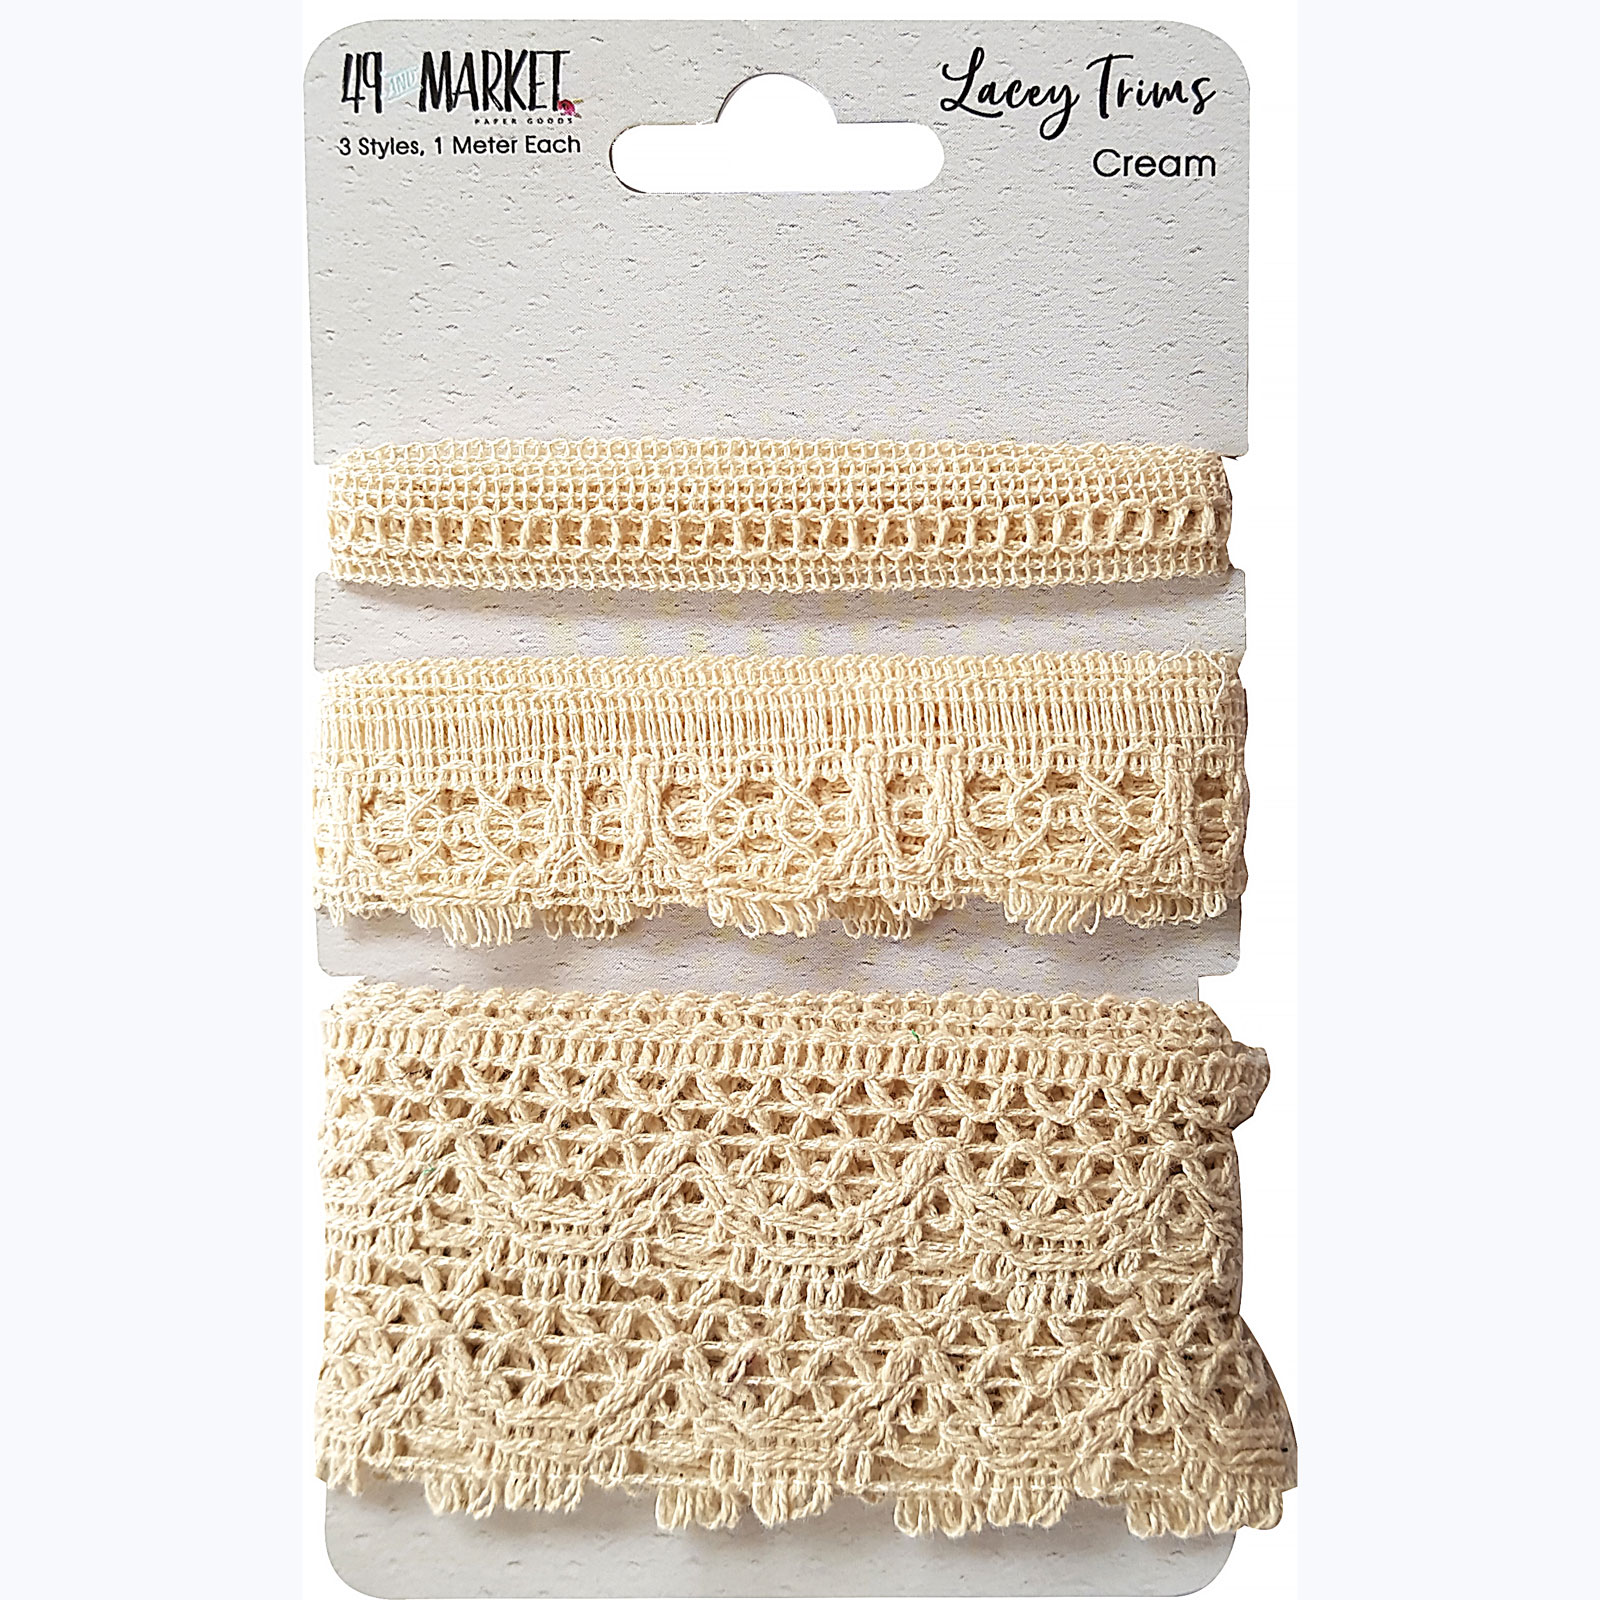
The VA Sky / Navy rub-ons are also perfect to complement the Essentials collection. I mixed the Ephemera bits with the laser cut from the 6x8 pack. I added also some scrap of Lacey Trim. I finished these two pages with elements from the Sky Wishing & Baubles pack.
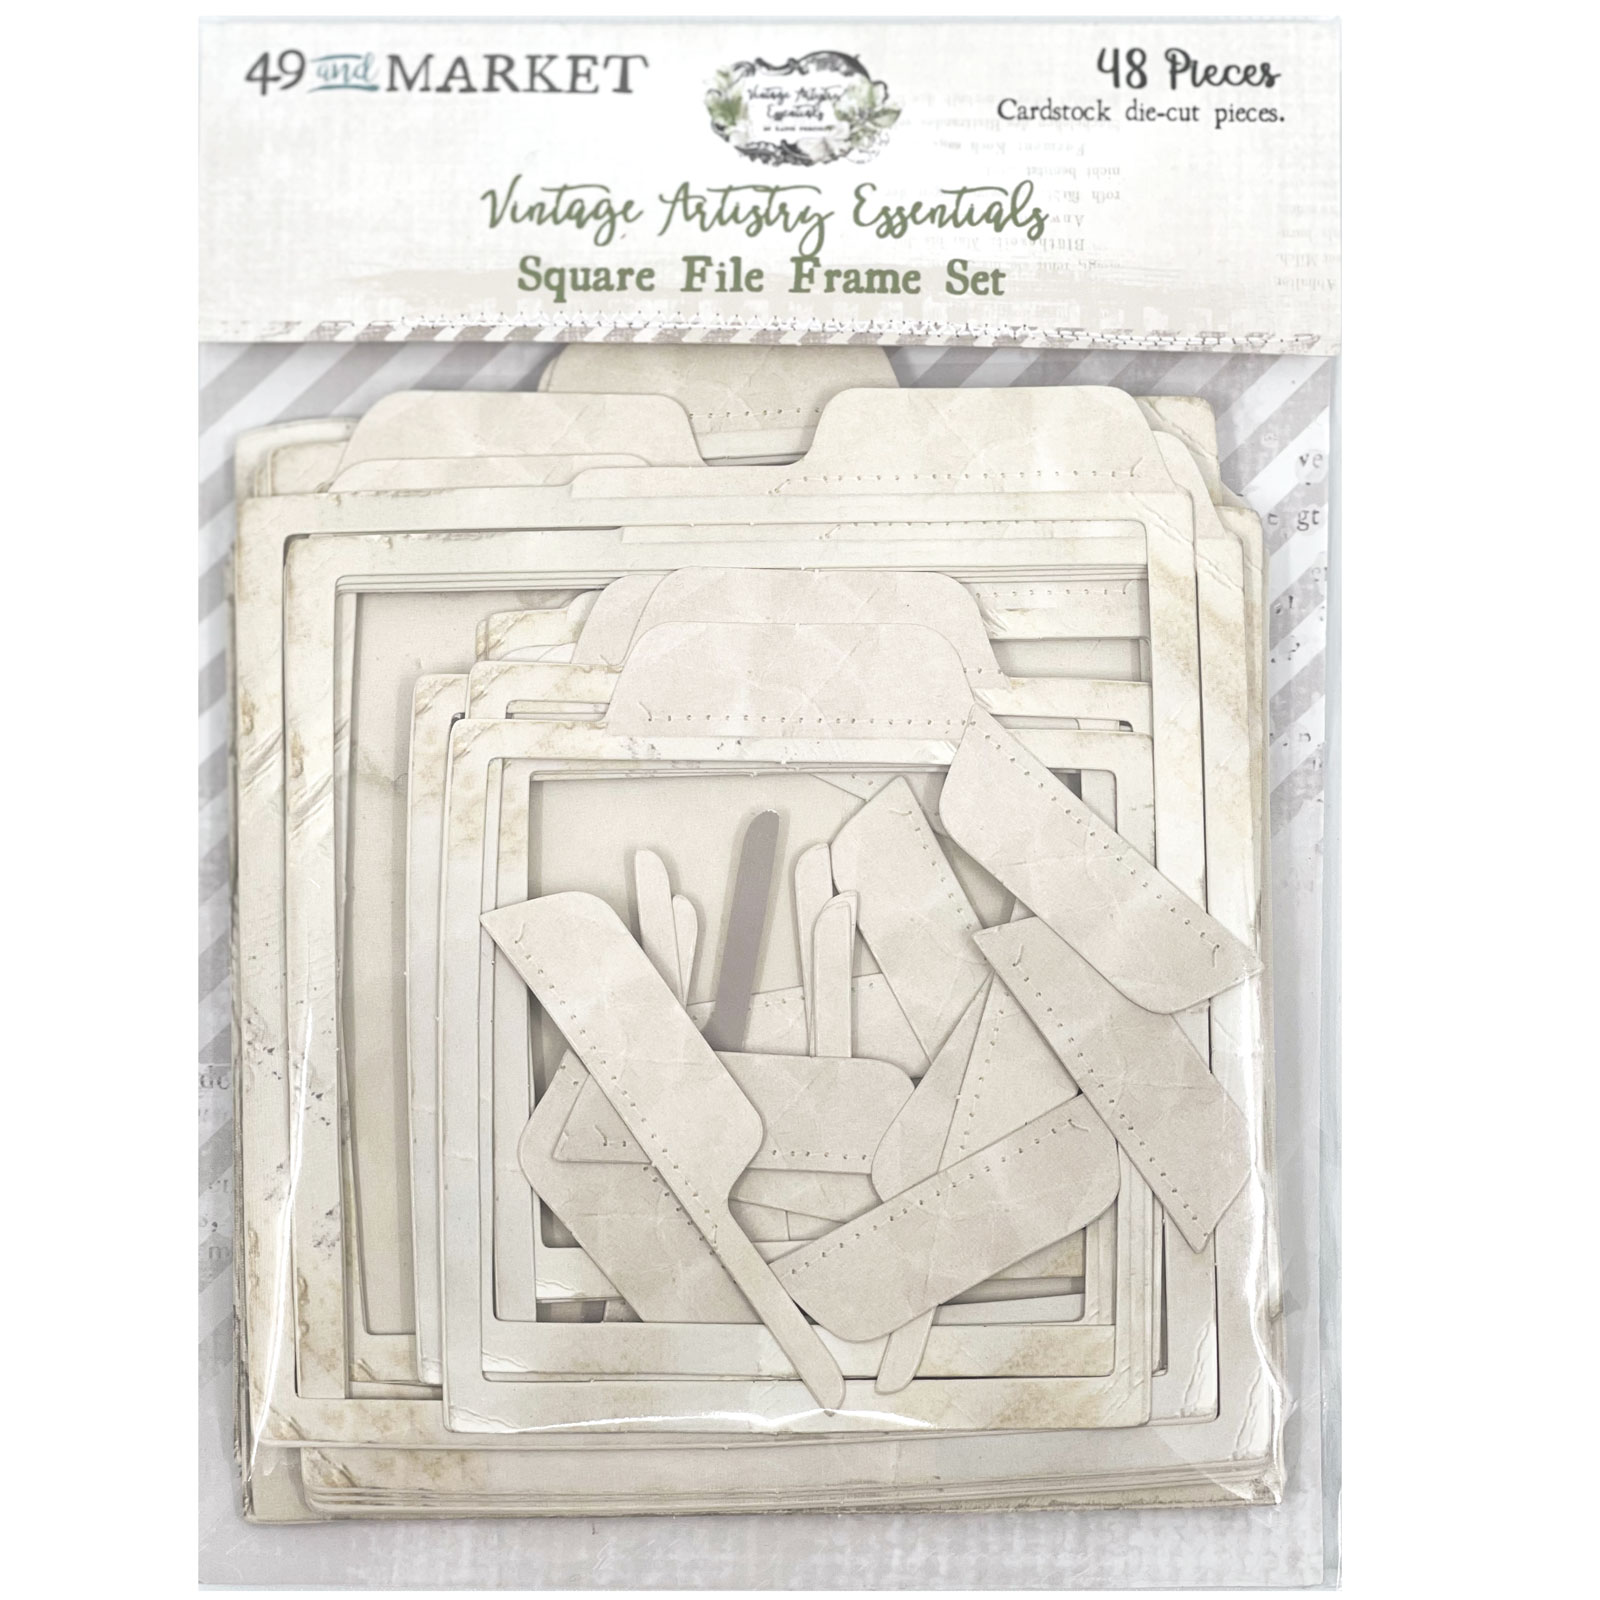
I cut two Square File Frame Set to add under the paper dolls along with laser-cut elements and Wishing Bubbles.
I added the die-cut flowers from the new VA Essentials Washi Tape. I teared up the second sheet to add some pieces along with Wedgewood rub-ons.
Again, I added Wedgewood rub-ons, butterfly wings, and different elements from the Ephemera Bits
Aujourd'hui je suis sur le blog de Maja Design avec un mini-album pour une petite fille. J'ai bien évidemment utilisé la collection Vintage Baby.
Hello Sweeties
Today I'm up on Maja Design blog with a mini album for a baby girl. Of course, I used the Vintage Baby collection.
Quelques gros plans :
Some close-ups:
Une petite vidéo pour parcourir cet album :
A walkthrough video of the album:
Matériels / Materials:
Maja Design papers:
Did you know Maja Design is on Social Media?
Pinterest: Did you know that Maja Design has a Pinterest Page? You can find it right here. Facebook: You can follow us on Facebook right here and of course "LIKE" us. Instagram: Maja also has an Instagram account – majadesigninsweden.
(Use the hashtag #majadesigninsweden or the tag @majadesigninsweden
with your Maja papers so we can find you.) YouTube: https://www.youtube.com/user/MajaDesignChannel