Bonjour à toutes,
Aujourd'hui j'ai une nouvelle vidéo pour A.B. Studio à partager avec vous où je vous montre comment réaliser cette page romantique.
Hello Sweeties
Today I have a new step-by step video for A.B. Studio to share with you where I show you how to make this romantic layout.
Aujourd'hui j'ai une nouvelle vidéo pour A.B. Studio à partager avec vous où je vous montre comment réaliser cette page romantique.
Hello Sweeties
Today I have a new step-by step video for A.B. Studio to share with you where I show you how to make this romantic layout.

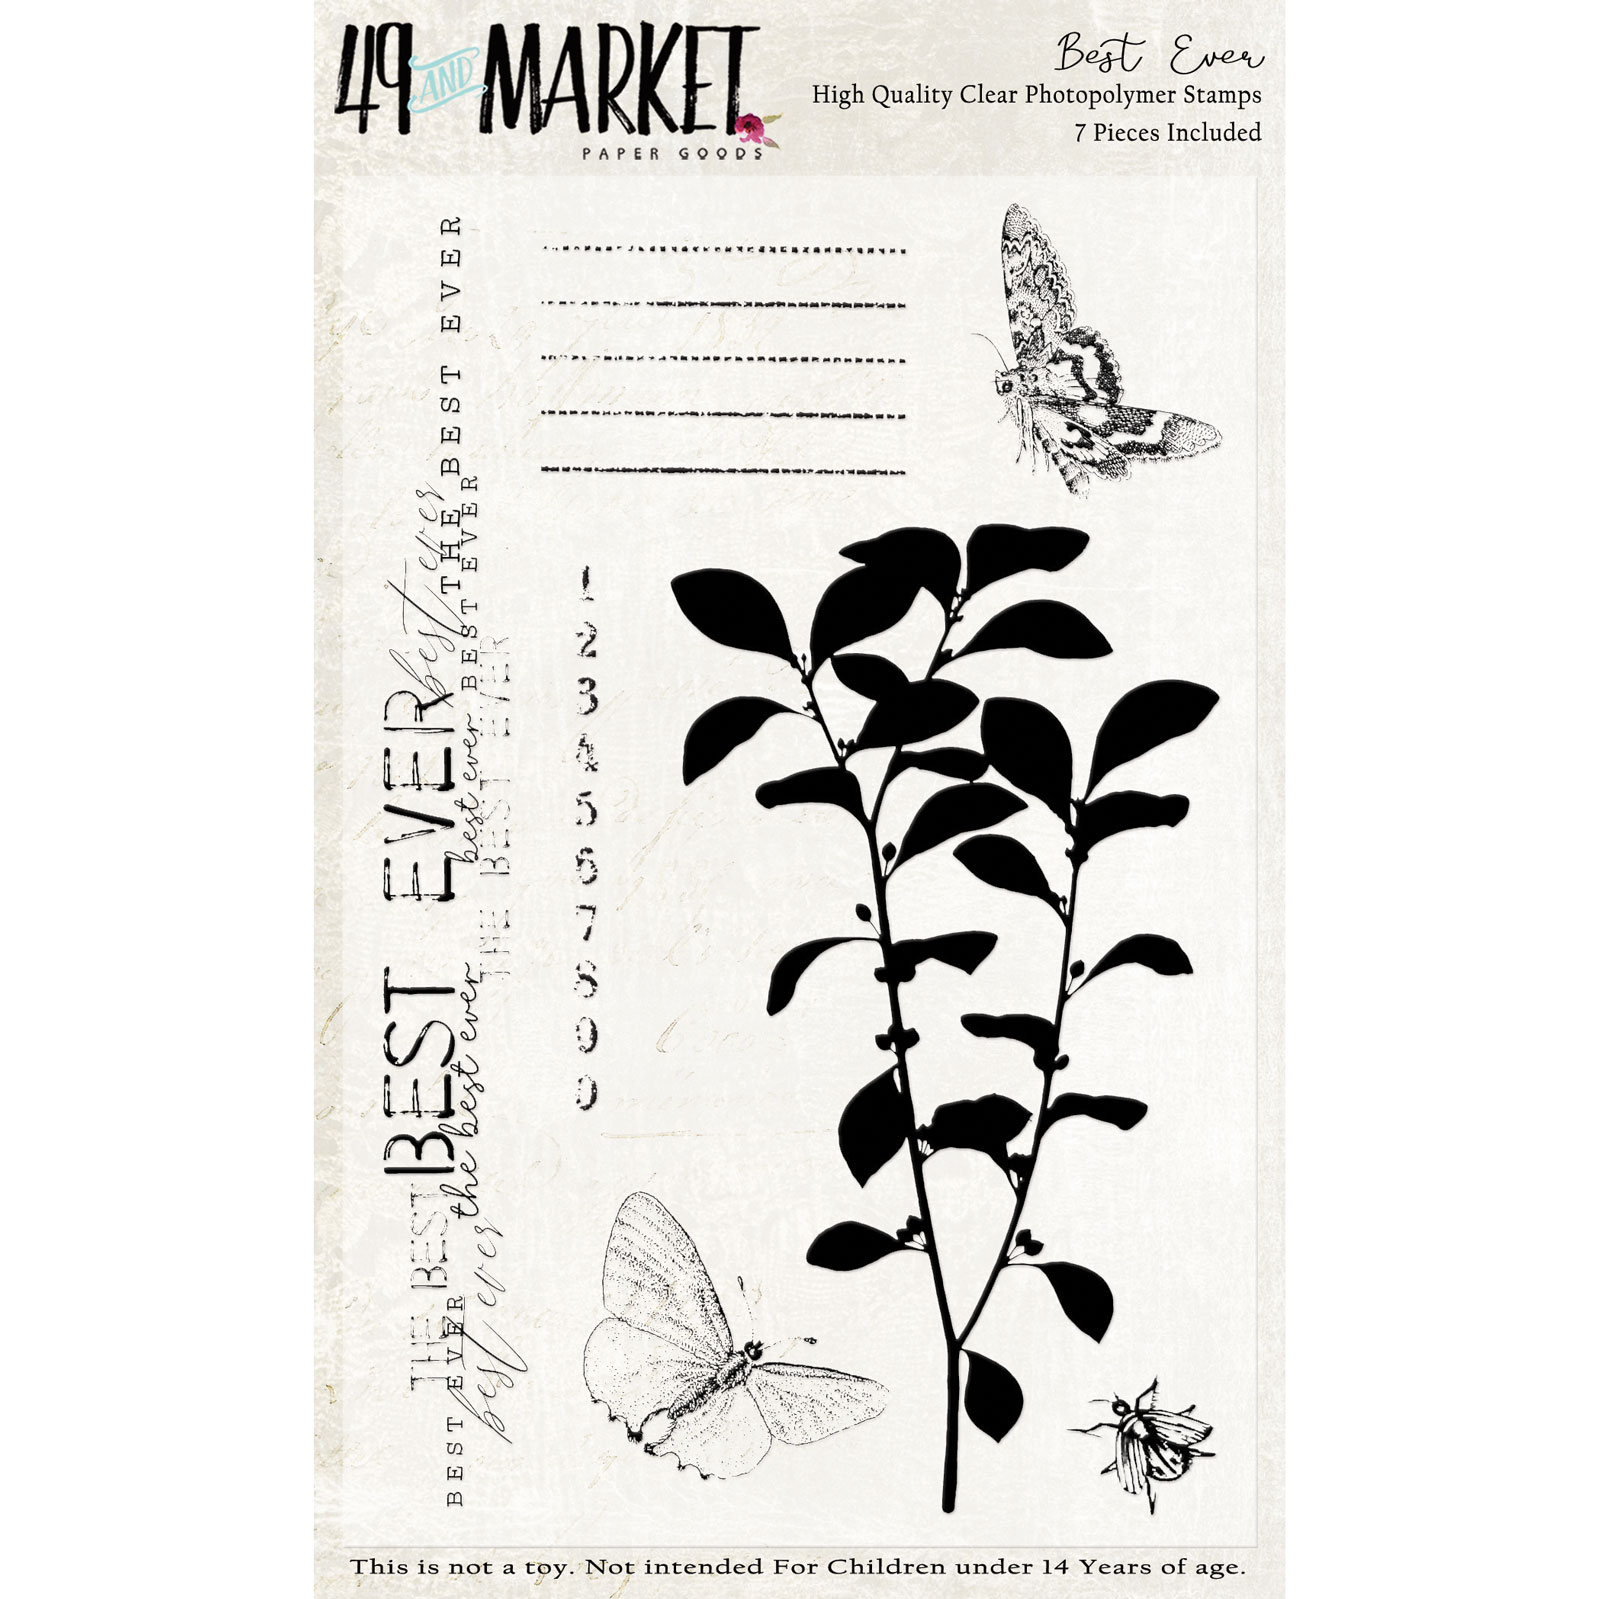
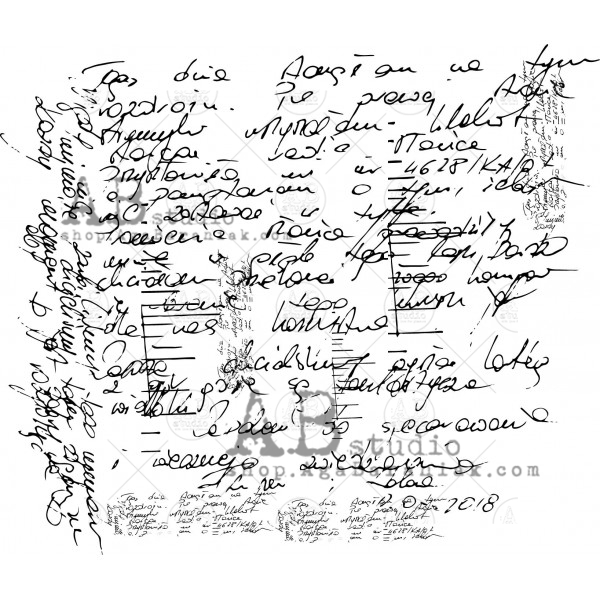
Avant de protéger le fond d'une couche de gesso transparent, j'ai tamponné ici et là avec les tampons n°208 et n°772.
Before priming the background with clear gesso, I stamped randomly with the stamp ID-208 and ID-772 with a black. Then I addeda design with the stencil ID-87 and paper paste.
Before priming the background with clear gesso, I stamped randomly with the stamp ID-208 and ID-772 with a black. Then I addeda design with the stencil ID-87 and paper paste.

J'ai protégé des cages à oiseaux de la planche de chipboard n°187 avec du gesso noir, puis je les teinté avec des cires mates et métalliques.
I primed two birdcages (chipboard ID-187) with black gesso. Next, I colored them matte and metallic waxes.
I primed two birdcages (chipboard ID-187) with black gesso. Next, I colored them matte and metallic waxes.

J'ai découpé des feuilles que j'ai coloré avec des encres vertes, brunes ou turquoise. J'en ai saupoudré certaines avec une poudre à embosser transparente que j'ai embossé à chaud pour ajouter un peu de texture.
I die cut some leaves and colored them with green, brown or turquoise inks. I sprinkled some of them with a transparent embossing powder that I heat embossed to add some texture.
I die cut some leaves and colored them with green, brown or turquoise inks. I sprinkled some of them with a transparent embossing powder that I heat embossed to add some texture.

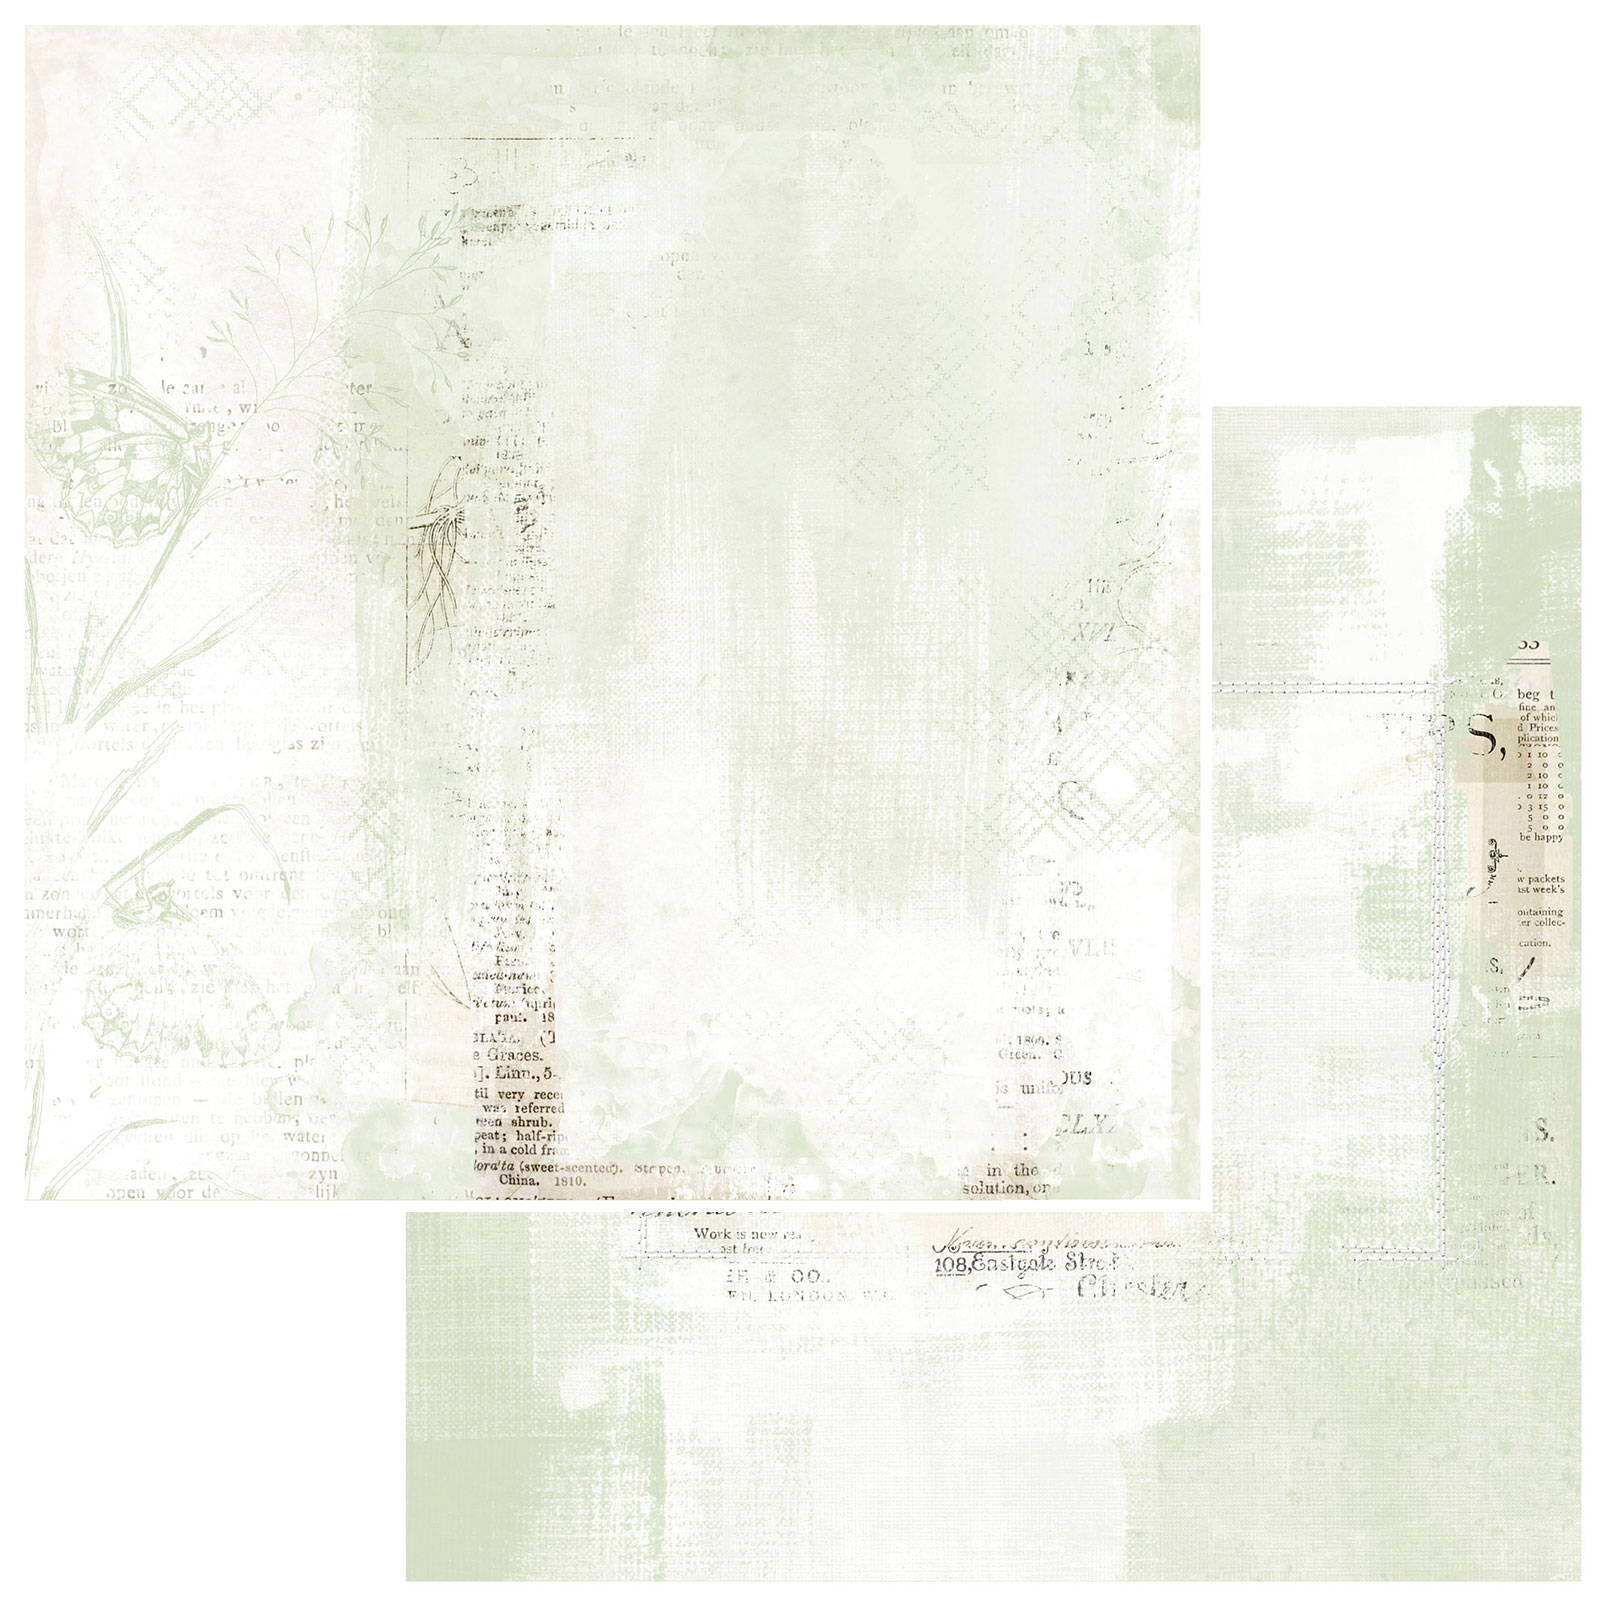
Avant de coller tous les embellissements de la composition, j'ai coloré le fond avec les mêmes encres brunes et turquoise.
Before gluing all the embellishments of the composition, I colored the design with the same brown and turquoise inks.
Before gluing all the embellishments of the composition, I colored the design with the same brown and turquoise inks.

POur terminer la mise en page, j'ai ajouté des sequins, des glitters et des microbilles.
To finish the layout, I added sequins, glitter and microbeads.
To finish the layout, I added sequins, glitter and microbeads.

Et voici la vidéo / and here is the video
a
Matériels / Materials:
A.B. Studio products:
 Love for Old Things Abacus bs | 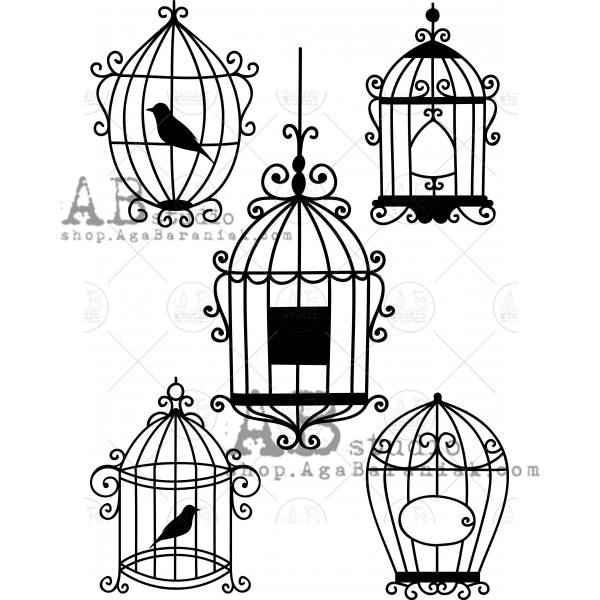 Chipboard ID-187 | 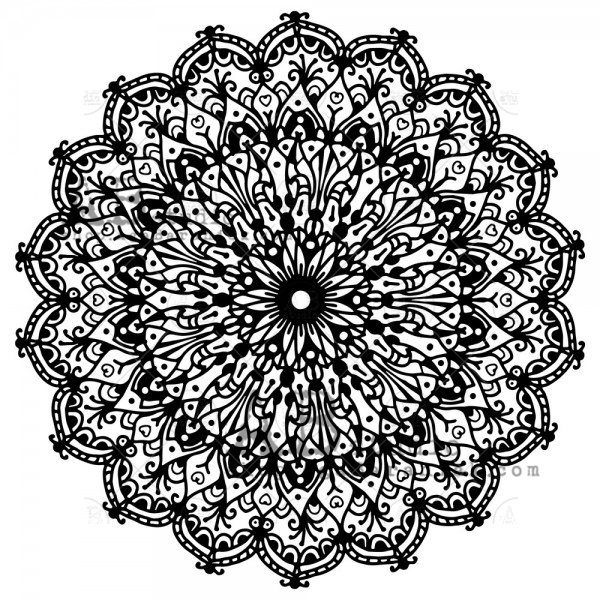 Stencil ID_87 | |||
 Stamp ID-208 |  Stamp ID-772 | ||||
Other products:
- Starburst - Lindy's Gang (Sea Grass Green);
- Moonshadow Mist - Lindy's Gang (Burnt Umber);
- Magical - Lindy's Gang (Jana's Jade);
- Embossing Powders - Lindy's Gang (Silver Moon Turquoise);
- Flowers - 49 and Market (Country Blooms: Mushrooms);
- Art Ingredients - Finnabair Prima (Microbeads: Silver);
- Art Alchenmy (Waxes: Rusted Brown, Rusted Red, Old Silver, White Gold);
- Art Extravagance - Finnabair Prima (Paper Paste);
- Art Basics - Finnabair Prima (Clear Gesso, Black Gesso, 3D Matte Gel, Soft Gloss Gel).