Bonjour à toutes,
Aujourd'hui je suis le blog de 49 and Market with une nouvelle page réalisée avec la collection Vintage Remnants.
Hello Sweeties,
Today I'm up on 49 and Market blog with a new layout featuring the Vintage Remnants collection.
Aujourd'hui je suis le blog de 49 and Market with une nouvelle page réalisée avec la collection Vintage Remnants.
Hello Sweeties,
Today I'm up on 49 and Market blog with a new layout featuring the Vintage Remnants collection.

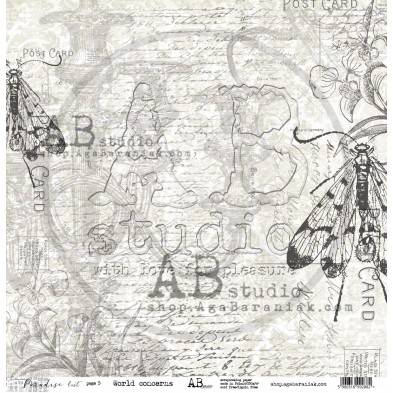
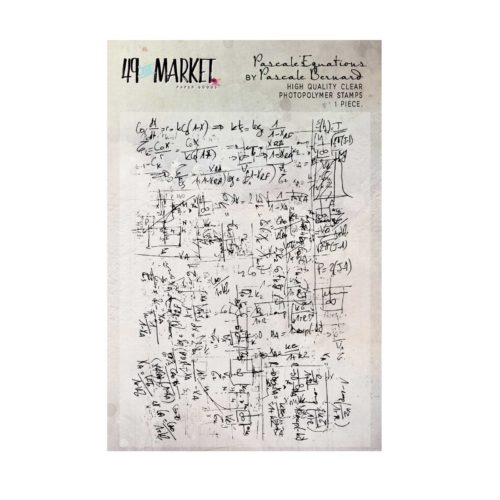
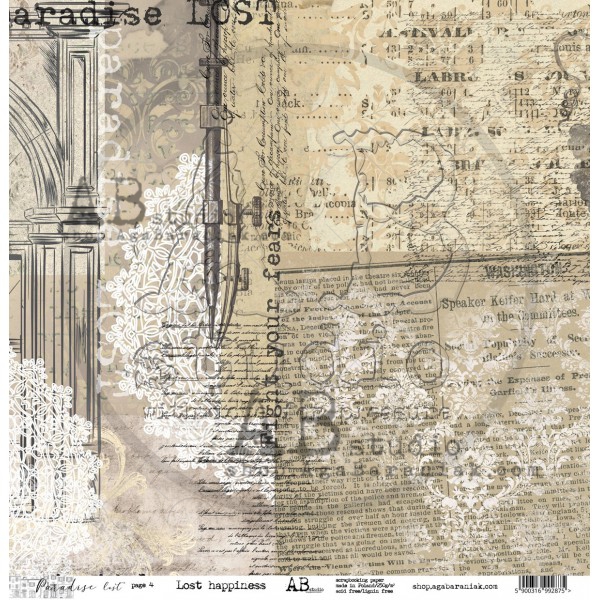
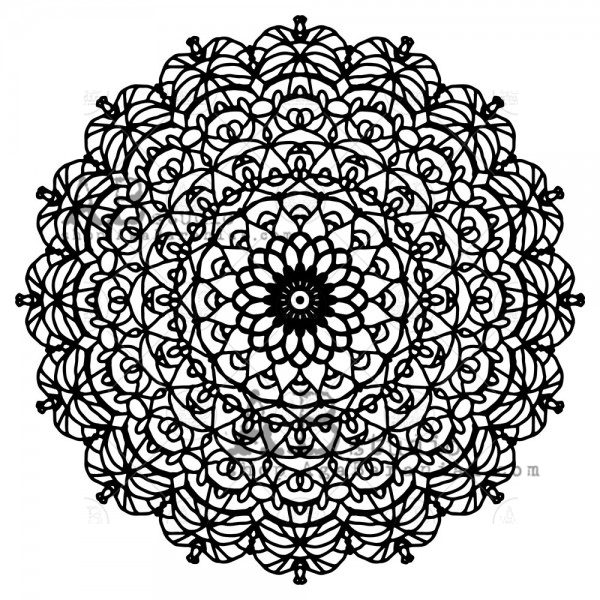
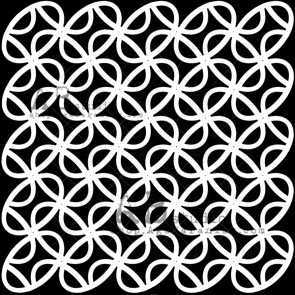
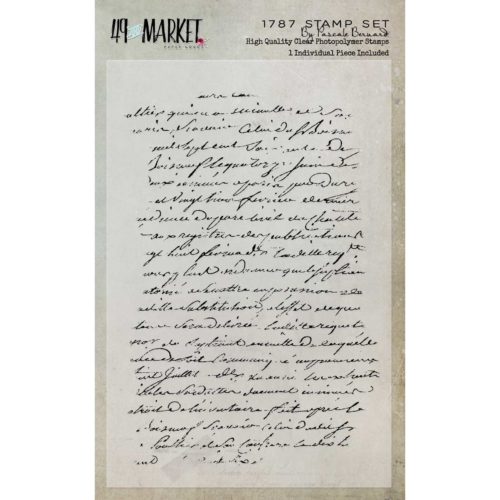
J'ai commencé par tamponné ici et là avec le tampon 1787 et de 'encre noir. Puis, j'ai protégé le fond d'une couche de gesso transparent. Enfin, j'ai ajouté un motif à l'aide d'un pochoir et de pâte à craqueler blanche.
First I stamped randomly with the 1787 stamp with black ink. Next, I primed the background with clear gesso. Then, I added a design with a stencil and white crackle paste.
First I stamped randomly with the 1787 stamp with black ink. Next, I primed the background with clear gesso. Then, I added a design with a stencil and white crackle paste.

J'ai peint avec du gesso noi quelques éléments en résine. Puis je les ai ciré en bronze, puis en bleu et en orange jusqu'à je sois satisfaite du résultat.
I painted with black gesso a few resin elements. Then I waxed them with bronze, then blue and orange waxes, until I was happy with the result.
I painted with black gesso a few resin elements. Then I waxed them with bronze, then blue and orange waxes, until I was happy with the result.

J'ai ciré éagnlement avec la cire orange les baies et les éléments métalliques du set Botanical Blends.
I waxed also with the orange wax the berry branches and the metallic elements from the Botanical Blends set.
I waxed also with the orange wax the berry branches and the metallic elements from the Botanical Blends set.

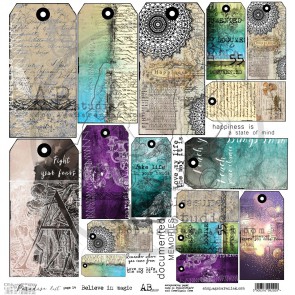
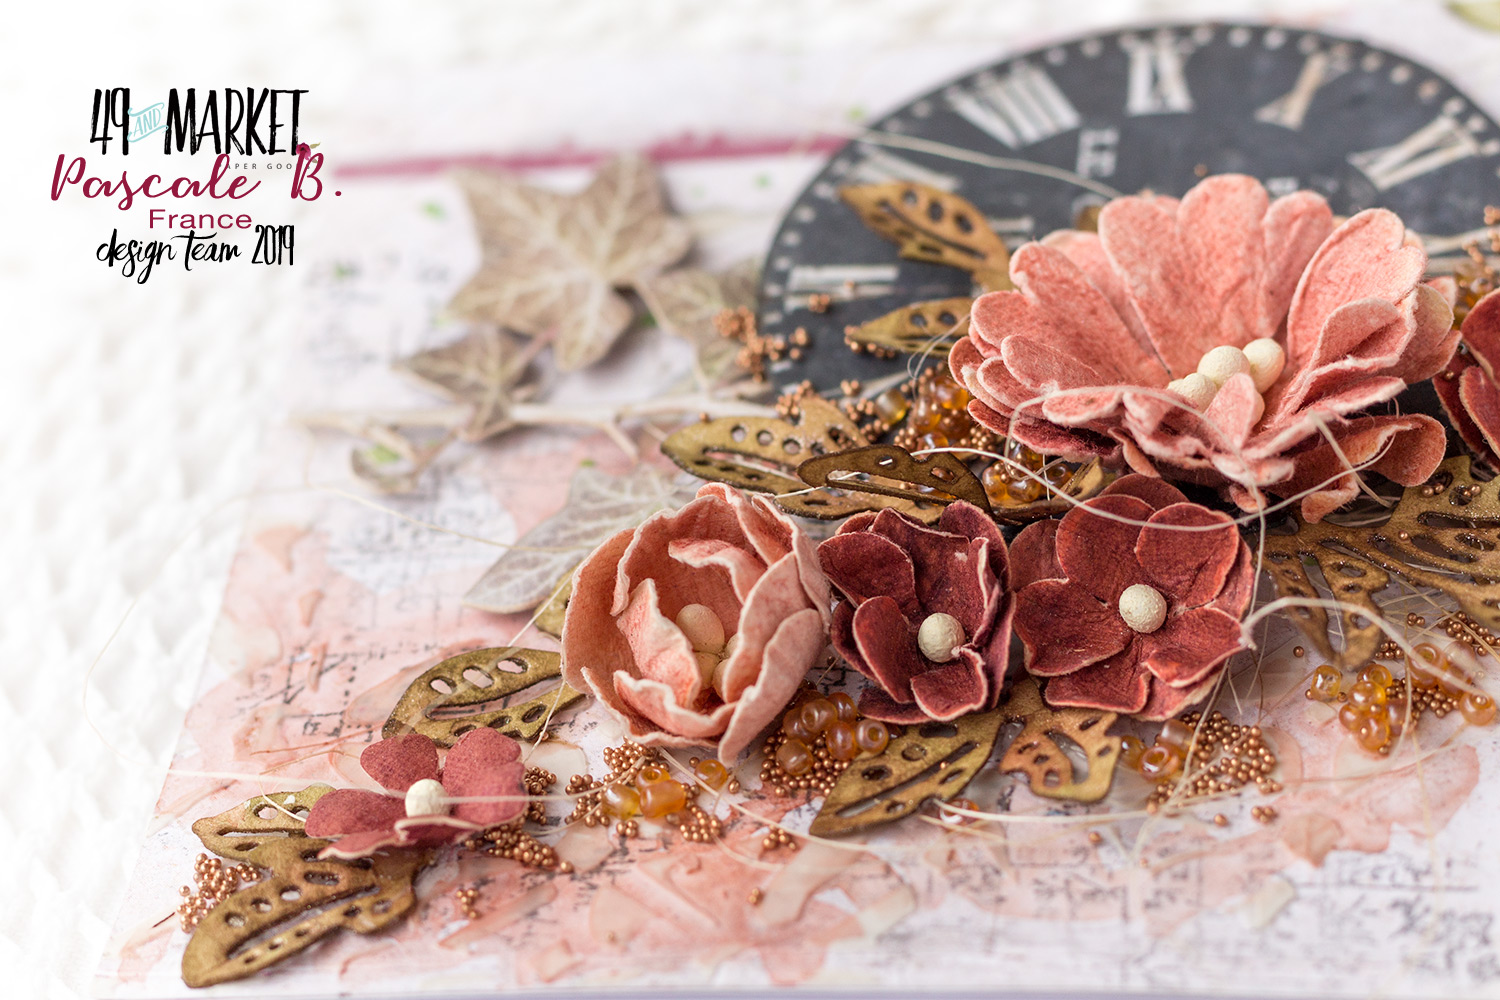
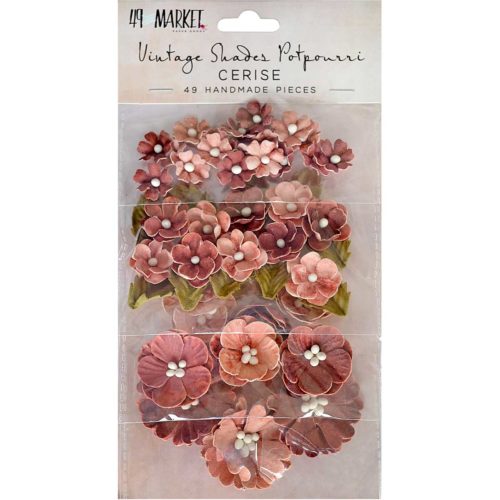
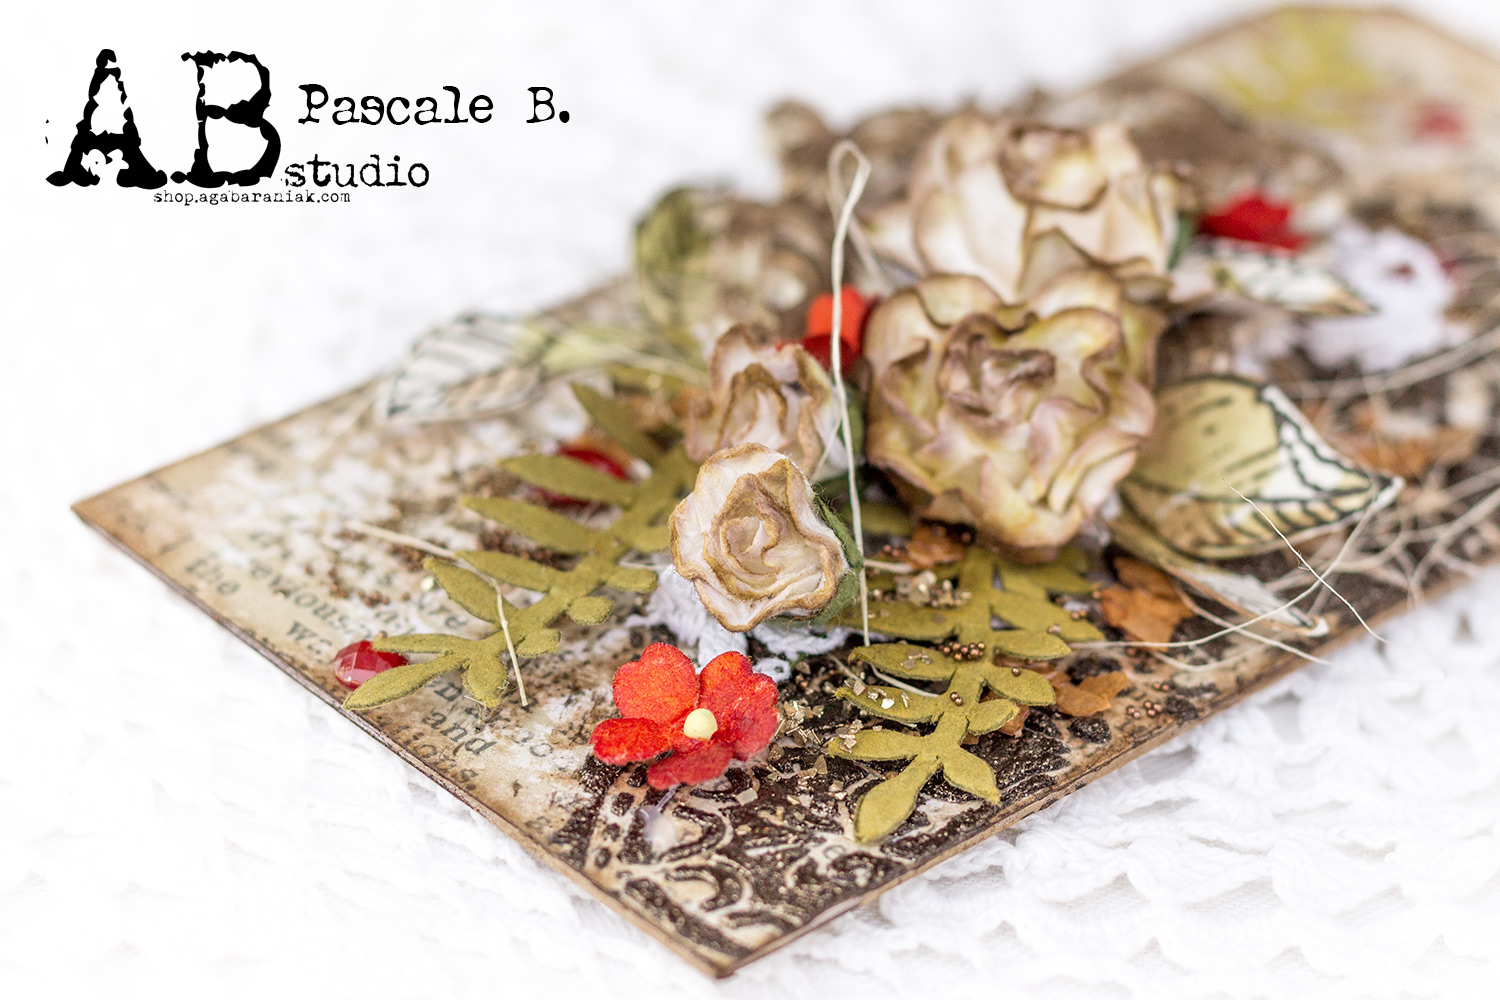
J'ai découpé quelques éléments du set n°2 de découpes laser Vintage Remnants pour ajouter sous la photo. J'ai également ajouté des morceaux de dentelle, des plumes, des fleurs et les éléments que j'ai cirés.
I cut some elements from Vintage Remnants Frame Set 2 to add under the photo. I added also some lace scraps, some feather, some flowers, and the waxed elements.
I cut some elements from Vintage Remnants Frame Set 2 to add under the photo. I added also some lace scraps, some feather, some flowers, and the waxed elements.

J'ai également coloré le fond autour de la composition pour donner un peu de profondeur à l'ensemble.
I lightly colored the background around the composition to add more dimension.
I lightly colored the background around the composition to add more dimension.

Pour finir la mise en page, j'ai ajouté des perles et des perles de rocailles.
To finish the layout, I added some pearls and glass beads.
To finish the layout, I added some pearls and glass beads.
Matériels / Materials:
49 and Market products:
 Vintage Remnants Paper n°9 | 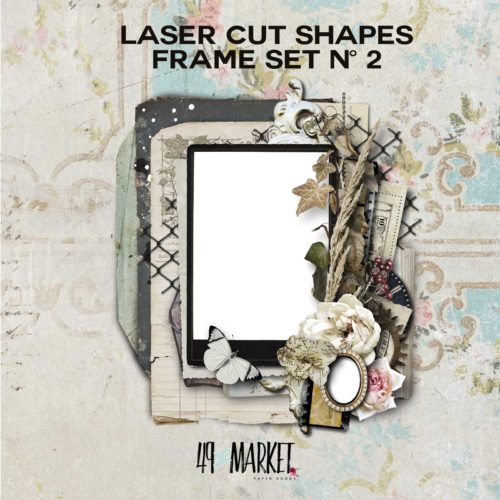 Vintage Remnants Laser Cut Frame set n°2 | ||||
 1787 Stamp | 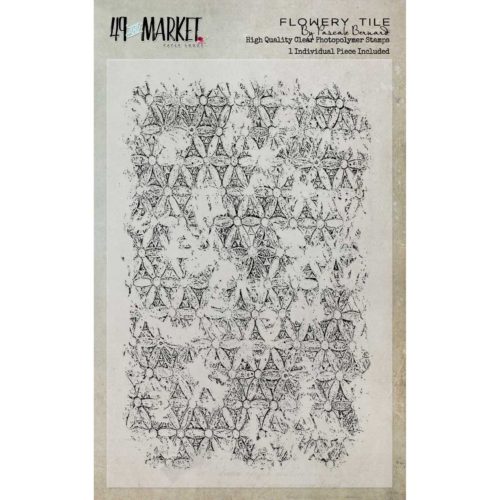 Flowery Tile Stamp | 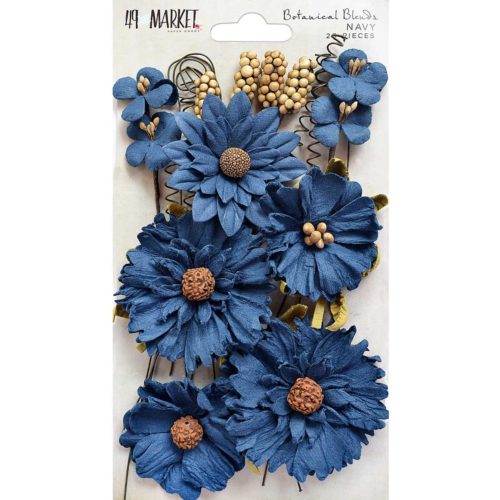 Botanical Blends Navy | |||
Other products:
- Spray inks- Lindy's Gang (Smokey Sapphire, Dark Chocolate Truffle, Tweedle Dee Denim);
- Stencil - A.B. Studio (Stencil ID-67);
- Moulds - Prima ( Wings, Baroque 5);
- Art Ingredients - Finnabair Prima (Microbeads - Bronze);
- Art Alchemy - Finnabair Prima (Waxes: Bronze Age, Old Denim, Fire Bird);
- Art Extravagance - Finnabair Prima (White Crackle Paste);
- Art Basics - Finnabair Prima (Clear Gesso, Black Heavy Gesso, Heavy Body Gel, Soft Matte Gel).