Affichage des articles dont le libellé est A.B. Studio. Afficher tous les articles

mardi 20 avril 2021

What happens when you mix Magical with ... - Lindy's Gang DT

Hello Sweeties,

Today I'm up on Lindy's Gang blog to show how you can make your own color paste and what to expect. 
For all the samples, I used the same three Magicals: Sandra Dee Sepia Flat Magical, Karin's Coral Magical, and Rizzy Rose Gold Glitzy Magical. I mixed each Magical with the select paste which I applied through a stencil.

I decided to not waste these samples and to use them to make a tiny album. I cut all the samples to the album size and darken the edge with the Black Hole Black and the Sandra Dee Sepia Magicals.

Here is the result of the different pastes I made. With the Clear Crackle Paste, the colors are very intense.

The result is three shiny and glossy pastes with the 3D Gloss Gel. The colors are even more intense.

Next, I mixed the three Magicals with 3D matte gel. The result is three matte pastes. The colors are still intense and transparent, but they are matte.

I continue with an opaque modeling paste. This time, the colors of the pastes are still intense and they are no more transparent.

I used a paper paste this time. The colors are pastel and soft.

As I needed two more pages to complete the album, I decided to make two more samples.

This time, I mixed the 3 Magicals with Ice Crushed paste. It's a paste based on 3D Gloss Gel mixed with clear microbeads and clear glitter. The result is a transparent and texture paste.

For the last sample, I mixed the 3 Magicals with a plaster paste. The colors are really pastel with a smooth touch.

Of course, I used the same Magicals to make the cover. But this time instead of mixing the magical with a paste, I simply applied the Opaque Modeling Paste through a stencil. I wait until the paste was dry to color it with the Magicals.

Lindy's Gang products: Other products:
  • Stencils - A.B Studio (Stencil ID-66, (Stencil ID-68, Stencil ID-92, Stencil ID-94, Stencil ID-160);
  • Stencil - TCW (Cut Circle);
  • Stencil - EchoPark (Quilted Stitch);
  • Stencil - Stencil Girl (Square Celtic Knots);
  • Clear Crackle Paste, 3D Gloss Gel, 3D Matte Gel, Modeling Paste, Paper Paste, Plaster Paste, Ice Crushed Paste - Finnabair Prima;
  • Paperdoll - Idea-ology;
  • Dies  - Sizzix (Wildflowers, Wildflower Stems 1, Wildflower Stems 2).

mardi 16 mars 2021

Eiffel Tower - Mixed media layout for Lindy's Gang

Bonjour à toutes,

Aujourd'hui je suis sur le blog de Lindy's Gang avec un nouvelle page. J'ai travaillé autour d'une photo de la Tour eiffel sous la neige prise par Vincent.

Hello Sweeties,

Today I'm up on Lindy's Gang blog with a new mixed media layout. I worked with a photo of the Eiffel tower under the snow taken by Vincent.


Processus / Basic process:
  1. Recouvrir le fond avec du gesso transparent pour le protéger de toutes les encres et media que nous allons appliquer ;
    Primed the background with clear gesso to protect the paper from all the inks and media we will apply;
  2. Colorer le fond avec Whale Watch Blue, Silent Night Silver, French Lilac Violet, Banff Blue et Hockey Puck Black. Utuliser une lingette pour fondre les couleurs entre elles ;
    Color the background with Whale Watch Blue, Silent Night Silver, French Lilac Violet Banff Blue, and Hockey Puck Black. Use a baby wipe to blend the color together;

  3. Une fois sec, ajouter un motif avec de la pâte Graphite ;
    Why dry, add a design with Graphite paste;

  4. Sélectionner quelques éléments en résine et le recouvrir de gesso blanc ;
    Select a few resin elements and prime them with white gesso.
  5. Colorer les avec Hckey Puck Black, Whale Watch Blue, Silent Night Silver et Banff Blue ;
    Color them with Hockey Puck BlackWhale Watch BlueSilent Night Silver, and Banff Blue;
  6. Mettre en valeur les détails avec les cires Graphite et Old Silver;
    Highlight them with Graphite and Old Silver waxes;

  7. Découper quelques feuilles dans du papier aquarelle ;
    Die cut some leaves in a watercolor paper;
  8. Les colorer avec les encres Silent Night Silver, Whale Watch Blue et French Lilac Violet ;
    Color them with Silent Night SilverWhale Watch Blueand French Lilac Violet;


  9. Tant que la pâte Graphite est encore humide par endroit, la recouvrir de poudre à embosser Chrome Doesn't Pay! et embosser ;
    While the Graphite paste was still wet in place, cover it with Chrome Doesn't Pay and heat embossed;
  10. Commencer votre composition avec les plus gros éléments et coller le tout avec du gel 3D mat ;
    Start your composition with the biggest elements and glue everything with 3D Matte Gel;

  11. Pour finir la mise en page, ajouter des glitters et des microbeads.
    To finish the layout, add glitters and microbeads.
Here the whole process video, I hope you will enjoy watching it!


Matériels / Materials:

Lindy's Gang products:
Other products:
  • Paper - 49 and Market (Old School: High Scool);
  •  Flowers - 49 and Market (Cotton Blooms: Storm);
  • Stencil - A.B. Studio (Stencil ID-67);
  • Art Ingredients - Finnabair Prima (Microbead: Silver);
  • Art Extravagance - Finnabair Prima (Graphite Paste);
  • Art Basics - Finnabair Prima (Clear Gesso, White Heavy Gesso, 3D Matte Gel, Soft Gloss Gel).

dimanche 24 janvier 2021

Hope is Never Lost - Mixed media Layout for 49 and Market DT

Bonjour à toutes,

Aujourd'hui je suis sur le blog de 49 and Market avec une nouvelle page réalisée avec la mini collection Remnants qui est parfaite pour des photos vintage comme celle de Milton Greene. Vous pourrez suivre le processus que j'ai suivi pour réaliser cette page dans la vidéo que j'ai enregistré.

Hello Sweeties,

Today I'm up on the 49 and Market blog with a new layout featuring the Remnant mini collection. The collection is perfect for vintage photos like this photo from Milton Greene. As usual, I've recorded the process.

Anne Gunning in crinolines, Ireland. Photo by Milton Greene, 1953

Comme d'habitude, j'ai commencé par le tamponnage. Je préfére commencer par cet étape avant de protéger le  fond avec du gesso transparent pour obtenir une image plus nette. J'ai utilisé ici le tampon Springtime Harmony. Puis, j'ai ajouté un motif à l'aide d'un pochoir et de pâte de papier. 

As I normally did, I began with the stamping. I prefer to stamp before priming the background to obtain a crisp image of the stamp. Here, I've used the Springtime Harmony stamp. Next, I added a design with a stencil and paper paste.


J'ai recouvert quelques éléments en résine avec du gesso noir. Puis je les ai coloré avec des cires. J'ai utilisé Vintage Gold, Burgundy pour rappeler les fleurs et enfin White Gold pour mettre en évidence les détails. 

I primed some resin elements with black gesso. Next, I colored them with waxes. I used Vintage Gold, Burgundy to match the color's flowers, and White Gold to highlight the details. 


J'ai coloré les feuilles de Sugar Petals avec l'encre Pete Pegleg Purple. J'ai coloré avec la même encre et Buccaneer Bay Blue quelques découpes de feuilles faites dans du papier aquarelle. Puis, j'ai ajouté quelques morceaux de washi tape sur le fond avant de colorer le motif avce les encres Whale Watch Blue, Open Arms Amethyst et Pete Pegleg Purple.

I colored the leaves from the Sugar Petals flowers with Pete Pegleg Purple. I die cut some leaves in a watercolor paper and colored them with the same ink and Buccaneer Bay Blue. Next, I teared up some washi tape that I add to the background before coloring the design with Whale Watch Blue, Open Arms Amethyst, and Pete Pegleg Purple. 


J'ai construit ma composition autour de la photo en commençant par les plus gros éléments en résine comme la montre ou la plaque de porte. Puis j'ai continué avec les fleurs, les feuilles et enfin les découpes laser de la page bonus. J'ai déchiré quelques morceaux de dentelle pour ajouter à la composition.

I built my composition around the photo, starting with the biggest resin elements like the clock or the door plate, then I arranged the flowers, the leaves, and lastly a few laser-cut elements from the bonus page. I teared up a piece of cream lacey trim to add to the composition as well.


Pour finir la mise en page, j'ai ajouté des sequins et des glitters.

To finish the layout, I added sequins and glitter. 


J'espère que vous apprécierez regarder la vidéo / I hope you will enjoy watching the video: 


Matériels / Materials:

49 and Market products:


Remnants
Etching Paper

Remnants
Bonus Laser Cut

Vintage Artistry Lilac
Washi Tape

Sugar Posies
Huckleberry

Sugar Petals
Huckleberry

Springtime Harmony
Stamp

Lacey Trim
Cream

Other products:
  • Starburst - Lindy's Gang (Whale Watch Blue, Open Arms Amethyst);
  • Moonshadow Mist - Lindy's Gang (Pete Pegleg Purple, Buccaneer Bay Blue);
  • Stencil - A.B. Studio (Stencil ID-90);
  • Molds - Prima (Objects Labels, Numerals, Elysian Clockworks, Keys);
  • Art Ingredients - Finnabair Prima (Glitter Luminous Set);
  • Art Alchemy - Finnabair Prima (Waxes: Vintage Gold, Burgandy, White Gold);
  • Art Extravagance - Finnabair Prima (Paper Paste);
  • Art Basics - Finnabair Prima (Clear Gesso, Heavy Black Gesso, 3D Matte Gel Soft Gloss Gel).

samedi 7 novembre 2020

Just for You - Mixed media paper bag for Nomadic Soul Diaries DT

Bonjour à toutes,

bla

Hello Sweeties,

Today I'm up on Instagram with a project for @NomadicSoulDiaries. I had the choice between working on my Art Journal or a paper bag. Well, as I have a gift to make, I decided to use a paper bag. 


To participate you need to post your project on Instagram. 

RULES:
  • Create a NEW project for the challenge.
  • Your project must be an ART JOURNAL page or a PAPER BAG.
  • Use only the colors of the COLOR PALETTE (at least 3 of them). You can also use white, black, gold, silver, copper.
  • Add the MANDATORY ELEMENT to your project: RUST.
  • Add the inspiration QUOTE to your project or get inspired by it (and tell us how).
  • Follow November Wandering Stars: click on the poster to see their @.
  • Follow the creative souls: @addi.mahajan @nuneka__.
  • Follow our sponsors: check June Sponsors post.
  • Use the hashtag #NSDnov20 to submit your entree and tag us @nomadicsouldiaries
You have until November 28th. Winners will be announced on November 30th.


J'ai collé plusieurs morceaux de papiers (pages de livres, carte postale, napperon, ...) de la dentelle et du washi tape. Une fois satisfaite, j'ai ajouté une fine couche de gesso pour uniformiser le fond.

I glue several scraps of papers (book pages, postcards, doily, ....), some lace, and some washi tape. When happy, I blend everything with a thin layer of white gesso.


J'ai ajouté un motif à l'aide d'un pochoir et de pâte de papier. Puis, j'ai coloré le fond avec les encres Dark Chocolate Truffle, Bodacious Blush, Whal Watch Blue. J'ai également ajouté de la pâte Rust marron. 

I added a design with a stencil and Paper Paste. Next, I colored the background with Dark Chocolate Truffle, Bodacious Blush, Whal Watch Blue inks. I added also some Brown Rust Paste.


J'ai coloré des rouages en résine avec les pâtes Rust marron et orange, les chipboards avec l'encre Whale Watch Blue. J'ai découpé un papillon dans du papier aquarelle que j'ai coloré avec les encres Dark Chocolate Truffle, Bodacious Blush, Whal Watch Blue.


I colored the resin gears with the Brown and Red Rust Pastes, the chipboards with Whale Watch Blue ink. I die cut a butterfly in a watercolor paper and colored it with Dark Chocolate Truffle, Bodacious Blush, Whal Watch Blue inks.


J'ai créé ma composition autour d'une fleur d'hortensia de mon jardin. Pour finir, j'ai ajouté des microbilles et des glitters. 

I built the composition around a bundle of dry hydrangea from my gardenTo finish, I added some microbeads and glitter. 

Matériels / Materials:
  • Starburst - Lindy's Gang (Dark Chocolate Truffle, Bodacious Blush, Whale Watch Blue);
  • Stencil - A.B. Studio (Stencil ID-66);
  • Die - Sizzix (Scribbly Butterflies);
  • Mould - Finnabair Prima (Cogs and Wings, Mechanica);
  • Art Extravagance - Finnabair Prima (Paper Paste, Brown and RedRust Pastes);
  • Art Basics - Finnabair Prima (Heavy White Gesso).


dimanche 1 novembre 2020

November tag - Lindy's Gang DT

Bonjour à toutes,

Aujourd'hui c'est un nouveau tag pour Lindy's Gang que je vous propose. J'ai choisi un théme automnale qui correspond si bien aux couleurs du challenge de ce mois de novembre.

Hello Sweeties

Today I have a new tag for Lindy's Gang to share with you. I chose an autumn theme to fit with the color of the November challenge.


Voici le combo de couleurs :


Here is the color combo:


J'ai ajouté un motif à l'aide d'un pochoir ²et de pâte à craqueler transparente. Une fois sec, j'ai coloré le fond avec Grab a Guy Gold, Wake Me Up Before You Go Gold, and Red Hot Poker Orange.

I added a design with a stencil and clear crackle paste. When dry, I colored the background with Grab a Guy Gold, Wake Me Up Before You Go Gold, and Red Hot Poker Orange.


J'ai découpé des feuilles, des branches et des champignons dans du papier aquarelle et une araignée dans de la mousse et du papier noir. J'ai collé assemblée l'areignée en colllant ensemble la mousse et le papier noiredont j'ai ciré les bords avec la cire Vintage Gold.

I die cut leaves, branches, and mushrooms in a watercolor paper and a spider in black foam and a black paper. I glue together the foam and paper spider and waxed the edge with Vintage Gold.


J'ai coloré les feuilles avec les encres Green With Envy Green, Grab A Guy Gold, and Red Hot Poker Orange . J'ai coloré lesbranches avec l'encre Green With Envy Green et un pointe de gesso noir. 

I colored the leaves with Green With Envy Green, Grab A Guy Gold, and Red Hot Poker Orange inks. I colored the branches with Green With Envy Green ink and a tiny bit of black gesso.


J'ai embossé le chapeau des champignns avec la poudre Pumpkin Fiesta.Une fois fini, j'ai collé tous les embellissements et j'ai ajouté des rubans.

I embossed the mushroom caps with Pumpkin Fiesta EP. When done, I glued all the embellishments and  I added some ribbons. 


Matériels / Materials:

Lindy's Gang products:
  • Starburst - Green With Envy Green,  Red Hot Poker Orange, Grab a Guy Gold, Wake Me Up Before You Go Gold;
  • Embossing powders - Pumpkin Fiesta.
Other products:
  • Stencil - A.B. Studio (Stencil ID-89);
  • Die - Sizzix (Candlelight and Fright, Fall Foliage);
  • Die - Memory Box (Leafy Branche);
  • Art Alchemy - Finnabair Prima (Wax: Vintage Gold);
  • Art Extravagance - Finnabair Prima (Clear Crackle Paste);
  • Art Basics - Finnabair Prima (Black Gesso).

samedi 24 octobre 2020

Be Authentic - Mixed media layout for 49 and Market DT

Bonjour à toutes,

Aujourd'hui je suis sur le blog de 49 and Market avec une nouvelle vidéo où vous pourrez découvrir comment créer cette page réalisée avec la collection Vintage Artistry Natural.

Hello Sweeties,

Today I'm up on 49 and Market blog with a new video tutorial where you will be able to watch how this layout featuring the Vintage Artistry Natural collection was made


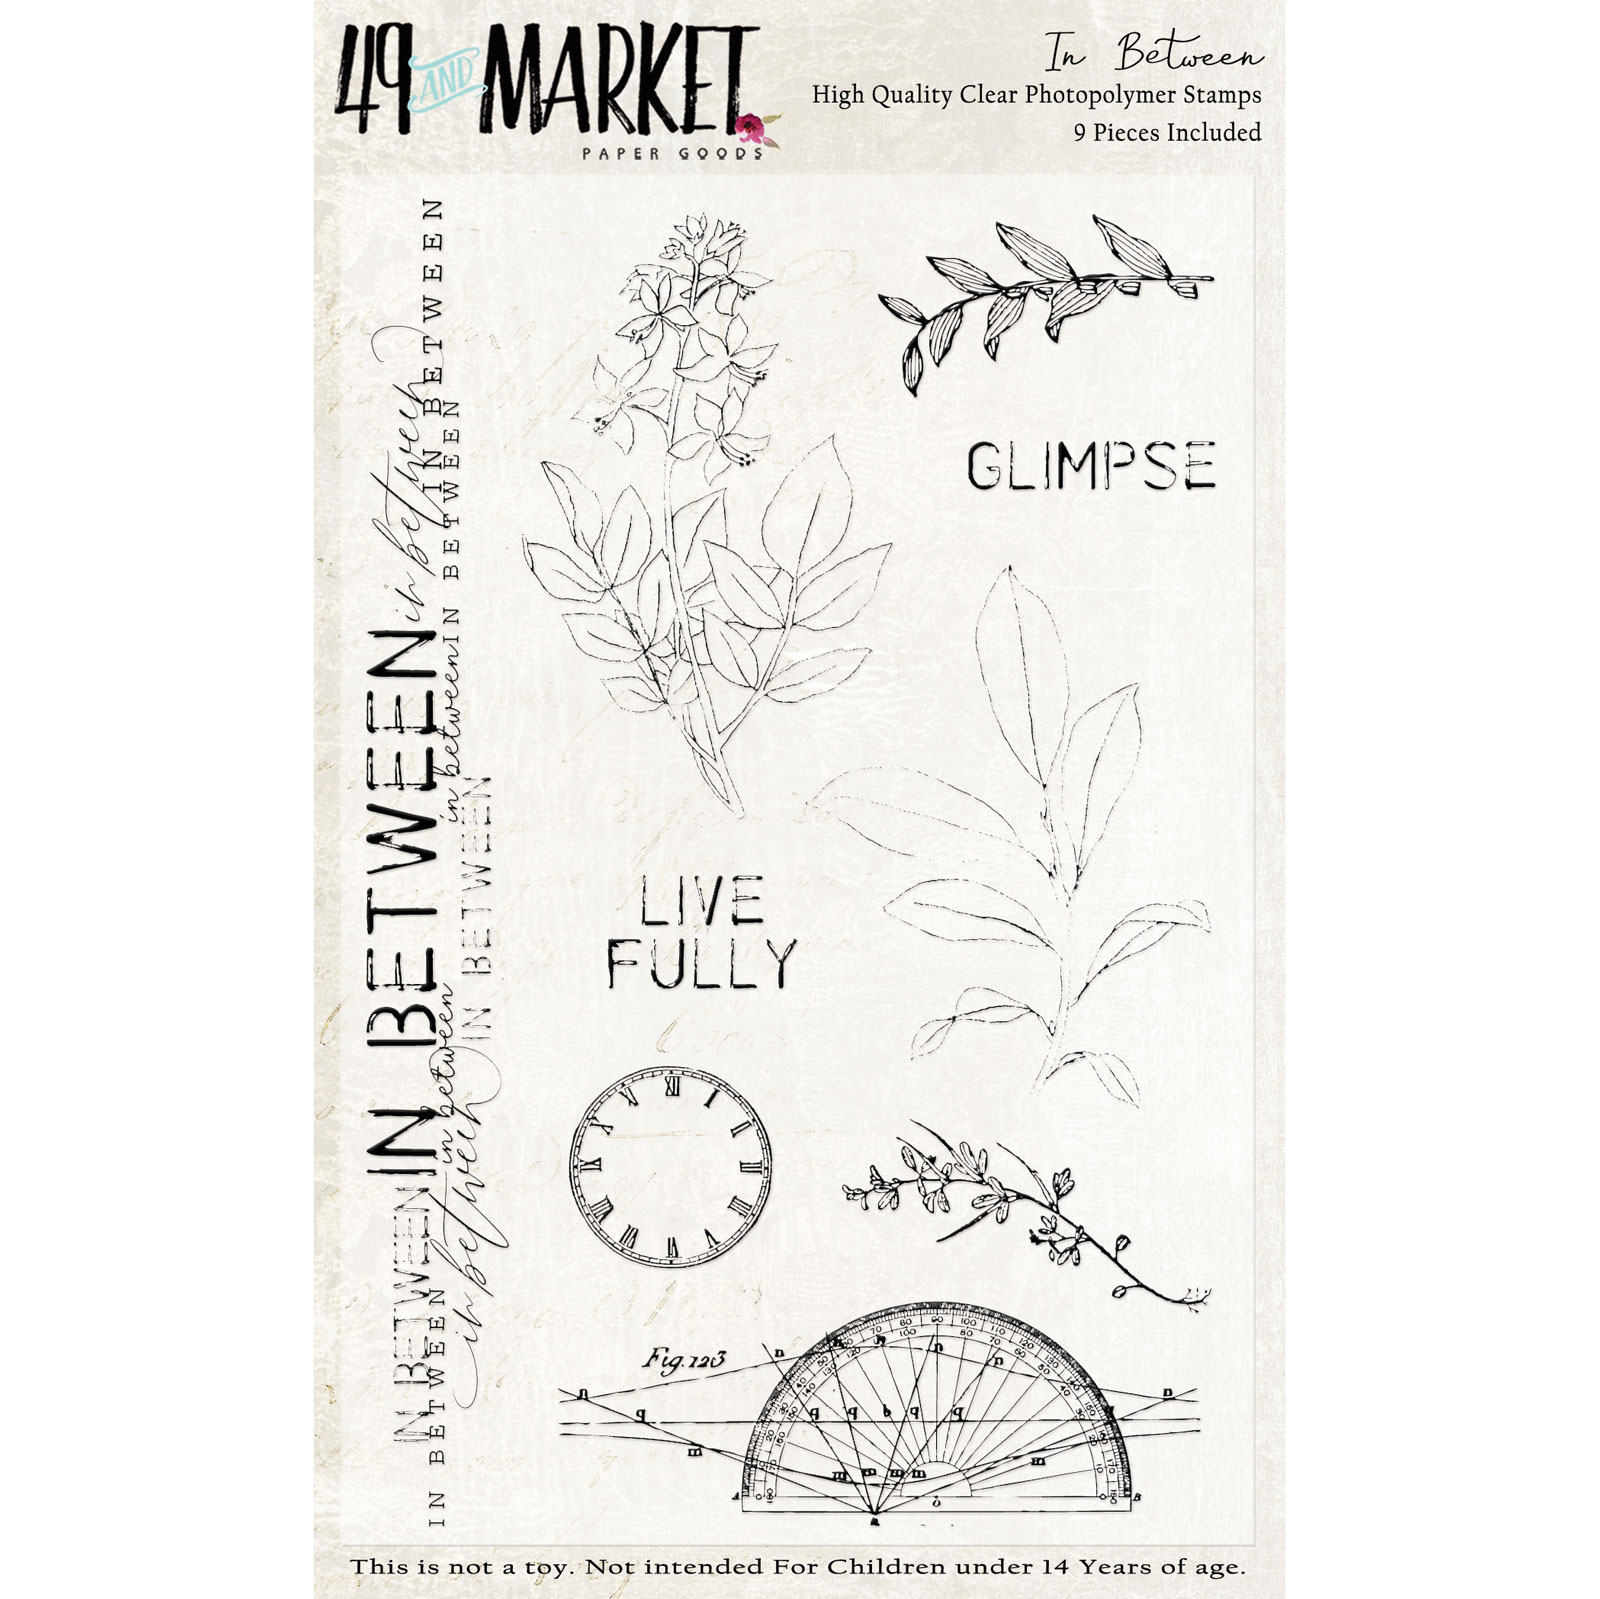
J'ai commencé par tamponner avec les sets 1787, In Between et Gratitude Today. Une fois satisfaite, j'ai protégé le gond d'une couche de gesso transparent. Puis j'ai ajouté un motif à l'aide d'un pochoir et de pâte à craqueler transparente et blanche.

First, I stamped randomly with 1787, In Between, and Gratitude Today. When done, I primed the background with clear gesso. I add a design with clear and white crackle pastes and a stencil.


Le motif a été coloré avec les encres Long John's Silver, Bodacious Blush, Salt Water Taffy, and Frenchy Pink Purple.

The design was colored with Long John's Silver, Bodacious Blush, Salt Water Taffy, and Frenchy Pink Purple inks. 


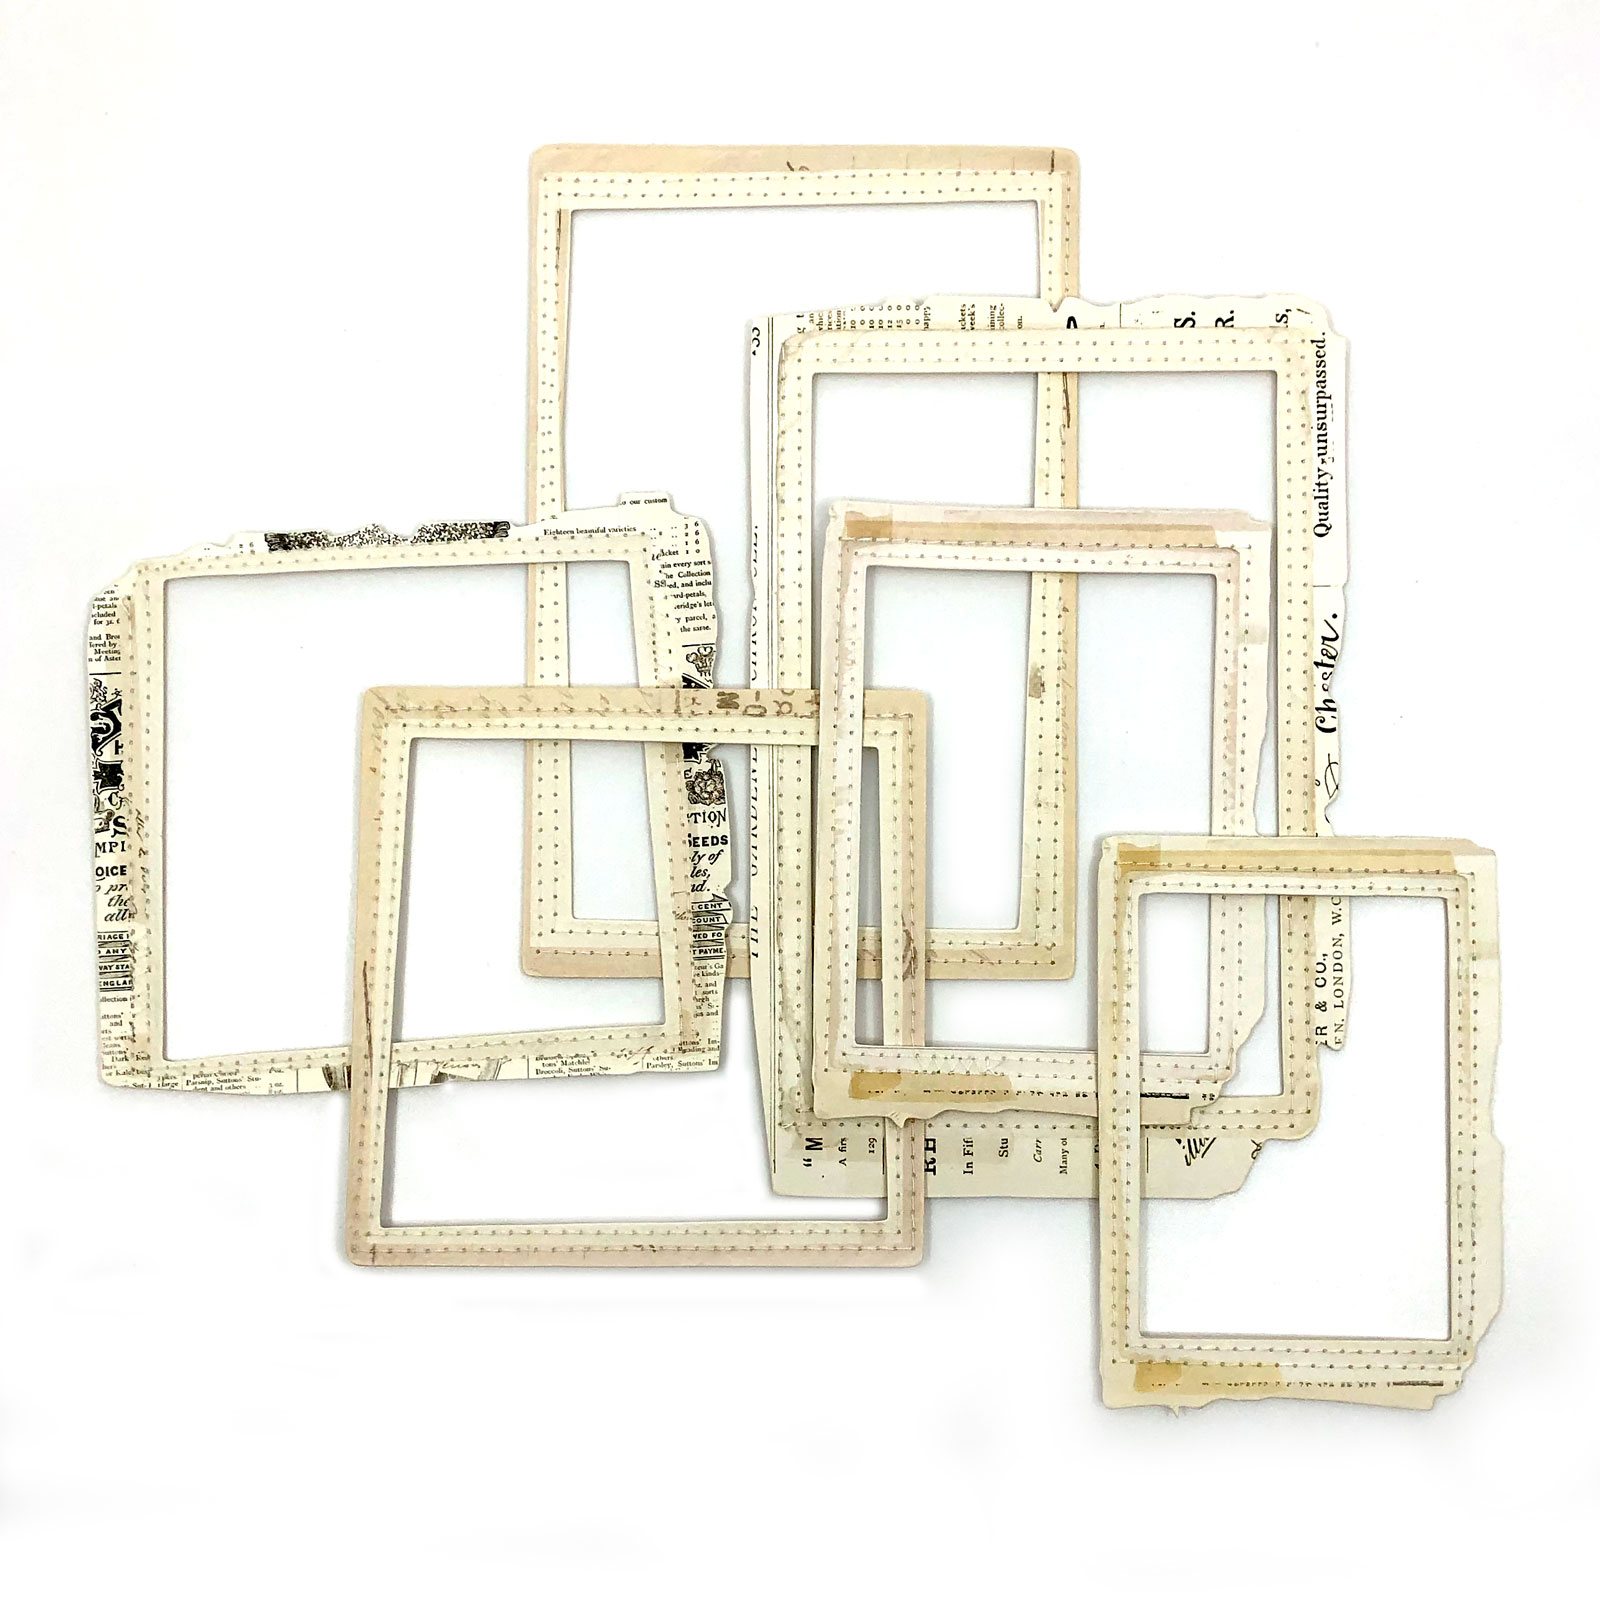
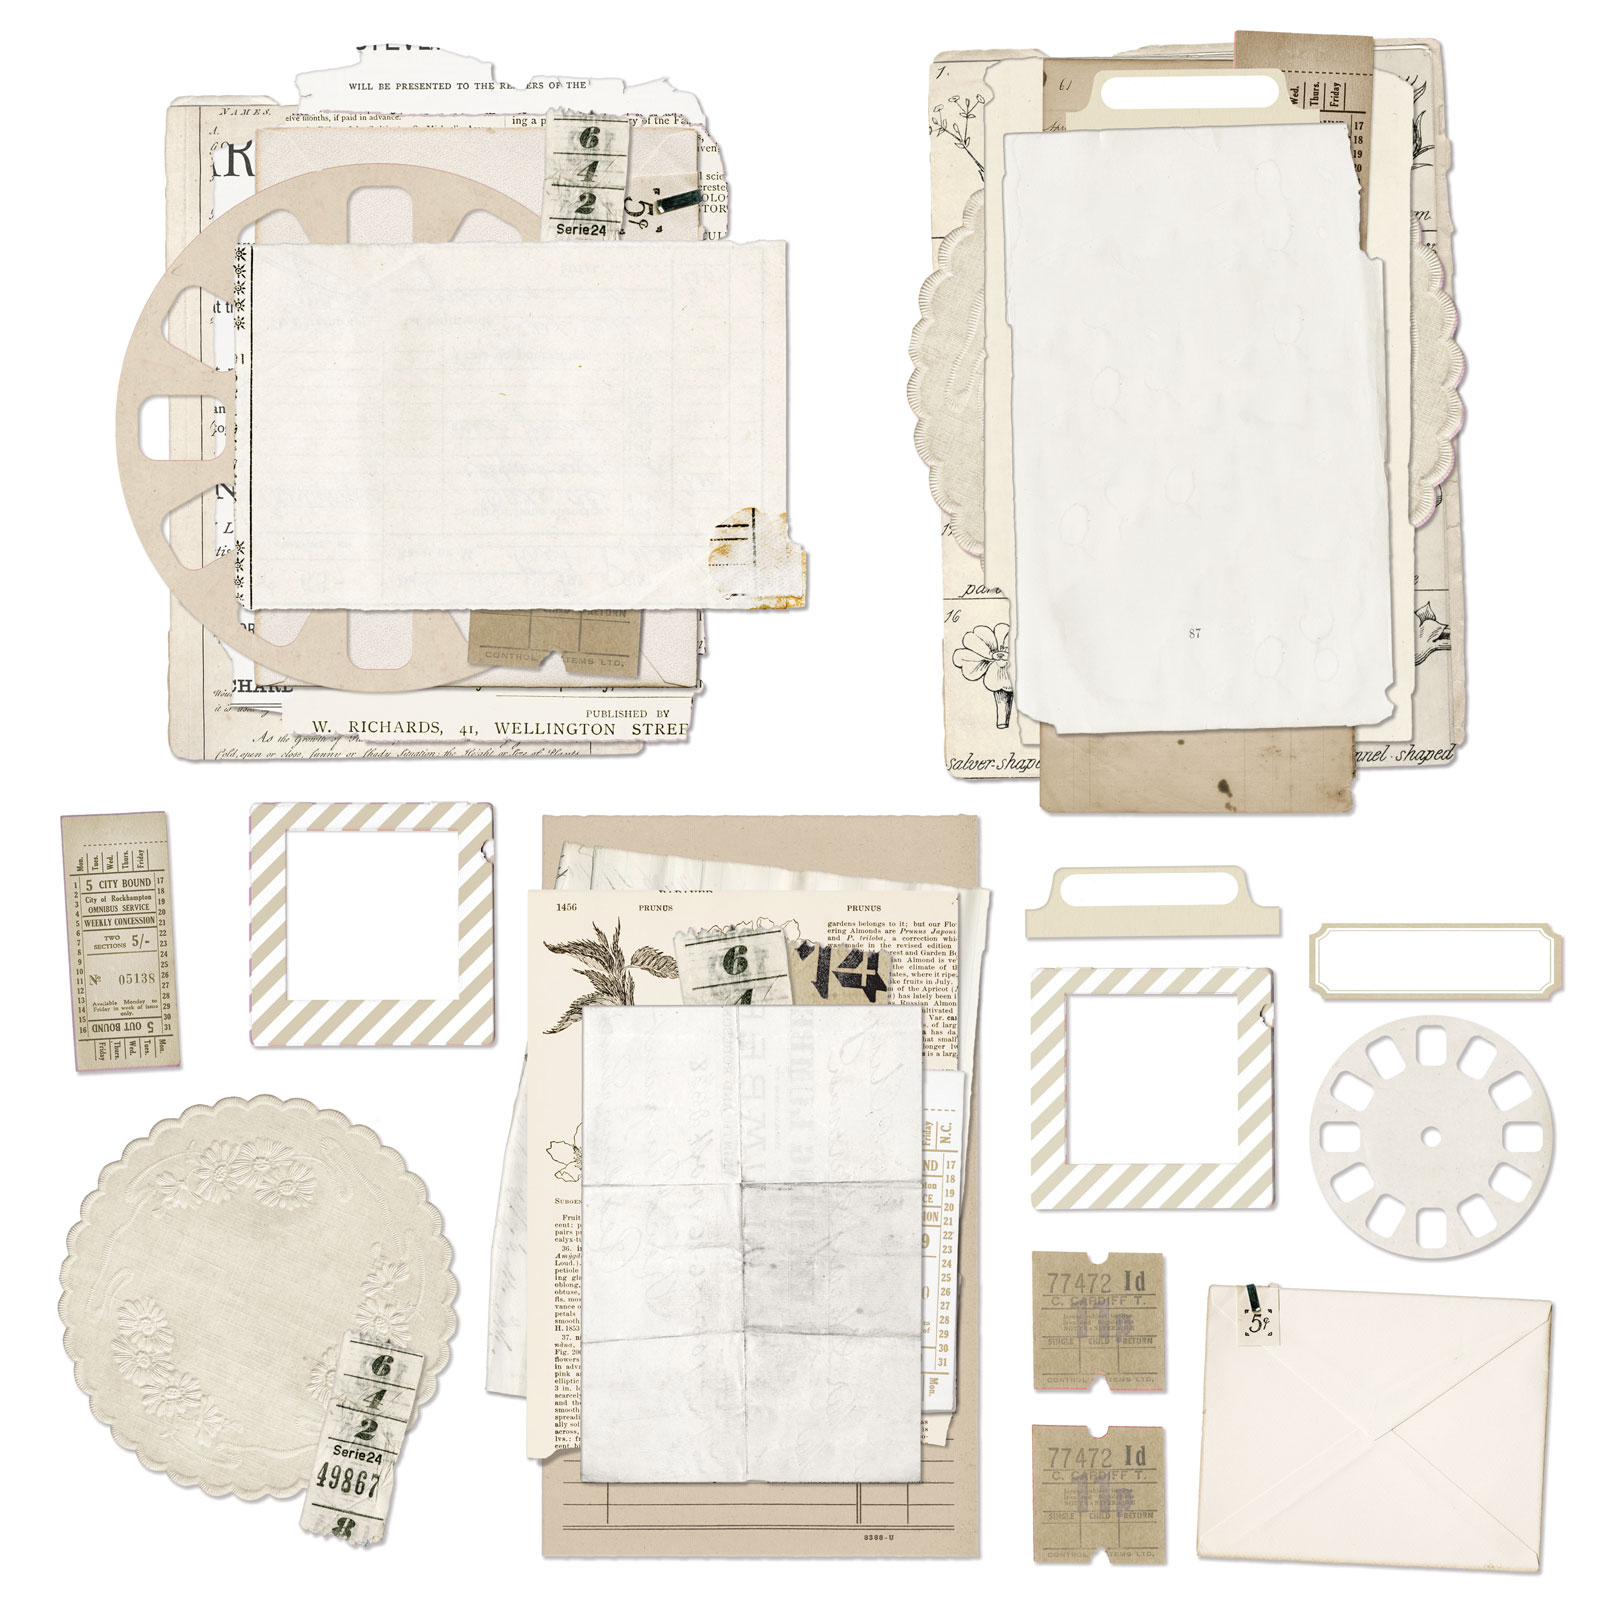
J'ai coloré un chipboard avec l'encre Bodacious Blush avant de l'embosser deux fois avec la poudre Clearly Clear. J'ai collé un cadre cousu sur la photo avant d'ajouter des papiers de paquet d'Ephemera Stack sous la photo. J'ai ajouter des morceaux de cartons entre les divers papiers pour donner plus de dimension au projet.

I colored a DA chippie with Bodacious Blush and embossed it twice with Clearly Clear EP. I glue a stitched frame on the photo before layering some elements from the Ephemera Stack. It's so easy to stack them. I add some cardboard in between to add more dimension. 


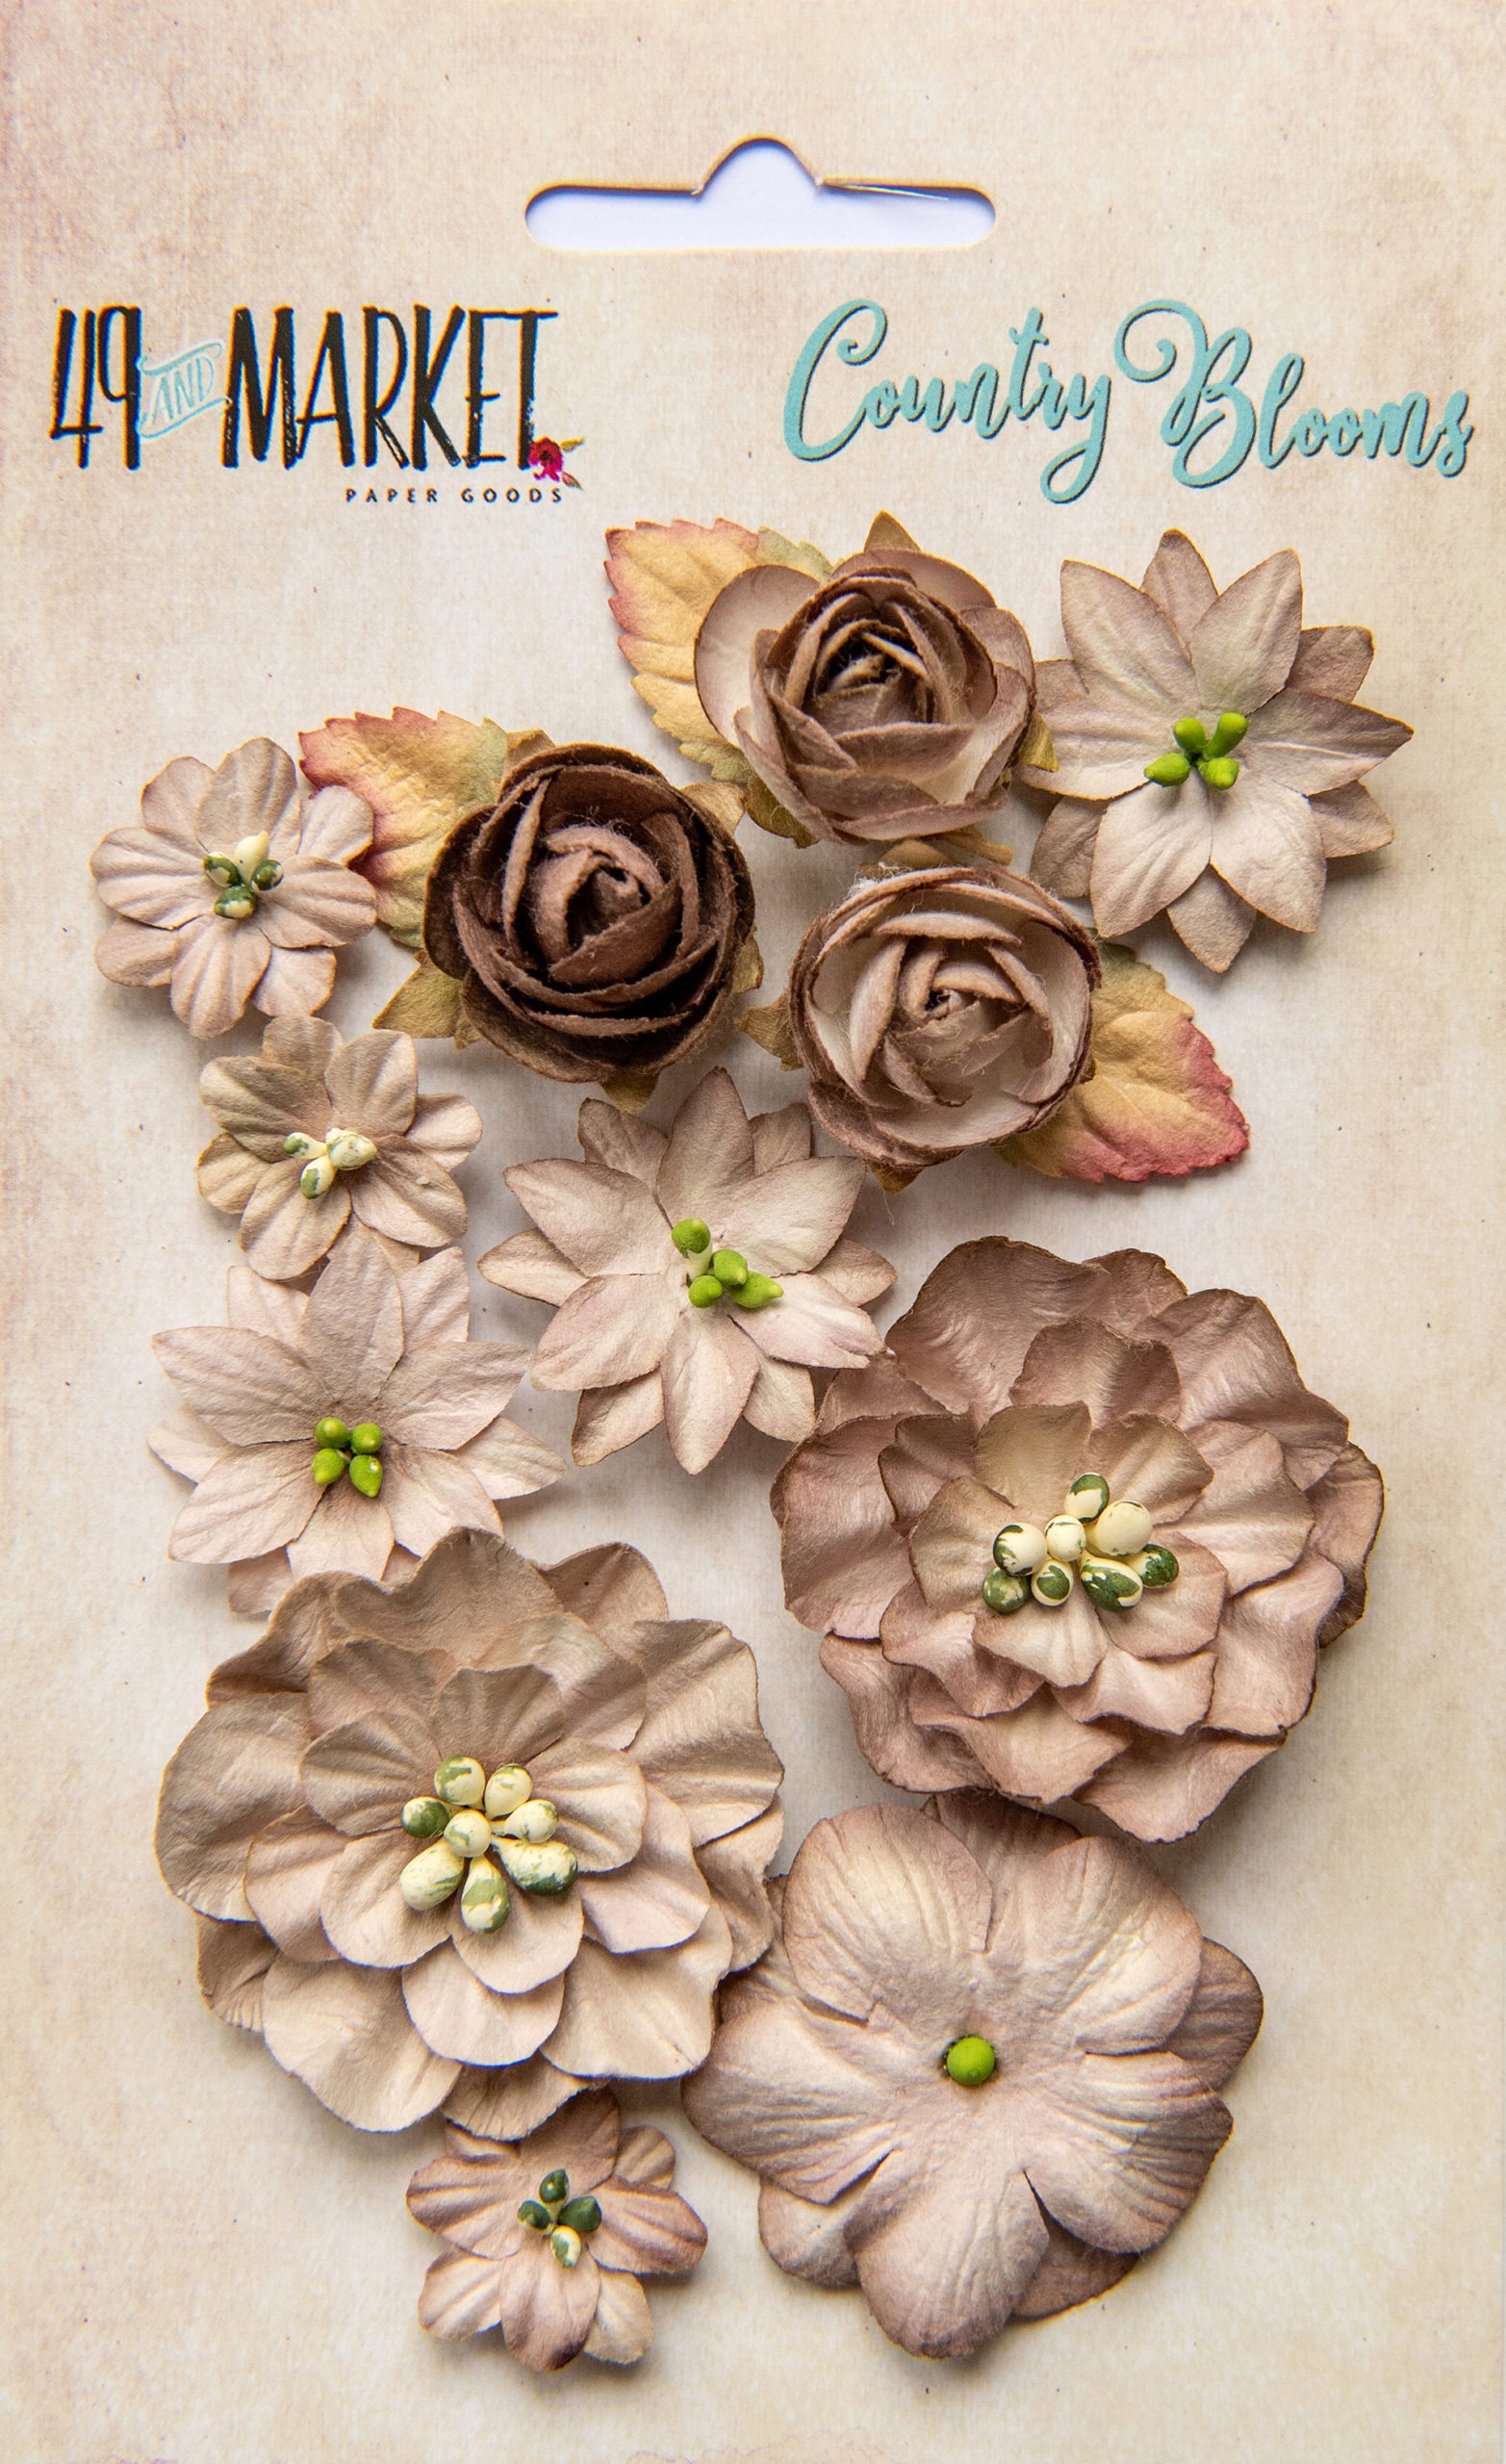
Puis j'ai commencé la composition autour de la photo avec des Country Blooms e de MAura's Vineyard. J'ai collé tous les embellissments avec du gel 3G mat.

Next, I started to build the composition around the photo with Country Blooms and Maura's Vineyard. I glue all the embellishments with 3D matte gel.


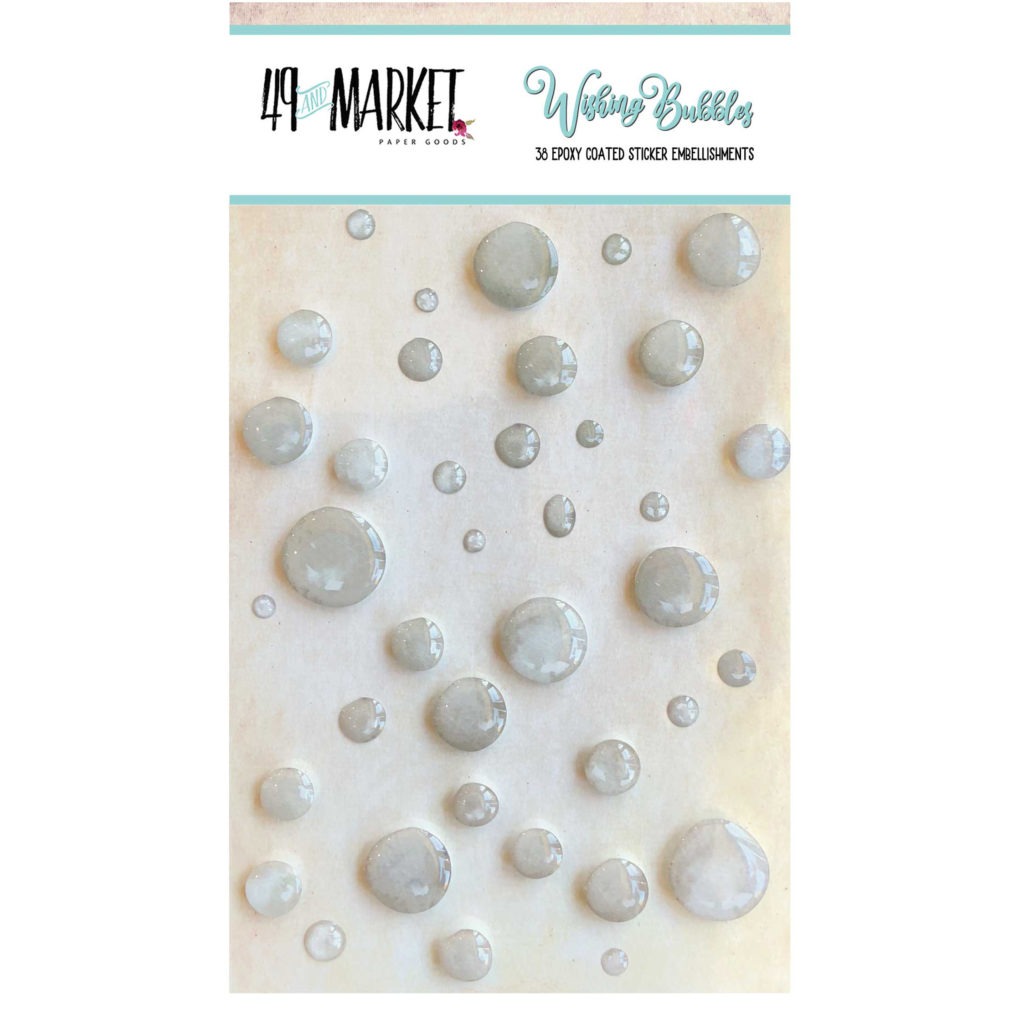
J'ai ajouter également des Whishing Bubbles ainsi que des glitters. Finalement, j'ai décidé d'ajouter un peu plus de couleur autour de la composition. 

I added some Whishing Bubbles as well and glitters. Finally, I added more colors around the composition. 


Et voici la vidéo / And here is the video:


Matériels / Materials:

49 and Market products:

VAC-32129-Natural-Wallflower
Vintage Artistry Natural
Wallflower
VAC-32181-Natural-Stitched-Frames
Vintage Artistry Natural
Stitched Frames
VAC-32754 Vintage Artistry Natural Nouveau Ephemera Stack
Vintage Artistry Natural
Ephemera Stack
Country Blooms - Mushroom
Country Blooms
Mushroom
MV-32457-Mauras-Vineyard-Rose
Maura's Vineyard
Rosé
Wishing-Bubbles-Soda-Pop - DISCONTINUED
Wishing Bubbles
Cream Soda
PB-87506-1787-Pascale-Stamp - DISCONTINUED
1787
Stamp
VAC-32563-In-Between-Stamp
In Between
Stamp Set
VAC-32297-Gratitidue-Today-stamp
Gratitude Today
Stamp Set

Other products:
  • Moon Shadow Mist - Lindy's Gang (Long John's Silver);
  • Starburst - Lindy's Gang (Bodacious Blush, Salty Walter Taffy);
  • Flat Fabio - Lindy's Gang (Frenchy Pink Pouf);
  • Embossing Powders - Lindy's Gang (Clearly Clear);
  • Chipboard - Dusty Attic (Doodads #8);
  • Stencil - A.B. Studio (Stencil ID-90);
  • Art Extravagance - Finnabair Prima (Clear and White Crackle Pastes);
  • Art Basics - Finnabair Prima (Clear Gesso, 3D Matte Gel, Soft Gloss Gel).

Related Posts Plugin for WordPress, Blogger...