Bonjour à toutes,
Aujourd'hui j'ai un projet pour A.B. Studio que je vous propose réalisée avec la collection Behind Closed Doors.
Hello Sweeties,
Today I have a project for A.B. Studio to share with you featuring the Behind Closed Doors.
Aujourd'hui j'ai un projet pour A.B. Studio que je vous propose réalisée avec la collection Behind Closed Doors.
Hello Sweeties,
Today I have a project for A.B. Studio to share with you featuring the Behind Closed Doors.

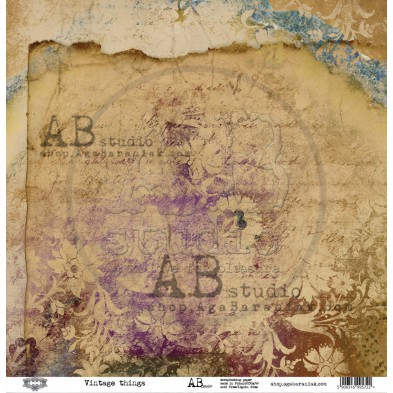
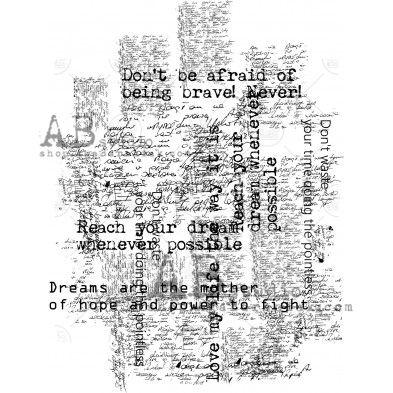
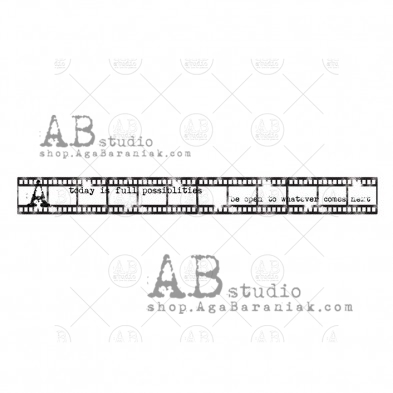
J'ai tamponné le fond avec le tampon texte n°208. Puis, j'ai protégé le fond d'une couche de gesso transparent. Enfin, j'ai ajouté un peu de couleur au fond avec diverses squiurts : Canadian Bacon Blush, Beaver Tail Brown, et Hockey Puck Black.
I stamped randomly with the stamp text ID-208. Next, I primed the background with clear gesso. When dry, I added some color with different squirts from Lindy's Gang: Canadian Bacon Blush, Beaver Tail Brown, and Hockey Puck black.
I stamped randomly with the stamp text ID-208. Next, I primed the background with clear gesso. When dry, I added some color with different squirts from Lindy's Gang: Canadian Bacon Blush, Beaver Tail Brown, and Hockey Puck black.

Ensuite j'ai ajouté un motif avec le pochoir n°71 et de la pâte à craqueler transparente.
Next, I added a design with the stencil ID-71 and clear crackle paste.
Next, I added a design with the stencil ID-71 and clear crackle paste.

J'ai découpé quelques feuillages dans du papier aquarelle. Je les ai coloré avec les squirts utilisées précédemment et une encre verte. J'ai ajouté une petite touche de Canadian Bacon Blush aux fleurs.
I die cut some leaves in a watercolor paper. I colored them with the Squirts used previously and a green ink. I added a little touch of Canadian Bacon Blush to the flowers.
I die cut some leaves in a watercolor paper. I colored them with the Squirts used previously and a green ink. I added a little touch of Canadian Bacon Blush to the flowers.

J'ai coloré une montre en résine blanche, recouvert de gesso transparent, avec Hockey Puck Black. Je l'ai ciré ainsi que quelques éléments en résine transparente avec les cires Old Silver et White Gold.
I colored a white resin clock, primed with clear gesso, with Hockey Puck Black. I waxed it as well as a few clear resin elements with Old Silver and White Gold waxes.
I colored a white resin clock, primed with clear gesso, with Hockey Puck Black. I waxed it as well as a few clear resin elements with Old Silver and White Gold waxes.

Une fois que tout est prêt, j'ai collé les embellissements avec du gel 3D mat.
When everything was ready, I glued all the embellishments with 3D Matte Gel.
When everything was ready, I glued all the embellishments with 3D Matte Gel.

Pour terminer la mise en page, j'ai ajouté des glass glitters, des micorbilles et des mini-étoiles.
To finish the layout, I added some glass glitters, microbeads, and mini-stars.
To finish the layout, I added some glass glitters, microbeads, and mini-stars.
Matériels / Materials:
A.B. Studio products:
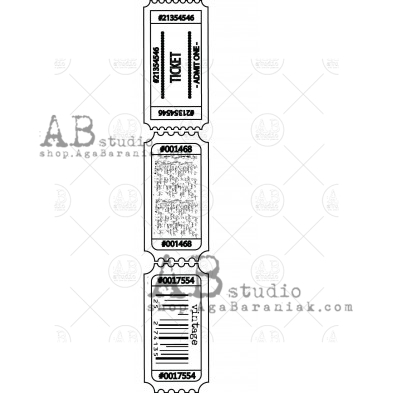
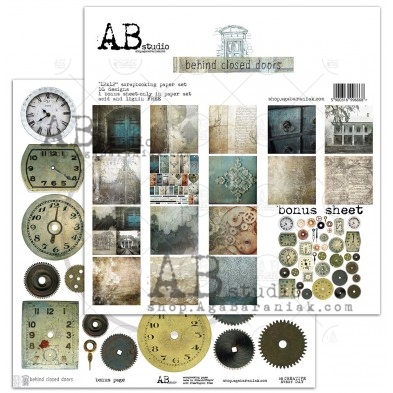 Behind Closed Doors Bonus Sheet |  Behind Closed Doors Future Memories |  Stencil ID-71 | 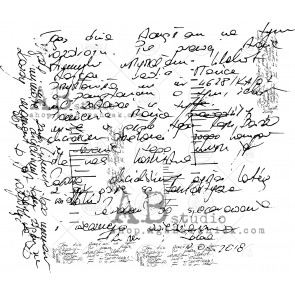 Stamp ID-208 |
Other products:
- Squirts - Lindy's Gang (Canadian Bacon Blush, Beaver Tail Brown, Hockey Puck Black);
- Starburst - Lindy's Gang (Green With Envy Green);
- Flowers - 49 and Market (Enchanted Flowers: Ballet Slipper; Mini Serie 01: Mushroom);
- Moulds - Prima (Baroque #6, Seashore Treasures, Etruscan);
- Art Alchemy - Finnabair Prima (Waxes: Old Silver, White Gold);
- Art Ingredients - Finnabair Prima (Glass Glitter: STerling)
- Art Extravagance - Finnabair Prima (Clear Crackle Paste);
- Art Basics - Finnabair Prima (Clear Gesso, 3D Matte Gel, Soft Matte Gel).