Affichage des articles dont le libellé est Garden Petals. Afficher tous les articles

vendredi 24 avril 2020

Go with your heart - Mixed media Layout - 49 and Market DT

Bonjour à toutes,

Aujourd'hui je suis sur le blog de 49 and Market avec une nouvelle video. Pour réaliser cette page, je me suis inspirée d'une page réalisée par la talentueuse Juliya Tirskaya.

Hello Sweeties,

Today I'm up on 49 and Market blog with a new video tutorial. The layout is inspired by one made by the talented Juliya Tirskaya.

Photo by Valerie Elash on Unsplash

J'ai protégé le fond d'une couche de gesso transparent. Puis, j'ai coupé une bande de papier dans la feuille Delicate de la collage Vintage Artistry Sage sur laquelle j'ai ajouté un motif avec du gel 3D brilliant. Une fois sec, j'ai coloré la bande de papier avec la squirt Hockey Puck Black et les peintures acrylique liquides purple et Avocado Green.

I primed the background with clear gesso. Next, I cut a strip of paper from the Delicate sheet on which I add a design with 3D Gloss Gel. When dry, I color the paper strip with the Hockey Puck Black squirt, and fluid acrylic paints in Purple and Avocado Green.


Ensuite, j'ai collé la bande de papier sur le fond et j'ai ajouté une deuxième motif avec de la pâte de papier. J'ai recouvert des éléments en résine avec du gesso transparent ainsi que des éléments de la planche Memory. J'ai coloré une couronne en chipboard avec la peinture acrylique Liquide Avocado Green.

Next, I glued the paper strip to the background and I added a second design with Paper paste. I primed some resin elements with clear gesso, as well as elements from the Memory Archival Board. I colored a chipboard wreath with Avocado Green fluid acrylic paint. 


J'ai découpé une lune dans une feuille de rhodoïd et j'ai commencé à créer ma composition autour de celle-ci, en ajoutant principalement les embellissments en dessous de celle-ci, mais aussi au dessus. J'ai coloré les embellissements avec les couleurs utilisées précédement.

I cut a moon in an acetate sheet and I started to build my composition around it, adding mostly the elements under it, but also on top of the moon. I colored the embellishments with the same colors I used previously in grey, purple and green.


J'ai ajouté une dernière touche aux embellissements avec les cires Bronze Aged et White Gold. J'ai tamponné autour de la compposition avec les tampons 1787 et Ticket Express.

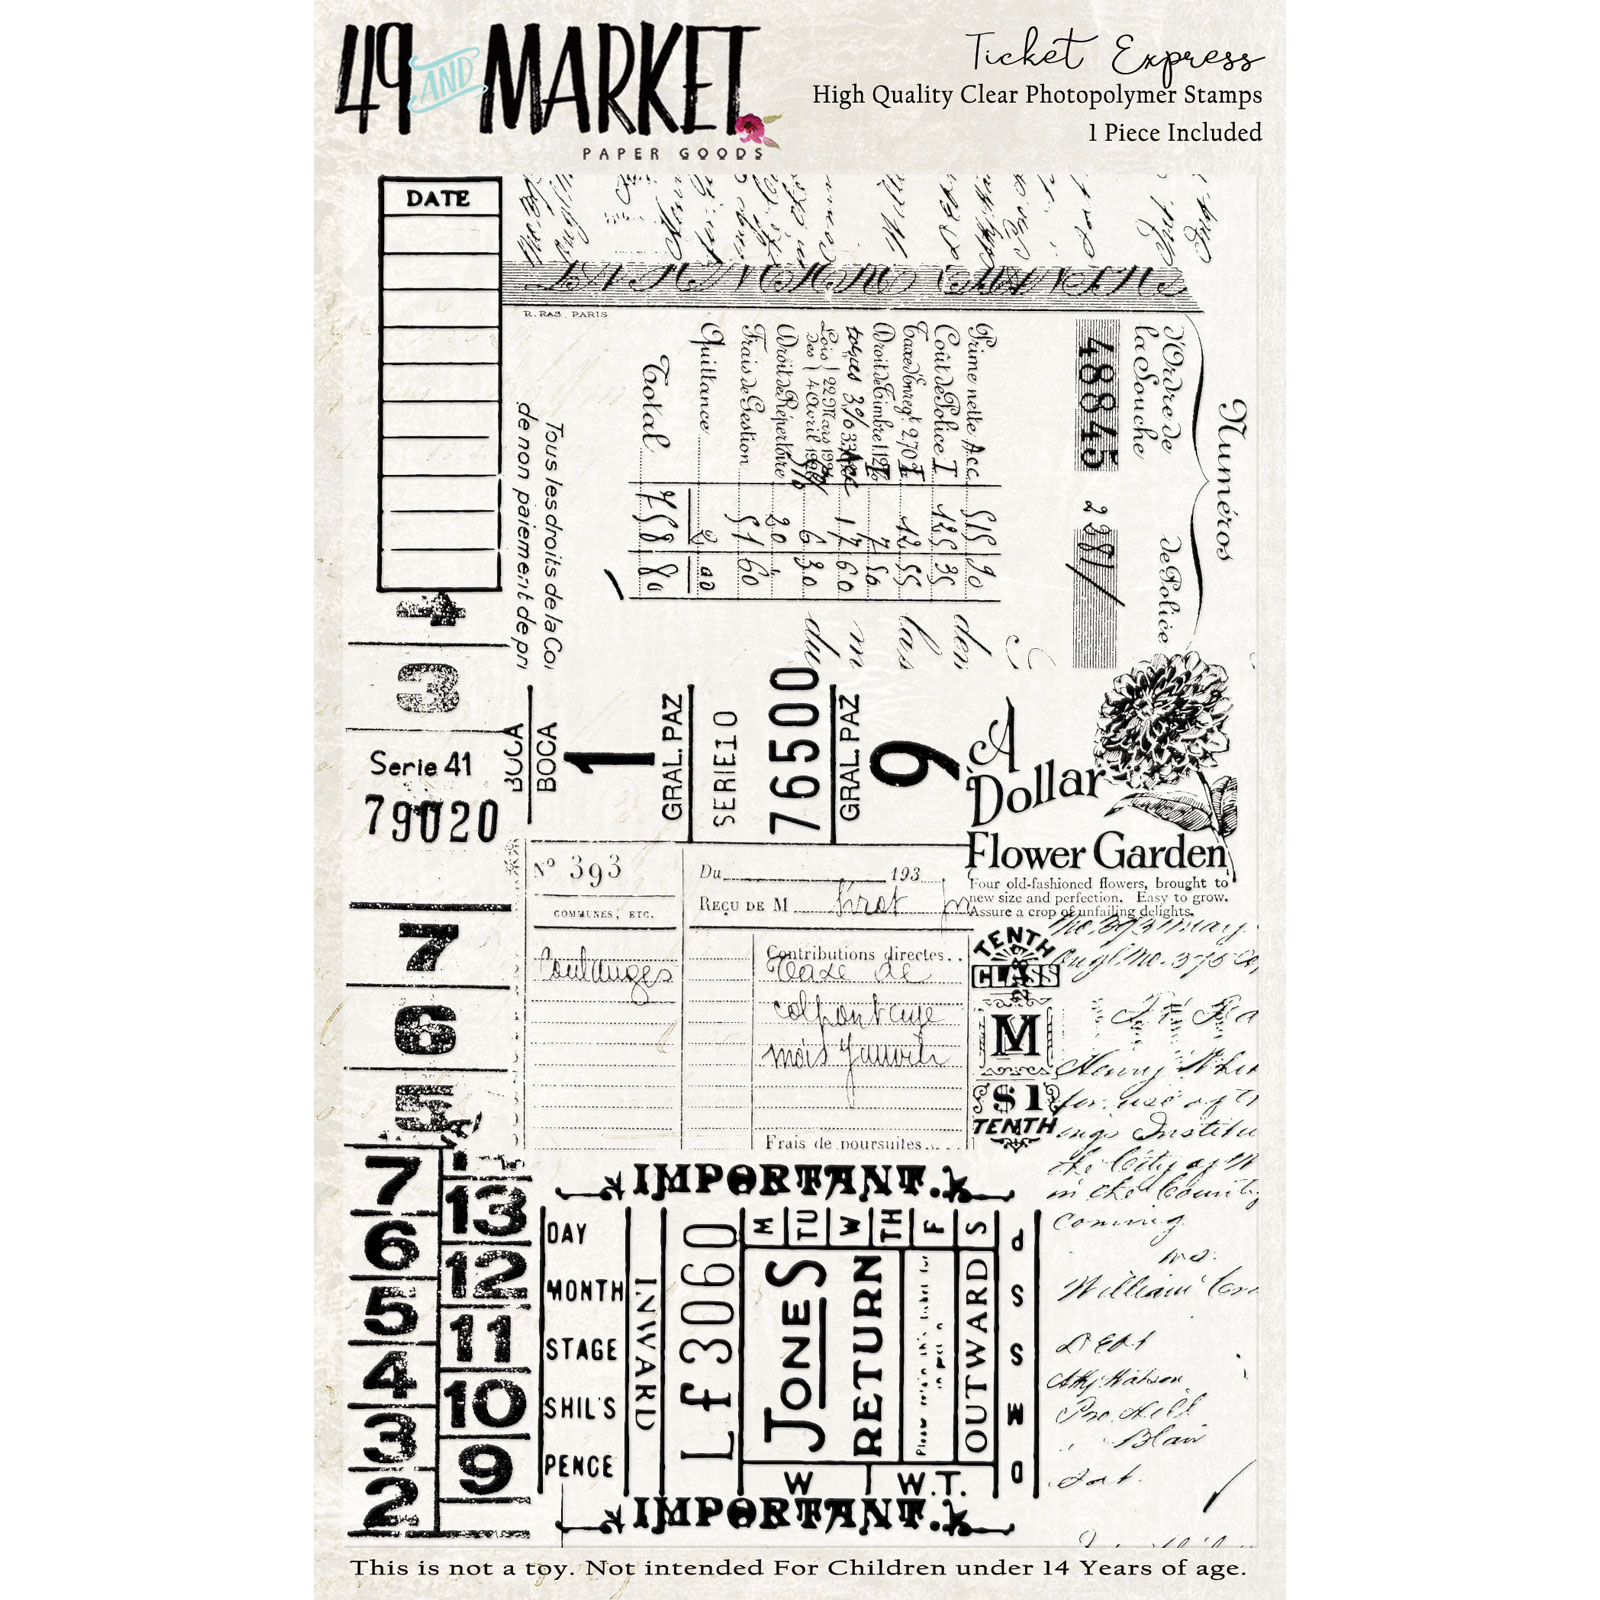
I added a final touch to the embellishments with the Bronze Aged and White Gold waxes. I stamped around the composition with the stamps 1787 and Ticket Express.  


Pour terminer la mise en page, j'ai ajouté des sequins, des microbilles et des taches de glitters.

To finish the layout, I added some sequins, microbeads, and splatters of glitters.  


Et voici la vidéo / And here is the video:


Matériels / Materials:

49 and Market products:


Irrevocable Beauty
Sonnet

Vintage Artistry Sage
Delicate

Archival Board
Memory (White)

Garden Petals
Twilight

Ticket Express
Stamp set

1787
Stamp 

Other products:
  • Squirt - Lindy's Gang (Hockey Puck Black);
  • Stencils - A.B. Studio (Stencil ID-64, Stencil ID-84);
  • Die - Marie LN Geffray (Porte Bonheur);
  • Moules - Prima (Baroque #2, Agadir Patterns);
  • Moules - Finnabair Prima (Stars and Moons);
  • Art Ingredients - Finnabair Prima (Microbeads set, Berry);
  • Art Alchemy - Finnabair Prima (Fluid Acrylic paints: Purple, Avocado Green, Umber; Waxes: White Gold, Aged Bronze);
  • Art Extravagance - Finnabair Prima (Paper Paste);
  • Art Basics - Finnabair Prima (Clear Gesso, 3D Gloss Gel, 3D Matte Gel, Soft Gloss Gel).

jeudi 9 avril 2020

Easter Wreath - Lindy's Gang DT

Bonjour à toutes,

Aujourd'hui je suis sur le blog de Lindy's Gang avec une nouvelle vidéo. Le printemps est déjà là, et Pâques n'est plus très loin, c'est pourquoi j'ai décidé de faire une couronne de Pâques.

Hello Sweeties,

Today I'm up on Lindy's Gang blog with a new step-by-step video. Spring is already there, and Easter not that far away, so I decide to make an Easter wreath.


J'ai ajouté un motif sur un papier aquarelle avec un pochoir et de la pâte à craqueler transparente. Je l'ai mis de côté pour permettre aux craquelures d'apparaître.

I added a design on a watercolor paper with a stencil and clear crackle paste. I left it aside to dry to allow the crackle to appear. 


Pendant ce temps, j'ai coloré diverses découpes de feuilles et branches avec les encres My Mojito Green, Edelweiss Moss Green et Antique Bronze. Je les ai embossées avec les poudres Oakleaf Olive , Spanish Moss Green et Bratwurst Brown. J'ai embossé que branches de baies avec la poudre Scotch Broom Yellow , puis je les ai coloré avec l'encre Dark Chocolate Brown.

In the meantime, I colored different die-cut leaves and branches with My Mojito Green, Edelweiss Moss Green, and Antique Bronze. I embossed them as well with Oakleaf Olive EP, Spanish Moss Green, and Bratwurst Brown. I embossed some berry branches with Scotch Broom Yellow EP, then I colored them with Dark Chocolate Brown.


J'ai embossé un chipboard cage à poule avec les poudres Chip Off the Black et Tin Roof, Rusted!
J'ai coloré le papier aquarelle ainsi que des rubans avec les encres Yellow Rose of Texas, My Mojito Green, Edelweiss Moss Green et Dark Chocolate Truffle. Je l'ai collé sur un tag de carton et attaché les rubans.

I embossed a chicken wire chipboard with the Chip Off the Black and TinRoof, Rusted! chunky EP.
I colored the watercolor paper along with ribbons with Yellow Rose of Texas, My Mojito Green, Edelweiss Moss Green, and Dark Chocolate Truffle inks. I glued it on a cardboard tag and added the ribbon.


J'ai découpé une paire de papillons que j'ai coloré avec les encres Yellow Rose of Texas et Dark Chocolate Truffle. Puis, j'ai ajouté du "foil" or.

I die cut a couple of butterflies which I colored with Yellow Rose of Texas and Darl Chocolate Truffle inks. Next, I added some gold foil. 


J'ai collé tous les éléments que j'ai préparé ainsi que des vraies branches et des fleurs. J'ai fait un nid avec du sisal et ajouté des oeufs. Pour finir, j'ai ajouté des sequins et des microbilles.

I glued all the elements I've prepared along with natural branches, and flowers. I made a nest with sisal and added some eggs. To finish, I added some sequins and microbeads. 


Et voici la vidéo / And here is the video:


Matériels / Materials:

Lindy's Gang products:
Other products:
  • Flowers - 49 and Market (Enchanted Petals: Sunshine; Garden Petals: Sunshine);
  • Stencil - A.B. Studio (Stencil ID-93);
  • Chipboard - Dusty Attic(Chicken Wire);
  • Die - Sizzix (Scribbly Butterflies);
  • Die - Mimi Cut (Herbarium 3);
  • Rub-on - Prima (Poppy Pod Script);
  • Foil - Prima (Intergalactic);
  • Art Ingredients - Finnabair Prima (Microbeads: Copper);
  • Art Extravagance - Finnabair Prima (Clear Crackle Paste);
  • Art Basics - Finnabair Prima (Heavy Body Gel, Soft Gloss Gel).

mardi 24 mars 2020

Be Strong - 49 and Market DT

Bonjour à toutes,

Aujourd'hui je suis sur le blog de 49 and Market avec un nouveau pas-à-pas vidéo où je vous montre comment j'ai réalisée cette page. J'ai travaillé avec la superbe collection Vintage Artistry Natural.

Hello Sweeties,

Today I'm up on 49 and Market blog with a step-by-step video where I show you how I realize this layout. I worked with the beautiful Vintage Artistry Natural collection.

Photo by naeim jafari on Unsplash

J'ai tamponné ici et là avec les sets 1787 et Snapshots of Yesterday. Puis, j'ai protégé le fond d'une couche de gesso transparent. Ensuite j'ai ajouté un motif avec du gesso noir et le pochoir Read my Letter. J'ai saupoudré le gesso humide de Art Sugar argent pour ajouter un peu de brillance.

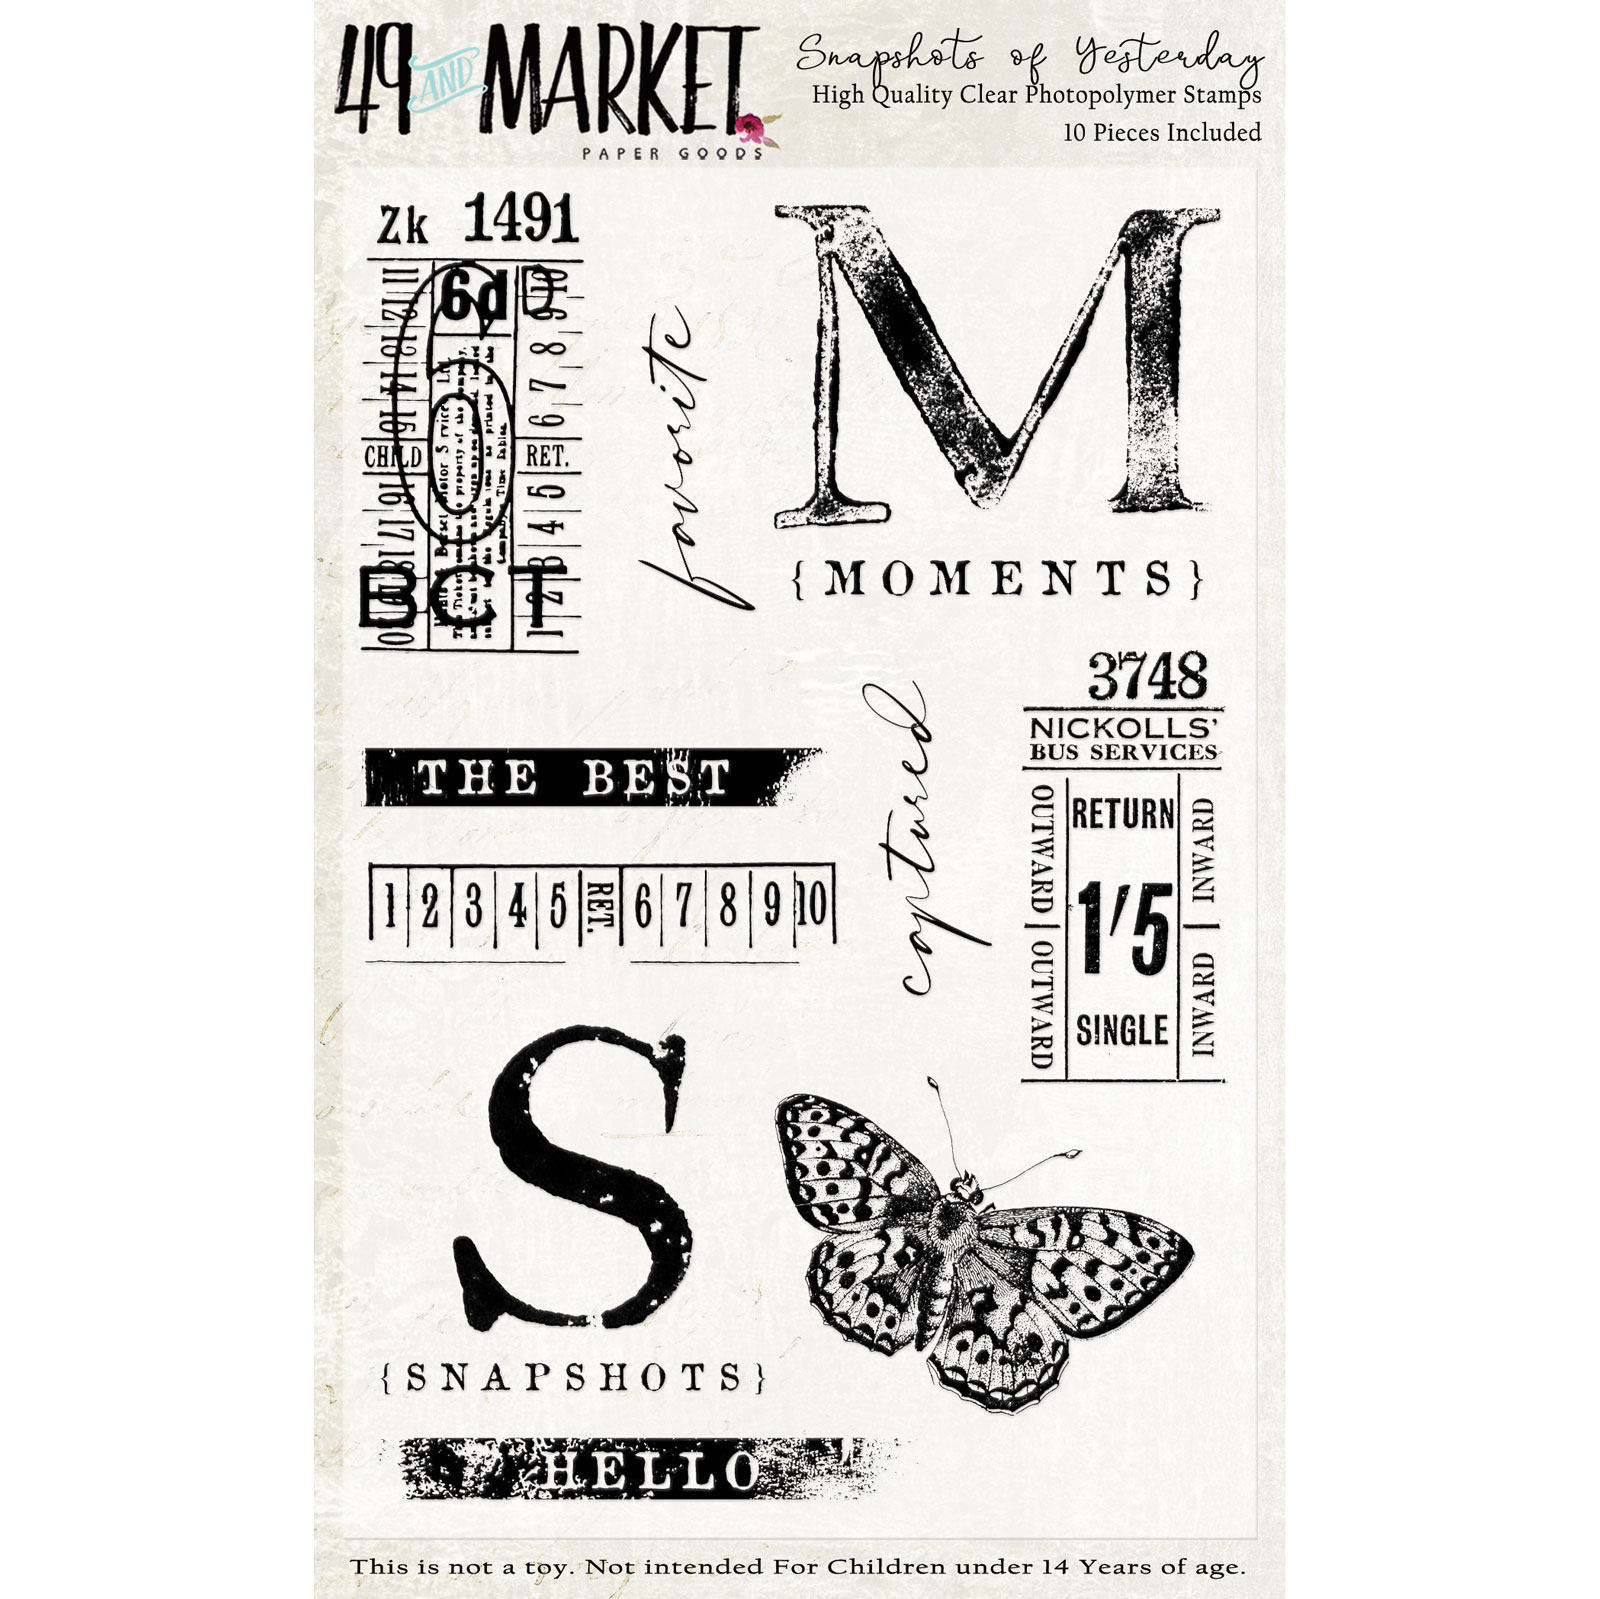
I stamped randomly with the stamps 1787 and Snapshots of Yesterday. Next,  I primed the background with clear gesso. Then I added a design with black gesso and the stencil Read my Letter. I sprinkled Silver Art Sugar onto the wet black gesso to add some shine.


Ensuite, j'ai ajouté un peu de couleur au fond avec les encres Tea Pot Purple, Loonie Toonie Teal, et Tawny Turquoise.

Next, I added some color to the background with Tea Pot Purple, Loonie Toonie Teal, and Tawny Turquoise. 


J'ai coloré des plumes en résine, recouverte de gesso transparent, avec les mêmes encres. Puis, j'ai mis en évidence les détails avec les cir Old Silver et White Gold.

I colored some resin feathers, primed with clear gesso, with the same inks. Next, I highlighted the details with Old Silver and White Gold waxes.


J'ai ajouté quelques papiers du lot Collage Stacks sous la photo, puis quelques fleurs: des Garden Petals Sea Glass et des fleurs de la mini serie viollette. J'ai ajouté de la cire White Gold sur les fleurs.

I added some papers from the Collage Stack under the photo, then some flowers: Sea Glass Garden Petals, and Violet mini series flowers. I add some White Gold wax onto the flowers.


Une fois tout a été collé, j'ai ajouté quelques Whising Bubbles Minty Breeze et du washi tape Sky. Pour finir la mise en page, j'ai ajouté des mini étoiles et des microbilles.

When everything was glued, I add Minty Breeze Wishing Bubbles and Sky Washi tape. To finish the layout, I add some ministars and microbeads.


Et voici la vidéo / And here is the video tutorial :


Matériels / Materials:

49 and Market products:

Vintage Artistry Natural
Ecology

Vintage Artistry Natural
Collage Stacks

Vintage Artistry Sky
Washi Tape

Garden Petals
Sea Glass

Flowers Mini Series 01
Violet

1787
Stamp set

Snapshots of Yesterday
Stamp set


Other products:
  • Moonshadow - Lindy's Gang (Twany Turquoise);
  • Starburst - Lindy's Gang (Tea Pot Purple);
  • Squirt - Lindy's Gang (Loonie Toonie Turquoise);
  • Stencil - Finnabair Prima (Read My Letter);
  • Art Ingredients - Finnabair Prima (Microbeads set);
  • Art Alchemy - Finnabair Prima (Waxes: White Gold, Old Silver);
  • Art Basics - Finnabair Prima (Clear Gesso, Black Gesso).


dimanche 9 février 2020

Find Yourself - 49 and Market DT

Bonjour à toutes,

AUjourd'hui, je suis sur le blog de 49 and Market avec une page réalisée avec la collection Vintage Artistry Sky.

Hello Sweeties,

Today, I'm up on 49 and Market blog with a layout featuring the Sky Vintage Artistry collection.

Photo by JJ Jordan on Unsplash

J'ai commencé par ajouter une fine couche de gesso blanc. Une fois sec, j'ai ajouté un motid avec le gesso et un pochoir. J'ai également ajouté unpeu de gaze, là où mes embellissements seront collés.

I started to add a thin layer of white gesso. When dry, I added a design with the gesso and a stencil. I added some cheesecloth as well, where my embellishments will be glued.


J'ai découpé quelques morceaux de bois que j'ai collé sur la gaze. Je les ai également blanchi avec du gesso. Puis, j'ai coloré les branches et le fond avec les encres Long John's Silver et Tibetan Poppy Teal. J'ai décidé d'enrouler de la ficelle autour de quelques morceaux de bois pour rappeler la photo.

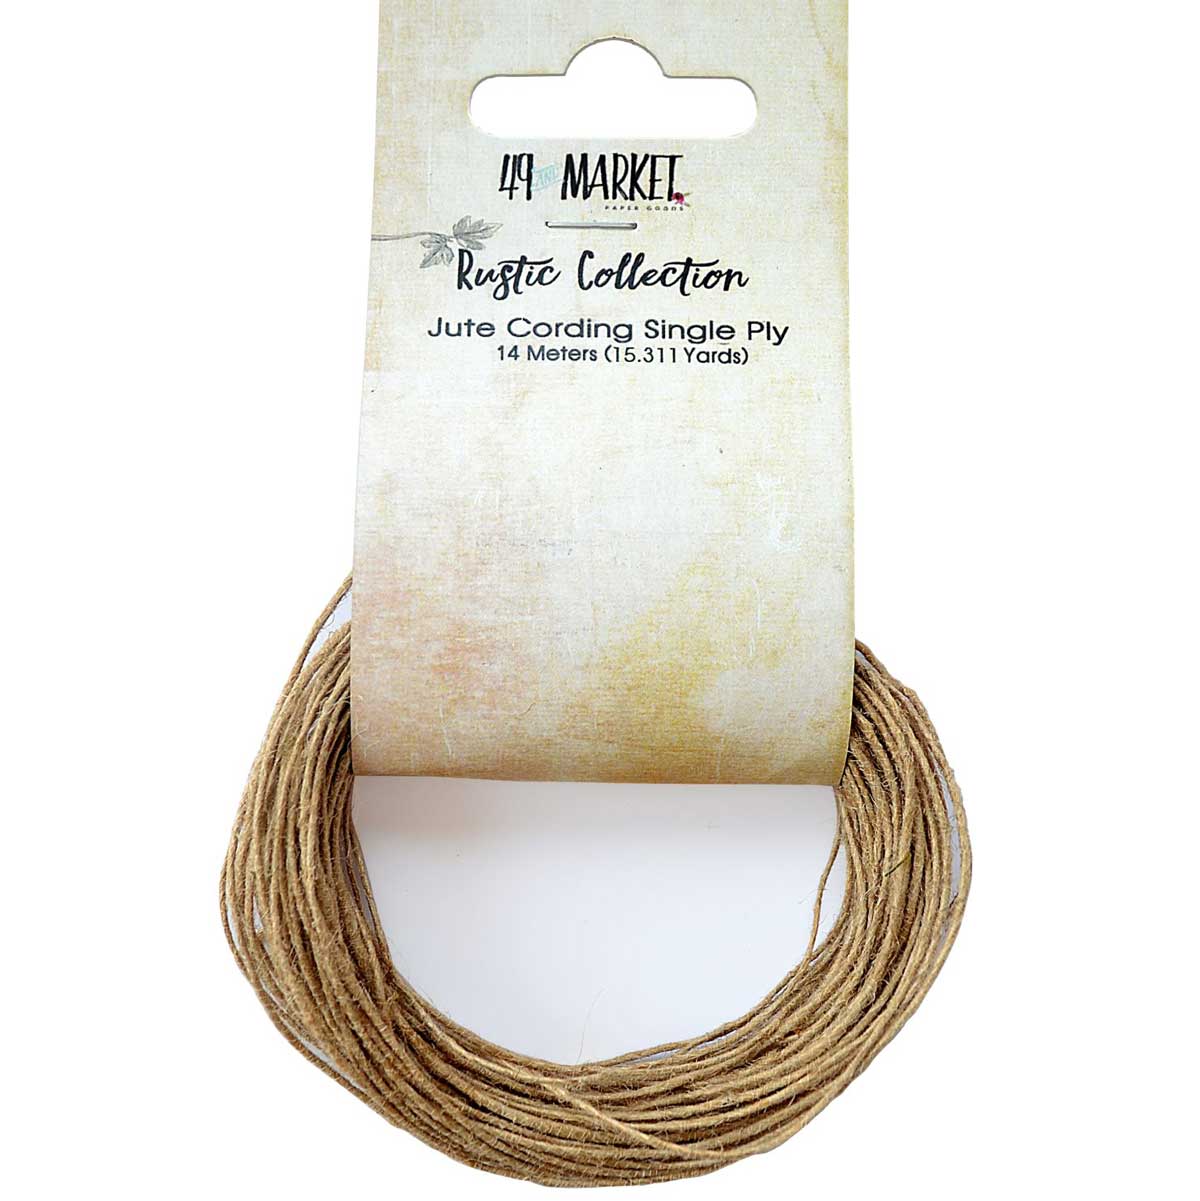
I cut some branches into small pieces, which I glued onto the cheesecloth. I dry brush them with the gesso too. Next, I colored the branches and the background with Long John's Silver and Tibetan Poppy Teal inks. I decided to wind a jute cording around a few pieces of wood.


J'ai découpé quelques feuillages dans du papier aquarelle, que j'ai coloré avec l'encre Long John's Silver. J'ai coloré les fleurs Enchanted Petals avec la même encre.

I die cut a few leaves in a watercolor paper, which I colored with Long John's Silver. I colored the Enchanted Petals with the same ink. 


J'ai ciré quelques éléments métalliques avec la cire Old Siler ainsi que le feuillage. J'ai embossé l'envers de quelques pierres avec la poudre Geranium Coral Blush pour rappeler la touche de corail de la photo.

I waxed some metallic elements with Old Silver wax as well as the leaves. I embossed the back of a few pebbles with Geranium Coral Blush EP to remind the small touche of coral from the photo. 


J'ai collé tous les embellissements que j'ai préparé ainsi que des plumes pour rappeler la photo. J'ai légérement blanchi les fleurs avec le gesso.

I glued all the embellishments I have prepared as well as feathers to remind the photo. I added a little bit of white gesso on top of the flowers. 


Pour finir la mise en page, j'ai ajouté des glass glitter, des microbilles et des taches de glitter turquoise.

To finish the layout, I added glass glitter, microbeads, and splatters of teal glitter.

Matériels / Materials:

49 and Market products:

Vintage Artistry - Sky
Ambrosial 

Natural
Collage Stacks

Enchanted Petals
Parchment

Pascale's Form
Stamp

Jute Cording
Single Ply

Other products:

  • Starburst - Lindy's Gang (Tibetan Poppy Teal);
  • Moon Shadow - Lindy's Gang (Long John's Silver);
  • Embossing Powder - Lindy's Gang (Geranium Coral Blush);
  • Stencil - A.B. Studio (Stencil ID-59);
  • Glitter - BFS (Carribean);
  • Mechanical - Finnabair Prima (Antiques Label, Steampunk Blades, Steampunk Gear);
  • Art Alchemy - Finnabair Prima (Waxes: Old Silver);
  • Art Ingredients - Finnabair Prima (Glass Glitter: Sterling, Art Pebbles);
  • Art Basics - Finnabair Prima (White Heavy Gesso, 3D Matte Gel, Soft Matte Gel).

vendredi 24 janvier 2020

Snapshot - 49 and Market DT

Bonjour à toutes,

Aujourd'hui je suis sur le blog de 49 and Market avec une nouvelle vidéo pour réalisée cette page réalisaée avec la nouvelle collection Natural Vintage Artistry

Hello Sweeties,

Today I'm up on 49 and Market blog with a step-by-step video: a layout featuring the Natural Vintage Artistry mini-collection. 

Photo by JJ Jordan on Unsplash

Processus / Basic process:
  1. Tamponner la feuille Gilded avec le set Snapshots of Yesterday avec des encres marrons et noires ;
    Stamp the Gilded paper with Snapshots of Yesterday set with brown and black inks;
  2. Protéger le fond d'une couche de gesso transparent ;
    Prime the background with clear gesso;
  3. Couper quelques papiers du paquet Natural Collage Stacks en bandes ;
    Cut a few papers from the Natural Collage Stacks into strips;
  4. Coller les bandes de papiers et de washi tape sur le fond ;
    Glue the paper strips and washi strips to the background ; 
  5. Recouvrer les d'une couche de gesso transparent ;
    Prime them with clear gesso too;
  6. Retamponner ;
    Add more stamping;
  7. Ajouter un motif à l'aide d'un pochoir et de pâte à craqueler ;
    Add a design with white crackle paste and a stencil;


  8. Découper quelques feuilles, branches et baies dans du papier aquarelle ;
    Die-cut some leaves, sprigs, and berries in a watercolor paper;
  9. Colorer les avec diverses encres ;
    Color them with different inks;
  10. Utiliser les mêmes encres pour ajouter un peu de couleur sur le motif ;
    Use the same inks to add some colors to the design;
  11. Coller tous les embellissements avec du gel 3D mat ;
    Glue all the embellishments with 3D Matte Gel;


  12. Pour finir la mise en page ajouter des microbilles et des mini-étoiles.
    To finish the layout add some microbeads and mini-stars.

Quelques gros plans / Some close-ups:


Et voici la vidéo / And here is the video:


Matériels / Materials:

49 and Market products:

Vintage Artistry Natural
Gilded
Natural
Collage Stacks
Natural
Washi Strips
Snapshots of Yesterday
Stamp Set

Pascale's Equations
Stamp

Garden Petals
Sunshine

Other products:
  • Squirts - Lindy's Gang (Maple Syrup Bronze, Beaver Tail Brown, Hockey Puck Black);
  • Starburst - Lindy's Gang (My Mojito Green);
  • Stencil - A.B. Studio (Stencil ID-70);
  • Die - Sizzix (Skeleton Leaves);
  • Die - Mimi Cut (Herbarium 3);
  • Art Ingredients - Finnabair Prima (Microbead Set);
  • Art Extravagance - Finnabair Prima (White Crackle Paste);
  • Art Basics - Finnabair Prima (Clear Gesso, Soft Matte Gel, 3D Matte Gel).

Related Posts Plugin for WordPress, Blogger...