lundi 24 juin 2019

Vintage layout - 49 and Market DT

Bonjour à toutes,

Aujourd'hui, je suis sur le blog de 49 and Market avec une nouvelle page réalisée avec la collection Old School. Il s'agit de la page que j'ai réalisé pendant un des atliers que j'ai animé.

Hello Sweeties,

Today, I'm up on 49 and Market blog with a new layout featuring the Old School collection. It's the sample I made during a class I taught.


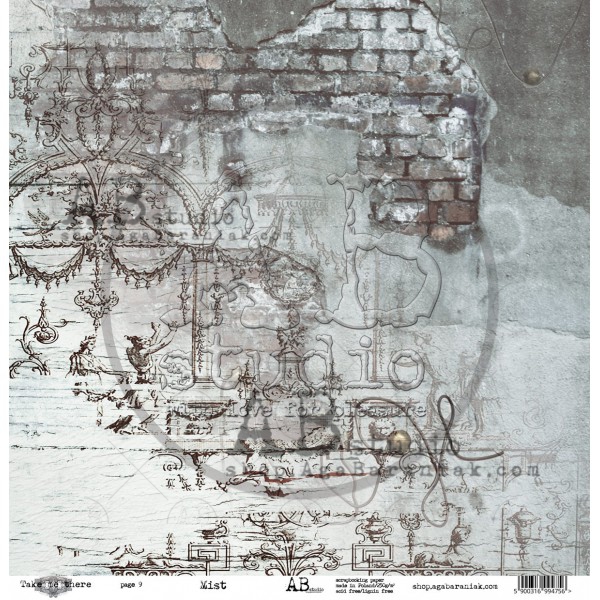
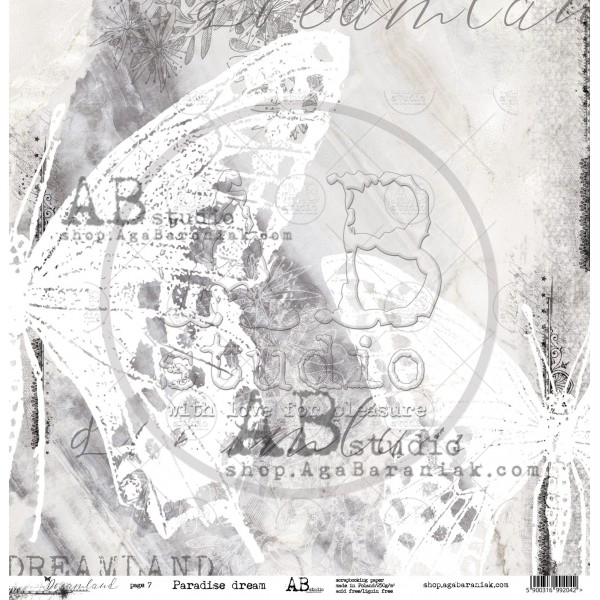
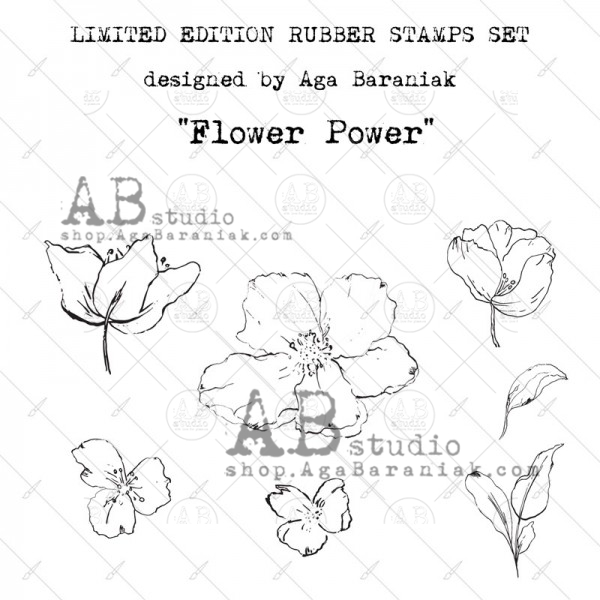
Après avoir tamponné avec divers tampons, j'ai protégé le papier avec du gesso transparent. Puis, j'ai ajouté un motif avec un pochoir et de la pâte graphite.

After stamping with different stamps, I primed the paper with clear gesso. Next, I add a design with a stencil and graphite paste.


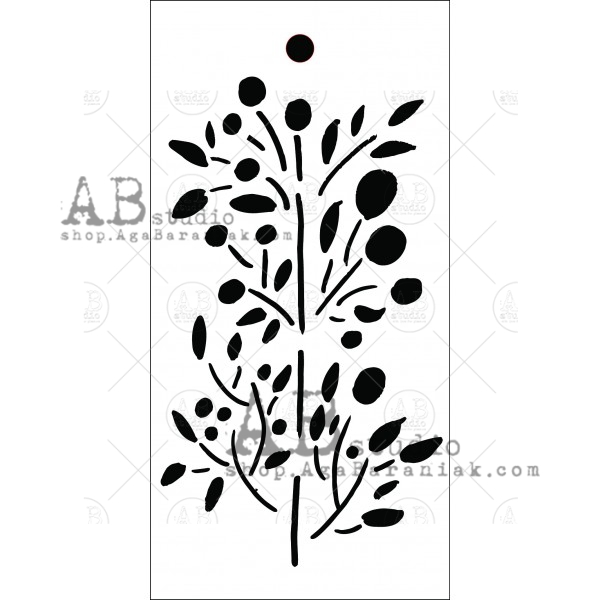
J'ai découpé deux tags et j'ai ajouté un motif avec le même pochoir et de la pâte perle.

I cut two tags, and I added a design with a pearl paste with the same stencil.


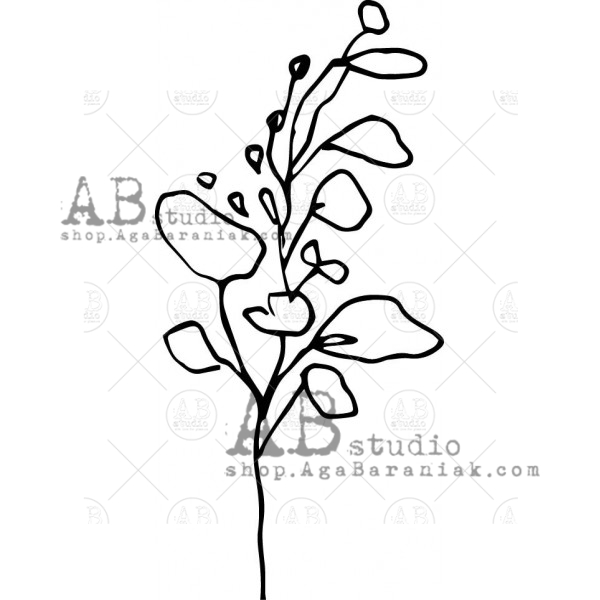
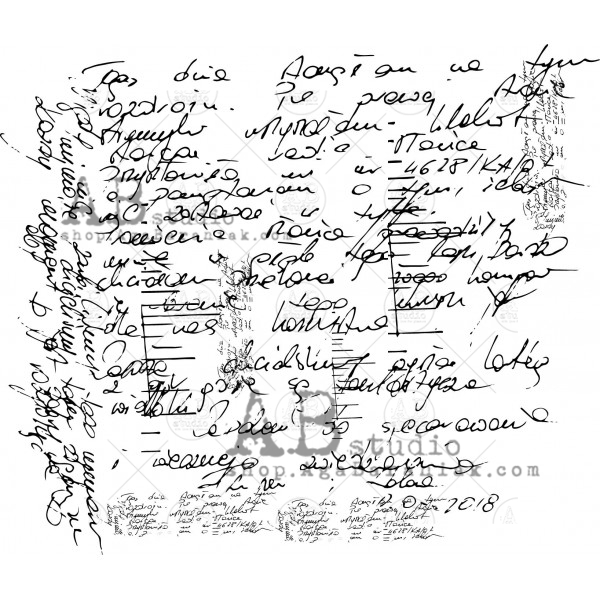
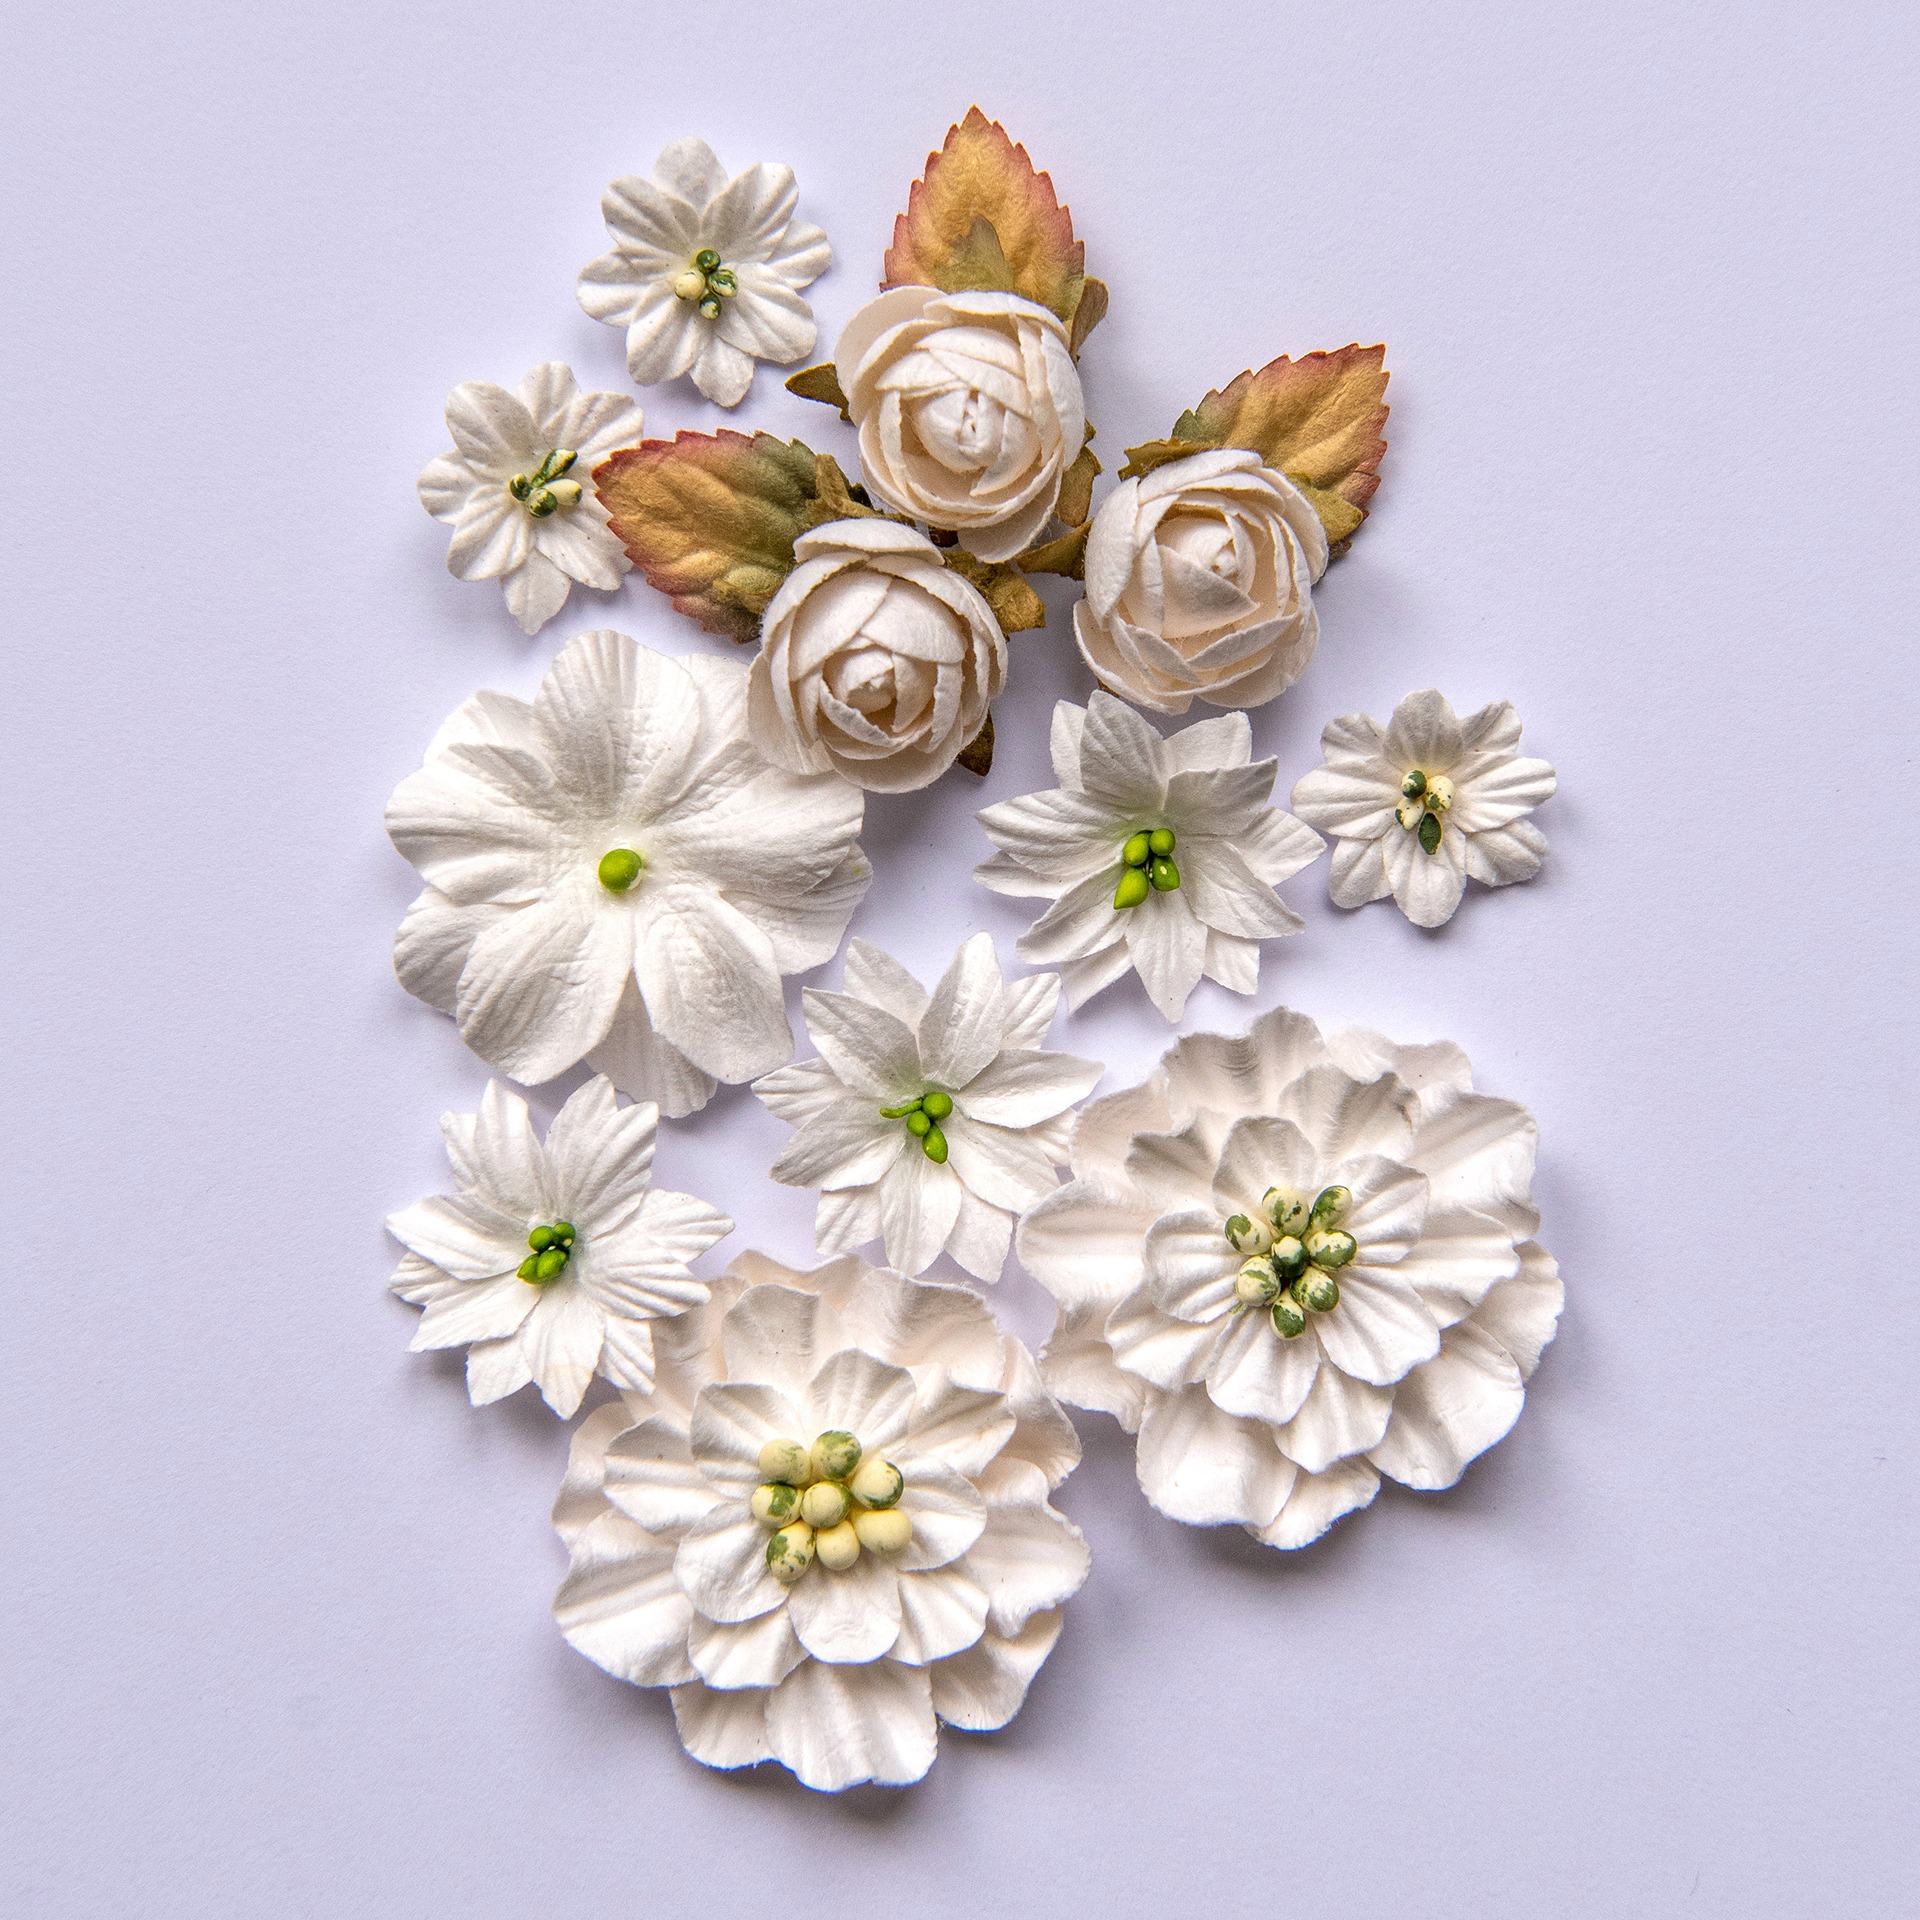
Pendant que les pâtes séchées, j'ai coloré avec une encre noire le texte et la grille dans set de chipboard Treasure. J'ai coloré les fleurs avec des encres grises et violettes. J'ai également coloré  des feuilles découpées dans du papier aquarelle.

While the pastes were drying, I colored with black ink the text and the grid from the Treasure archival board. I colored the flowers with grey and purple inks. I colored some leaves die cut in a watercolor paper.


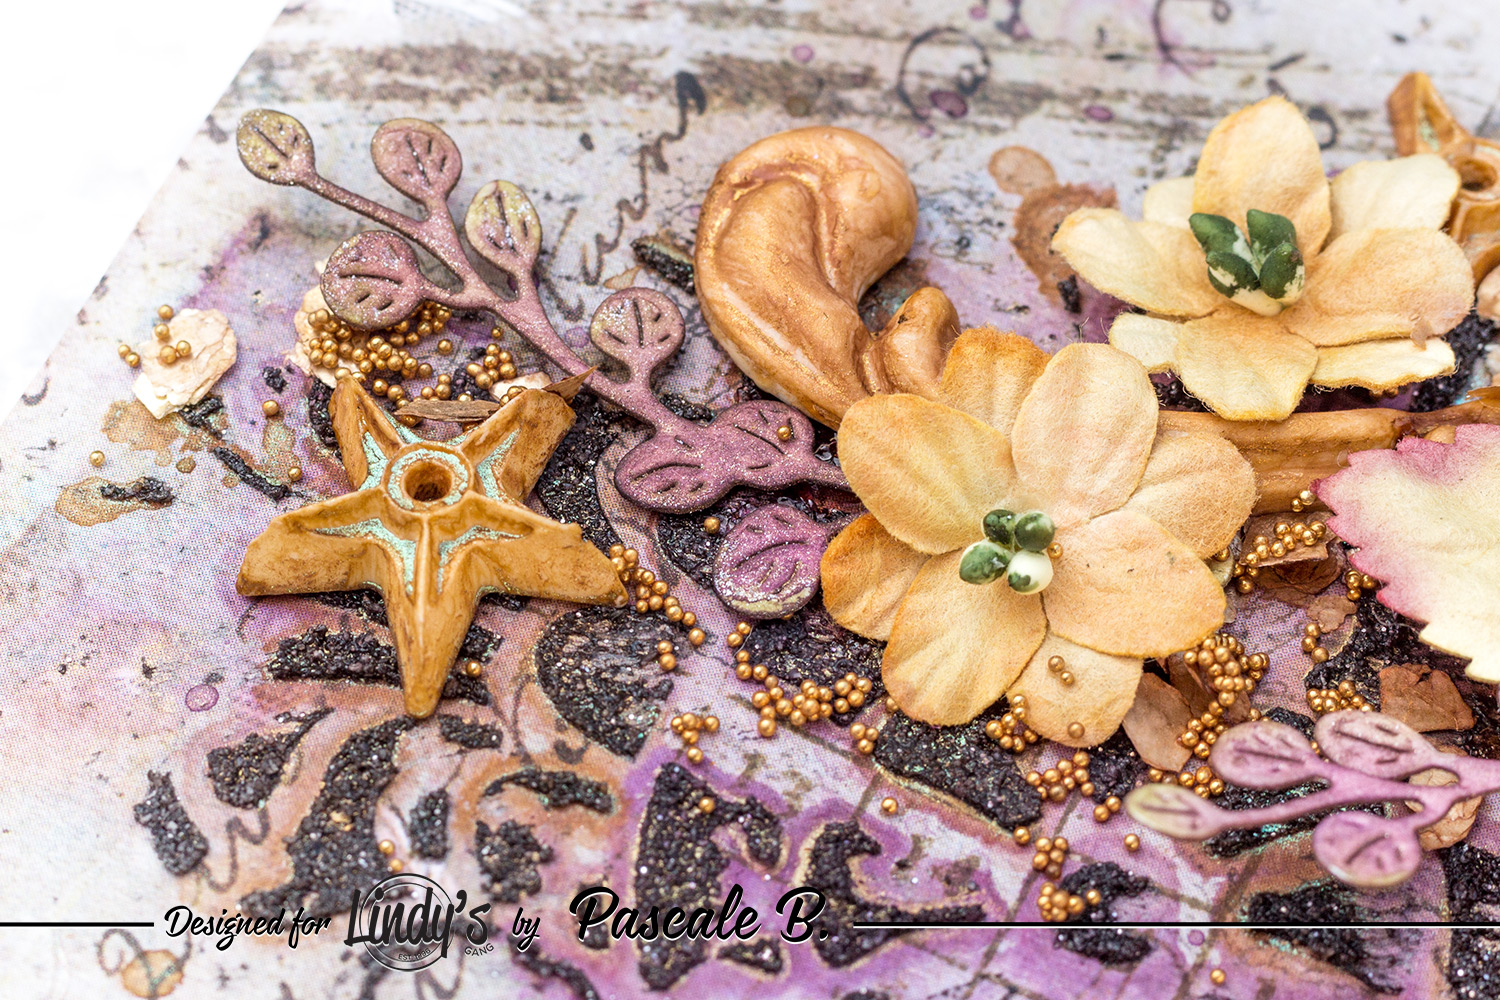
Ensuite, j'ai ajouté un peu de couleur au fond. Et j'ai collé tous les embellissements.

Next, I added some color to the background. And I glued all the embellishments. 


Pour finir la mise en page j'ai ajouté des microbilles.

To finish the layout, I added some with microbeads


Matériels / Materials:

49 and Market products:


Old School
Penmanship

Old School
Off the Grid

Treasure
6x6 Archival Board

Country Blooms
Cloud

Pascale's Grammar
Stamp

Pascale's Form
Stamp

Other products:

  • Spray inks- Lindy's Gang (My Mojito Green, Bombshell Black);
  • Squirts - Lindy's Gang (Polite People Purple, Banff Blue, Maple Syrup Bronze);
  • Stencil - A.B. Studio (Stencil ID-94);
  • Art Extravagance - Finnabair Prima (Graphite Paste, Frost Icing Paste);
  • Art Basics - Finnabair Prima (Clear Gesso, 3D Matte Gel, Soft Matte Gel).


jeudi 20 juin 2019

Simple blue-gray and pink tag - A.B. Studio DT

Bonjour à toutes,

Aujourd'hui, c'est un tag pour A.B. Studio que je voudrais partager avec vous. J'ai travaillé avec deux des nouvelles collections : Take Me There et Diary.

Hello Sweeties,

Today I have a tag for A.B. Studio to share with you. I worked with two of the new papers collections: Take Me There and Diary.


J'ai découpé un tag de la feuille Mist de la collection Take Me There que j'ai protégé d'une couche de gesso transparent. Ensuite, j'ai ajouté un motif avec le pochoir n°46 et de la pâte Icing perle.

I cut a tag in the Mist sheet from the Take Me There collection that I primed with clear gesso. Next, I added a design with the stencil ID-46 and pearl Icing paste.


J'ai découpé des feuilles de la feuille Inspiration de la collection Diary et les ai coloré avec des encres gris-bleue et brune. J'ai decoupé des feuilles dans du papier aquarelle et les ai coloré avec les mêmes encres. Puis je les ai partiellement embossées.

I fuzzy cut some leaves from the Inspiration sheet from the Diary collection and colored them with blue-gray and brown inks. I die cut some leaves in a watercolor paper and colored them with the same inks. Next, I partially embossed them.


J'ai recouvert de gesso un élément en résine et je l'ai coloré avec les mêmes encres blue et marron.

I primed a resin element with clear gesso and colored it with the same blue-gray and brown ink. 


J'ai tamponné le fond avec le tampon texte n°208. Avec le tampon n°179, j'ai ajouté quelques éléments florals que j'ai coloré avec l'encre brune pour plus de contraste.

I stamped the background with the text stamp ID-208. With the stamp ID-179, I added some floral element to the background, and I colored them with the brown ink to add some contrast. 


Puis j'ai collé tous les embellissements ainsi que des fleurs de 49 and Market. J'ai terminé la mise en page avec des perles, des microbilles, des glass glitter et des perles de rocailles.

Next, I glued all the embellishments I have prepared as well as flowers from 49 and Market. I finished the layout with pearls, microbeads, glass glitters, and glass beads.

Et voici la video / Here is the video tutorial:


Matériels / Materials:

"Take me there"
9/10 - Mist

"Diary"
sheet 5 - Inspirations

Stencil ID-46


Stamp ID-179

Stamp ID-208

Other products:
  • Spray inks- Lindy's Gang (Whale Watch Blue, Smokey Sapphire);
  • Embossing Powder - Lindy's Gang (Twilight Jade Slate);
  • Flower - 49 and Market (Mini Series 01: Scarlet);
  • Mold - Prima (Baroque);
  • Art Ingredients- Finnabair Prima (Glass Glitter: Silver; Microbeads: Silver; Glass Bead: Crystal);
  • Art Extravagance - Finnabair Prima (Pearl Icing Paste);
  • Art Basics - Finnabair Prima (Clear Gesso, 3D Gloss Gel, Soft Matte Gel).


jeudi 13 juin 2019

50 - A.B. Studio

Bonjour à toutes,

Aujourd'hui c'est un projet un peu spécial réalisé avec des papiers A.B. Studio que je vous propose que j'ai fait pour l'anniversaire de ma copine.

Hello Sweeties,

Today I have a special project with A.B. Studio papers to share with you that I made for my friend's birthday. 


J'ai choisi une mise en page très simple : J'ai coupé un morceau de carton bois de 20x20 cm que j'ai recouvert avec le papier Have Dreams de la collection Dreamland. J'ai recouvert également un tag avec Paadise Dreams.

I kept the design really simple: I cut a 20x20 cm (8"x8") piece of cardstock that I covered with Have Dreams paper from the Dreamland collection. I cover a tag with Paradise Dreams. 


Après les avoir protégés avec du gesso transparent, j'ai collé le tag sur la base. Puis, j'ai ajouté un peu de couleur au fond.

And after having primed them with clear gesso, I glued the tag on the cardstock. Then I add some colors to the background. 


Ensuite, j'ai collé quelques pinceaux et des fleurs. J'ai tamponné quelques feuilles sur du papier aquarelle que j'ai coloré avec des encres noires et vertes.

Next, I glued a few brushes and some flowers. I stamped some leaves on a watercolor paper which I colored with green and black inks. 


J'ai embossé une paire de papillons que j'ai tamponné tant que la poudre à embosser était encore chaude. J'ai également embossé quelques pierres.

I embossed a couple of butterflies and stamped them while the embossing powder was still hot. I embossed also a few peeles.


J'ai terminé la mise en page avec des microbilles, des glass glitters et des glitters.

I finished the layout with microbeads, glass glitter, and glitter.

Matériels / Materials:

A.B. Studio products:
a

Dreamland
Have Dreams
a

Dreamland
Paradise Dreams
a

Flower Power
Stamps Set

Other products:
  • Squirt - Lindy's Gang (Emerald Eh!);
  • Spray inks- Lindy's Gang (Bombshell Black);
  • Embossing powder - Lindy's Gang (Queen Sheba's Silver);
  • Embossing enamel- Stampendous! (Aged Silver);
  • Glitter - BFS (Fire Engine);
  • Art Ingredients - Finnabair Prima (Glass Glitter: Silver, Microbeads: Grass);
  • Art Basics - Finnabair Prima (Clear Gesso, 3D Matte Gel, Soft Matte Gel).


lundi 10 juin 2019

Dreamer - Lindy's Gang DT

Bonjour à toutes,

Aujourd'hui je suis sur le blog de Lindy's Gang avec une nouvelle page et une vidéo.

Hello Sweeties,

Today I'm up on Lindy's Gang blog with a new vintage layout and a video tutorial. 


Processus / Basic process:
  1. Tamponner ici et là avec divers tampons et des encres Archival brunes ;
    Stamp randomly with different stamps and brown Archival inks;
  2. Protéger le fond avec du gesso transparent ;
    Prime the background with clear gesso;
  3. Ajouter un motif avec un pochoir et de la pâte graphite ;
    Add a design with a stencil and graphite paste;


  4. Recouvrir les éléments en résine avec du gesso transparent ;
    Prime some resin elements with clear gesso;
  5. Découper des feuilles et des branches avec du papier aquarelle, et les colorer ;
    Die cut some leaves and branches in a watercolor paper, and color them;
  6. Colorer les éléments en résine avec différentes couleurs de Squirts ;
    Color the resin elements with different colors of Squirts;


  7. Colorer le fond ;
    Color the background;


  8. Ajouter quelques éléments sous la photo : une page de livre froissée, un cadre, ...
    Add some elements under the photo: a crease book page, a frame, ...
  9. Coller tous les éléments avec du gel 3D ;
    Glue all the embellishments with 3D gel;


  10. Terminer la page avec des flocons de mica et des microbilles.
    Finish the layout with mica flakes and microbeads.


Et voici la vidéo / And here is the video:


Matériels / Materials:

Lindy's Gang products:
Other products:
  • Papers - 49 and Market (Vintage Remnants Paper n°3);
  • Laser cut - 49 and Market (Vintage Remnants Frame set n°2);
  • Flowers - 49 and Market (Country Blooms: Giger);
  • Stencil - A.B. Studio (Stencil ID-90);
  • Art Ingredients (Mica Flakes: Gold Leaf; Microbeads: Copper);
  • Art Extravagance - Finnabair Prima (Graphite Paste);
  • Art Basics - Finnabair Prima (Clear Gesso, Soft Matte Gel, Heavy Body Gel).

samedi 8 juin 2019

1920's Selfie - 49 and Market DT

Bonjour à toutes,

Aujourd'hui je suis sur le blog de 49 and Market avec une nouvelle page réalisée avec la collection Bold and Beautiful. Quand jai trouvé cette photo, prise en 1920, de ces trois messieurs en train de prendre un selfie, j'ai tout de suite su que j'allais la scrapper.

Hello Sweeties,

Today I'm up on 49 and Market blog with a new layout featuring the Bold and Beautiful collection. When I found this photo taken in 1920 of these three gentlemen taking a selfie, I know that I add to use in one of my layouts. 


J'ai tamponné le fond avec divers tampons et encres avant de le protéger de gesso transparent. Ensuite, j'ai ajouté un motif à l'aide d'un pochoir et de pâte Icing or.

I stamped the background with different stamps and inks before priming it with clear gesso. Next, I added a design with a stencil and gold Icing paste.


Pendant que la pâte séchait, j'ai peint les chipboards du set Memory Captured avec le set Rust Effect.

While the paste was drying, I painted the chipboards from the Memory Captured set with Rust effect paints.


J'ai coupé quelques papiers pour mettre sous la photo et j'ai collé les embellissements avec du gel 3D.

I cut a few papers to add under the photo, and I glued all the embellishments with a 3D gel.


Enfin pour terminer la mise en page j'ai ajouté des microbilles et des glass glitters.

To finish the layout, I added some microbeads and glass glitters.


Matériels / Materials:

49 and Market products:


Bold and Beautiful
Whispers

Bold and Beautiful
Dear John

6x6 Archival Board
Memory Captured

Pascale's Tickets and Numbers
Stamp Set

Pascale's Grammar
Stamp Set

Wild Flowers
Storm


Other products:

  • Spray inks- Lindy's Gang (Burnished Brass, Bombshell Black);
  • Stencil - A.B. Studio (Stencil ID-53);
  • Art Ingredients - Finnabair Prima (Glass Glitter: Gold Rush; Microbeads: Bronze);
  • Art Extravagance - Finnabair Prima (Vintage Gold Icing Paste, Rust Effect Paste);
  • Art Basics - Finnabair Prima (Clear Gesso, 3D Matte Gel, Soft Matte Gel).


Related Posts Plugin for WordPress, Blogger...