Bonjour à toutes,
Aujourd'hui, c'est un tag pour A.B. Studio que je voudrais partager avec vous. J'ai travaillé avec deux des nouvelles collections : Take Me There et Diary.
Hello Sweeties,
Today I have a tag for A.B. Studio to share with you. I worked with two of the new papers collections: Take Me There and Diary.
Aujourd'hui, c'est un tag pour A.B. Studio que je voudrais partager avec vous. J'ai travaillé avec deux des nouvelles collections : Take Me There et Diary.
Hello Sweeties,
Today I have a tag for A.B. Studio to share with you. I worked with two of the new papers collections: Take Me There and Diary.
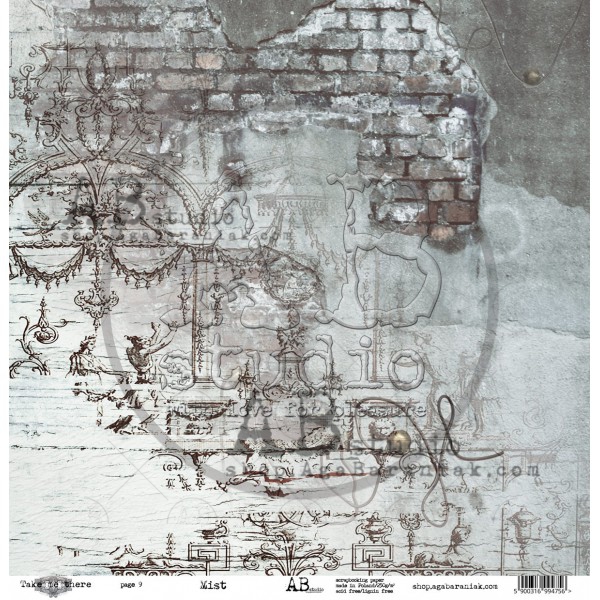
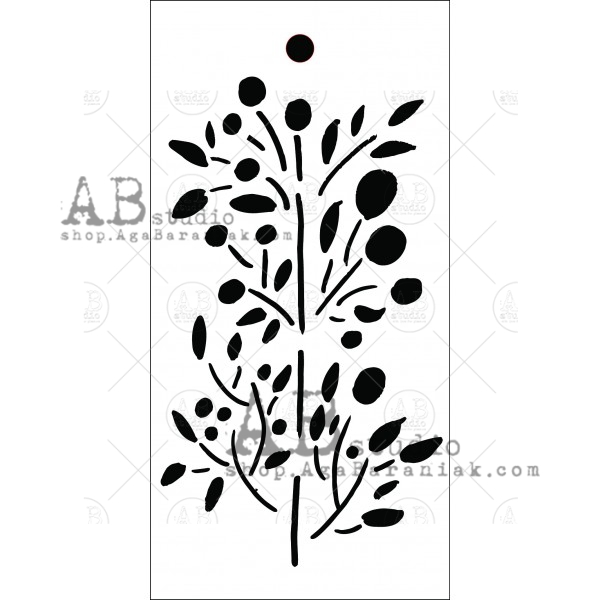
J'ai découpé un tag de la feuille Mist de la collection Take Me There que j'ai protégé d'une couche de gesso transparent. Ensuite, j'ai ajouté un motif avec le pochoir n°46 et de la pâte Icing perle.
I cut a tag in the Mist sheet from the Take Me There collection that I primed with clear gesso. Next, I added a design with the stencil ID-46 and pearl Icing paste.
I cut a tag in the Mist sheet from the Take Me There collection that I primed with clear gesso. Next, I added a design with the stencil ID-46 and pearl Icing paste.
J'ai découpé des feuilles de la feuille Inspiration de la collection Diary et les ai coloré avec des encres gris-bleue et brune. J'ai decoupé des feuilles dans du papier aquarelle et les ai coloré avec les mêmes encres. Puis je les ai partiellement embossées.
I fuzzy cut some leaves from the Inspiration sheet from the Diary collection and colored them with blue-gray and brown inks. I die cut some leaves in a watercolor paper and colored them with the same inks. Next, I partially embossed them.
I fuzzy cut some leaves from the Inspiration sheet from the Diary collection and colored them with blue-gray and brown inks. I die cut some leaves in a watercolor paper and colored them with the same inks. Next, I partially embossed them.
J'ai recouvert de gesso un élément en résine et je l'ai coloré avec les mêmes encres blue et marron.
I primed a resin element with clear gesso and colored it with the same blue-gray and brown ink.
I primed a resin element with clear gesso and colored it with the same blue-gray and brown ink.
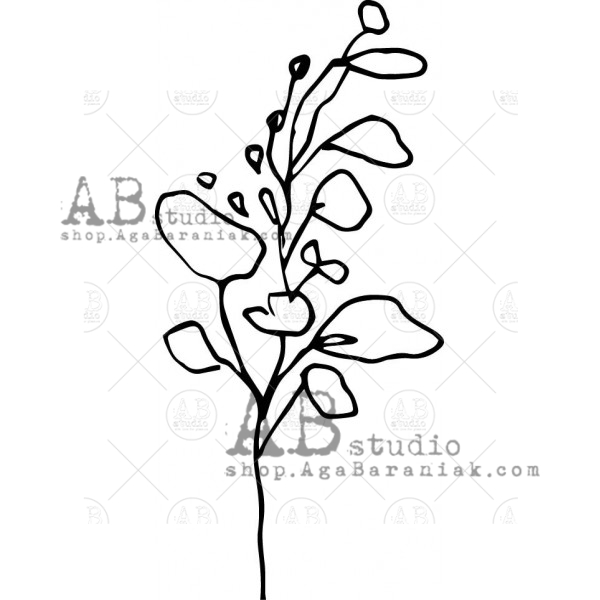
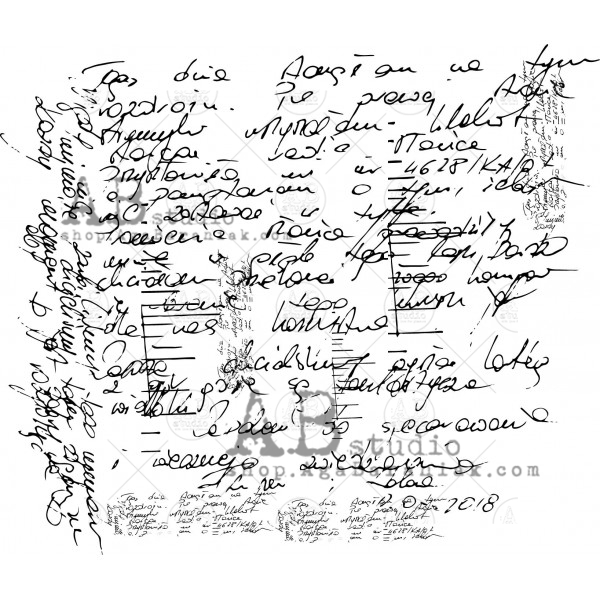
J'ai tamponné le fond avec le tampon texte n°208. Avec le tampon n°179, j'ai ajouté quelques éléments florals que j'ai coloré avec l'encre brune pour plus de contraste.
I stamped the background with the text stamp ID-208. With the stamp ID-179, I added some floral element to the background, and I colored them with the brown ink to add some contrast.
I stamped the background with the text stamp ID-208. With the stamp ID-179, I added some floral element to the background, and I colored them with the brown ink to add some contrast.
Puis j'ai collé tous les embellissements ainsi que des fleurs de 49 and Market. J'ai terminé la mise en page avec des perles, des microbilles, des glass glitter et des perles de rocailles.
Next, I glued all the embellishments I have prepared as well as flowers from 49 and Market. I finished the layout with pearls, microbeads, glass glitters, and glass beads.
Next, I glued all the embellishments I have prepared as well as flowers from 49 and Market. I finished the layout with pearls, microbeads, glass glitters, and glass beads.
Et voici la video / Here is the video tutorial:
Matériels / Materials:
Other products:
- Spray inks- Lindy's Gang (Whale Watch Blue, Smokey Sapphire);
- Embossing Powder - Lindy's Gang (Twilight Jade Slate);
- Flower - 49 and Market (Mini Series 01: Scarlet);
- Mold - Prima (Baroque);
- Art Ingredients- Finnabair Prima (Glass Glitter: Silver; Microbeads: Silver; Glass Bead: Crystal);
- Art Extravagance - Finnabair Prima (Pearl Icing Paste);
- Art Basics - Finnabair Prima (Clear Gesso, 3D Gloss Gel, Soft Matte Gel).


It's beautiful!!
RépondreSupprimer