mercredi 28 octobre 2020

Find Your Path - Mixed media layout for A.B. Studio

Bonjour à toutes,

Aujourd'hui c'est une nouvelle page mixed media pour A.B. Studio que je vous propose. J'ai travaillé avec la superbe collection Love for Old Things.

Hello Sweeties,

Today I have a new mixed media layout for A.B. Studio to share with you. I worked with the beautiful collection Love for Old Things. 


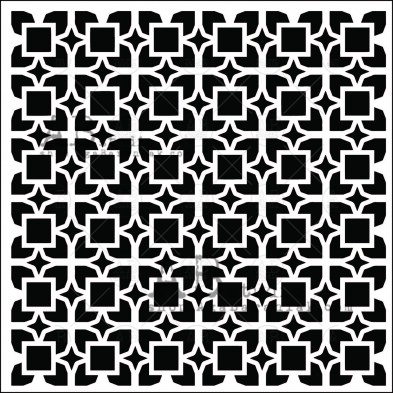
J'ai coupé une bande dans une feuille transparent 30x30 n°12 sur laquelle j'ai ajouté des sapins avec les pochoirs n°122 et 123. J'ai utilisé la Sparks Unicorn Hair et la pâte Icing Vintage Gold. 

I cut a strip of a 30x30 transparent element ID-12 on which I added a few Xmas trees with stencils ID-122 and ID-123. I used the Unicorn Hair Sparks and Vintage Gold Icing Paste. 


J'ai utilisé les mêmes pochoirs pour ajouter des sapins également sur le fond.

I used the same stencils to add a few Xmas trees to the background too.


J'ai recouvert quelques élements en résine avec du gesso noir. Je les ai paint ensuite avec la peinture Opal Magic Green-Gold. Une fois sec, j'ai ajouté également des cires. Pour les éléments Herbology j'ai utilisé les cires Lucky Emerald et Fire Ruby. Pour le cadre et la poignée j'ai utilisé les cires Vintage Gold et Bronze Age. 

I primed some resin elements with black gesso. I painted them with the Green-Gold Opal Magic paint. When dry I added some waxes as well. For the Herbology elements, I used the Lucky Emerald and Fire Ruby waxes. For the frame and the handle, I used the Vintage Gold and the Bronze Age.


J'ai recouvert deux cerfs de la planche n°104 avec une pâte Rust Effect pour leur donner un peu de texture que j'ai recouvert de gesso noir. Puis, je les ai coloré avec les cires Bronze Age et White Gold. 

I covered two stags from the Cardboard ID-104 with a Rust Effect paste to give them some texture, then with black gesso. Finally, I colored them with Bronze Age and White Gold waxes.


J'ai collé les embellissements sous et sur la bande de transparent pour donner de la dimension à ma page. J'ai ajouté également quelques fleurs. 

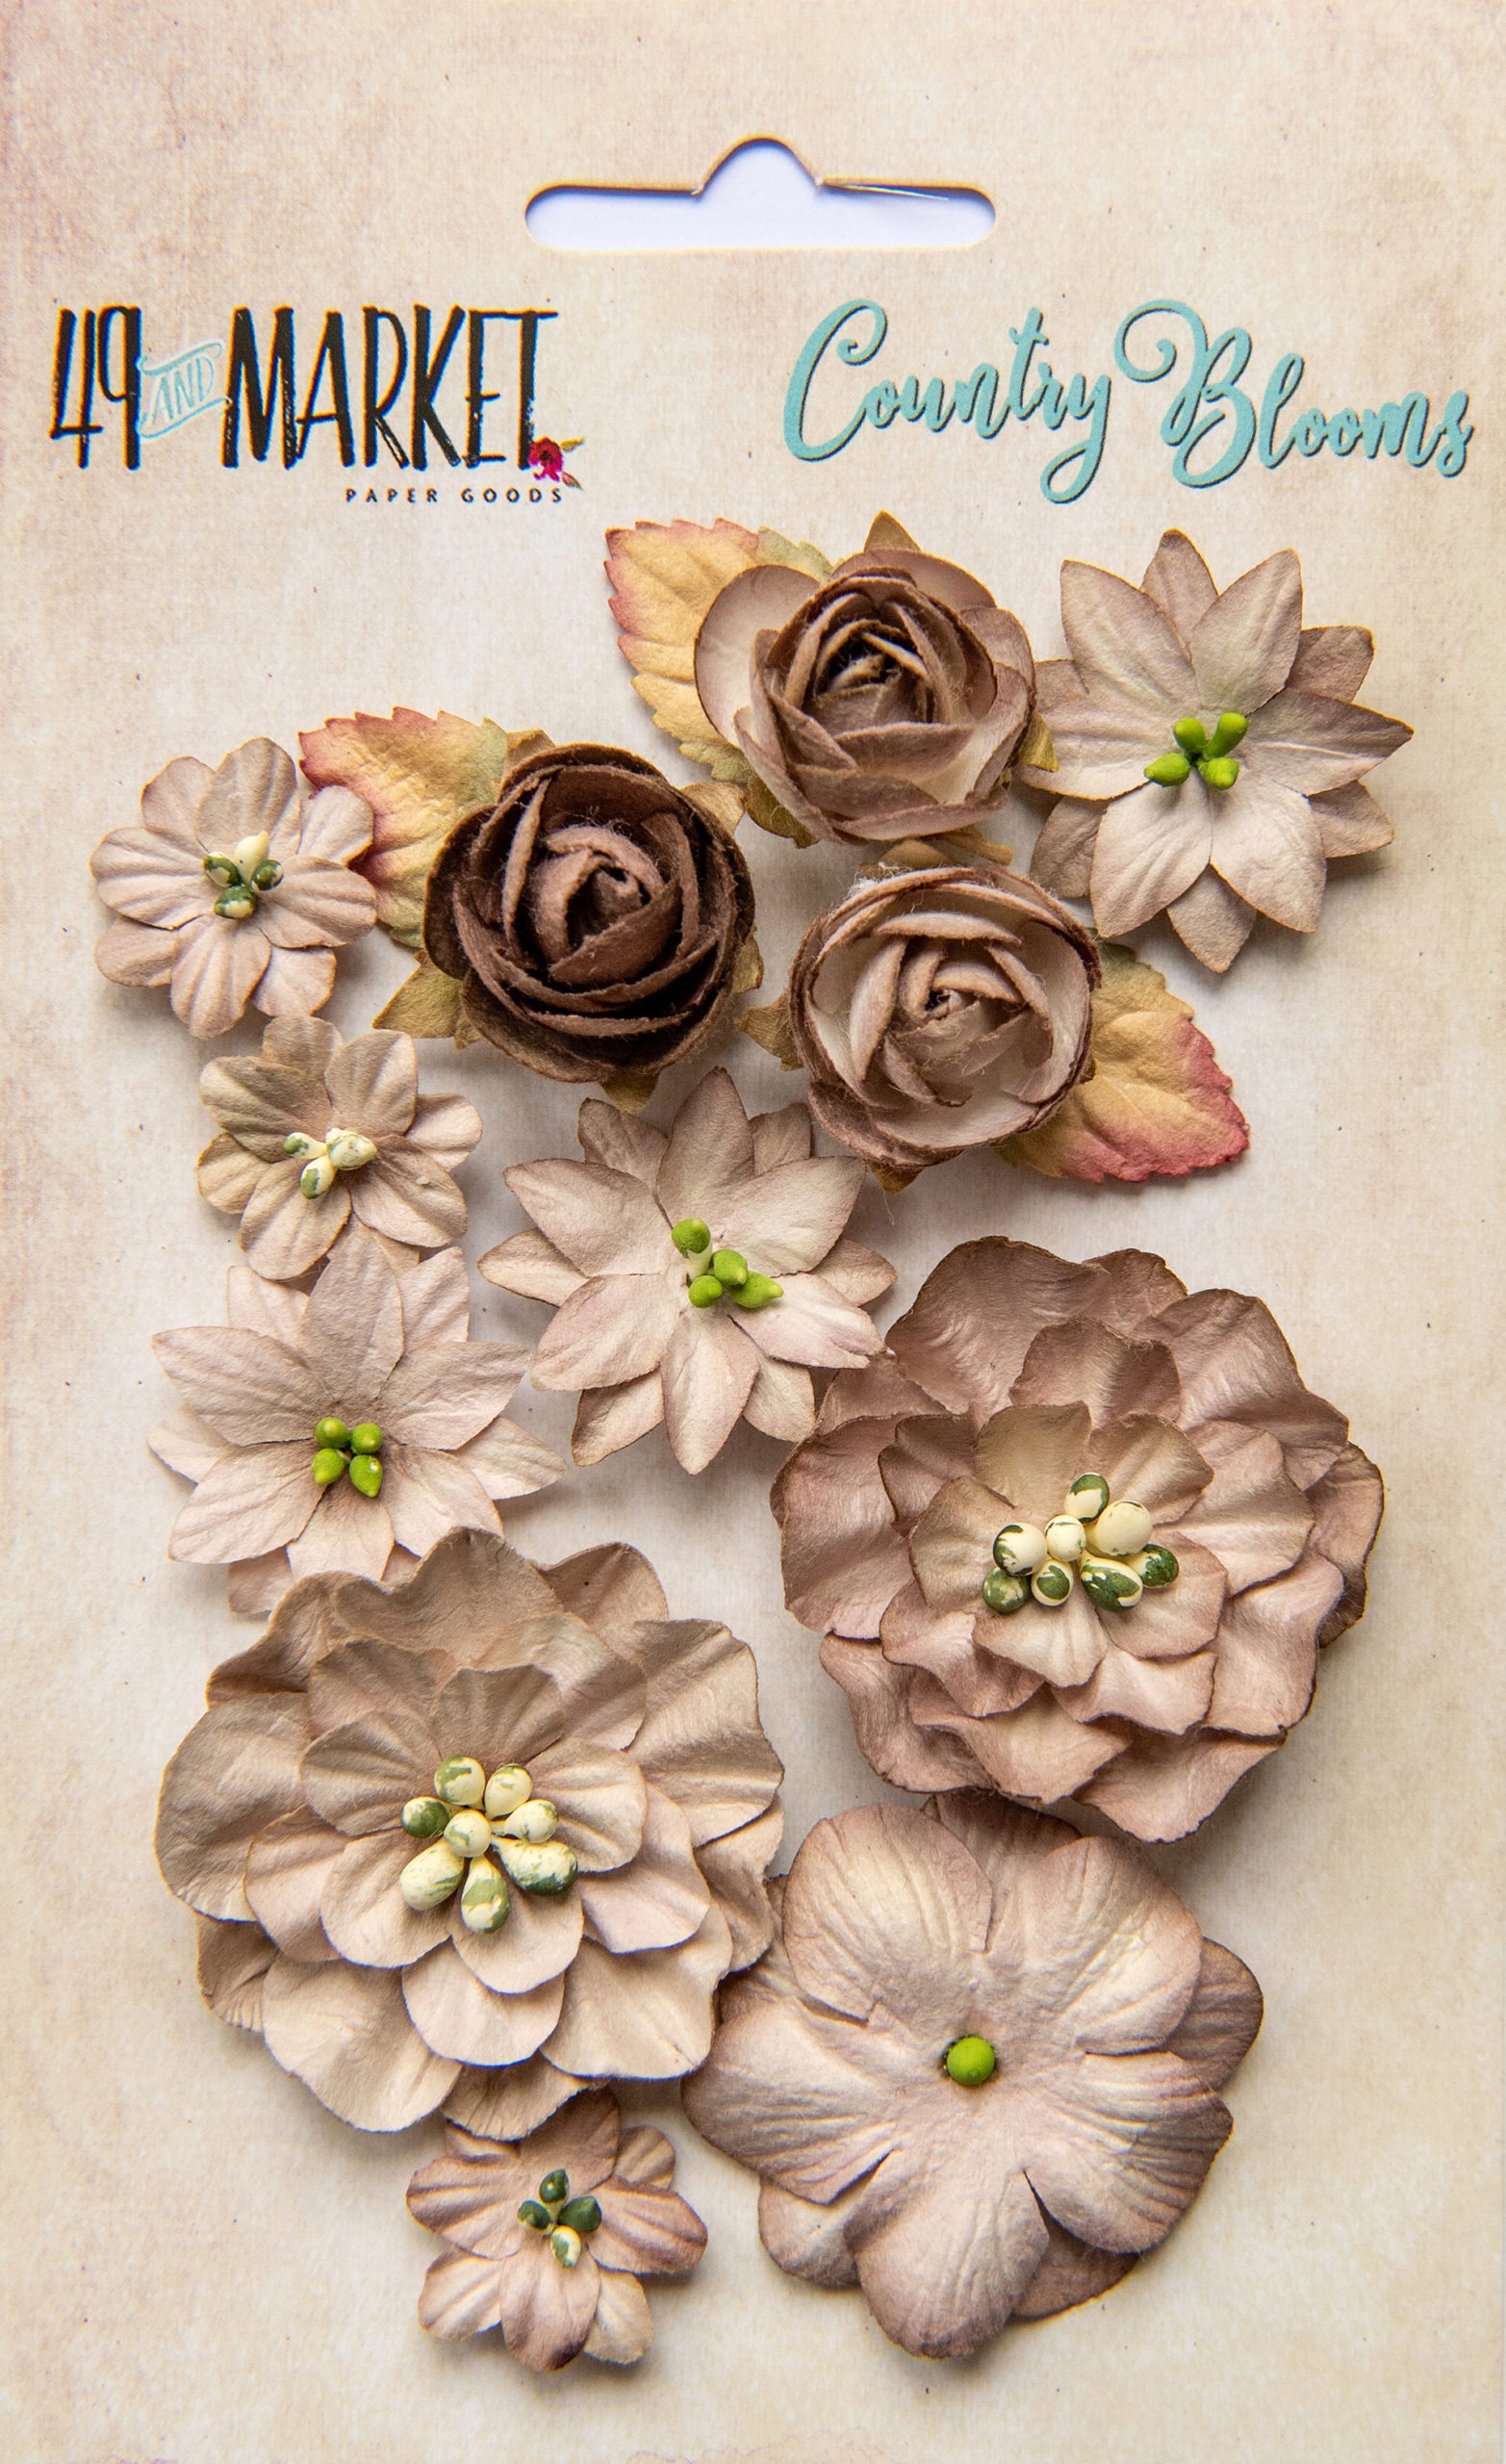
I glued the embellishments under and on top of the transparent strip to add some dimension to my layout. I added also some flowers. 


J'ai coloré quelques Art Stones avec la cire Vintage Gold et je les ai ajouté ici et là. Pour finir, j'ai ajouté des glitters.

I colored some Art Stones with the Vintage Gold waxes and I added them here and there. To finish, I added some glitters. 

Matériels / Materials:

A.B. Studio products:


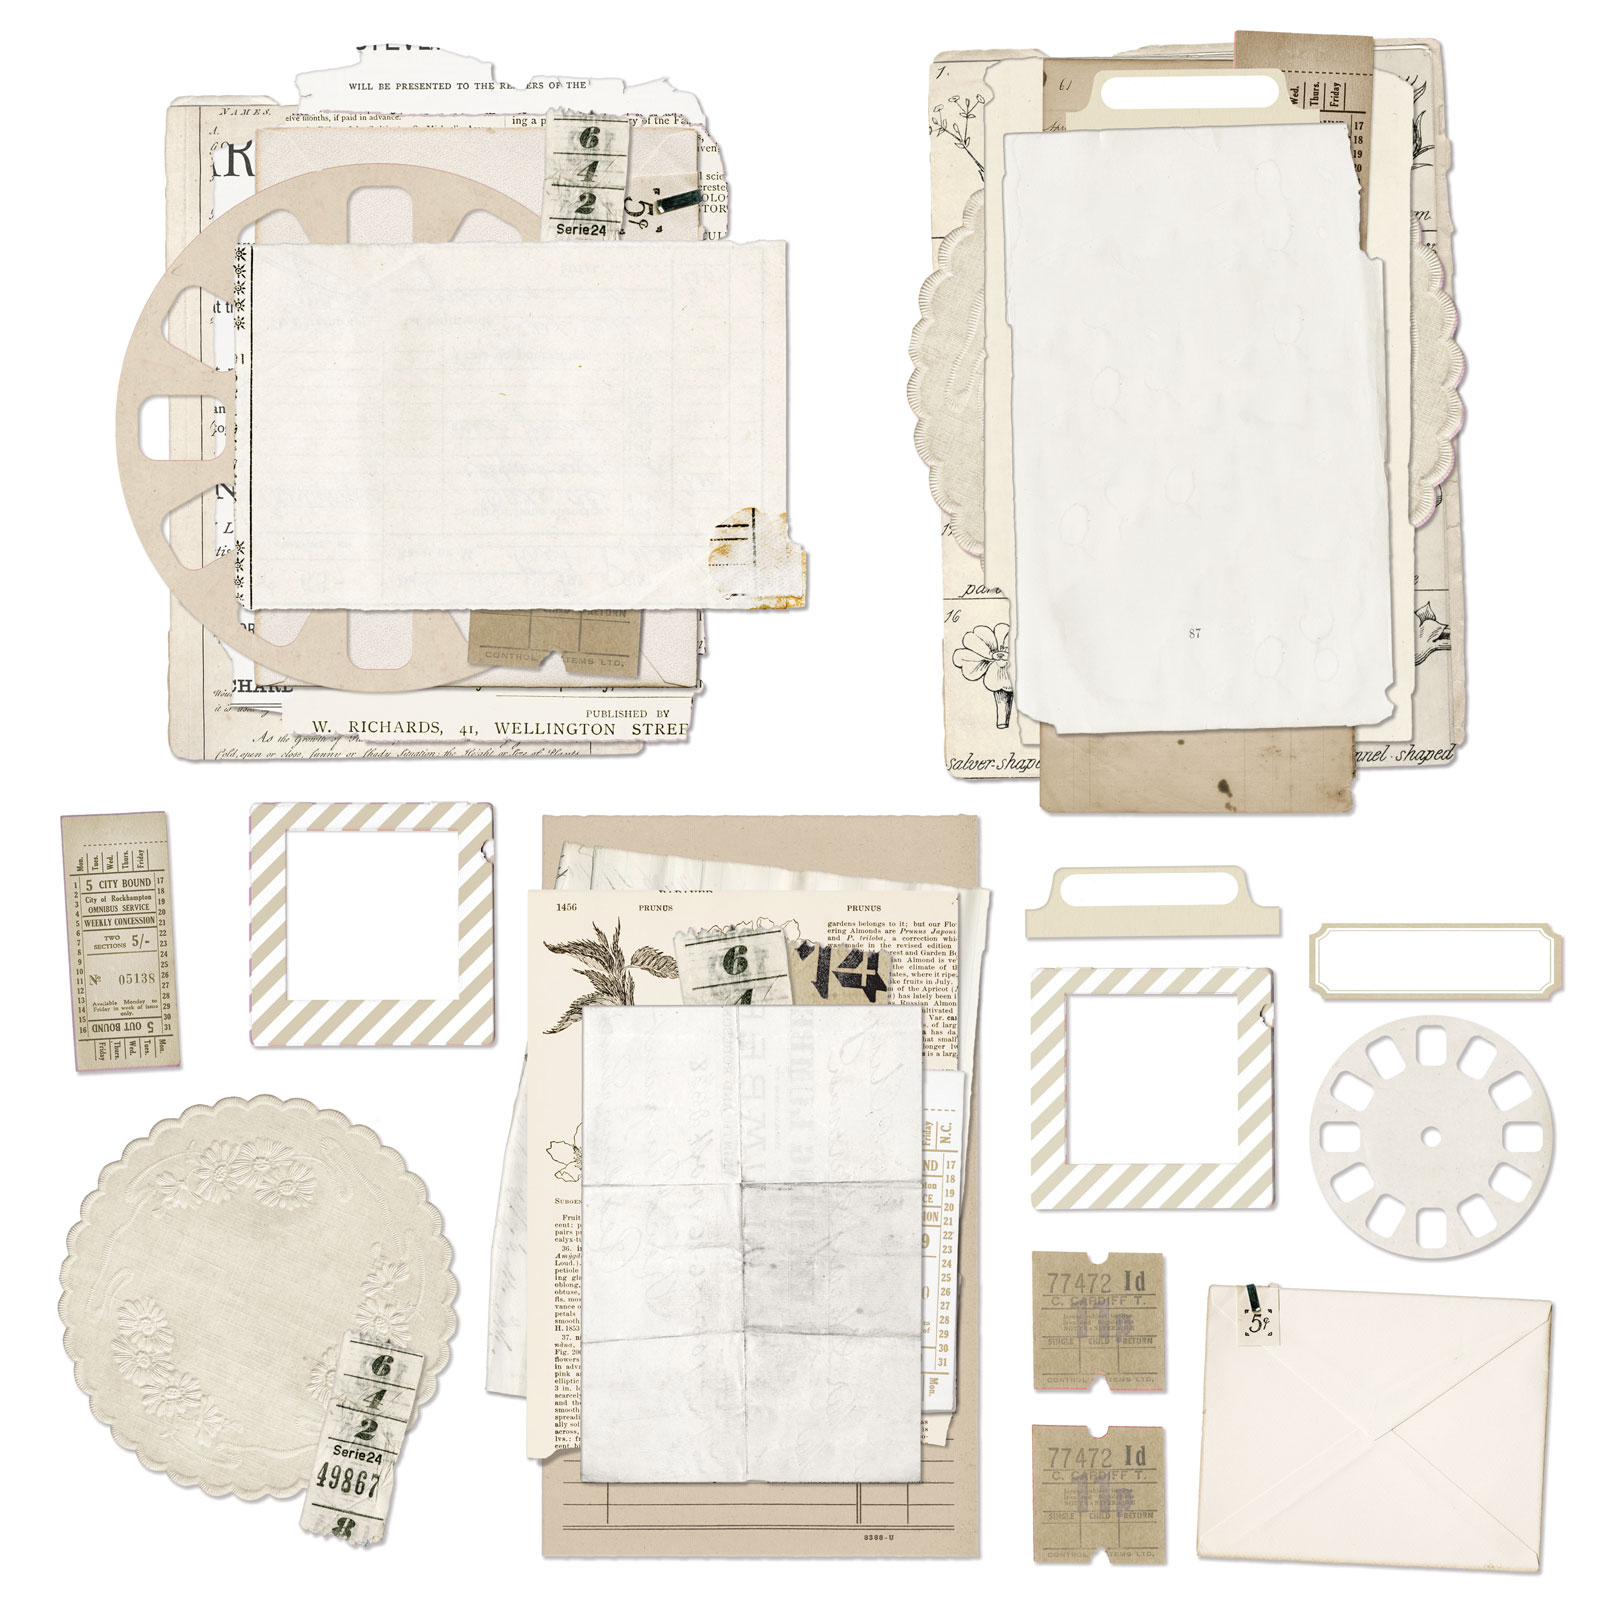
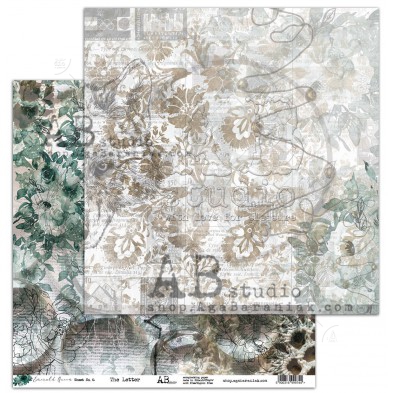
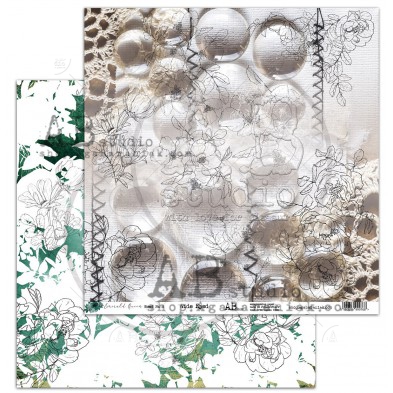
           Love for old things
Old Moment


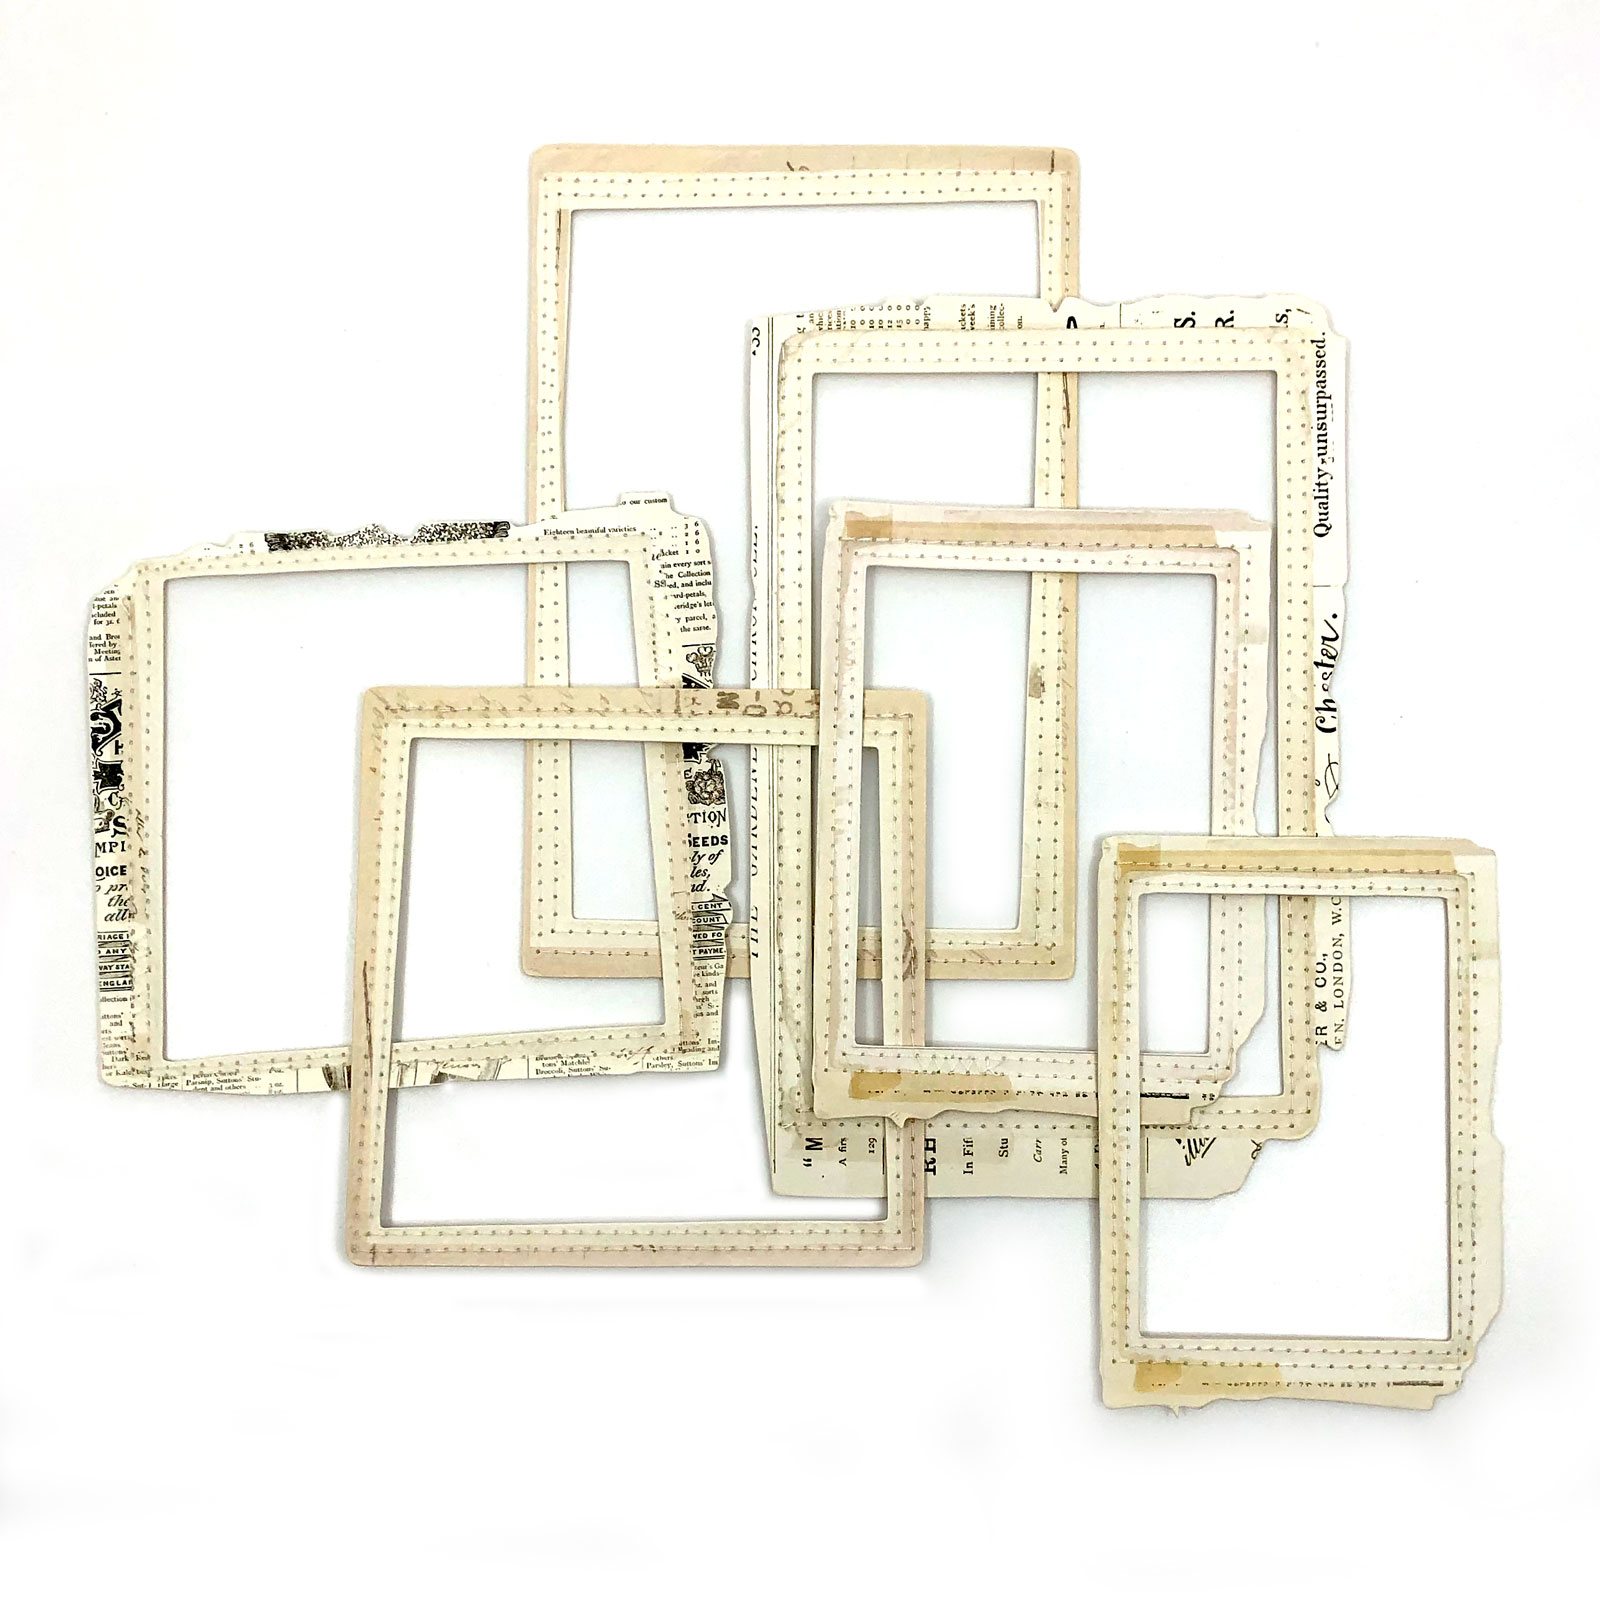
Transparent element ID-12


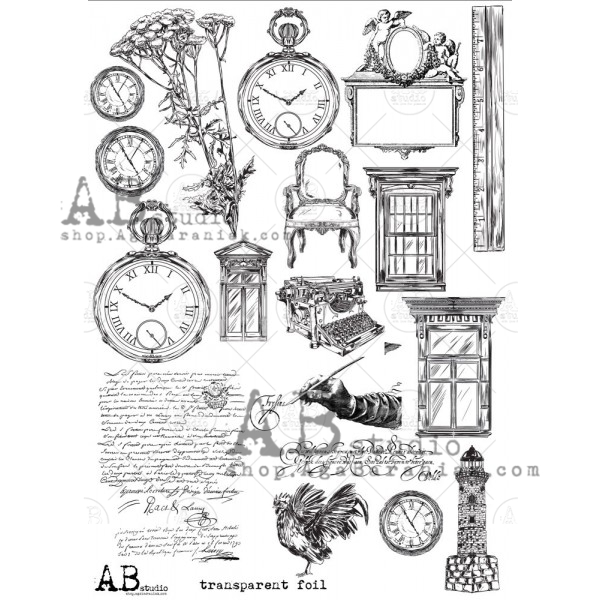
Thick Cardboard ID-104
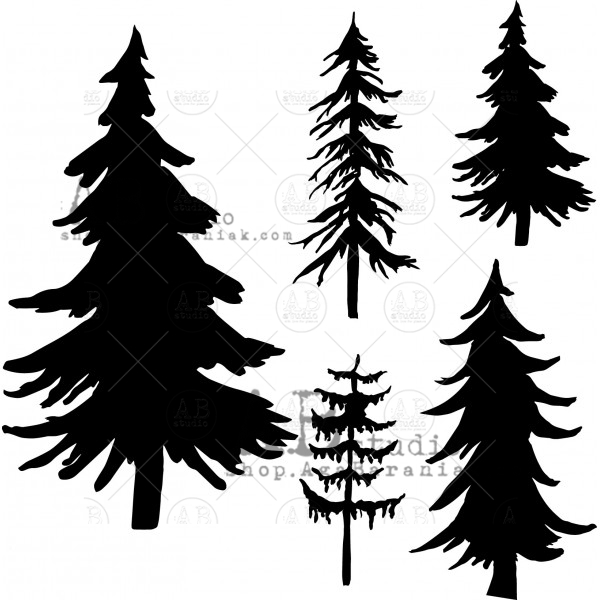


Stencil ID-122


Stencil ID-123

Other products:
  • Flowers - 49 and Market (Botanical Potpourri: Cerise);
  • Moulds - Prima (Herbology, Vincennes Hardware, Ancient Findings); 
  • Art Ingredients - Finnabair Prima (Art Stones);
  • Art Alchemy Waxes - Finnabair Prima (Bronze Age, Vintage Gold, White Gold, Lucky Emerald, Fire Ruby);
  • Art Alchemy Metallic paint - Finnabair Prima (Opal Magic Green-Gold);
  • Art Alchemy Sparks - Finnabair Prima (Unicorn Hair);
  • Art Extravagance - Finnabair Prima (Icing Paste: Vintage Gold);
  • Art Basics - Finnabair Prima (Clear Gesso, Heavy Black Gesso, 3D Matte Gel, Soft Gloss Gel).

dimanche 25 octobre 2020

Halloween Blog Hop - Lindy's Gang DT

Bonjour à toutes,

Aujourd'hui c'est une couronne d'Halloween que je vous propose réalisée pour notre Instagram Hop qui a lieu du 25 au 31 octobre. Toutes les infos pour participes au tirage au sort sont à la fin du post. 

Hello Sweeties,
Today I have a Halloween Wreath to share with you. I made it for our Instagram Hop which took place from 25-31th October. All the infos to enter the prize draw are at the end of the post.


Vous voulez participer pour gagner un des deux bons d'achat de 25 $ deLindy's Gang ? 
Rien de plus simple, il faut suffit de vous rendre sur Instagram
  1. Suivez @lindy'sgang et aisser un commentaire sous l'annonce du Lindy's Hop;
  2. Commentez et aimez touts les photos du hop des membres de la DT et suivez leur compte IG
Vous augmenterez vos chances de gagner si vous ...
  1. Taggez un ami (1 tag par commentaire)
  2. Créez un projet sur le thème d'Halloween avec 2 ou plus produits de Lindy's Gang, mettez le sur Instagram et utilisez le tag #LindysHalloweenHop2020

Do you want to participate to win one of the two 25$ price from Lindy's Gang?

To enter the prize draw, you just need to go to Instagram:
  1. Follow @lindysgang and leave a comment on the Lindy's Hop announcement
  2. Comment and like each hop pic from the DT and follow their IG accounts
Bonus entries if you ...
  1. Tag a friend (1 tag per comment)
  2. Create a Halloween project with 2 or more Lindy's Gang products, upload to IG and tag with #LindysHalloweenHop2020.

J'ai découpé tous les éléments dans de la mousse noire et du papier aquarelle que j'ai assemblé une fois le papier aquarelle coloré.
Pour faire la maison délabrée, j'ai collé des planches découpées dans du papier aquarelle sur du kraft épais. J'ai directement découpé la maison dans ce collage. J'ai coloré les maisons avec Silhoutte Silver, Black Orchid Silver and Bombshell Black. J'ai utilisé les mêmes couleurs pour les branchages.

I've cut all the elements in black foam and watercolor paper that I assembled when the watercolor paper colored.
To make the Rickety House, I glue some plank die cut in a watercolor paper on a kraft cardboard, then I die cut the glued plank. I colored the houses with Silhoutte Silver, Black Orchid Silver and Bombshell Black. I used the same colors for the branches.


Le chat et l'araignée ont été colorés avec Blazing Black et Scintilating Silver, le corbeau et les chauve-souris avec Blazing Black and Screaming Banshee Black. Pour les fourmis, j'ai directement coloré la mousse noire avec Scintillating Silver.

The cat and the spider were colored with Blazing Black and Scintilating Silver, the crow and the bats with Blazing Black and Screaming Banshee Black. For the ants, I colored directly the foam with Scintilating Silver.


J'ai utilisé Red Hot Poker, Yellow Rose of Texas, and Hag's Wart Orange pour colorer les citrouilles que j'ai préalablement peintes avec du gesso blanc. J'ai coloré les feuilles avec Red Hot Poker, Yellow Rose of Texas, and My Mojito Green

I used Red Hot Poker, Yellow Rose of Texas, and Hag's Wart Orange to color the pumpkins which've primed with white gesso.I colored the leaves with Red Hot Poker, Yellow Rose of Texas, and My Mojito Green.


J'ai collé tous les éléments avec de la colle chaude. Pour finir, j'ai ajouté des leds.

I glued all the elements with hot glue. And to finish I added a string of leds.

Matériels / Materials:

Lindy's Gang products:
  • Starburst - Bombshell Black, Black Orchid Silver, Silhouette Siver, My Mojito Green, Yellow Rose Of Texas, Red Hot Poker Orange, Hag's Wart Orange;
  • Flat Fabio - Blazing Black;
  • Magical - Screaming Banshee Black;
  • Glitzy Magical - Scintillating Silver.
Other products:
  • Dies - Sizzix (Rickity House, Ghost Town, Twigs, Candlelight Fright, Planks, Bat Crazy, Mini Cat and Raven, Entomology, Fall Foliage);

samedi 24 octobre 2020

Be Authentic - Mixed media layout for 49 and Market DT

Bonjour à toutes,

Aujourd'hui je suis sur le blog de 49 and Market avec une nouvelle vidéo où vous pourrez découvrir comment créer cette page réalisée avec la collection Vintage Artistry Natural.

Hello Sweeties,

Today I'm up on 49 and Market blog with a new video tutorial where you will be able to watch how this layout featuring the Vintage Artistry Natural collection was made


J'ai commencé par tamponner avec les sets 1787, In Between et Gratitude Today. Une fois satisfaite, j'ai protégé le gond d'une couche de gesso transparent. Puis j'ai ajouté un motif à l'aide d'un pochoir et de pâte à craqueler transparente et blanche.

First, I stamped randomly with 1787, In Between, and Gratitude Today. When done, I primed the background with clear gesso. I add a design with clear and white crackle pastes and a stencil.


Le motif a été coloré avec les encres Long John's Silver, Bodacious Blush, Salt Water Taffy, and Frenchy Pink Purple.

The design was colored with Long John's Silver, Bodacious Blush, Salt Water Taffy, and Frenchy Pink Purple inks. 


J'ai coloré un chipboard avec l'encre Bodacious Blush avant de l'embosser deux fois avec la poudre Clearly Clear. J'ai collé un cadre cousu sur la photo avant d'ajouter des papiers de paquet d'Ephemera Stack sous la photo. J'ai ajouter des morceaux de cartons entre les divers papiers pour donner plus de dimension au projet.

I colored a DA chippie with Bodacious Blush and embossed it twice with Clearly Clear EP. I glue a stitched frame on the photo before layering some elements from the Ephemera Stack. It's so easy to stack them. I add some cardboard in between to add more dimension. 


Puis j'ai commencé la composition autour de la photo avec des Country Blooms e de MAura's Vineyard. J'ai collé tous les embellissments avec du gel 3G mat.

Next, I started to build the composition around the photo with Country Blooms and Maura's Vineyard. I glue all the embellishments with 3D matte gel.


J'ai ajouter également des Whishing Bubbles ainsi que des glitters. Finalement, j'ai décidé d'ajouter un peu plus de couleur autour de la composition. 

I added some Whishing Bubbles as well and glitters. Finally, I added more colors around the composition. 


Et voici la vidéo / And here is the video:


Matériels / Materials:

49 and Market products:

VAC-32129-Natural-Wallflower
Vintage Artistry Natural
Wallflower
VAC-32181-Natural-Stitched-Frames
Vintage Artistry Natural
Stitched Frames
VAC-32754 Vintage Artistry Natural Nouveau Ephemera Stack
Vintage Artistry Natural
Ephemera Stack
Country Blooms - Mushroom
Country Blooms
Mushroom
MV-32457-Mauras-Vineyard-Rose
Maura's Vineyard
Rosé
Wishing-Bubbles-Soda-Pop - DISCONTINUED
Wishing Bubbles
Cream Soda
PB-87506-1787-Pascale-Stamp - DISCONTINUED
1787
Stamp
VAC-32563-In-Between-Stamp
In Between
Stamp Set
VAC-32297-Gratitidue-Today-stamp
Gratitude Today
Stamp Set

Other products:
  • Moon Shadow Mist - Lindy's Gang (Long John's Silver);
  • Starburst - Lindy's Gang (Bodacious Blush, Salty Walter Taffy);
  • Flat Fabio - Lindy's Gang (Frenchy Pink Pouf);
  • Embossing Powders - Lindy's Gang (Clearly Clear);
  • Chipboard - Dusty Attic (Doodads #8);
  • Stencil - A.B. Studio (Stencil ID-90);
  • Art Extravagance - Finnabair Prima (Clear and White Crackle Pastes);
  • Art Basics - Finnabair Prima (Clear Gesso, 3D Matte Gel, Soft Gloss Gel).

lundi 19 octobre 2020

Dream Big - Mixed media panel for Lindy's Gang DT

Bonjour à toutes,

Au jourd'hui je suis sur le blog de Lindy's Gang avec un medaillon mixed media. J'espère que vous l'aimerez.

Hello Sweeties,

Today I'm up on Lindy's Gang blog with a new mixed media panel. I hope you will like it. 


Processus / Basic Process:
  1. Appliquer une couche de gesso blanc ;
    Prime the MDF medaillon with white gesso;
  2. Une fois sec, coller le papier de soie avec du gel mat ;
    When dry, glue the decorative paper with soft matte gel;
  3. Puis ajouter une fine couche de gesso blanc ;
    Next, add a thin layer of white gesso;
  4. Enfin un ajouter unmotif avec de la pâte à craqueler transparente et d'un pochoir. Laisser sécher naturellement pour permettre aux craquelures d'apparaître. 
    Add a design with clear crackle paste and a stencil. Let it dry to allow the crackles to appear;


  5. Pendant ce temps, couvrir des éléments en résine Herbology avec du gesso transparent et les ferrures en résine de gesso noir ;
    In the meantime, prime herbology resin elements with clear gesso and the hardware resin with black gesso;
  6. Colorer les éléments Herbology avec les Magicals Midnight Rendez Vous,Evergreen Emerald, Stormy Sky, Sandra Dee Sepia, Rizzo's Rowdy Red, and Queen of Heart Red ;
    Color the Herbology elements with Midnight Rendez Vous,Evergreen Emerald, Stormy Sky, Sandra Dee Sepia, Rizzo's Rowdy Red, and Queen of Heart Red Magicals;


  7. Ajouter de la poudre Gleaming Gold à la poudre Sandra Dee Sepia pour colorer les ferrures ;
    Add some Gleaming Gold to the Sandra Dee Sepia to color the hardware elements;
  8. Faire ressortir les détails des éléments Herbology avec la cire White Gold ;
    Highlight the details of the herbology elements with White Gold wax;
  9. Colorer le fond avec les Magicals Evergreen Emerald, Stormy Sky, and Sandra Dee Sepia + Gleaming Gold ; 
    Color the background with Evergreen Emerald, Stormy Sky, and Sandra Dee Sepia + Gleaming Gold Magicals;
  10. Puis coller tous les embellissements avec du gel 3D mat ;
    Next, glue all the embellishments with 3D matte gel;


  11. Ajouter un motif sur un morceau de papier aquarelle avec de la pâte de texture ;
    Add a design on a piece of watercolor with modeling paste;
  12. Une fois sec, colorer le avec les Magicals Evergreen Emerald, Stormy Sky, and Sandra Dee Sepia + Gleaming Gold;
    When dry, color with les Magicals Evergreen Emerald, Stormy Sky, and Sandra Dee Sepia + Gleaming Gold;
  13. Cirer les bords avec la cire White Gold ;
    Wax the edge with White Gold;
  14. Ajouter le papier sous la photo ;
    Add the piece of paper under the photo;


  15. Pour finir, ajouter des sequins et des glitters.
    To finish, add sequins and glitters.


J'espère que vous aimerez cette vidéo / ²I hope you will enjoy the video:


Matériels / Materials:

Lindy's Gang products:
Other products:
  • MDF Base - Artistiko (Medaillon 1 big);
  • Stencil - A.B. Studio (Stencil ID-64, STencil ID-160);
  • Moulds - Re-Design Prima (Herbology, Luxembourg Hardware, Vincennes Hardware);
  • Decorative Collage - Finnabair Prima (Solar);
  • Art Extravagance - Finnabair Prima (Clear Crackle Paste);
  • Art Basics - Finnabair Prima (Clear Gesso, Black Heavy Gesso, Modeling Paste, Soft Matte Gel, 3D Matte Gel).

vendredi 16 octobre 2020

Choose to Shine - Mixed media layout for A.B. Studio DT

Bonjour à toutes,

Aujourd'hui c'est une nouvelle page pour A.B. Studio que je vous propose réalisée avec la collection Emerald Queen.

Hello Sweeties,

Today I have a new layout for A.B. Studio to share with you featuring the Emerald Queen collection. 


Processus / Basic process: 
  1. Découper une bande de papier aquarelle et ajouter un motif avec le pochoir n°66 et du gel 3D mat;
    Cut a strip of watercolor paper and add a design with stencil ID-66 and 3D Gloss Gel;
  2. Découper un morceau du chipboard n°20 et le peindre avec la Sparks Unicorn's Hair ;
    Cut a piece of the chipboard ID-20 and paint it with Unicorn's Hair Sparks;
  3. Ajouter un motif avec le pochoir n°66 et de la pâte à craqueler transparente ;
    Add a design with the stencil ID-66 and clear crackle paste to the background;

  4. Colorer la bande de papier aquarelle avec les Magicals Stormy Sky, Jana's Jade, etTainted Love Teal et l'encre Cobawanga Copper ;
    Color the paper strip with Stormy Sky, Jana's Jade, and Tainted Love Teal Magical and Cobawanga Copper ink;
  5. Colorer le fond avec les mêmes couleurs ;
    Color the background with the same colors;


  6. Peindre quelques élements en résine avec du gesso noir, puis colorer les avec les cires Bronze Age, Vintage Gold et White Gold ;
    Prime some resin elements with black gesso, then color them with Bronze Age, Vintage Gold and White Gold waxes;
  7. Recouvrir de feuille Rich Gold sur le texte du papier calque n°0001 ;
    Add some Rich Gold foil to the text from the Tracing Paper 0001;
  8. Découper quelques feuilles dans du papier aquarelle et colorer les avec les couleurs précédentes et Gleaming Gold magical ;
    Die cut some leaves in a watercolor paper and color them with the previous colors and Gleaming Gold;


  9. Découper un morceau de la feuille Wide Eye pour ajouter sous la photo ;
    Cut a piece of the Wide Eyed paper to add under the photo;
  10. Coller tous les embellissements avec du gel 3D mat ;
    Glue all the embellishemnts with 3D Matte Gel;


  11. Ajouter des tâches avec Tainted Love Teal et Stormy Sky ;
    Add splatters with Tainted Love Teal and Stormy Sky;
  12. Tamponner autour de la composition avec le tampon n°208 ;
    Stamp around the composition with stamp ID-208;
  13. Ajouter glitters et microbilles ;
    Add glitters and microbeads;
  14. Et finalement, ajouter des petites fleurs colorées avec l'encre Cowabunga Copper pour ajouter du contraste.
    And finally, add some tiny flowers colored with Cowabunga Copper ink to add some contrast.


J'espère que vous aimerez cette vidéo / I hope you will enjoy the video:


Matériels / Materials

A.B. Studio products:


Emerald Queen
The Letter

Emerald Queen
Wide Eyed

Stencil ID-66


Chipboard ID-20


Stamp ID-208


Tracing Paper 0001


Creative Foil
Rich Gold
Other products:
  • Flowers - 49 and Market (Wildflowers: Clouds);
  • Starburst - Lindy's Gang (Cowabunga Copper);
  • Magical - Lindy's Gang (Stormy Sky, Jana's Jade, Tainted Love Teal);
  • Glitzy Magical - Lindy's Gang (Gleaming Gold);
  • Label - Idea-Ology (); 
  • Moulds - Re-Design Prima (Vincennes Hardware);
  • Mould - Finnabair Prima (Annabelle);
  • Art Ingredients - Finnabair Prima (Microbeads Set);
  • Art Alchemy - Finnabair Prima (Sparks: Unicorn's Hair; Waxes: Bronze Age, Vintage Gold, White Gold); 
  • Art Extravagance - Finnabair Prima (Clear Crackle Paste);
  • Art Basics - Finnabair Prima (Clear Gesso, 3D Matte Gel, Soft Gloss Gel).

Related Posts Plugin for WordPress, Blogger...