Affichage des articles dont le libellé est Video. Afficher tous les articles

mardi 6 septembre 2022

You are absolutely Perfect - Mixed media panel for Lindy's Gang DT

Hello Sweeties,

Today I'm up on Lindy's Gang with a new video tutorial. I was asked to make a layout with Audrey Hepburn and here it is.


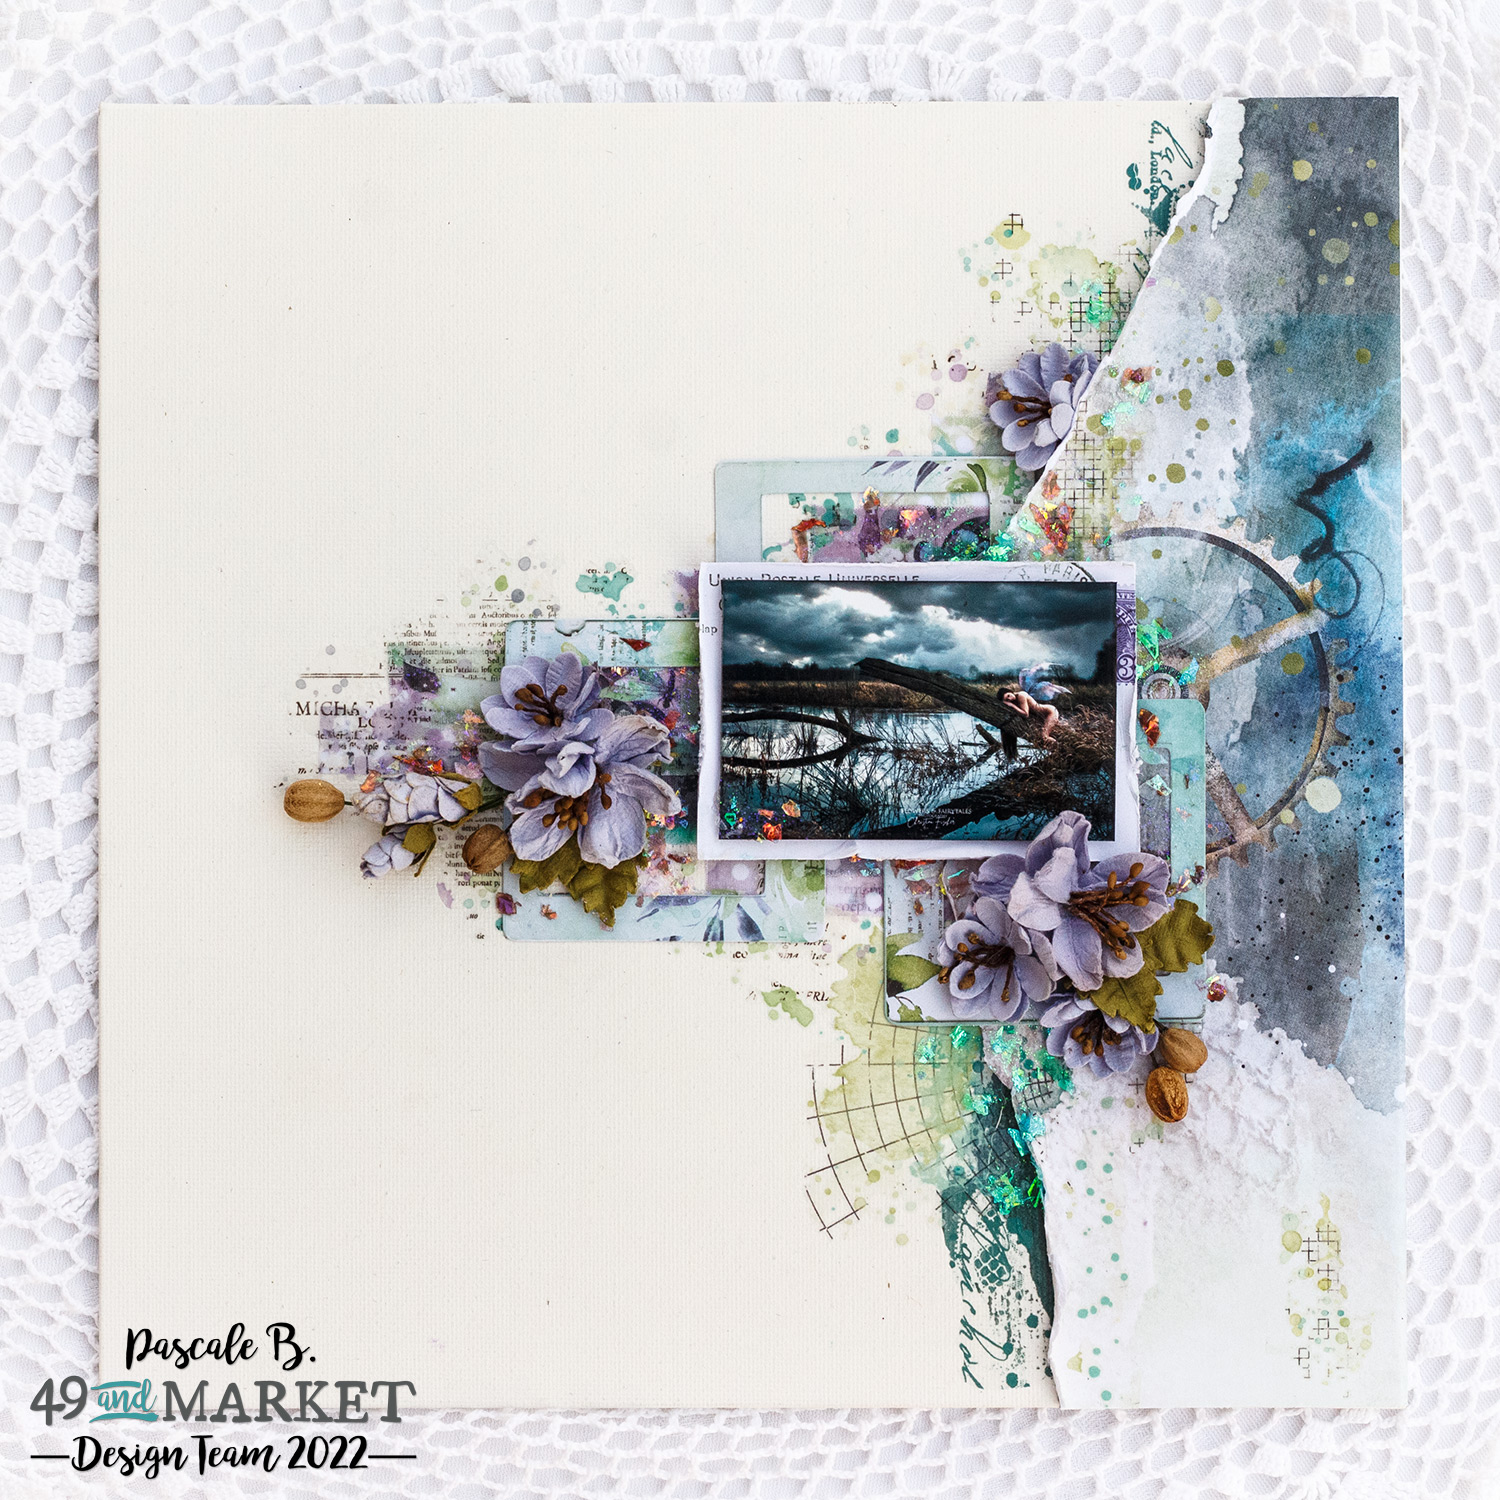
I want a background to match my rub-ons. I selected a few green sprays whose colors match the ones of the rub-ons. To apply them, I used a baby wipe instead of my brush. Il will help to blend all the colors together. I colored only the part where my composition will be.


When the color was to my liking, I worked on the second part of the panel. As I want this part to be more white than colored, I used a new baby to remove the ink here and there. The result looks more natural: the more colorful side faded to white without a sharp limit.


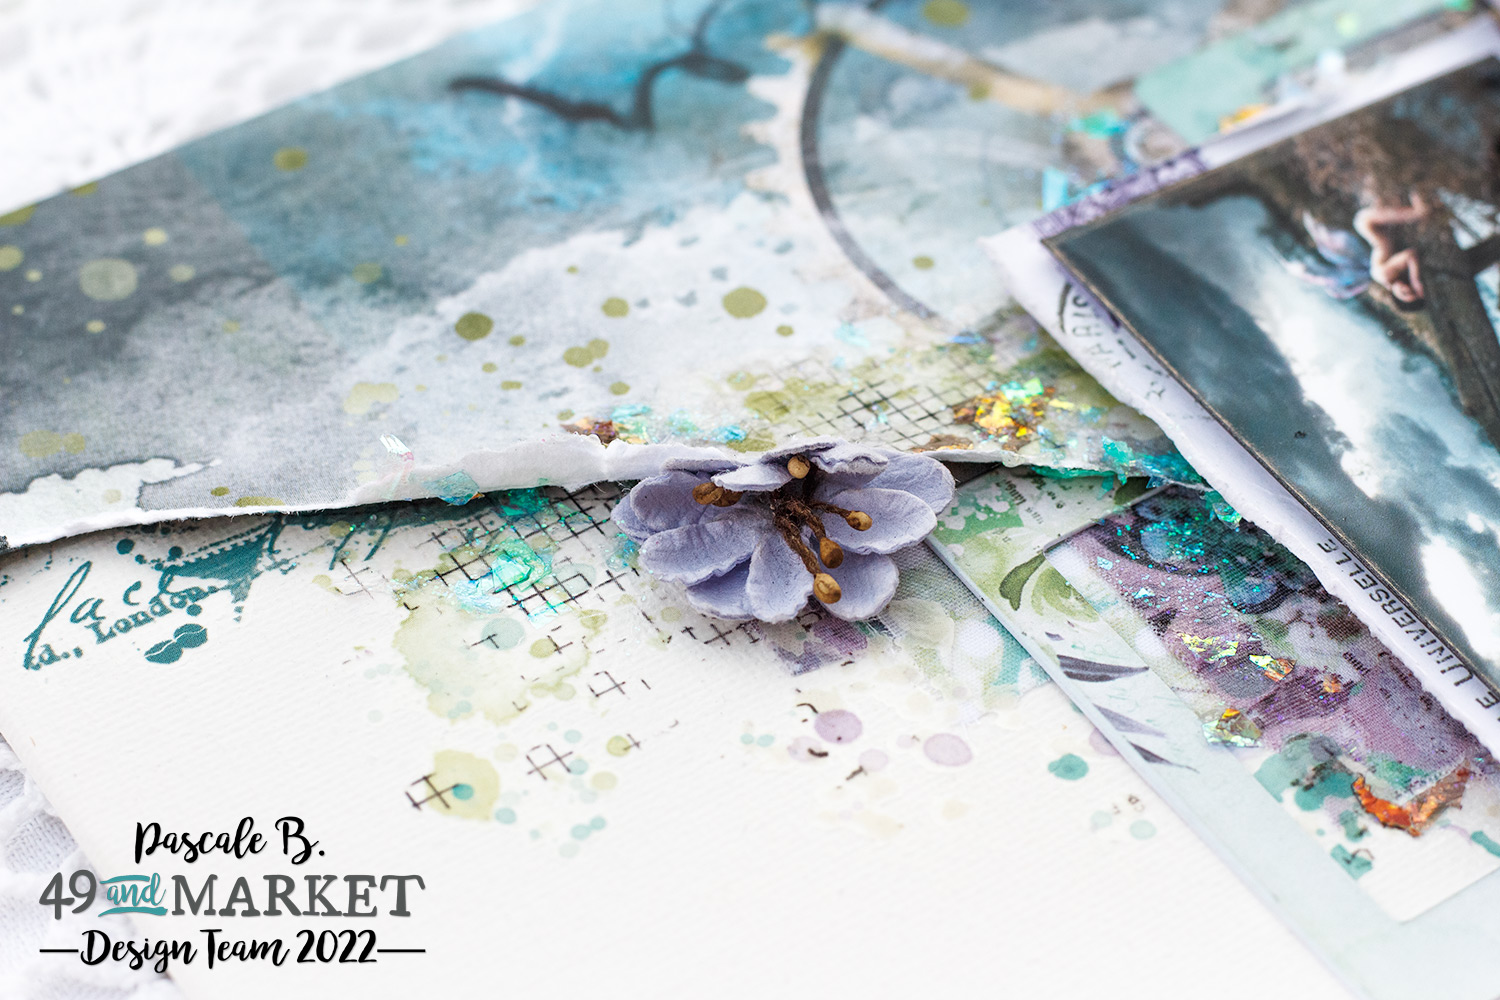
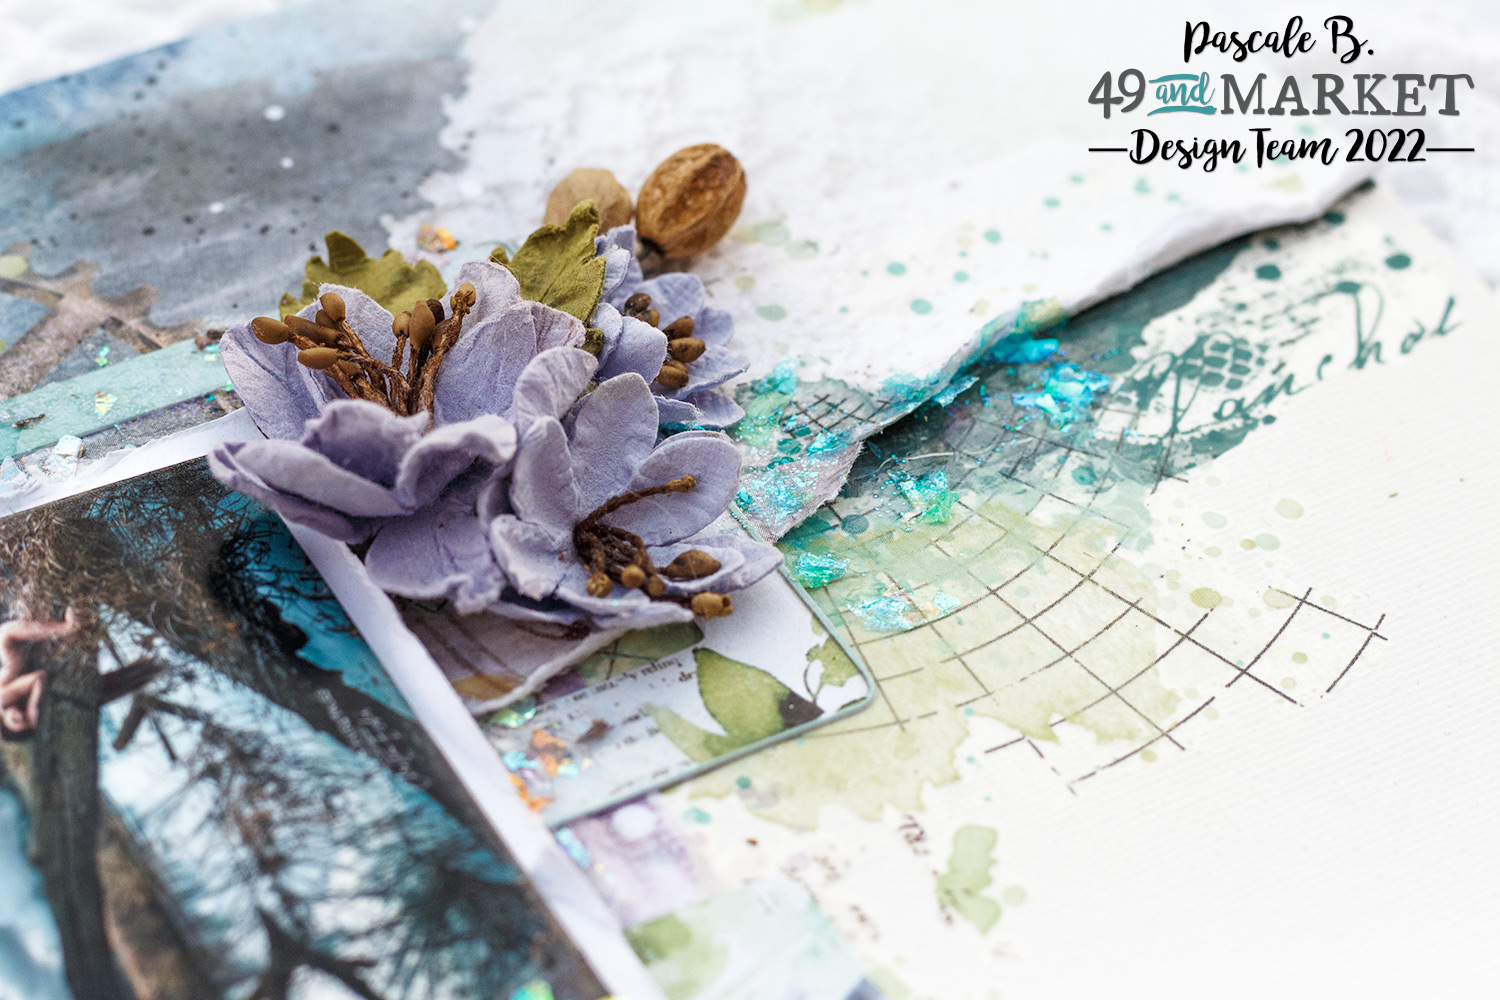
Next, I added some rub-ons. As the background was the right color, we can see were the design start and finish. I added a design with a stencil and a homemade paste made of 3D Gloss Gel and Screaming Banshee Black. I mixed thoroughly the magical with the gel to avoid any surprise, as I want my paste to have this dark purple color. 


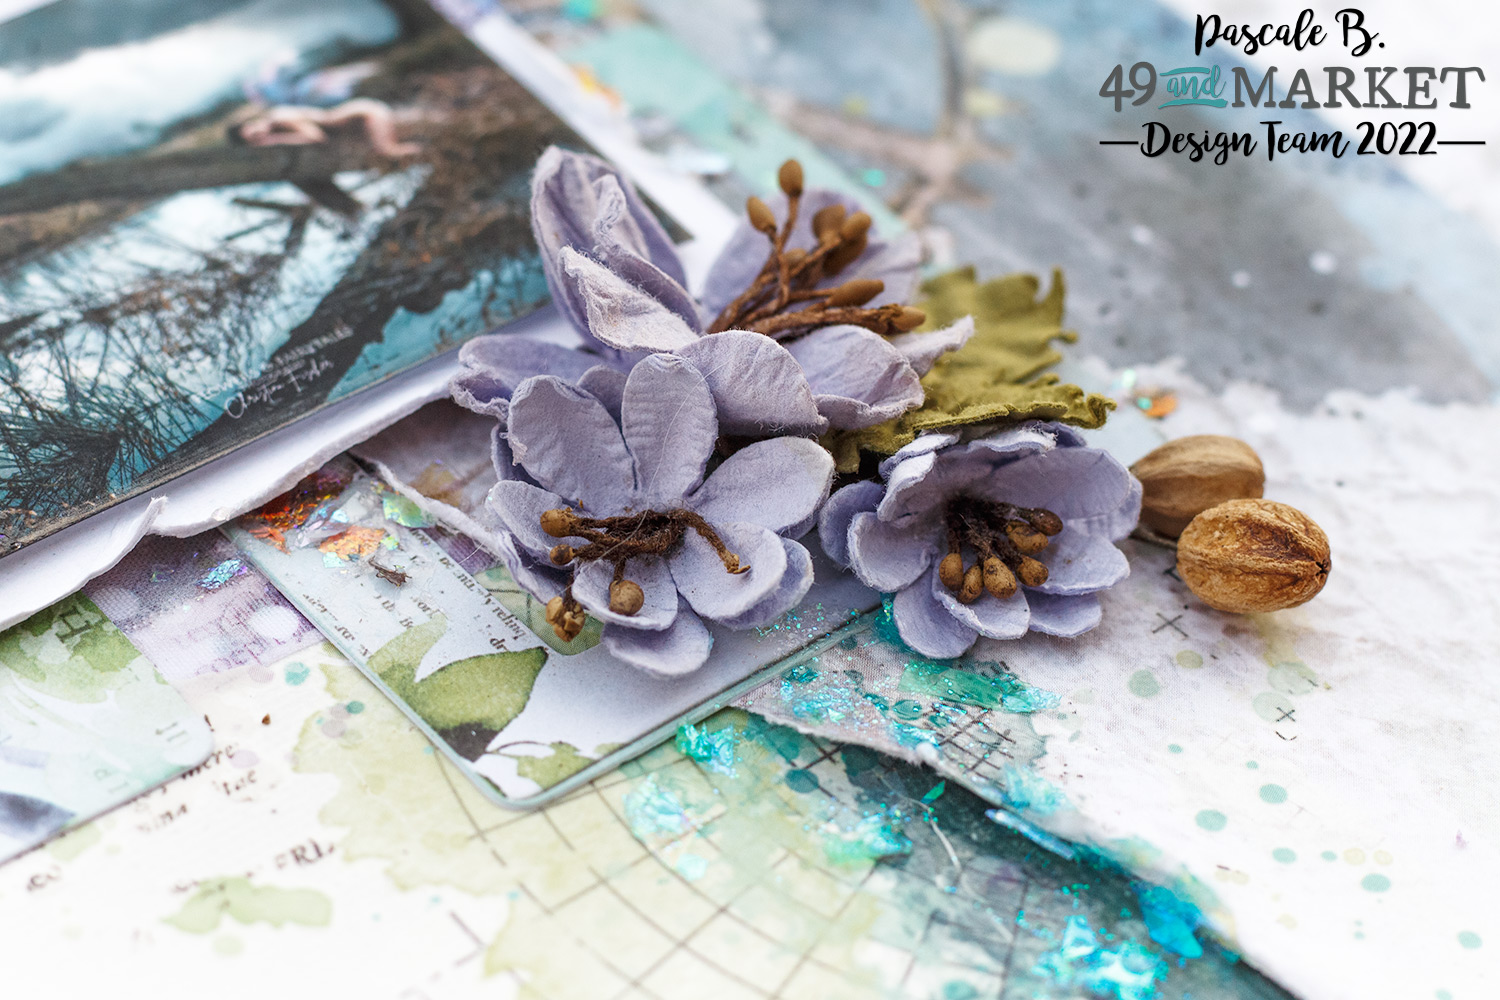
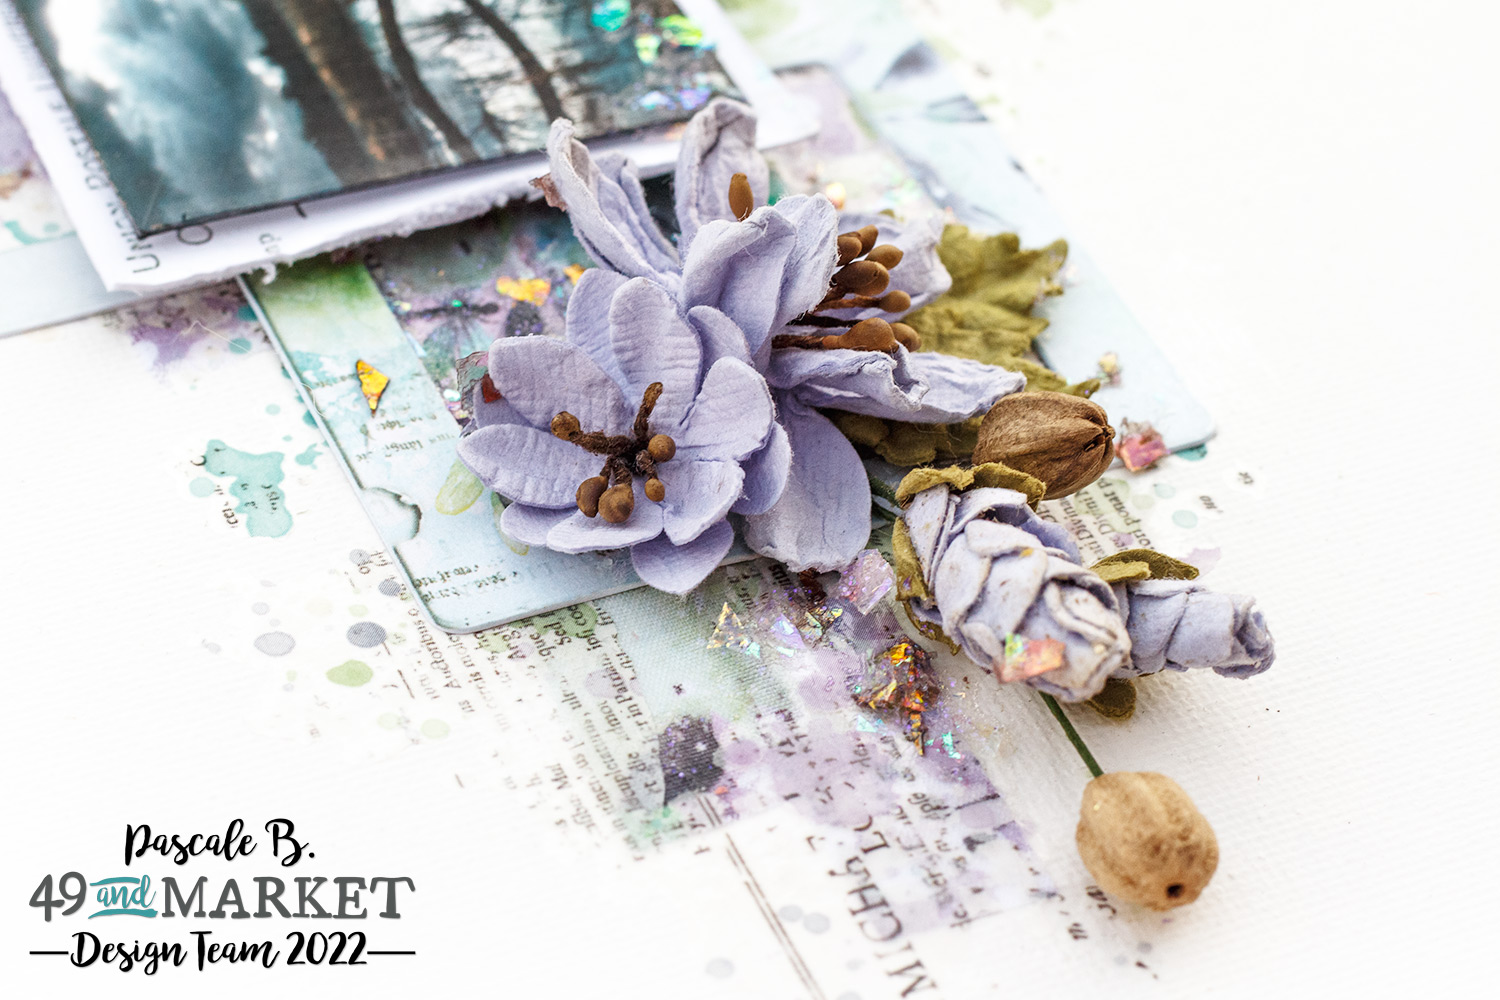
I die cut some leaves and flowers in a watercolor paper. I colored the leaves withMad Hatter Mint, Jack in the Pulpit Teal and Ponderosa Olive Green. I used Dragonfly Denim and Nuneka's Purple Popsicle to color the flowers.


When the composition was to my liking, I glued everything with 3D matte gel. I added splatters with a mixed of soft gloss gel, Screaming Banshee Black and glitter. To finish I added some glitters.


Here is the video, I hope you will like it.


Lindy's Gang products:

To obtain a 10% discount on all your purchase at Lindy's Gang, use the code PASCALE_B

Other products:
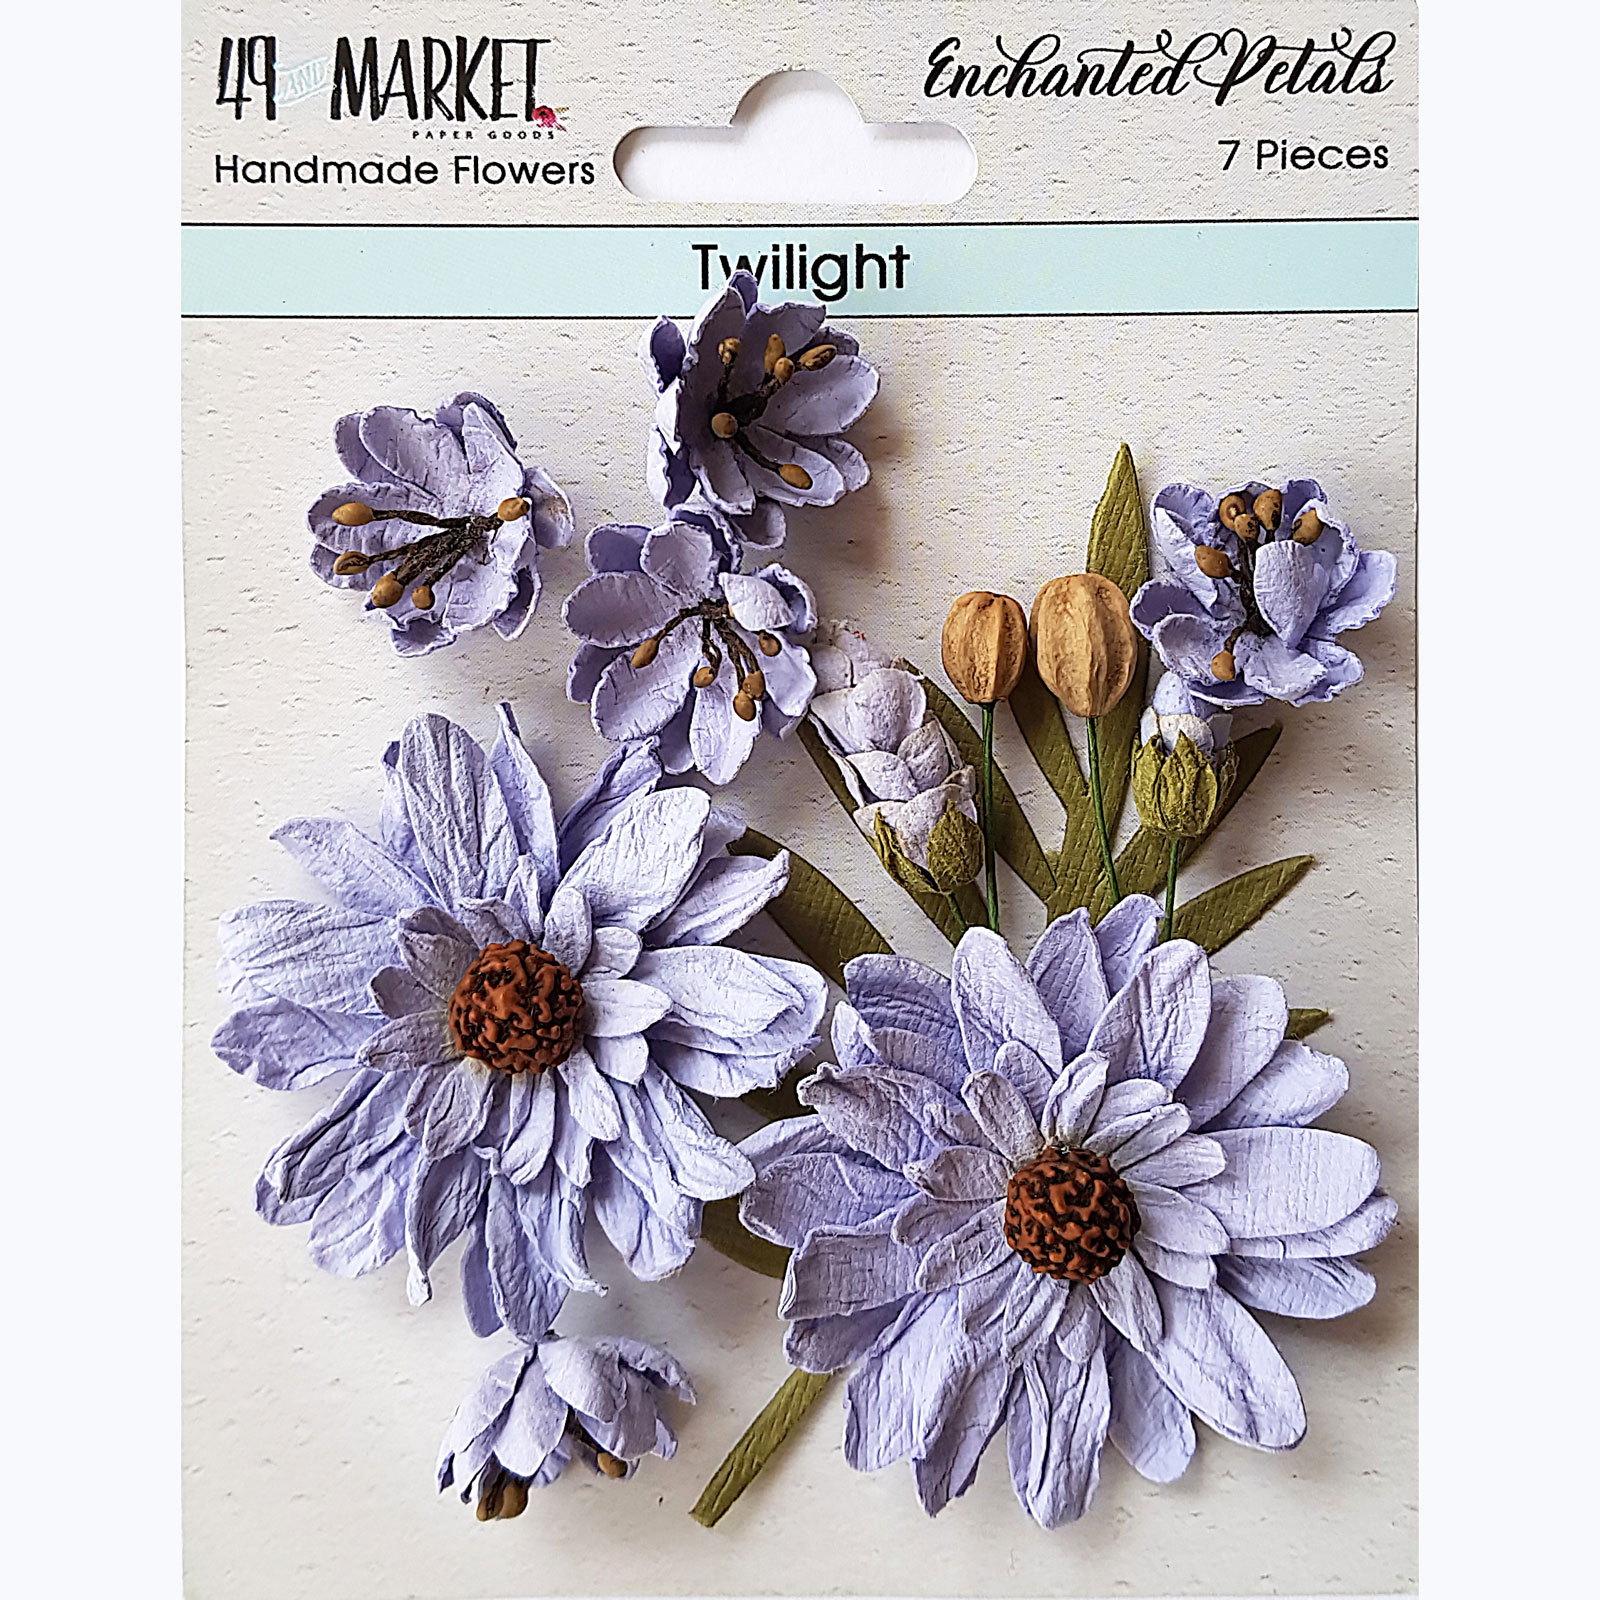
  • Flowers - 49 and Market (Twilight Garden Petals, Twilight Enchanted Petals);
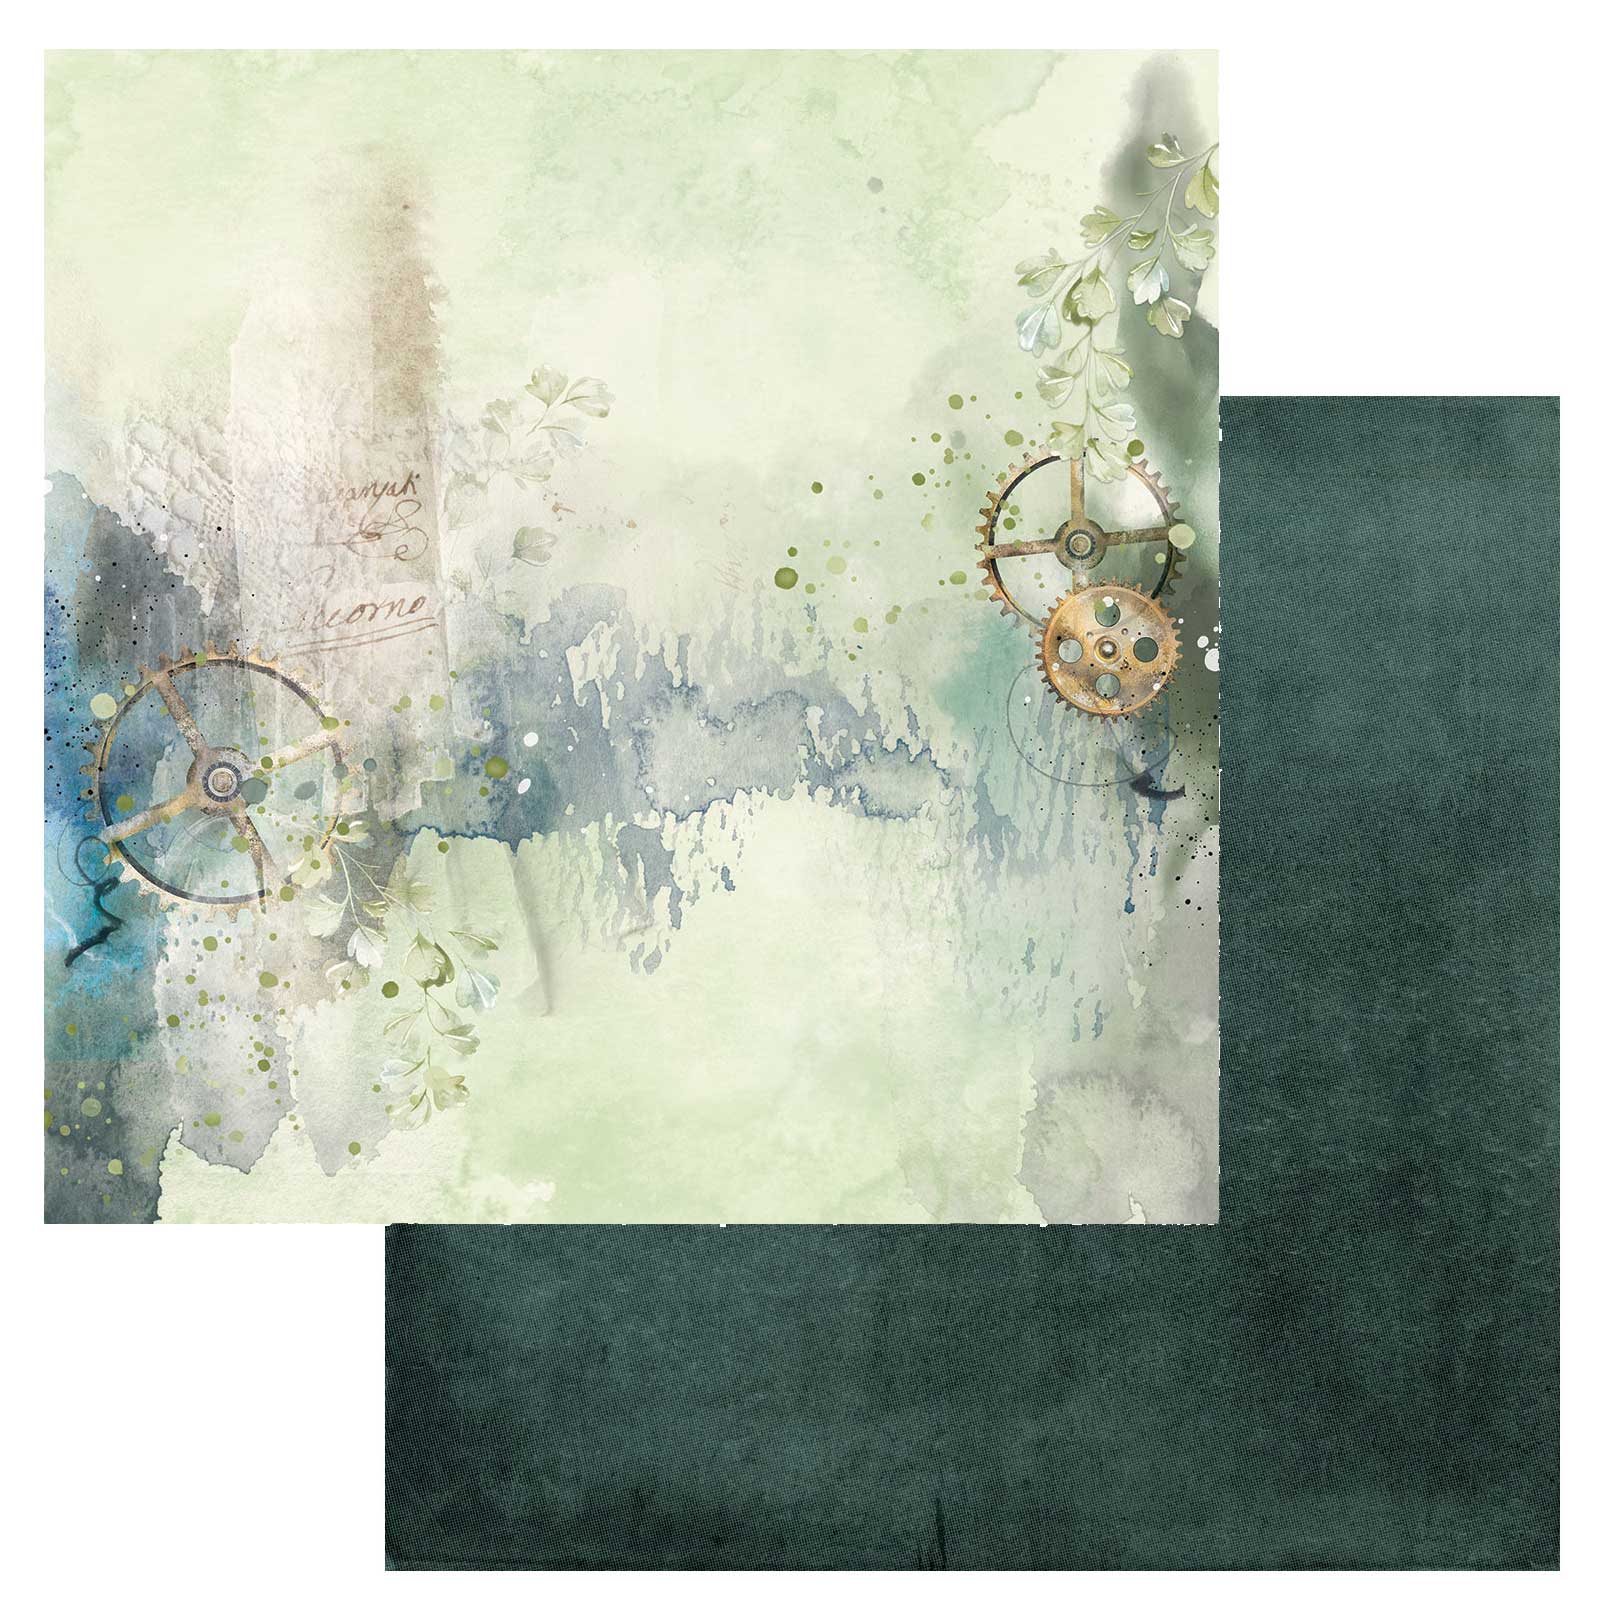
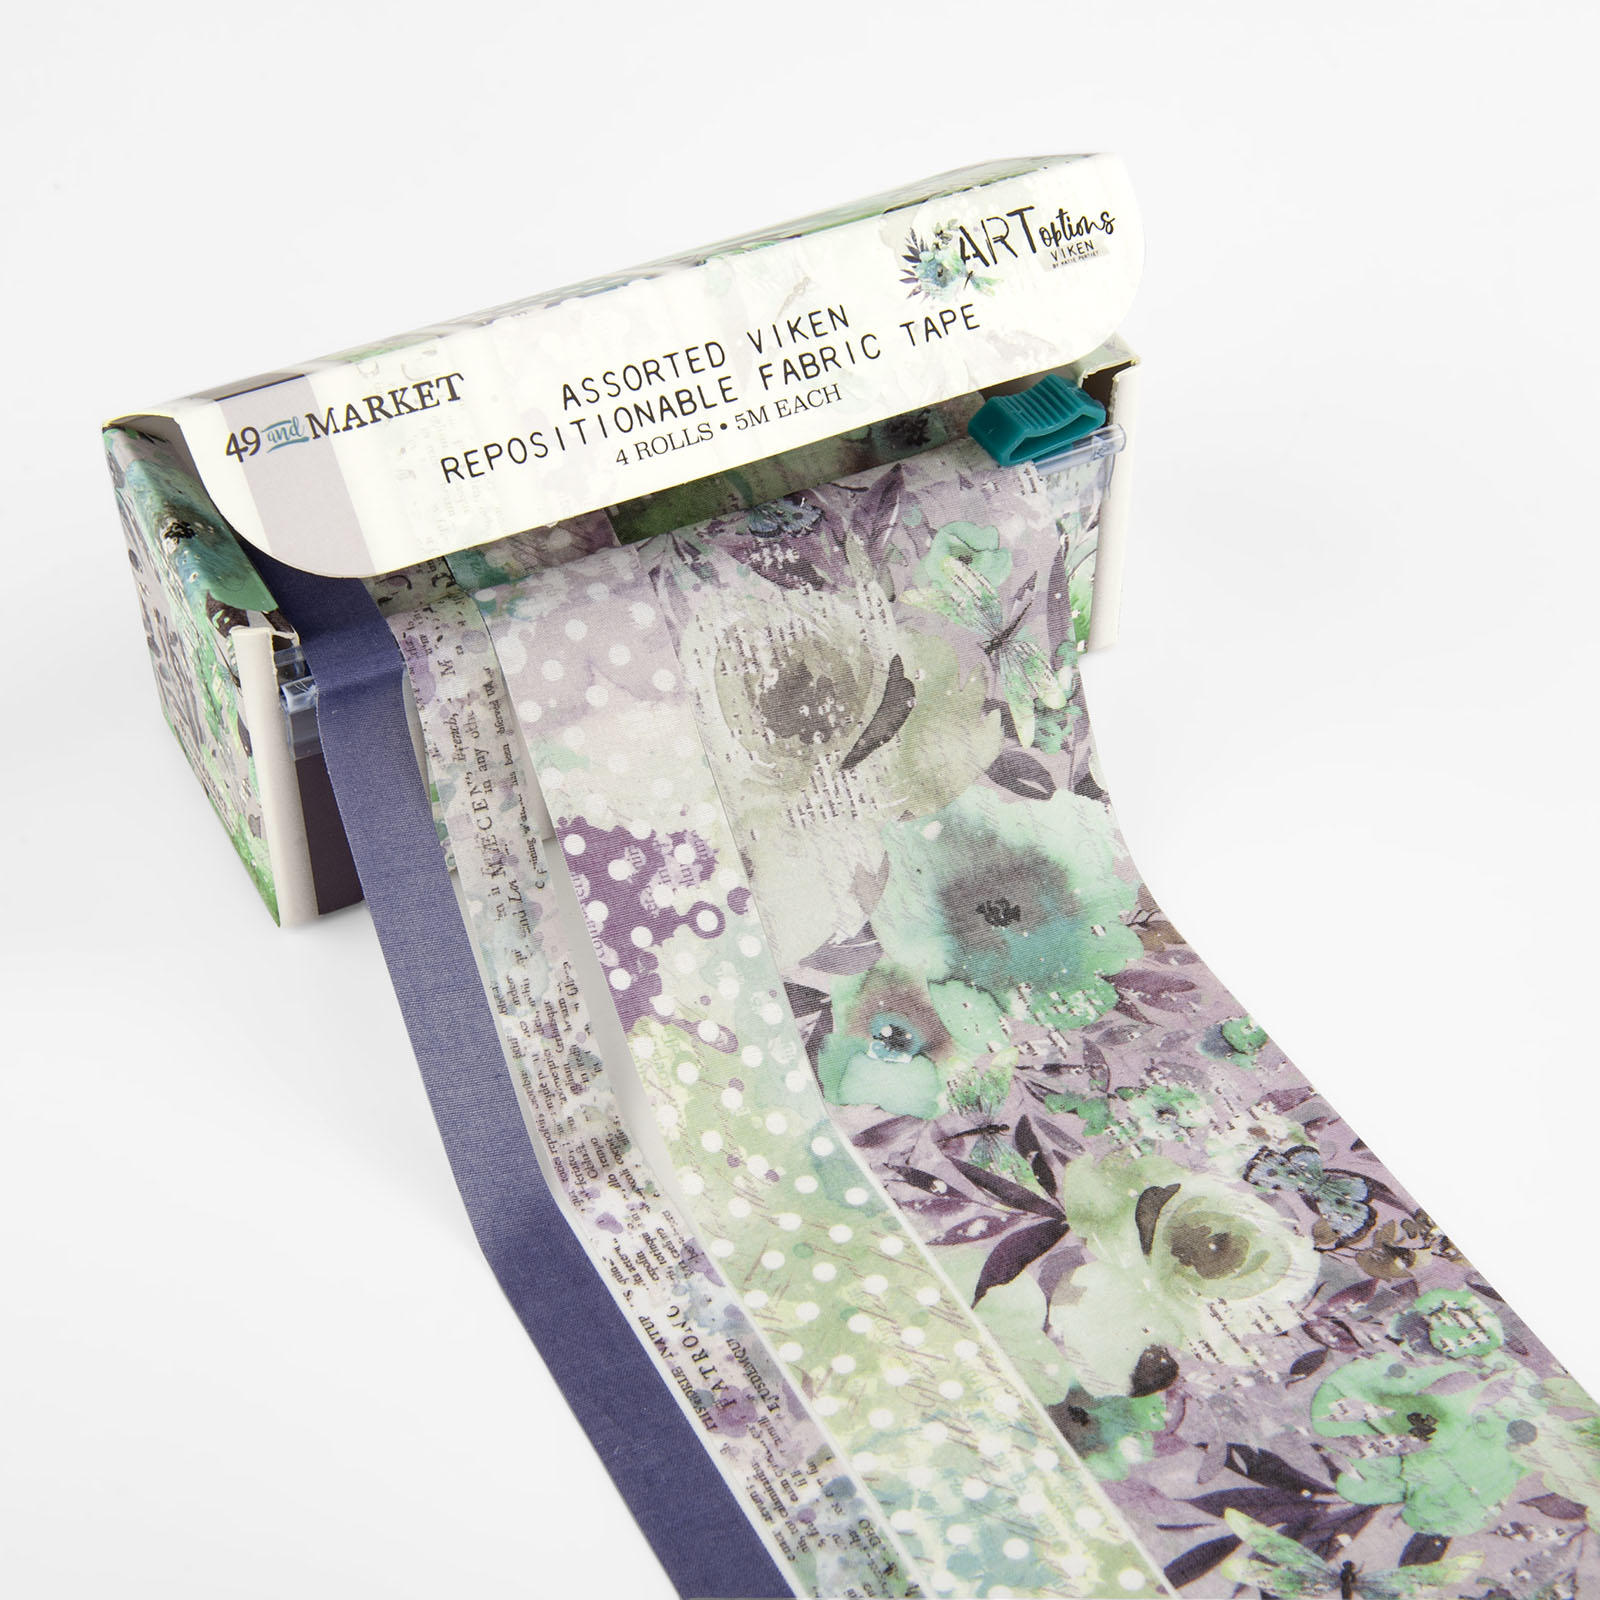
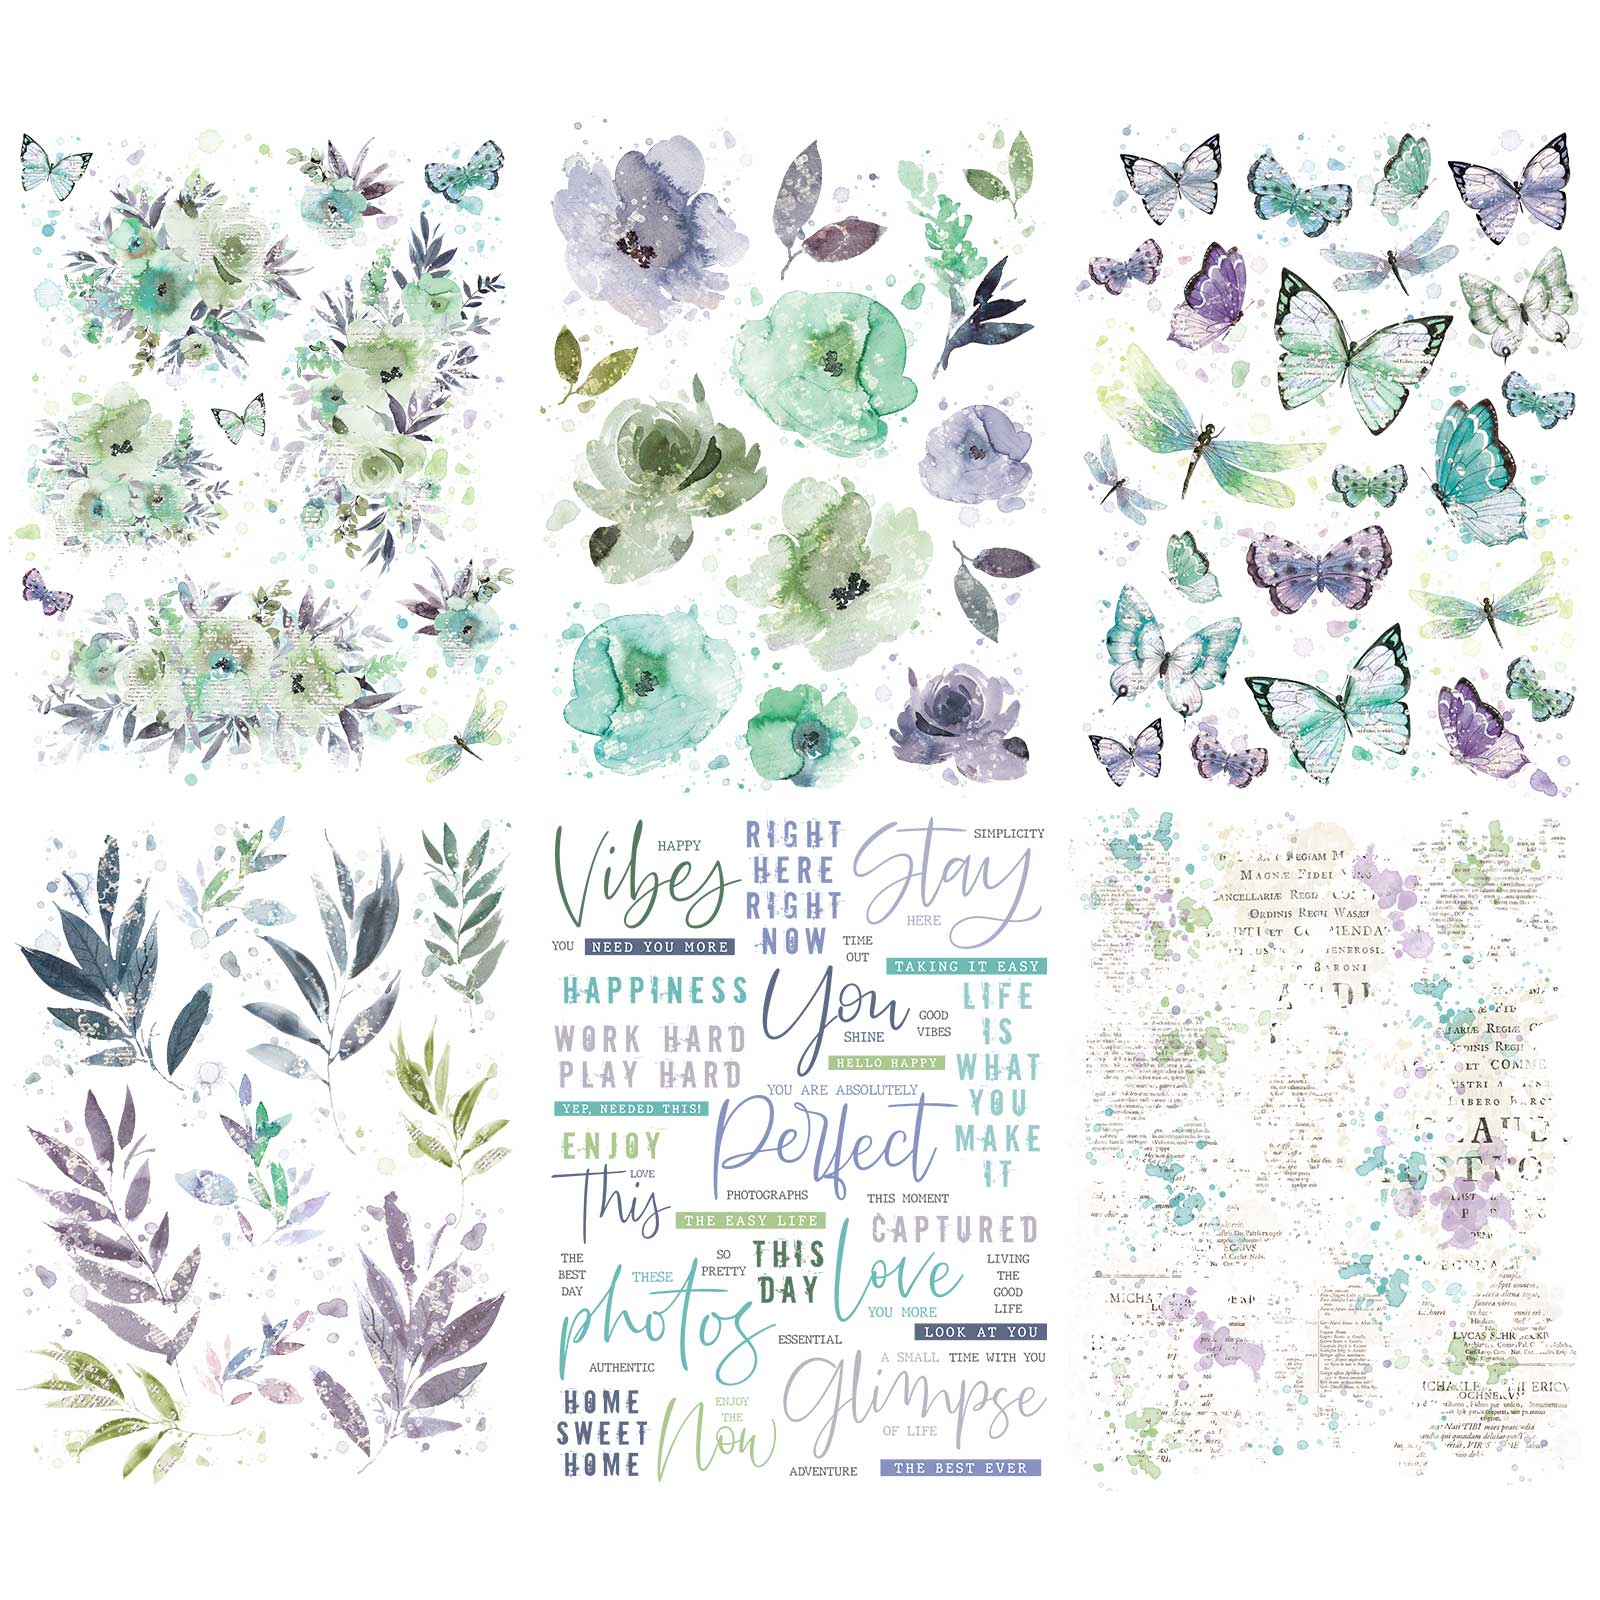
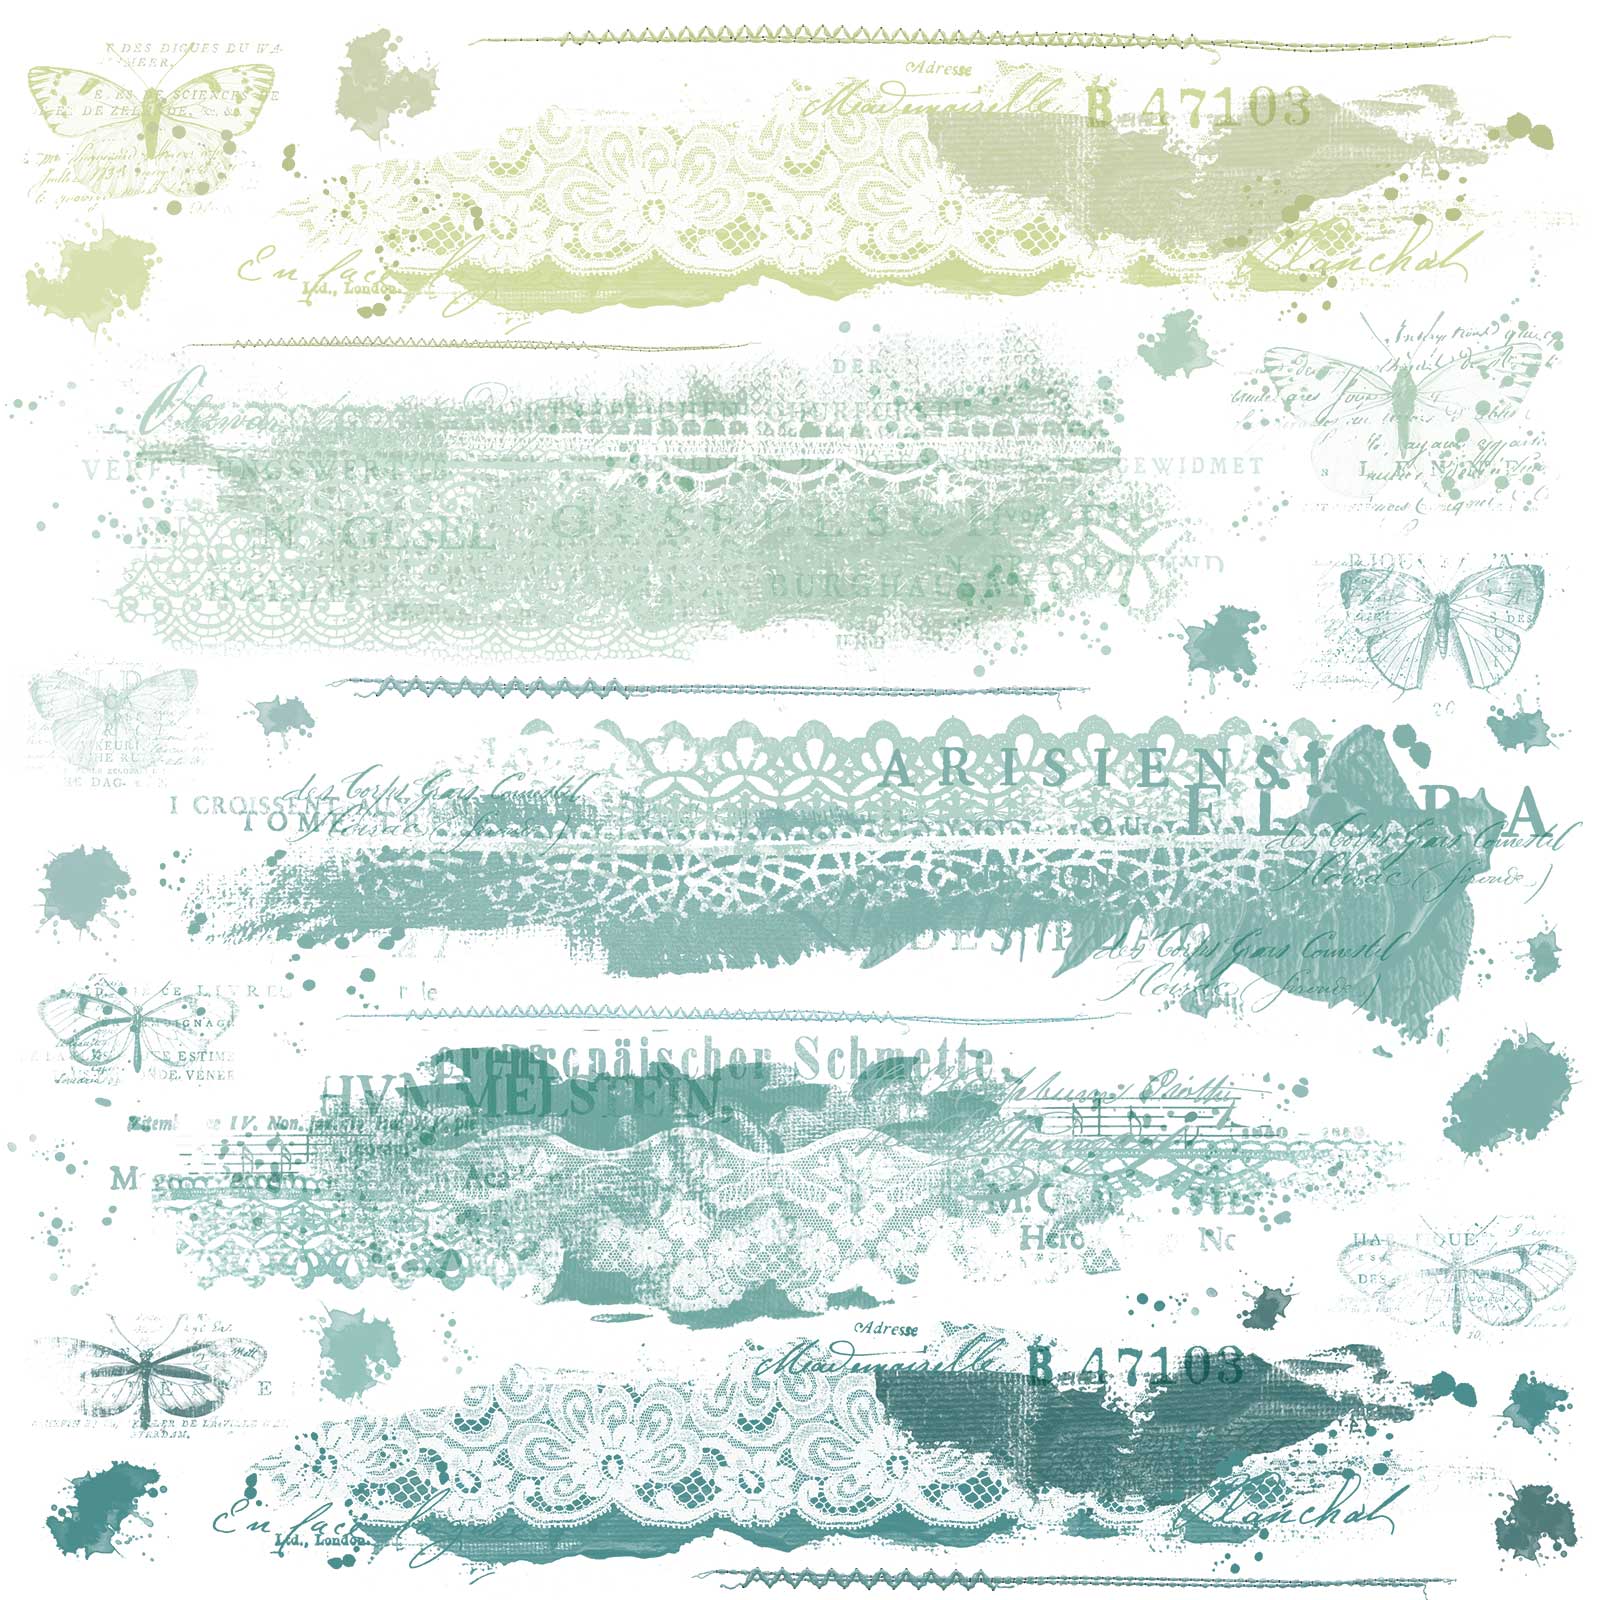
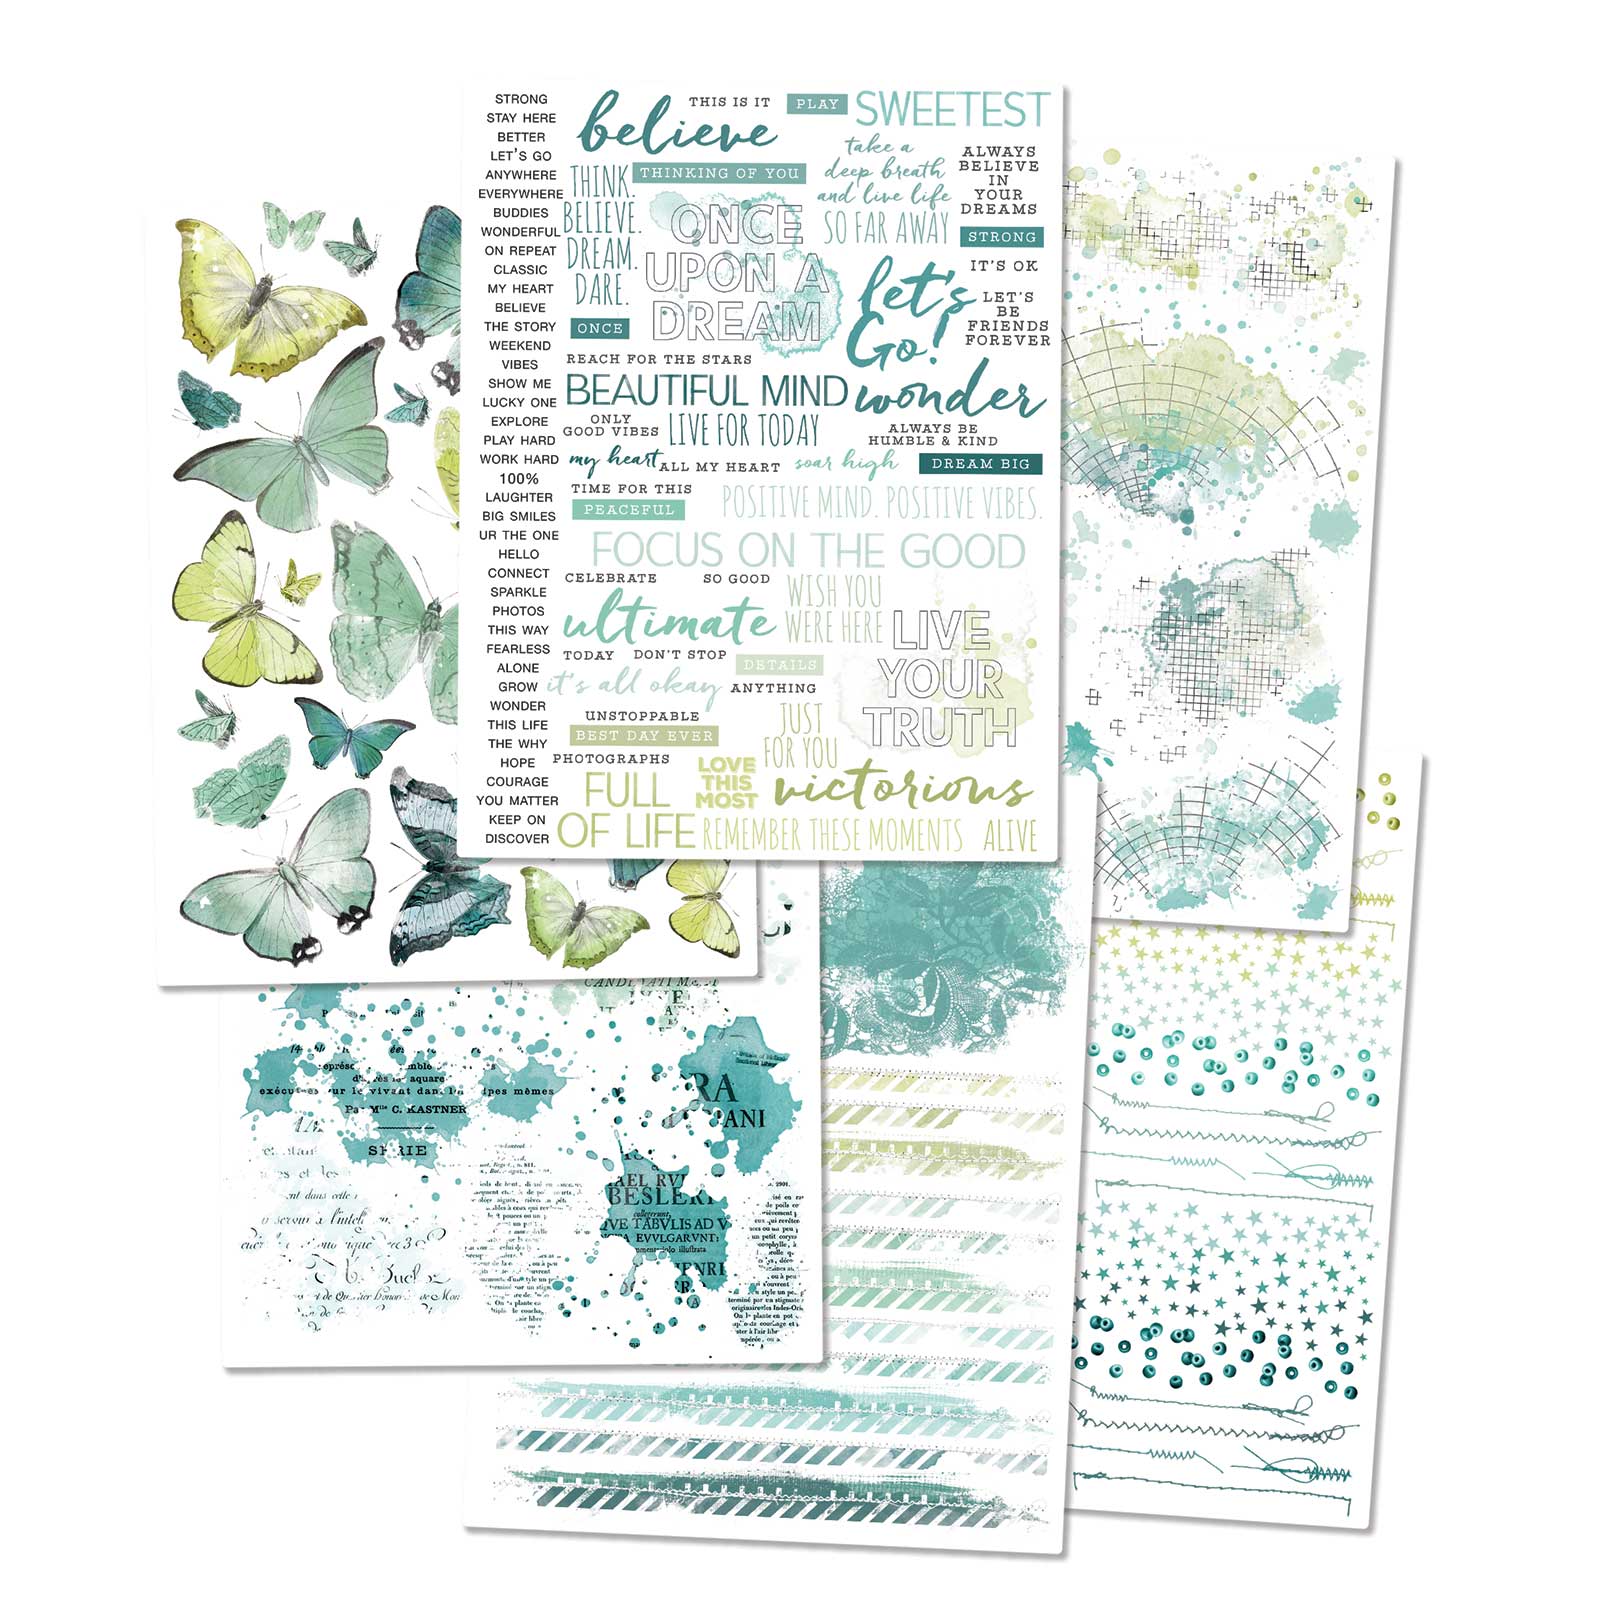
  • Rub-ons - 49 and Market (ARToptions Viken- 12x12, 6x8);
  • Stencil - Finnabair Prima (Read my letters)
  • Art Ingredients - Finnabair Prima ();
  • Art Alchemy - Finnabair Prima ();
  • Art Extravagance - Finnabair Prima ();
  • Art Basics - Finnabair Prima (3D Gloss Gel, 3D Matte Gel, Soft Gloss Gel).

vendredi 10 juin 2022

The Sleeping Fairy - Canvas for 49 and Market DT

Hello Sweeties,

Today I'm up on 49 and Market blog with a new panel. I worked with a photo from Christina Fischer.


I tore a page of the Serendipitous collection. It's an old collection that I love and I'm lucky to still have a few pages left. I think that the collection was a perfect match with the photo and the brand new collection: ARToptions Viken.


Before gluing the strip of paper, I added some rub-ons from the Spectrum Sherbet Tidal Wave to the background and on top of the paper. The Spectrum Sherbet Tidal Wave collection is perfect to complement the ARToptions Viken collection. 


Next, I added some ARToptions Viken fabric tape. I added rub-ons on top of the fabric tape as well to blend everything together.


I matted the photo with Ephemera Bit and added a few frames to the background. I added some Enchanted Petals and Garden Petals in Twilight.


To finish, I added some Mermaid and Magic Potion Effect pastes


Here is the video I recorded while I make this panel. I hope you will enjoy it.


49 and Market products:
Serendipitous - Rain Storm

Serendipitous
12x12 Collection Pack


ARToptions Viken
Ephemera Bits


ARToptions Viken
Fabric Tape Assortment


ARToptions Viken
6x8 Rub-Ons


Spectrum Sherbet
12x12 Tidal Wave Rub-Ons


Spectrum Sherbet
6x8 Tidal Wave Rub-Ons
Enchanted Petals - Twilight

Enchanted Petal
Twilight
Garden Petals - Twilight

Garden Petals
Twilight


Other products:
  • Art Extravagance - Finnabair Prima (Magic Potion Effect Paste, Mermaid Effect Paste);
  • Art Basics - Finnabair Prima (3D Matte Gel, Soft Gloss Gel).

lundi 6 juin 2022

Lady - Tag for Lindy's Gang DT

Hello Sweeties,

Today, I'm on Lindy's Gang blog with a new video tutorial. I really love the beautiful and soft colors of the June mood board and especially the special ingredient: "flowers". I could not help myself to make a second tag. 

I worked on a piece on canvas with I colored with Pumpkin Seed Parfait, Jana's Jade, and Salt Water Taffy Magicals. When dry, I stamped randomly with black ink.


I die cut some leaves and berries, which I colored with the same colors I have used to color the background. I selected some roses which I colored with Salt Taffy Water Magical.


I mixed some Jana's Jade Magical with Liquid Fluid Medium to paint the resin frame. When dry, I used a metallic wax to highlight the details. I used different metallic waxes to color the resin portrait.


I used different metallic waxes to color the resin portrait.


To finish, I added some glitter.


Here is the video I recorded when I was working on the tag you discovered a few days ago:


Lindy's Gang products:
To obtain a 10% discount on all your purchase at Lindy's Gang, use the code PASCALE_B.

Other products:
  • Mould - Prima (Sicily Frames);
  • Moulds - Finnabair Prima (Grungy Frames, Vintage Portraits);
  • Stamp - Finnabair Prima (Book);
  • Art Alchemy - Finnabair Prima (Liquid Fluid Medium);
  • Art Alchemy Wax - Finnabair Prima (White Gold, Old Silver, Vintage Gold);
  • Art Basics - Finnabair Prima (3D Matte Gel, Soft Gloss Gel).


mercredi 6 avril 2022

Picture is a poem without words ... Mixed media panel for Lindy's Gang DT

Hello Sweeties,

Today I'm up on Lindy's Gang blog with a new video tutorial. I chose a photo from the movie "Edward Scissorhands". I must admit I have never watched this movie, but I find this photo very inspiring for a Spring project.


I think it happens to all of us to make a project that we didn't like. I have this panel with a background I really didn't like, so instead of throwing it away, I just covered it with white gesso, et voilà! my panel was ready for another project.


Basic process: 
  1. Take your old background and cover it with one or two coats of white gesso;
  2. Color the background with your favorite colors if your photo is black & white; I choose to work with Pirate's Plunder Gold, Fairy Garden Green, and My Mojito Green;
  3. Use a baby wipe to blend the colors together;
  4. Emboss a frame with Chip Off the Old Black EP. While the embossing powder was still hot, sprinkle some Gimme Five Gold EP.
  5. Prime some resin leaves with clear gesso;
  6. Color them with My Mojito Green and Sparkling Sunset Magicals;
  7. Everything is ready to be assembled. Glue all the elements with 3D gel;
  8. Add a few flowers to your composition;
  9. To finish, add some glitters.
As you can see, this panel was really easy to make and I was able to salvage my messed-up background. 

Here is the recorded video:


Lindy's Gang products:
To obtain a 10% discount on all your purchase at Lindy's Gang, use the code PASCALE_B.

Other products:
  • Flowers - Prima;
  • Stencil - Finnabair Prima (Vintage Wallpaper);
  • Art Ingredients - Finnabair Prima (Autumn Glitter Set);
  • Art Extravagance - Finnabair Prima (Golden Dragon Unicorn Paste);
  • Art Basics - Finnabair Prima (White Gesso, Clear Gesso, Heavy Body Gel, Soft Gloss Gel).

mardi 16 novembre 2021

Don't Worry Kids .... - Mixed media panel for Lindy's Gang DT

Hello Sweeties,

Today I'm up on Lindy's Gang blog with a Xmas mixed media panel. I worked with another photo from the talented Christina Fisher. On this one, you can read "Don't worry kids ... He will certainly come this year."


First, I glued different kinds of paper with soft gel. I used white gesso to blend them together. Next, I added two designs with two stencils and two pastes: Paper and White Crackle pastes.


While the crackle paste was drying, I die cut different leaves and branches in watercolor paper. I colored the leaves with Long John's Silver and the pine branches with Long John's Silver and Stormy Sky.

I colored the berry branches with Rizzo's Rowdy Red, but I wasn't really happy with the result. I used my glue gun to make 3D berries. While the glue was still hot, I covered it with Candy Cane Red Gold EP. I waited until the glue was cold before melting the embossing powder.


I primed the chipboards with white gesso. I colored them with Sandra Dee Sepia with the minimum of water as I wanted them to be dark. I embossed the flowers with Lapis Lazuli Blue Gold and added some waxes as well on the leaves.


In the meantime, the crackles have had time to appear. I colored the background with Long John's Silver, Silhouette Silver, Stormy Sky, and Sandra Dee Sepia. When everything was completely dry, I dry brushed lightly some white gesso to highlight the designs. 


After gluing everything with a 3D gel, I finished the composition with glitters. 

I hope you will enjoy the video tutorial:


Materials:

Lindy's Gang products:
To obtain a 10% discount on all your purchase at Lindy's Gang, use the code PASCALE_B.

Other products:
  • MDF - Artistiko;
  • Flowers - 49 and Market (Rustic Bouquet: White Heron);
  • Chipboard - Finnabair Prima (Mechanical Flourish);
  • Stencils - Finnabair Prima (Ghost Writer, Victorian Tiles);
  • Art Ingredients - Finnabair Prima (Luminous Glitter Set);
  • Art Alchemy Waxes - Finnabair Prima (Bronze Age, White Gold);
  • Art Extravagance - Finnabair Prima (White Crackle Paste, Paper Paste);
  • Art Basics - Finnabair Prima (White Gesso, Soft Gloss Gel, 3D Matte Gel).

mardi 21 septembre 2021

Light the Way - Mixed media panel for Lindy's Gang DT

Hello Sweeties,

Today I'm up on Lindy's Gang blog with a new mixed media panel. I used Magical to create some beautiful textures.


The result is stunning or so I think. The result is really what I was looking for. I added some Hag's Wart Orange when the paste was dry that flows in the cracks. I give some warm to the light effect.
Unfortunately, I wasn't able to take a photo where you can see the transparency of the paste.


Next, I want to make a matte crackle paste to mimic an old paint that has overheated.
This time I used a white crackle paste which I colored with the Black Hole Black Magical. I added also some dry coffee grounds to add some texture as well.


The coffee grounds probably accelerated the cracking process by absorbing the water and also led to the formation of mini cracks. The result was unexpected but, I love it. I added different shades of brown and orange to mimic the rust.


The last crackle paste I made was for the grid. I simply mixed the white crackle paste with the Black Hole Magical, as I want a paste that will be easy to apply.
The result is without surprise, but the effect is perfect to replicate the effect of the paint being crackled from below by the rust. I add the same shade of brown and orange magicals to complete the rust effect.


I painted the gears with a mix of Liquid Fluid Medium, Black Hole Black, Milky Way White and Titanium Whit liquid acrylic paint. But the result was to glossy for me, so I used the Charcoal Black wax to matify them and the Rust Effect pastes to finish. For the flowers, I used the Red Hot Poker Orange.


To finish the composition I added some glitter.

I hope you will enjoy the video.

Lindy's Gang products:

To obtain a 10% discount on all your purchase at Lindy's Gang, use the code PASCALE_B

Other products:
  • HDF - Artistiko (Large Lamp, Halve);
  • Tissue Paper - Idea-Ology (Telegraph);
  • Mould - Finnabair Prima (Grungy Frame, Machine Parts);
  • Mechanical - Finnabair Prima (Lotus, Woodland Leaves);
  • Waxes Art Alchemy - Finnabair Prima (Charcoal Black);
  • Liquid Acrylic Art Alchemy - Finnabair Prima (Liquid Color Fluid Medium, Titanium White); 
  • Art Extravagance - Finnabair Prima (Clear Crackle Paste, White Crackle Paste, Rust Effect Paste);
  • Art Basics - Finnabair Prima (Heavy White Gesso, Clear Gesso, Heavy Body Gel, Soft Gloss Gel).


Related Posts Plugin for WordPress, Blogger...