mardi 27 mars 2018

1949 Scouts - Lindy's Gang DT

Bonjour à toutes,

Aujourd'hui je suis sur le blog de Lindy's Gang avec un nouveau pas-à-pas pour réaliser une page. J'ai choisi une photo de mon père quand il était scout en 49.

Hello Sweeties

Today I'm up on Lindy's Gang blog with a step-by-step layout. I chose to work with a photo of my father when he was a scouts boy in 49. 


J'ai commencé par protéger le fond avec du gesso transparent. Puis, j'ai ajouté un motif à l'aide d'un pochoir et de pâte à craqueler transparente que j'ai laissé sécher naturellement.
Pendant que la pâte séchait, j'ai peint quelques chipboards avec le set Camouflage Effect Paste.

First I primed the background with clear gesso. When done I added a design with a stencil and clear crackle paste and leave it to dry. 
While the crackle paste was drying, I painted some chipboards with the Camouflage Effect Paste set.


Ensuite, j'ai coloré le fond avec les sprays Treasure Island Aqua et Mystic Malachite et la poudre Rusry Lantern Lime.

Next, I colored the background with Treasure Island Aqua, Mystic Malachite, and Rusty Lantern Lime Magical.
When dry, I started to build my composition with papers and the chipboards


J'ai tamponné ici et là avec une encre Archival brune.
Puis, j'ai ajouté quelques feuilles ...

I added some random stamping with an brown Archival ink.
Next, I added some leaves ...


... que j'ai embossé avec la poudre à embosser Olive Orbit Gold.
J'ai également coloré des Art Stones avec la poudre Rusty Lantern Lime et l'encre Mystic Malachite.

... which I embossed with the Olive Orbit Gold EP.
Next, I colored some Art stones with the Magical Rusty Lantern Lime and the Mystic Malachite mist.


J'ai collé les Art Stones avec du gel mat.
Et pour terminer la mise en page, j'ai fait quelques tâches avec de la peinture noire.

I glued the Art stones with a soft matte gel.
And to finish the layout I splattered some black paint


Et voici quelques gros plans:

Here are some close-ups:


Matériels / Materials:

Lindy's Gang products: 

Mystic Malachite
Moon Shadow
Mystic Malachite
Treasure Island Aqua
Moon Shadow
Treasure Island Aqua


Industrial Chic- MAGICAL Shimmer Powders


Magicals
Industrial Chic
Orbit Olive Gold
Embossing Powder
Orbit Olive Gold

Other products:
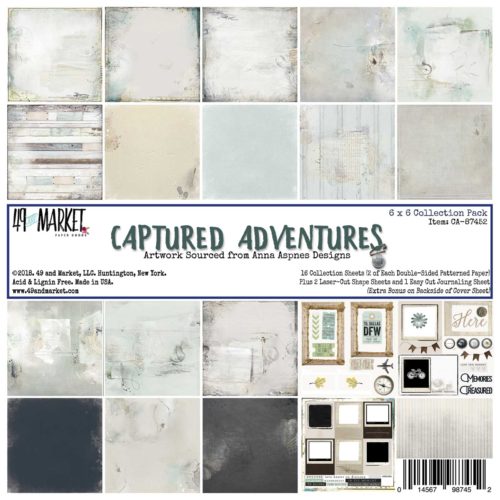
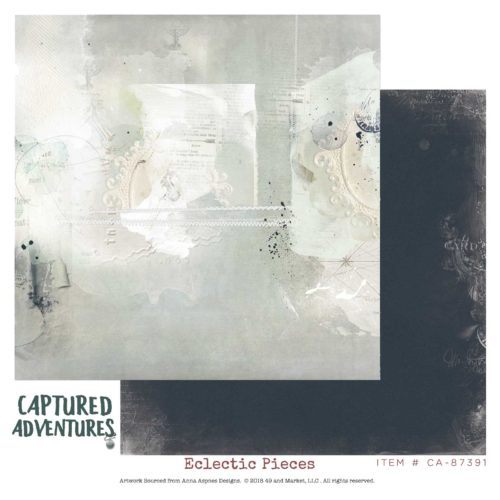
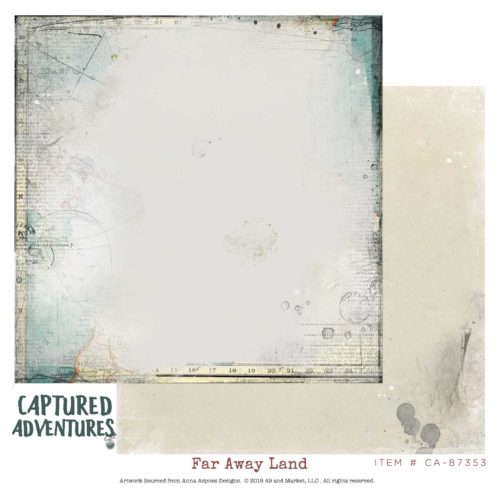
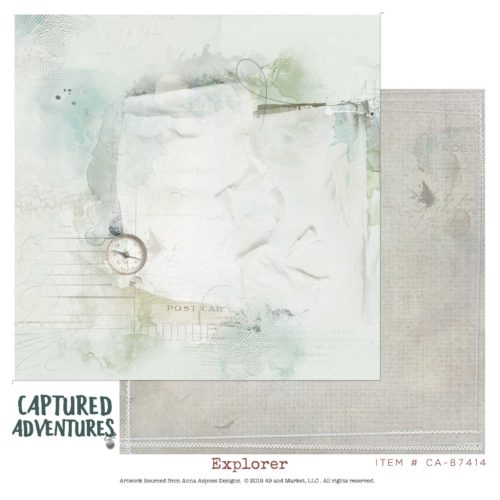
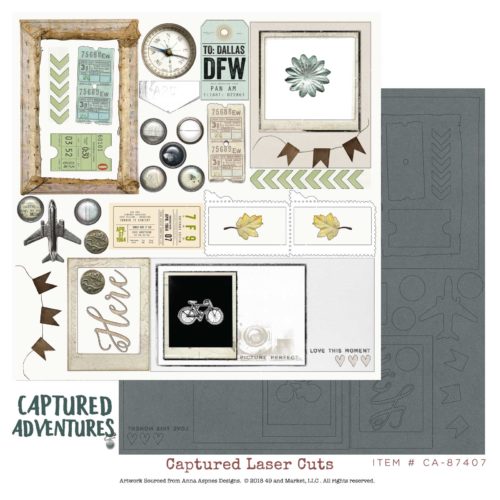
  • Papers - 49 and Market (Vintage Artistry: Botanical Press, 6x6 Paper pack);
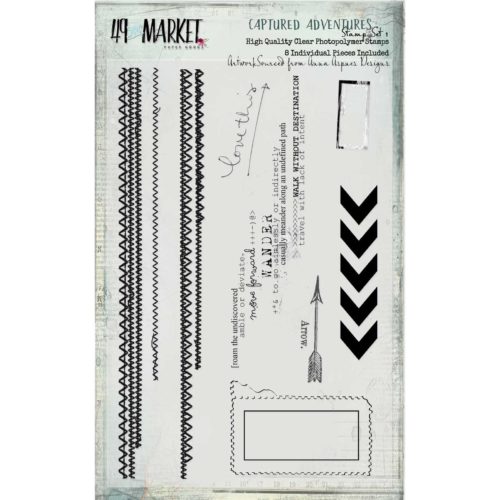
  • Stamp - 49 and Market (Pascale's Grammar);
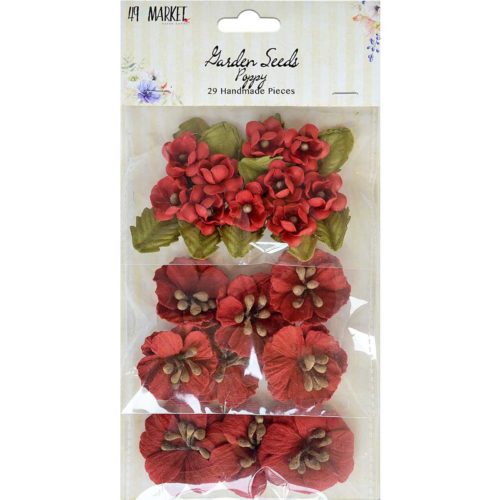
  • Leaves - 49 and Market (Blossom Blends);
  • Stencil - TCW (6x6 Rock Crystals);
  • Art Ingredients - Finnabair Prima (Art Stones, Mega Stones);
  • Art Extravagance - Finnabair Prima (Clear Crackle Paste, Camouflage Effect Paste); 
  • Art Basics - Finnabair Prima (Clear Gesso, Soft Matte Gel).

dimanche 25 mars 2018

La Dame de Brissac - Maja Design DT

Bonjour à toutes,

Aujourd'hui je suis sur le blog de Maja Design avec une nouvelle page réalisée avec la collection Vintage Summer Basics. J'ai choisi un photomontage que j'ai fait.

Hello Sweeties,

Today I'm up on Maja Design blog with a new layout featuring the Vintage Summer Basics collection. I work with a photomontage I made.


J'ai commencé par protéger le fond avec du gesso transparent. Ensuite, j'ai tamonnée de manière aléatoire le fond avec deux tampons et deux encres differentes.

First, I primed the background with clear gesso. When done, I added some random stamping with different stamps and inks. 


Ensuite, j'ai coloré le fond avec deux encres. Une fois sec, j'ai ajouté un motif à l'aide d'un pochoir et de pâte à craqueler blanche que j'ai laissé sécher naturellement pour permettre aux craqueleures d'apparaître.

Next, I colored the background with two inks. When dry, I added a design with a stencil and white crackle paste that I let dry naturally to allow the cracks to appear.


Une fois la pâte séche, j'ai blanchi les zones colorées avec du gesso blanc pour atténuer la couleur. Puis, j'ai fait des taches avec une encre brune.

When the paste was dried, I dry brushed the colored areas with white gesso to tone down the color. Next, I splattered some brown ink. 


J'ai coupé quelques papiers pour mettre sous la photo avec de coller tous les embellissements.

I cut a few papers to add under the photo before gluing all the embellishments. 


Ensuite, j'ai ajouté des flocons de mica et des microbilles.

Next, I added some mica flakes and microbeads. 


Pour finir, j'ai ajouté quelques tamponnages ici et là.

To finish, I added some random stamping. 

Matériels / Materials:

Maja Design papers:

Vintage-Summer-Basics-P

1921

1910

1904 bs
Paper-Pad-Vintage-Summer-Basics
6x6 paper pad

Other products: 
  • Flowers - 49 and Market (Botanica Blends: Hazelnut, Garden Seeds: Sandcastle);
  • Stamps - 49 and Market (Pascale's Form, Gabi's Label, 1747);
  • Archival Board - 49 and Market (Remember Today Black);
  • Spray Inks - Lindy's Gang (Bodacious Blush, Open Arms Amethyst, Long John's Silver);
  • Stencil - Prima (Poppies);
  • Art ALchemy - Finnabair Prima (Wax: Brushed Iron);
  • Art Ingredients - Finnabair Prima (Mica Flakes: Gold Leaf, Microbeads: Bronze);
  • Art Extravagance - Finnabair Prima (White Crackle Paste);
  • Art Basics - Finnabair Prima (Clear Gesso, Heavy White Gesso, 3D Goss Gel, Soft Matte Gel).
 

Did you know Maja Design is on Social Media?

Pinterest: Did you know that Maja Design has a Pinterest Page? You can find it right here.
Facebook: You can follow us on Facebook right here and of course "LIKE" us.
Instagram: Maja also has an Instagram account – majadesigninsweden.
(Use the hashtag #majadesigninsweden or the tag @majadesigninsweden
with your Maja papers so we can find you.)
YouTubehttps://www.youtube.com/user/MajaDesignChannel

mercredi 21 mars 2018

Family Memories

Bonjour à toutes,

Aujourd'hui c'est un petit carton toilé que je vous propose avec les photos de mes arrières grand-parents paternels.

Hello Sweeties

Today, I have a little canvas to share with you with the photos of paternal great-grandparents.


J'ai commencé par appliquer une couche de gesso blanc. Ensuite, j'ai ajouté un motif à l'aide d'un pochoir et de pâte de papier.

First I primed the canvas with white gesso. Next, I added a design with a stencil and Paper texture paste.


Une fois sec, j'ai collé quelques embellissements : fleurs, pailles, Art Stones, Mechanicals, ... J'ai délicat peint avec du gesso certains embellissements.

When dry, I glued some embellishments: flowers, straws, Art Stones, Mechanicals, ... I dry brushed gesso over some of the embellishments.


Ensuite, j'ai ajouté un peu de couleurs avec des peintures acryliques métalliques. J'ai fini avec des tâches faites avec les mêmes peintures.

Next, I added some colors to the background with metallic acrylic paints. I finished with splatters of the same paints.


J'ai ajouté avec des tâches faites avec les mêmes peintures.

I added splatters of the same paints.


J'ai terminé en tamponnant ici et là avec une encre Archival grise.

I finished with some random stamping with a gray Archival ink.


Matériels / Materials:

Stamp - 49 and Market (Pascale's Form);
Stencil - TCW (Ceiling Tile 6x6);
Mechanicals - Finnabair Prima (Bottle caps, Pendants);
Art Ingredients - Finnabair Prima (Art Stones, Mega Art Stones);
Art Alchemy - Finnabair Prima (Soft Satin, Plum Preserves, White Pearl);
Art Extravagance - Finnabair Prima (Paper Texture Paste);
Art Basics - Finnabair Prima (White Heavy Gesso, Heavy Body Gel, Soft Matte Gel).

samedi 17 mars 2018

In between - 49 and Market DT

Bonjour à toutes,

Aujourd'hui je suis sur le blog de 49 and Market avec une nouvelle page réalisée avec la collection Captured Adventures.

Hello Sweeties

Today I'm up on 49 and Market blog with another layout featuring the Captured Adventures collection. 


Photo : Engin Akyurt

J'ai commencé par ajouter un motif à l'aide d'une encre grise et de tampon Flowery Tiles. Ensuite , j'ai ajouté une couche de Gesso transparent pour protéger le fond. Puis, j'ai ajouté une motif à l'aide de pâte papier et d'un pochoir.

First I used a gray ink and the Flowery Tiles stamp to add a design. Next, I primed the background with clear gesso. When done, I added a second design with a stencil and paper paste. 


Pendant que la pâte séchait, j'ai mélangé de la pâte à craqueler blanche avec deux pourdres Magicals: l'un beige, l'uatre saumon, pour obtenir une couleur simlaire à celle ces murs de la photo. J'ai utilisé cette pâte pour coloré le mur du set d'Archiva Board Love et je l'ai laissé sécher naturellement.

While the paste was drying, I mixed some white crackle paste with two Magicals: one beige, the other one salmon to obtain a color that match the one of the wall of the photo. I altered the stone wall from the Love Archival Board with the paste I've made and leave it to dry.


J'ai décupé quelques feuillages dans du papier aquarelle et je les ai coloré avec une poudre Magical verte ainsi que des Art Stones. J'ai utilisé la beige pour colorer les brins en chipboards.

I die cut some leaves in a watercolor paper and colored them with a green Magical as well as Art Stones. I used the beige one to color the sprig chipboard.


J'ai coupé quelques papiers pour mettre sous la photo et j'ai collé tous les embellissements : du sisal, le mur de brique, les fleurs Garden Seeds, les découpes de feuilles et les Art STones vertes.

I cut some papers to add under the photo and I glued all the embellishments: some sisal, the brick wall, the Garden seeds, the die cuts leaves, and the green Art Stones. 


Pour terminer la mise en page, j'ai ajouté des tâches d'encre de chine et quelques tamponnages avec les sets Captured Adventures.

To finish the layout I added some black splatter with a drawing ink and more stamping with the Captured Adventures stamp sets.


Matériels / Materials:

49 and Market products
CA-87452-6x6-Collection-Pack-Captured-Adventures
Capture Adventures
6x6 Paper Pack
CA-87391-Eclectic-Pieces
Capture Adventures
Ecletic Pieces
CA-87353-Far-Away-Land
Capture Adventures
Far Away Land
AB-86707 6x6 Archival Board - Love (White)
Archival Board
Love
CA-87469-Captured-Adventures-Stamp-Set-1
Capture Adventures
Stamp Set 1
CA-87476-Captured-Adventures-Stamp-Set-2
Capture Adventures
Stamp Set 2
PB-87490-Flowery-Tile-Stamp
Flowery Tile
Stamp
GS-86271 Garden Seeds - Poppy
Garden Seeds
Poppy

Other products:

  • Magicals - Lindy's Gang (Fuzzy Navel Peach, My Mojito Green, Clam Bake Beige);
  • Stencil - Stamper's Anonymous (Eye Chart);
  • Art Ingredients - Finnabair Products (Art Stones, Mega Stones, Mini Stones);
  • Art Extravagance - Finnabair Products (White Crackle Paste, Paper Paste);
  • Art Basics - Finnabair Products (Clear Gesso, 3D Matte Gel, Soft Matte Gel);


vendredi 16 mars 2018

Explored - 49 and Market DT

Bonjour à toutes,

Aujourd'hui je suis sur le blog de 49 and Market avec une page réalisée avec la collection Captured Adventures. J'ai choisi une autre photo de mon grand-père paternel prise pendant la seconde guerre mondiale.

Hello Sweeties

Today I'm up on 49 and Market blog with a layout featuring the Capture Adventures collection. I chose again a photo of my paternal grandfather taken during WWII.


J'ai commencé par tamponné ici et là avec une encre grise avec le tampon 1747. Puis, j'ai protégé le fond avec une couche de gesso transparent.

First I stamped randomly with a grey ink and the 1747 stamp. Next, I primed the background with clear gesso.


Une fois fini, j'ai ajouté un motif à l'aide d'un pochoir et de gel 3D. Pendant que le gel était encore humide, j'ai saupoudré deux poudres à embosser que j'ai embossé.

When done, I added a design with a stencil and 3D gloss gel. While the gel was still wet, I sprinkled two embossing inks and heat set them.


J'ai découpé quelques feuilles dans du papier aquarelle et je les ai colorées avec différentes encres.

I die cut some leaves in a watercolor paper. I colored them with different inks.


J'ai fait des tâches avec de l'encre de chine et j'ai collé du fils noir et di sisal.

I splattered the background with a black ink and, I glued some black thread and sisal.


J'ai coupé quelques papiers pour mettre sous la photo avant de coller tous les embellissements: quelques fleurs, des tickets de la feuille Laser Cuts, quelques embellissements métalliques. J'ai attaché la plaque titre avec de la ficelle.

I cut some papers to add under the photo before gluing all the embellishments: a few flowers, some tickets from the Laser cuts sheet, a few metallic embellishments. I used some jute cording to attach the plate.


Pour finir la mise en page, j'ai ajouté quelques tamponnages avec le set CAptured Adventures 2.

I finished the layout with more stamping with the Captured Adventures stamp set 2.


Matériels / Materials:

49 and Market products:

CA-87414-Explorer

Explore
CA-87438-Captured-Adventure-Laser-Cuts
Captured Adventures
Laser Cuts
CA-87452-6x6-Collection-Pack-Captured-Adventures

6x6 paper pack
CA-87476-Captured-Adventures-Stamp-Set-2
Captured Adventures
Stamp set 2
PB-87506-1787-Pascale-Stamp
1787
Stamp
VS-85984-Vintage-Shades-Cluster-Sage
Vintage Shades Cluster
Sage
RB-86325 Jute Cording - Single Ply
Jute Cording
Single Ply
Other products: 
  • Ink SPrays - Lindy's Gang (Green with Envy Green, Silent Night Silver);
  • Embossing Powders - Lindy's Gang (Orbilt Olive Green, C'est la vie Cerise);
  • Stencil - Finnabair Prima (Checker);
  • Mechanicals - Finnabair Prima (Wings, Mini Stars);
  • Art Ingredients - Finnabair Prima (Microbeads: Copper);
  • Art Basics - Finnabair Prima (Clear Gesso, 3D Gloss Gel, Soft Matte Gel).

Related Posts Plugin for WordPress, Blogger...