Today I'm up on 49 and Market blog with a set of mixed media cards. I used the Remnants mini collection with Ephemera and laser-cut from the Vintage Artistry Wedgewood collection.

I cut the Tapestry paper into four rectangles: two 15 x 15 cm and two smaller (14,5 x 14,5 cm). Before gluing the smaller piece on top of the bigger, I die cut some flowers in the middle.

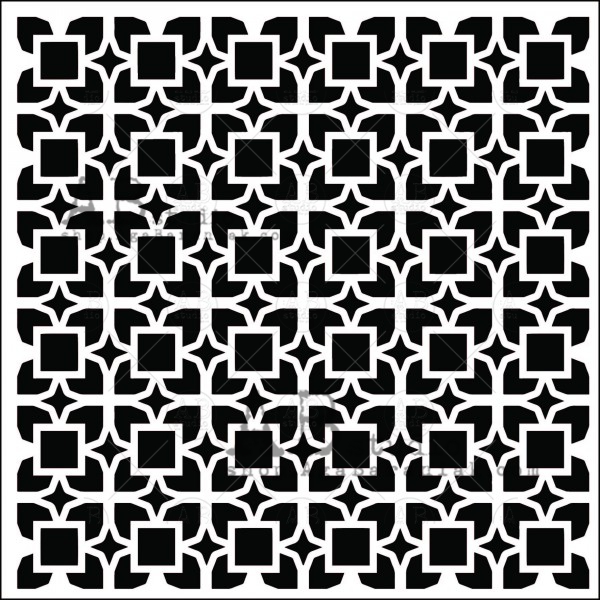
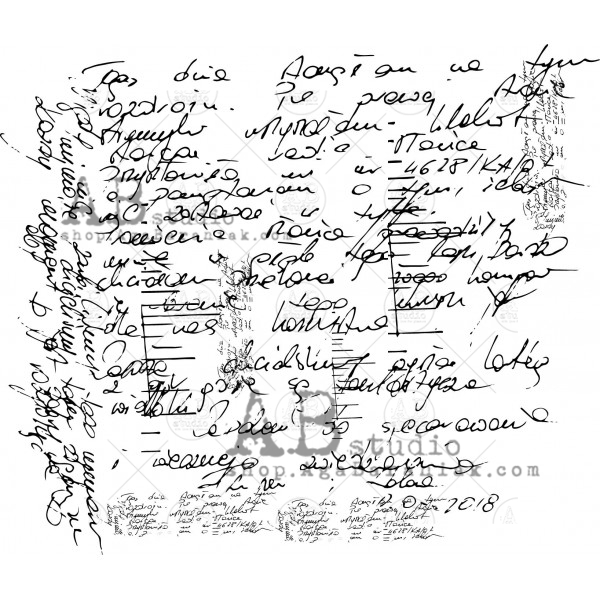
Next, I added some Rust Effect paste with a pallet knife. I add a piece of vellum paper that I've stamped with the Springtime Harmony stamp. I added also a design with modeling paste and a stencil.

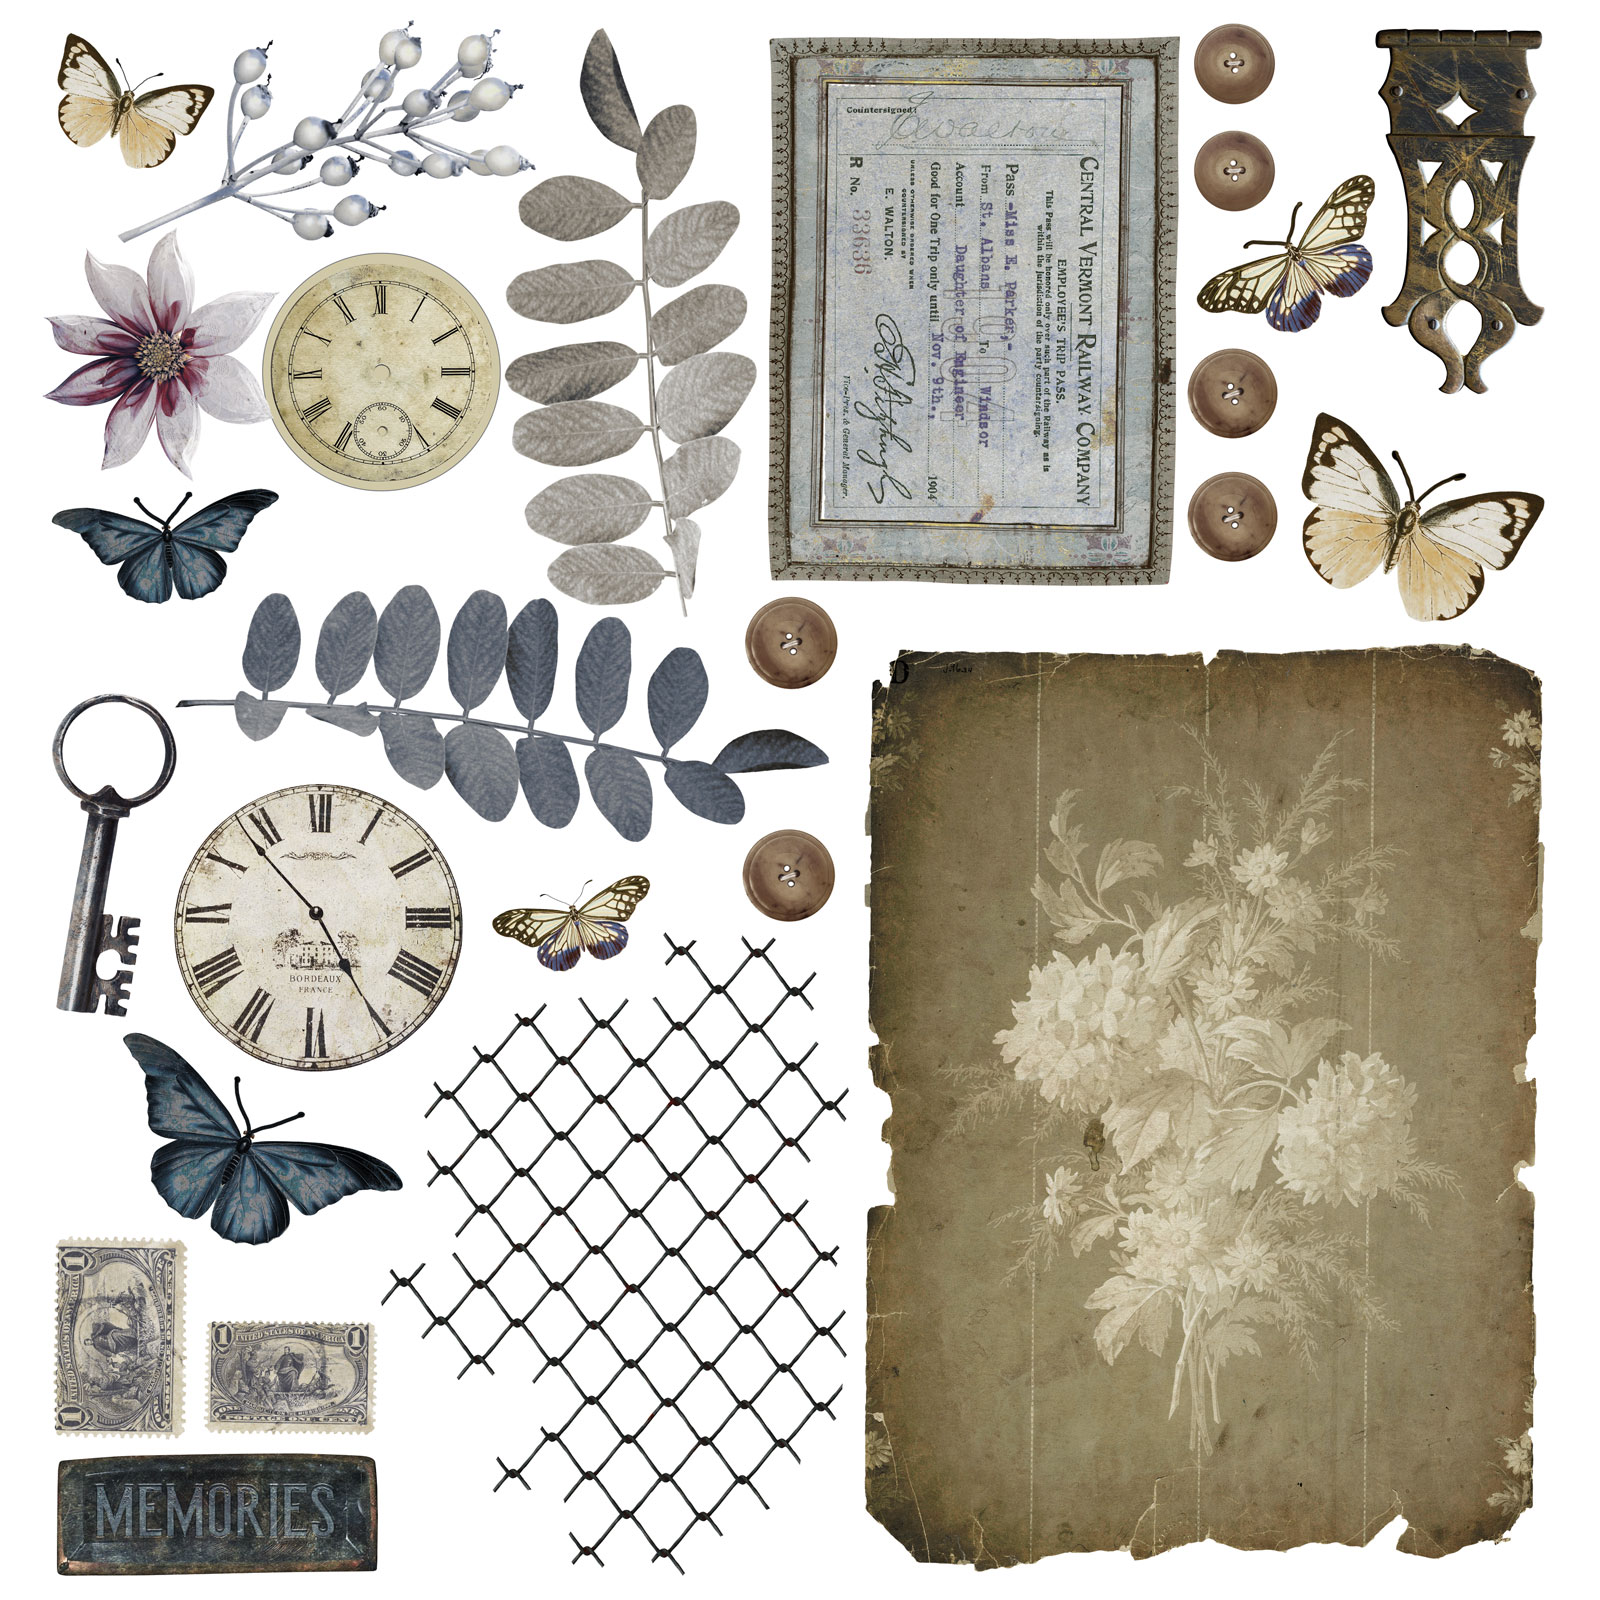
I added some elements from the Everyday Ephemera Stack and from the bonus laser-cut from the Remnants mini collection. I added also the die cuts I've made previously and frames that I embossed with a verdigris EP. The butterflies came from the Vintage Artistry Everyday Bonus laser-cut. The sentiments came from the strip at the bottom of the Tapestry page.

When happy with the composition, I added more colors with green and orange liquid acrylic that match the colors of the different elements. To finish, I added some glitter.

These cards were inspired by a video tutorial from Juliya Tirskaya
49 and Market products:
 Remnants Mini Collection Tapestry |
 Remnants Mini Collection Bonus Laser Cut |
 Vintage Artistry Wedgewood Bonus Laser Cut |
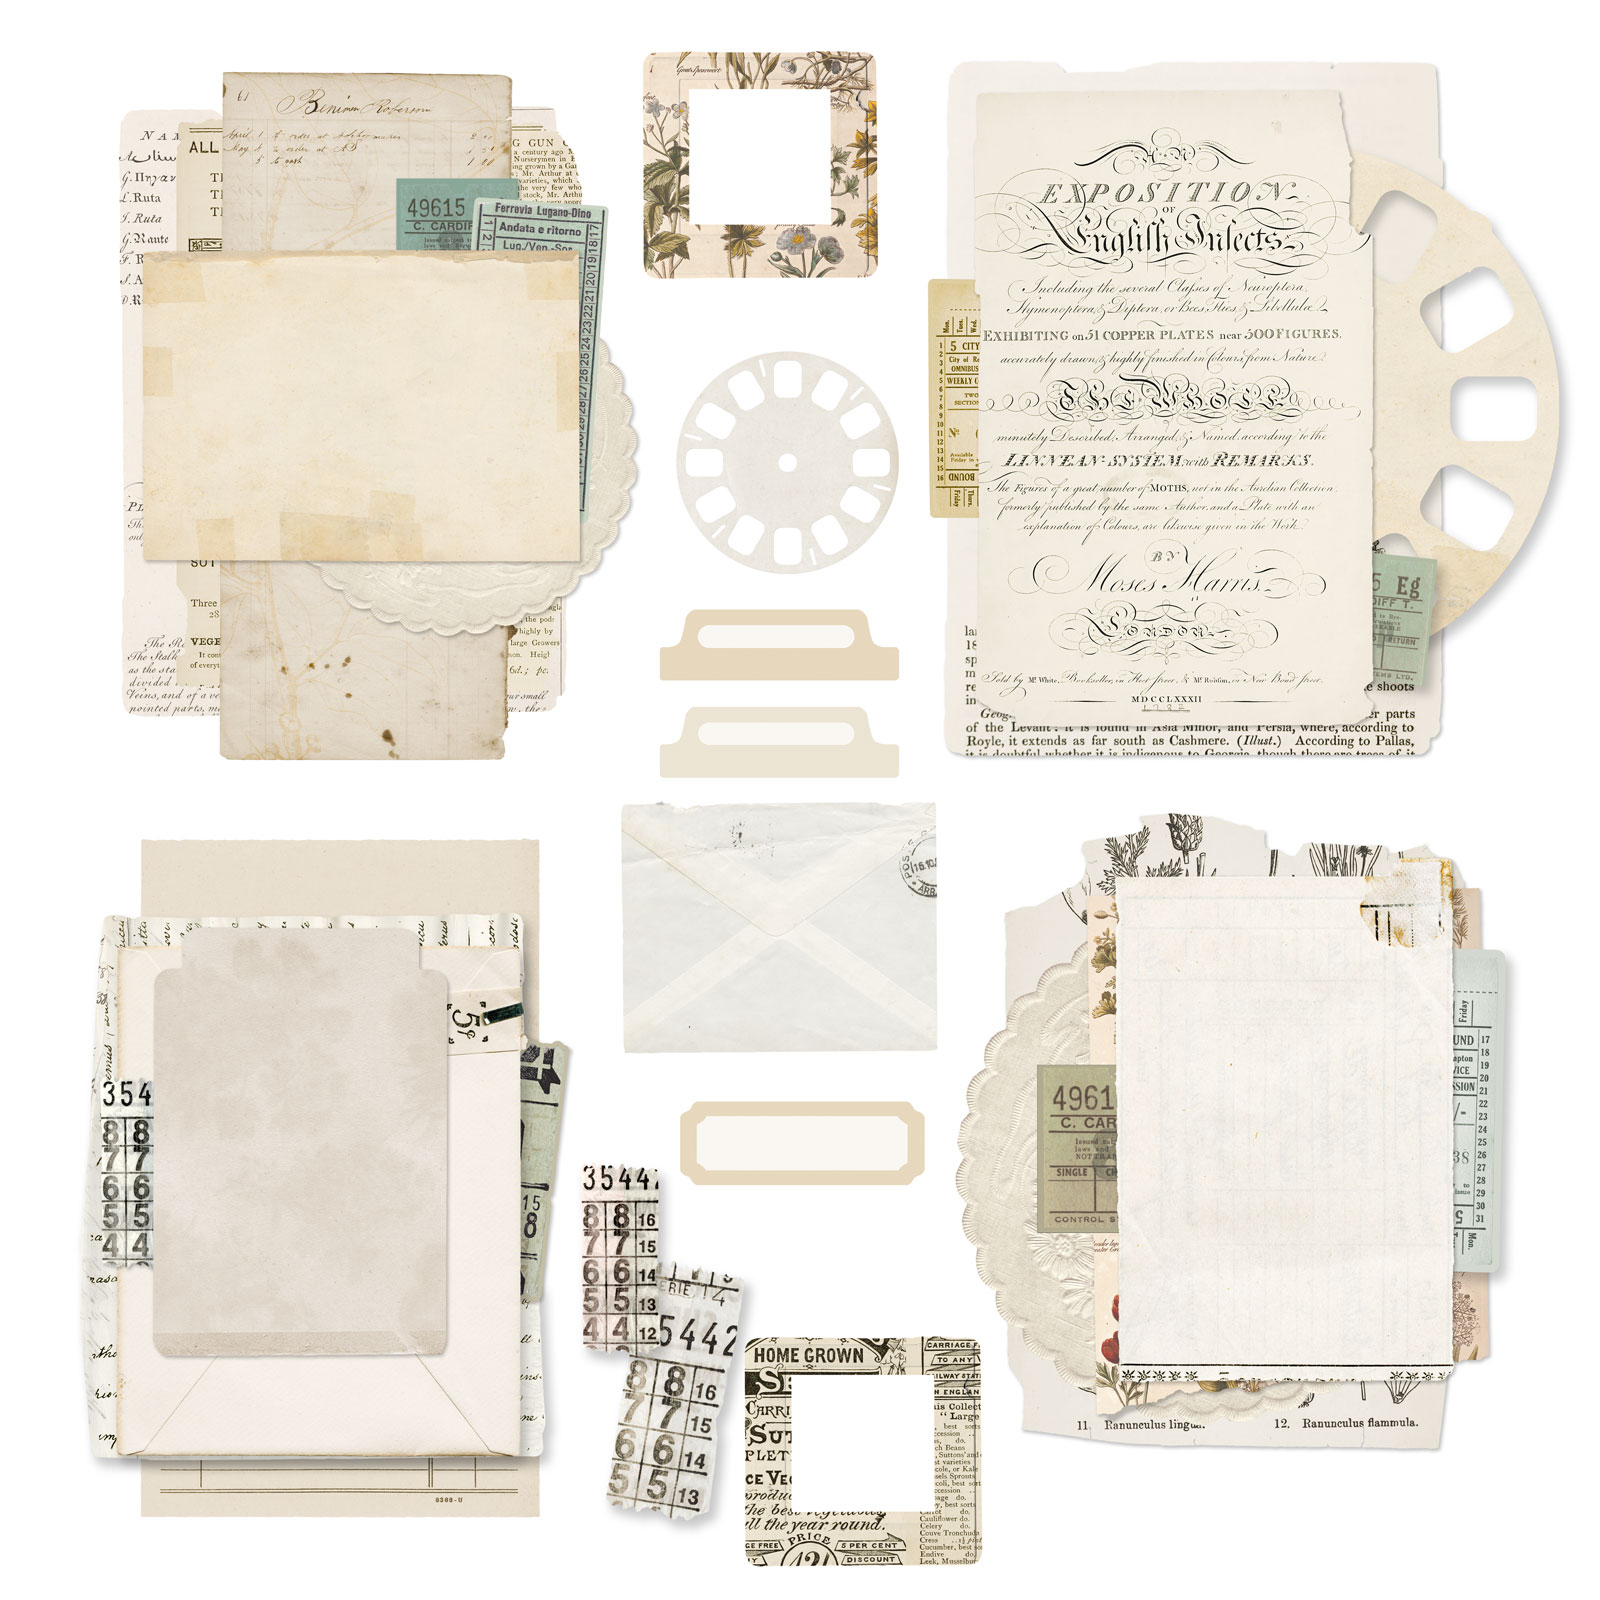 Vintage Artistry Everyday Ephemera Stack |
 Vintage Artistry Everyday Washi Tape |
 Springtime Harmony Stamp |
Thank you for your time! See you soon!