mardi 24 avril 2018

Perfect Picture - Lindy's Gang DT

Bonjour à toutes,

Aujourd'hui je suis sur le blog de Lindy's Gang avec une nouvelle page. J'ai choisi une autre photo de mon père quand il était chez les Scouts en 49.

Hello Sweeties

Today I'm up on Lindy's Gang blog with a new layout. I chose another photo of my father while he was with the Scouts in 49. 


J'ai commencé par tamponner le fond avec plusieurs tampons et deux encres. Une fois contente du résultat, j'ai protégé le fond avec du gesso transparent.
J'ai ajouté un motif à l'aide d'un pochoir et l'encre Incandescent Copper. Ensuite, j'ai légérement déplacé le pochoir avant d'ajouter une deuxième couleur avec Time Travel Teal.

First I stamped the background with several stamps and two inks. When happy with the result, I primed the background with clear gesso.
I added a design with a stencil and the Incandescent Copper ink. Next, I moved the stencil slightly and I added a second color with the Magical Time Travel Teal.


J'ai terminé le « coloriage » avec des tâches des deux couleurs et j'ai séché.
J'ai ajouté un deuxième motif à l'aide d'un autre pochoir et de gel 3D brillant que j'ai saupoudré avec deux poudres à embosser: Silver Moon SMistletoe et C'est la vie Cerise.


I finished the coloring with splatters of both colors and I dried.
I added a second design with another stencil and 3D Gloss Gel. I sprinkled the wet gel with two embossing powders: Silver Moon Mistletoe and C'est la vie Cerise. 


Une fois les poudres à embosser onté été embossées, j'ai remis le pochoir en place et j'ai ajouté de la pâte à craqueler blanche. J'ai laissé sécher naturellement pour permettre aux craquelures d'apparaître.
Pendant ce temps, j'ai découpé des brindilles dans du papier aquarelle. Je les ai colorées avec les couleurs Incandescent Copper, Time Travel Teal et My Mojito Green.

When the embossing powders were heat set, I put my stencil back in place and I added white crackle paste. I let dry naturally to allow the crackle to appear.
In the meantime, I die cut some wild stems in a watercolor paper. I colored them with Incandescent Copper, Time Travel Teal an My Mojito Green.


J'aijouté qulques découpes laser sous la photo. Ensuite, j'ai commencé ma composition. J'ai collé du sisal avant d'ajouter des fleurs, les découpes et des « pebbles ».
Pour terminer la mise en page, j'ai ajouté des Art Stones que j'ai coloré avec Time Travel Teal et Incandescent Copper.

I added a few laser cuts under the photo. Next, I start building my composition. I glued some sisal before adding flowers, the die cut stems, and some pebbles.
To finish the layout, I added some stones 
I've colored with Time Travel Teal and Incandescent Copper.


Et voici la vidéo :

The step-by-step video:
https://youtu.be/hQ8L_uNr-7s


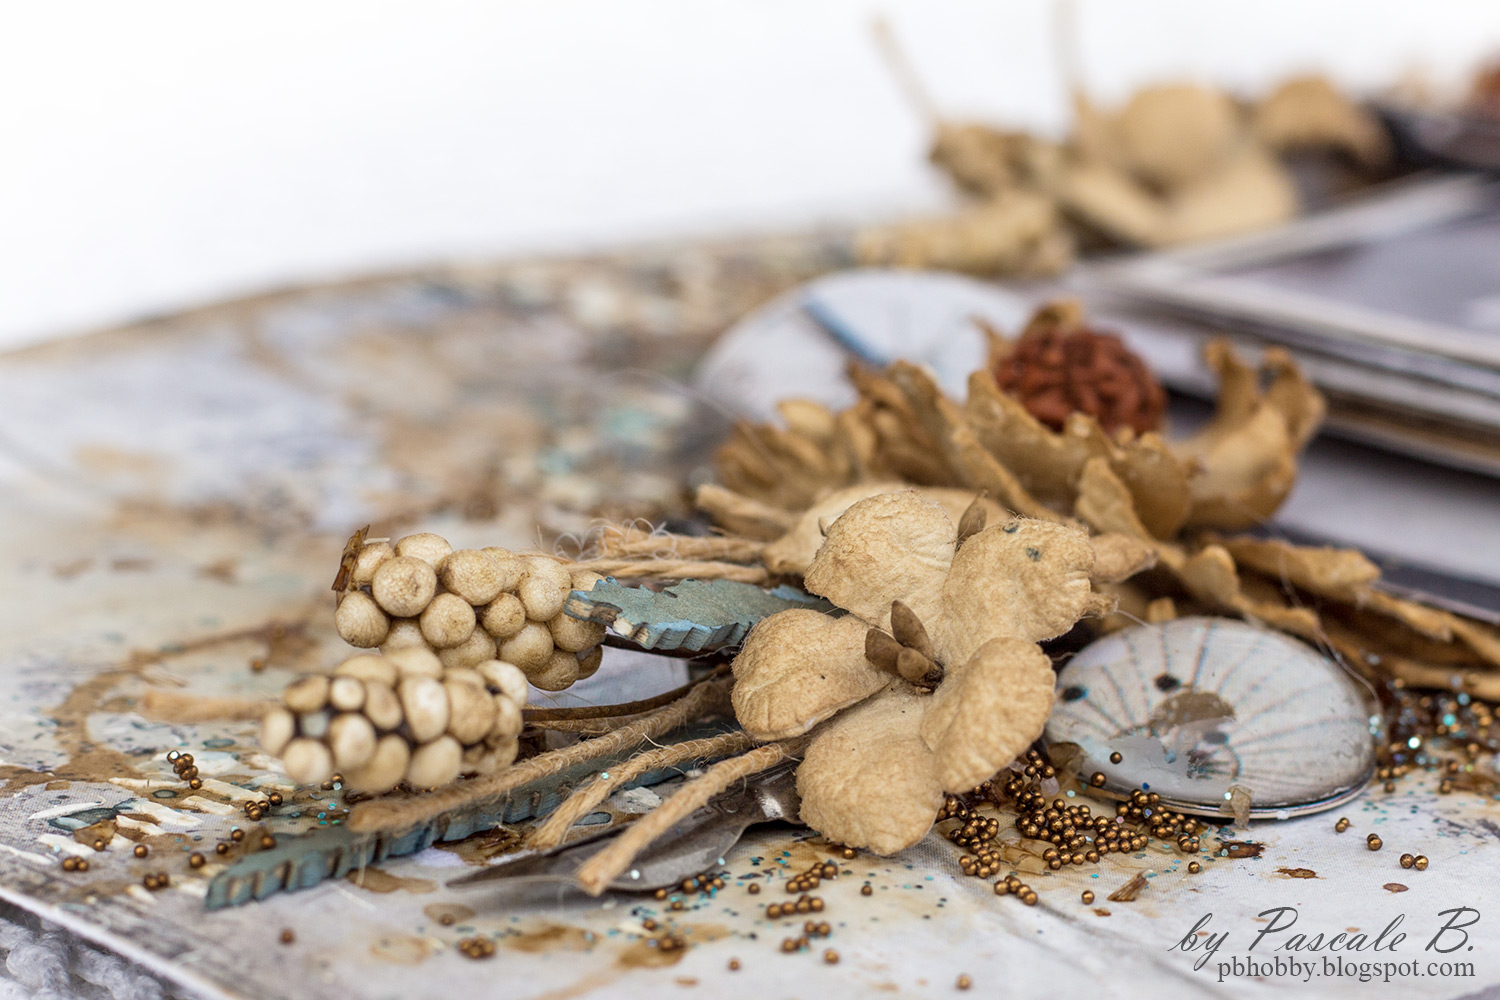
Et voici quelques gros plans :

And here are some close-ups:


Matériels / Materials:

Lindy's Gang products:
Other products:
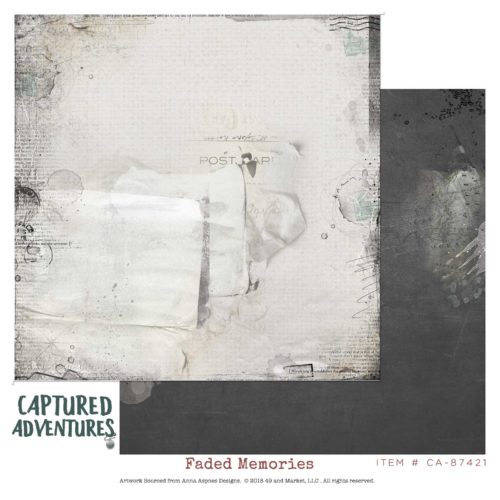
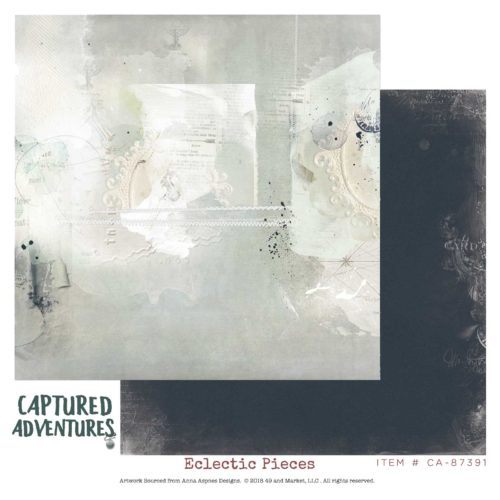
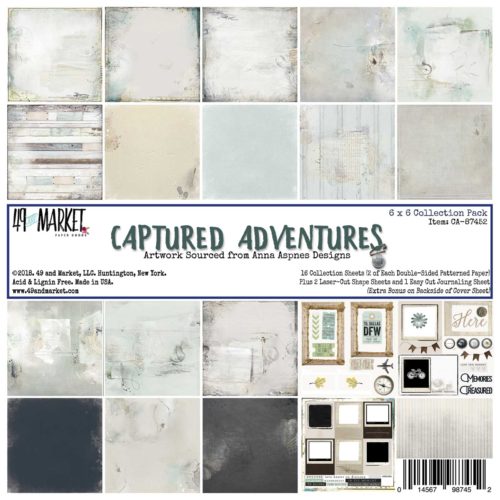
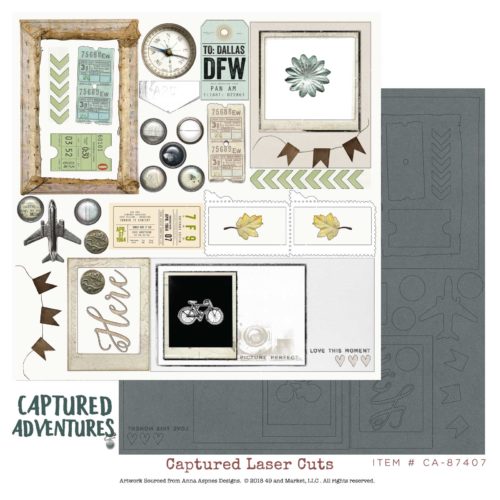
  • Papers - 49 and Market (Captured Adventures: Wander Aimlessly, Laser Cut);
  • Flowers - 49 and Market (Botanical Potpourri: Blue);
  • Stamps - 49 and Market (Captured Adventures Stamp Set 1 and Set 2, 1787);
  • Stencil - Stampers Anonymous (Blocks Layering);
  • Stencil - Prima (Sparks);
  • Art Ingredients - Finnabair Prima (Art Stones, Micro Stones, Mega Stones, Pebbles);
  • Art Extravagance - Finnabair Prima (White Crackle Paste);
  • Art Basics - Finnabair Prima (Clear Gesso, 3D Gloss Gel, Soft Matte Gel).

dimanche 22 avril 2018

Explore - Maja Design DT

Bonjour à toutes,

Aujourd'hui je suis sur le blog de Maja Design avec une nouvelle page réalisée avec la collection Vintage Summer Basic. Et le bout de chou sur la photo, c'est ma maman quand elle n'avait que 19 mois.

Hello Sweeties

Today I'm up on Maja Design blog with a new layout featuring the Vintage Summer Basic collection. And the cutie on the photo is my mom when she was 19 months old.


J'ai tamponné le fond avec deux tampons et deux encres Archival ; une noire, l'autre marron. Ensuite, j'ai protégé le fond avec du gesso transparent.

I stamped the background with two stamps and two Archival inks: one black, the other brown. Next, I primed the background paper with clear gesso.


J'ai coloré le fond avec différentes encres brunes et corails. Une fois sec, j'ai ajouté une motif à l'aide d'un pochoir et de pâte à craqueler blanche. Je l'ai laissé sécher naturellement.

I colored the background with different coral and brown inks. When dry, I added a design with a stencil and white crackle paste. I set it aside to dry naturally.


Pendant ce temps, j'ai découpé des feuilles et des fleurs dans du papier aquarelle. J'ai coloré les feuilles avec des encres brunes et vertes, mais j'ai laissé les découpes de fleurs blanches.

In the meantime, I die cut some leaves and flowers in a watercolor paper. I colored the leaves with brown and green inks and I kept the die cut flowers white. 


J'ai coloré le bord des pétales des roses avec une encre corail. Puis j'ai vaporisé de l'eau pour que la couleur diffuse.

I colored the edges of the petal's roses with a coral ink. Then I sprayed water to allow the ink to fuse. 


J'ai coupé quelques papiers pour mettre sous la photo. Puis j'ai collé du sisal avant de coller papiers et photo et tous les embellissements.

I cut a few papers to add under the photo. I glued some sisal before gluing papers and photo and all the embellishments.  


Pour terminer la mise en page, j'ai ajouté des perles de rocailles crital et des microbilles argent.

To finish the layout, I added crystal glass beads and silver microbeads.

Matériels / Materials:

Maja Design papers:


Vintage-Summer-Basics-P

1946

1910

Minnen
Paper-Pad-Vintage-Summer-Basics
6x6 Paper Pad

Other products:
  • Flowers - WOC (White Tuscany Roses, White Tuscany Rosebuds);
  • Stamps - 49 and Market (1787, Gabi's Tile);
  • Spray inks - Lindy's Gang (Wild Honeysuckle Coral, Cocklebells Coral, Sea Grass Green);
  • Magical - Lindy's Gang (Bratwurst Brown, Cowabunga Copper, Incandescent Copper);
  • Die - Memory Box (Fine Cut Leaves, Botanical Stem);
  • Die - Prima (Flowers);
  • Art Ingredients - Finnabair Prima (Microbeads: silver, Glass Beads: Crystal);
  • Art Extravagance - Finnabair Prima (White Crackle Paste);
  • Art Basics - Finnabair Prima (Clear Gesso, 3D Gloss Gel, Soft Matte Gel).


Did you know Maja Design is on Social Media?

Pinterest: Did you know that Maja Design has a Pinterest Page? You can find it right here.
Facebook: You can follow us on Facebook right here and of course "LIKE" us.
Instagram: Maja also has an Instagram account – majadesigninsweden.
(Use the hashtag #majadesigninsweden or the tag @majadesigninsweden
with your Maja papers so we can find you.)
YouTubehttps://www.youtube.com/user/MajaDesignChannel

mercredi 18 avril 2018

Imagine - Lindy's Gang and StencilGirl Blog Hop

Bonjour à toutes,

Aujourd'hui je suis sur les blogs de Lindy's Gang et de StencilGirl's avec un nouveau projet: un chassis.

Hello Sweeties

Today I'm up on Lindy's Gang blog and StencilGirls blog with a new project: a canvas. 


Un heureux gagnant recevra non seulement un bon d'achat de 25 $ de Lindy's Gang, mais aussi un bon de 25 $ de StencilGirl !
Pour avoir une chance de gagner, laisser un commentaire ci-dessous.
Ensuite visiter chacun des autres blogs du " blog hop" et laisser un commentaire.
Plus vous visiter de blog, plus vous aurez de chance de gagner  !
Un gagnant sera choisi au hasard parmi l'ensemble des commentaires de tous les blogs
(un seul commentaire par blog s'il vous plaît).
Vous avez jusqu'au mardi 24 avril 23:59 Central Time (mercredi 25 avril 6h59 heure française).
Le gagnant sera annoncé sur les pages Facebbok de StencilGirl's et de Lindy's Gang Mercredi 25 avril (Jeudi 26 avril heure française).

One lucky winner will receive both a $25 Gift Certificate to Lindy’s Gang
AND a $25 Gift Certificate to StencilGirl Products!
Enter to win by leaving a comment below.
Then be sure to visit the other blogs in the hop and comment to win.
The more blogs you comment on, the more chances you have to WIN!
One winner will be chosen at random from all blog comments!
(One comment per blog please.)
You have until Tuesday, April 24th at 11:59PM Central Time to leave your comments.
Winner will be announced on
StencilGirl's Facebook page and Lindy’s Gang’s Facebook page on Wednesday, April 25.


J'ai commencé par passer une couche de gesso blanc sur le fond. Une fois sec, j'ai tamponné un design avec une encre Archival noire. Ensuite, j'ai ajouté un premier motif avec le pochoir Decorative Folk Flower Screen et de la paâte de papier. J'ai ajouté le même motif sur un morceau de carton recouvert de morceau de tissu.

First I primed the background with white gesso. When done, I stamped a design with an black Archival ink. Next, I added the first design with the Decorative Folk Flower Screen stencil with paper paste. I added the same design on a small piece of cardstock covered with linen.


Une fois la pâte de papier séche, j'ai ajouté un second motif avec le pochoir Tri-textured Sheet Metal et de gel 3D brillant. Pendant que le gel était encore humide, j'ai saupoudré deux poudres à embosser : Orbit Olive Gold et C'est la vie Cerise.

When the paper paste was dried, I added the second design with the Tri-Textured Sheet Metal stencil and 3D gloss gel. While the gel was still wet, I sprinkled two embossing powders: Orbit Olive Green and C'est la vie Cerise.


J'ai coloré le morceau de carton avec des encres avant de le coller sous le cadre en résine : c'est ma piéce centrale. Puis, j'ai commencé ma compositions autour du cadre. Une fois fini, j'ai peint tous les éléments avec du gesso blanc.

I colored the small piece of cardstock with inks before gluing it under the resin frame. This was my central piece. Then, I built my composition around the frame with the hand. When I was done, I painted all the elements with white gesso.


J'ai également ajouté des Art Stones pour combler les trous avant  d'ajouter de la couleur aux divers éléments avec des encres et des poudres Magicals.

I added also some Art Stones to fill some blank spaces before adding some colors to the various elements with different inks and Magicals. 


Pour finir la mise en page, j'ai ajouté quelques tamponnages ici et là avec un tampon texte.

To finish the layout, I added some random stamping with a text stamp. 


One lucky winner will receive both a $25 Gift Certificate to Lindy’s Gang
AND a $25 Gift Certificate to StencilGirl Products!
Enter to win by leaving a comment below.
Then be sure to visit the other blogs in the hop and comment to win.
The more blogs you comment on, the more chances you have to WIN!
One winner will be chosen at random from all blog comments!
(One comment per blog please.)
You have until Tuesday, April 24th at 11:59PM Central Time to leave your comments.
Winner will be announced on
StencilGirl's Facebook page and Lindy’s Gang’s Facebook page on Wednesday, April 25.

Blog Hop Order:

April 18

Mary Beth Shaw
Gwen Lafleur
Mary C. Nasser
Debi Adams
Tina Walker
Kate Palmer
Cindy Wille
Natalie May
Pascale B.
Anat Weksler
Nirvana
Elena Martynova

April 19

Belen Sotelo
Cindy Gilstrap
Kiala Givehand
Torrie Gass
Janet Joehlin
Valerie Ouellet
Aga Baraniak
Sivan Amedi
Aleksandra Mihelič
Asia Marquet
Phoebe Tonosaki
Caroline Parent

April 20

Carol Baxter
Sandee Setliff
Karen Gaunt
Louise Nelson
Sherry Canino
Kerry Fellowes
Yulianna Efremova
Kasia Bogatko-Skoczypiec
Olga Bielska
Olga Ravenskaya


Matériels / Materials:

Lindy's Gang products:


Open Arms Amethyst
Open Arms Amethyst
Jazzy Jivin' Purple
Jazzy Jivin'Purple
Long John's Silver
Long John's Silver
Shabby Turbine Teal
Shabby Turbine Teal
Orbit Olive Gold
Orbit Olive Gold
C'est la vie Cerise Embossing Powder
C'est la vie Cerise

StencilGirl products:

Decorative Folk Flower Stencil by Gwen Lafleur
Decorative Folk Flower Screen
Tri-Textured Sheet Metal Stencil by Kristie Taylor
Tri-textured Sheet Metal

Other products:
  • Flowers - 49 and Market (Basic Roses: Alabaster);
  • Stamps - 49 and Market (Flowery Tiles, 1787);
  • Archival inks - Ranger (Jet Black, Watering Can);
  • Archival Cast - Prima (Ancient Heart);
  • Mechanicals - Finnabair Prima (Flowers);
  • Art Ingredients - Finnabair Prima (Art Stones, Mega Stones, Pebbles);
  • Art Extravagance - Finnabair Prima (Paper Texture Paste);
  • Art Basics - Finnabair Prima (Heavy White Gesso, 3D Gloss Gel).


vendredi 13 avril 2018

49 and Market - 2018 Design Team

Bonjour à toutes,

Voici la nouvelle équipe créative de 49 and Market. Et je suis super heureuse de toujors en faire partie.

Hello Sweeties,

Here is the new 49 and Market's design team. And I'm truly happy to still be part of it.


Amy Voorthuis - Neetherland - http://amyvoorthuis.blogspot.com
Anguree Jansen Van Rensburg - Australia - http://www.anguree.blogspot.com/
Caroline Elliam - Canada - http://creationselliam.blogspot.com/
Di Garling - Australia - http://discreativespace.blogspot.com/
Helly Hall - Australia - http://scrapcited-girlsrule.blogspot.com/
Juliya Kravets - Ukraine - http://vitaya-v-oblakah.blogspot.com/
Julya Ost - Russia - http://juliaost-scrapkor.blogspot.com/
Olya Kravets - Ukraine - http://happiness-art.blogspot.com/
Pascale B. - France http://pbhobby.blogspot.com/
Rachelle Sigurdson - Canada - http://rachiebabe56.blogspot.com
Sivan Amedi - Israël - http://mylittlecraftystudio.blogspot.com/
Tina ollett - Australia - http://tinamarie-foreverandalways.blogspot.com/

jeudi 12 avril 2018

Enjoy the journey - 49 and Market DT

Bonjour à toutes,

Aujourd'hui je suis sur le blog de 49 and Market avec une nouvelle page réalisée avec la collection Captured Adventures. J'ai choisi une photo de mon grand-père paternel cette fois.

Hello Sweeties

Today I'm up on 49 and Market blog with another layout featuring the Captured Adventures collection. I chose a photo of my paternal grandfather this time. 


Comme d'habitude j'ai commencé par protéger le fond avec du gesso transparent. Ensuite, j'ai tamponné le fond avec les tampons 1787 et Bohemian Damask.

As always I primed the background with clear gesso first. Next, I stamped the background with the 1787 stamp and the Bohemian Damask stamp.  


Ma prochaine étape a été d'ajouter de la couleur, j'ai utilisé un café bien corsé, j'ai séché, ajouté des tâches, séché encore, ajouté des tâches avec des bouchons de tailles différentes, et séché une fois de plus avant d'ajouter des tâches avec une encre bleue.

My next step was to add some color: first, I used a strong coffee, I dried, added some splatters, dried again, added some stains with different sizes of bottle caps, and dried again before adding some blue splatters. 


Une fois l'ensemble sec, j'ai ajouté un motif à l'aide d'un pochoir et de pâte à craqueler blanche. pendant que la pâte séchait, j'ai coloré les fleurs avec le café et les chipboards brindilles avec l'encre bleue.

When everything was dry, I added a design with a stencil and white crackle paste. While the paste was drying, I colored the flowers with the coffee and the chipboard stems with the blue ink. 


J'ai coupé quelques éléments des feuilles Laser cuts 12x12 et 6x6  et je les ai collés sous des pebbles de différentes tailles.

I cut some of the Laser cut elements from the 12x12 and the 6x6 laser cut sheets and glued them to different sizes of pebbles. 


J'ai coupé quelques papiers pour mettre sous la photo ansi qu'un polaroïd de la feuille Laser cut. Ensuite, j'ai collé tous les embellissements avec un gel 3D.

I cut some papers to add under the photo as well as a polaroid frame from the Laser cut sheet. Next, I glued all the embellishments with a 3D gel.


Pour terminer la mise en page, j'ai ajouté des glitters colorés avec du café et des microbilles.

To finish the layout, I added some glass glitters colored with the coffee and microbeads.

Matériels / Materials:

49 and Market products:

CA-87421-Faded-Memories
Captured Adventures
Faded Memories
CA-87391-Eclectic-Pieces
Captures Adventures
Eclectic Pieces
CA-87452-6x6-Collection-Pack-Captured-Adventures
Captured Adventures
6x6 Pack
CA-87438-Captured-Adventure-Laser-Cuts
Captured Adventures
Laser cut sheet
PB-87506-1787-Pascale-Stamp
1787
Stamp
PB-87483-Bohemian-Damask-Stamp
Bohemian Damask
Stamp
BB-86929-Botanical-Blends-Buttermilk
Botanical Blends
Buttermilk
RB-86325 Jute Cording - Single Ply
Jute Cording
Single Ply
AB-86714 6x6 Archival Board - Wild and Free (White)
6x6 Archival Board
Wild and Free

Other products:
  • Spray ink - Lindy's Gang (Whale Watch Blue);
  • Stencil - Stamper's Anonymous (Measured);
  • Embellishment - Prima (Angel Wings, Wings, Steampunk Air);
  • Embellishments - Idea-ology (Pen Nibs);
  • Art Ingredients - Finnabair Prima (Pebbles, Glass Glitter: Pearl; Microbeads: Bronze);
  • Art Extravagance - Finnabair Prima (White Crackle Paste);
  • Art Basics - Finnabair Prima (Clear Gesso, 3D Gloss Gel, Soft Matte Gel).


Related Posts Plugin for WordPress, Blogger...