Bonjour à toutes,
Aujourd'hui je suis sur le blog de 49 and Market avec une nouvelle page réalisée avec la collection Tattered Garden. J'ai choisi une photo de mon grand-pére maternel avec ses élèves prise juste avec la seconde guerre mondiale.
Hello Sweeties
Today I'm up on 49 and Market blog with a new layout featuring the collection Tattered Garden. I chose a photo of my maternal grandfather with his pupils taken just before WWII.
J'ai commencé par protéger le fond avec du gesso transparent. Ensuite, j'ai mélangé du curcuma avec du gel 3D brillant. J'ai ajoué un premier motif à l'aide d'un stencil et de cette pâte jaune.
I primed the background with clear gesso. Next, I mixed some Curcuma and 3D gloss gel. I added the first design with a stencil and this yellow paste.
Pendant que le fond séchait, j'ai préparé une deuxième pâte avec des graines de pavot et du gel 3D brillant. J'ai utilisé cette pâte pour ajouter un second motif avec un autre pohoir.
While it was drying, I prepared a second paste with the 3D gloss gel and poppy seeds. I used this paste to add a second design with another stencil.
While it was drying, I prepared a second paste with the 3D gloss gel and poppy seeds. I used this paste to add a second design with another stencil.
Une fois sec, j'ai ajouté de la couleur avec une encre verte et une encre bleue. J'ai séché les encres avant d'ajouter des tâches avec du thé.
When everything was dry, I added some color with a green ink and a blue ink. I dried the inks before adding some tea stains.
When everything was dry, I added some color with a green ink and a blue ink. I dried the inks before adding some tea stains.
J'ai coloré les chipboards avec une encre or et de l'encre de chine. J'ai décupé des brindilles dans un papier aquarelle que j'ai coloré avec une cire brune-verte.
I colored the chipboard with a white gold wax and a drawing ink. I die cut some stems in a watercolor paper which I colored with a brown-green wax.
I colored the chipboard with a white gold wax and a drawing ink. I die cut some stems in a watercolor paper which I colored with a brown-green wax.
J'ai découpé des papiers pour mettre sous la photo. Avant de coller tous les embellissements, j'ai tamponné ici et là avec les tampons 1787 et Captured Adventures set 1.
I cut some papers to add under the photo. Before gluing all the embellishments, I added some random stamping with the 1787 stamp and the set 1 of Captured Adventures.
I cut some papers to add under the photo. Before gluing all the embellishments, I added some random stamping with the 1787 stamp and the set 1 of Captured Adventures.
Pour finir la mise en page, j'ai ajouté des microbilles ainsi que des tâches avec diverses encres: blue, verte et noire.
To finish the layout, I added some microbeads as well as splatters of the different inks: blue, green and black.
To finish the layout, I added some microbeads as well as splatters of the different inks: blue, green and black.
Matériels / Materials:
49 and Market products:
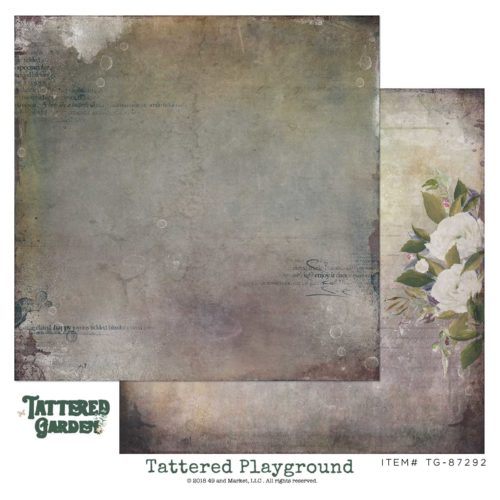 Tattered Garden Tattered Playground | 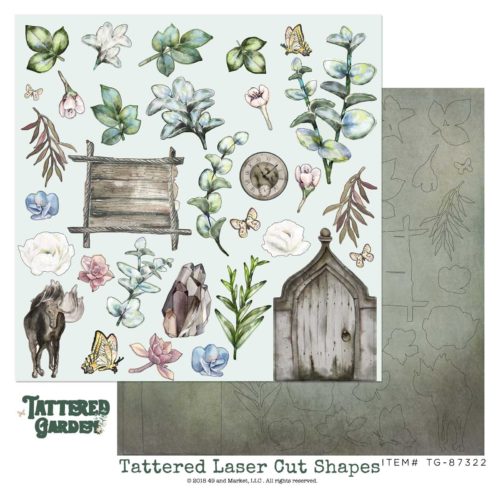 Tattered Garden Tattered Laser Cut | 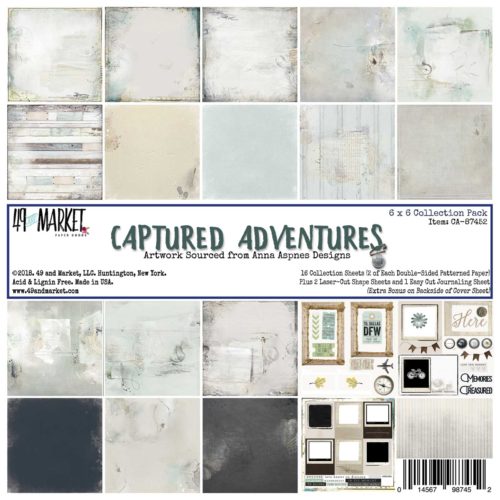 Captured Adventures 6x6 | |
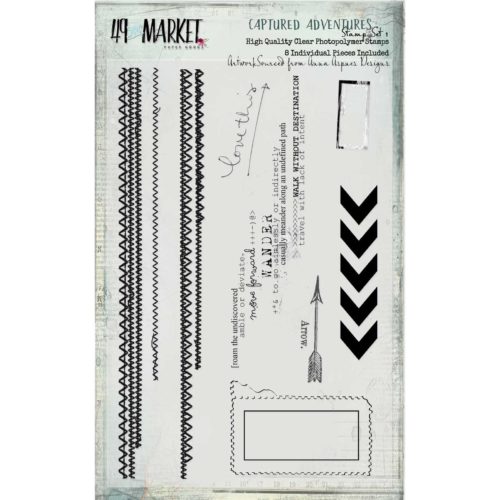 Captured Adventures Stamp set 1 | 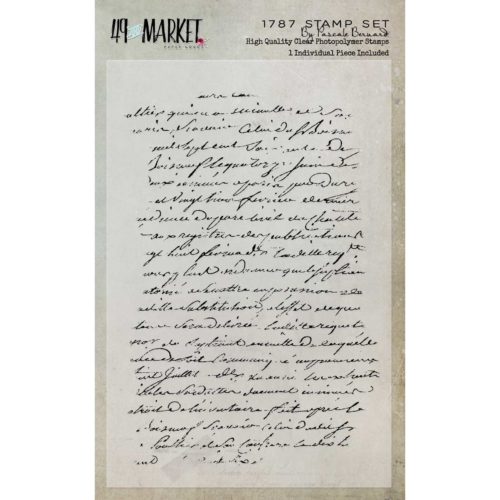 1787 Stamp | 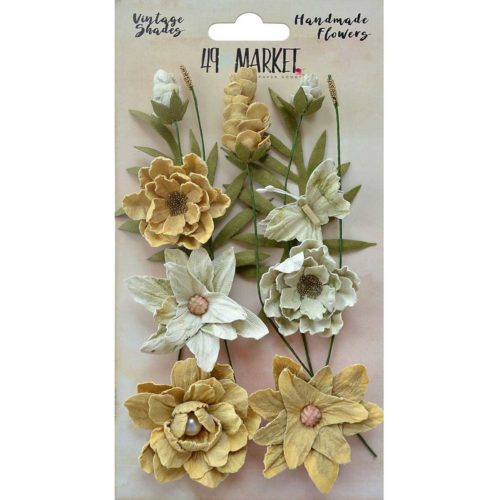 Vintage Shades Cluster - Yellow | 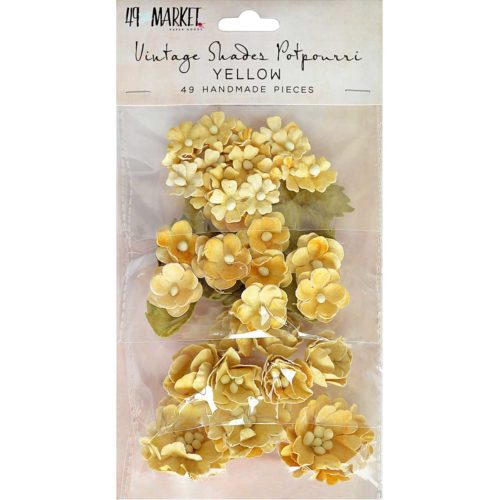 Vintage Shades Potpourri - Yellow |
Other products:
- Spray inks - Lindy's Gang (My Mojito Green, Blue Hawaiian Blue);
- Chipboard - Dusty Attic (Number Grid small);
- Die - Memory Box (Wild Prairie Stem^);
- Stencil - TCW (Believe Script 12x12);
- Stencil - Finnabair Prima (Alpha);
- Art Ingredients - Finnabair Prima (Microbeads: Bronze, Pollen);
- Art Alchemy - Finnabair Prima (Waxes: White Gold, Lucky Emerald);
- Art Basics - Finnabair Prima (Clear Gesso, 3D Gloss Gel, Soft Matte Gel).


Ton tuto me donne faim...LOL très belle page
RépondreSupprimertu le vois là que je bave devant cette page et cette photo aussi!!!!
RépondreSupprimermagnifique page , merci pour le pas a pas
RépondreSupprimer