Affichage des articles dont le libellé est Dusty Attic. Afficher tous les articles

vendredi 4 juin 2021

Imagine - Mixed media canvas for Dusty Attic DT

Hello Sweeties,

Today I'm up on Dusty Attic blog with a new mixed media canvas. 


First, I primed the canvas with white gesso. Next, I started to add some color with Burnt Sienna and Black liquid acrylic paints. When dry, I added a design with the Lace stencil and the Burnt Amber.  


Next, I mixed some Paper Paste with the Burnt Sienna paint and applied the paste with a pallet knife randomly. I added here and there some metallic flakes. Finally, I stamped some text with black Archival ink and added some clear crackle paste. 


While the crackle paste was drying, I primed all the chipboards with white gesso. Then I painted them with the Burnt Sienna paint. I continued with waxes: first Red Amber, next Charcoal Black. 


When the crackle paste was completely dry, I colored it with Burnt Sienna and Black paints to reveal the cracking. I glued all the chipboards to mimic the headdress from the photo. 


I added some touch of Old Silver and White Gold to highlight the chipboards. I added some Violet and Prussian Blue paint to the background.


To finish, I added some glitters. 

Matériels / Materials:

Dusty Attic products:


Lace Stencil
DA1310

Doodads #6
DA1403

Boho Skull
DA1733

Feathers by Nuneka
DA2733

Scroll #2
DA0215

Wings #2
DA0500

Wordpl@y #2 Black
DA1786


Other products:
  • Stamp - Stampers Anonymous (Entomology);
  • Art Ingredients - Finnabair Prima (Metallic Flakes: Steampunk);
  • Waxes Art Alchemy - Finnabair Prima (Charcoal Black, Red Amber, White Gold, Old Silver);
  • Liquid Acrylics Art Alchemy - Finnabair Prima (Burnt Sienna, Ink Black, Violet, Prussian Blue);
  • Art Extravagance - Finnabair Prima (Clear Crackle Paste, Gilding Glue);
  • Art Basics - Finnabair Prima (White Heavy Gesso, 3D Matte Gel, Soft Gloss Gel).

jeudi 24 décembre 2020

Embrace Your Journey - Mixed media layout for 49 and Market DT

Bonjour à toutes,

Aujourd'hui je suis sur le blog de 49 and Market avec une nouvelle page réalisée avec la collection Vintage Artistry Wedgewood. Mais avant de continuer, je vous souhaite un joyeux Noël.

Hello Sweeties,

Today I'm up on 49 and Market blog with a new layout featuring the Vintage Artistry Wedgewood collection. But before continuing, I want to wish you all a Merry Christmas!


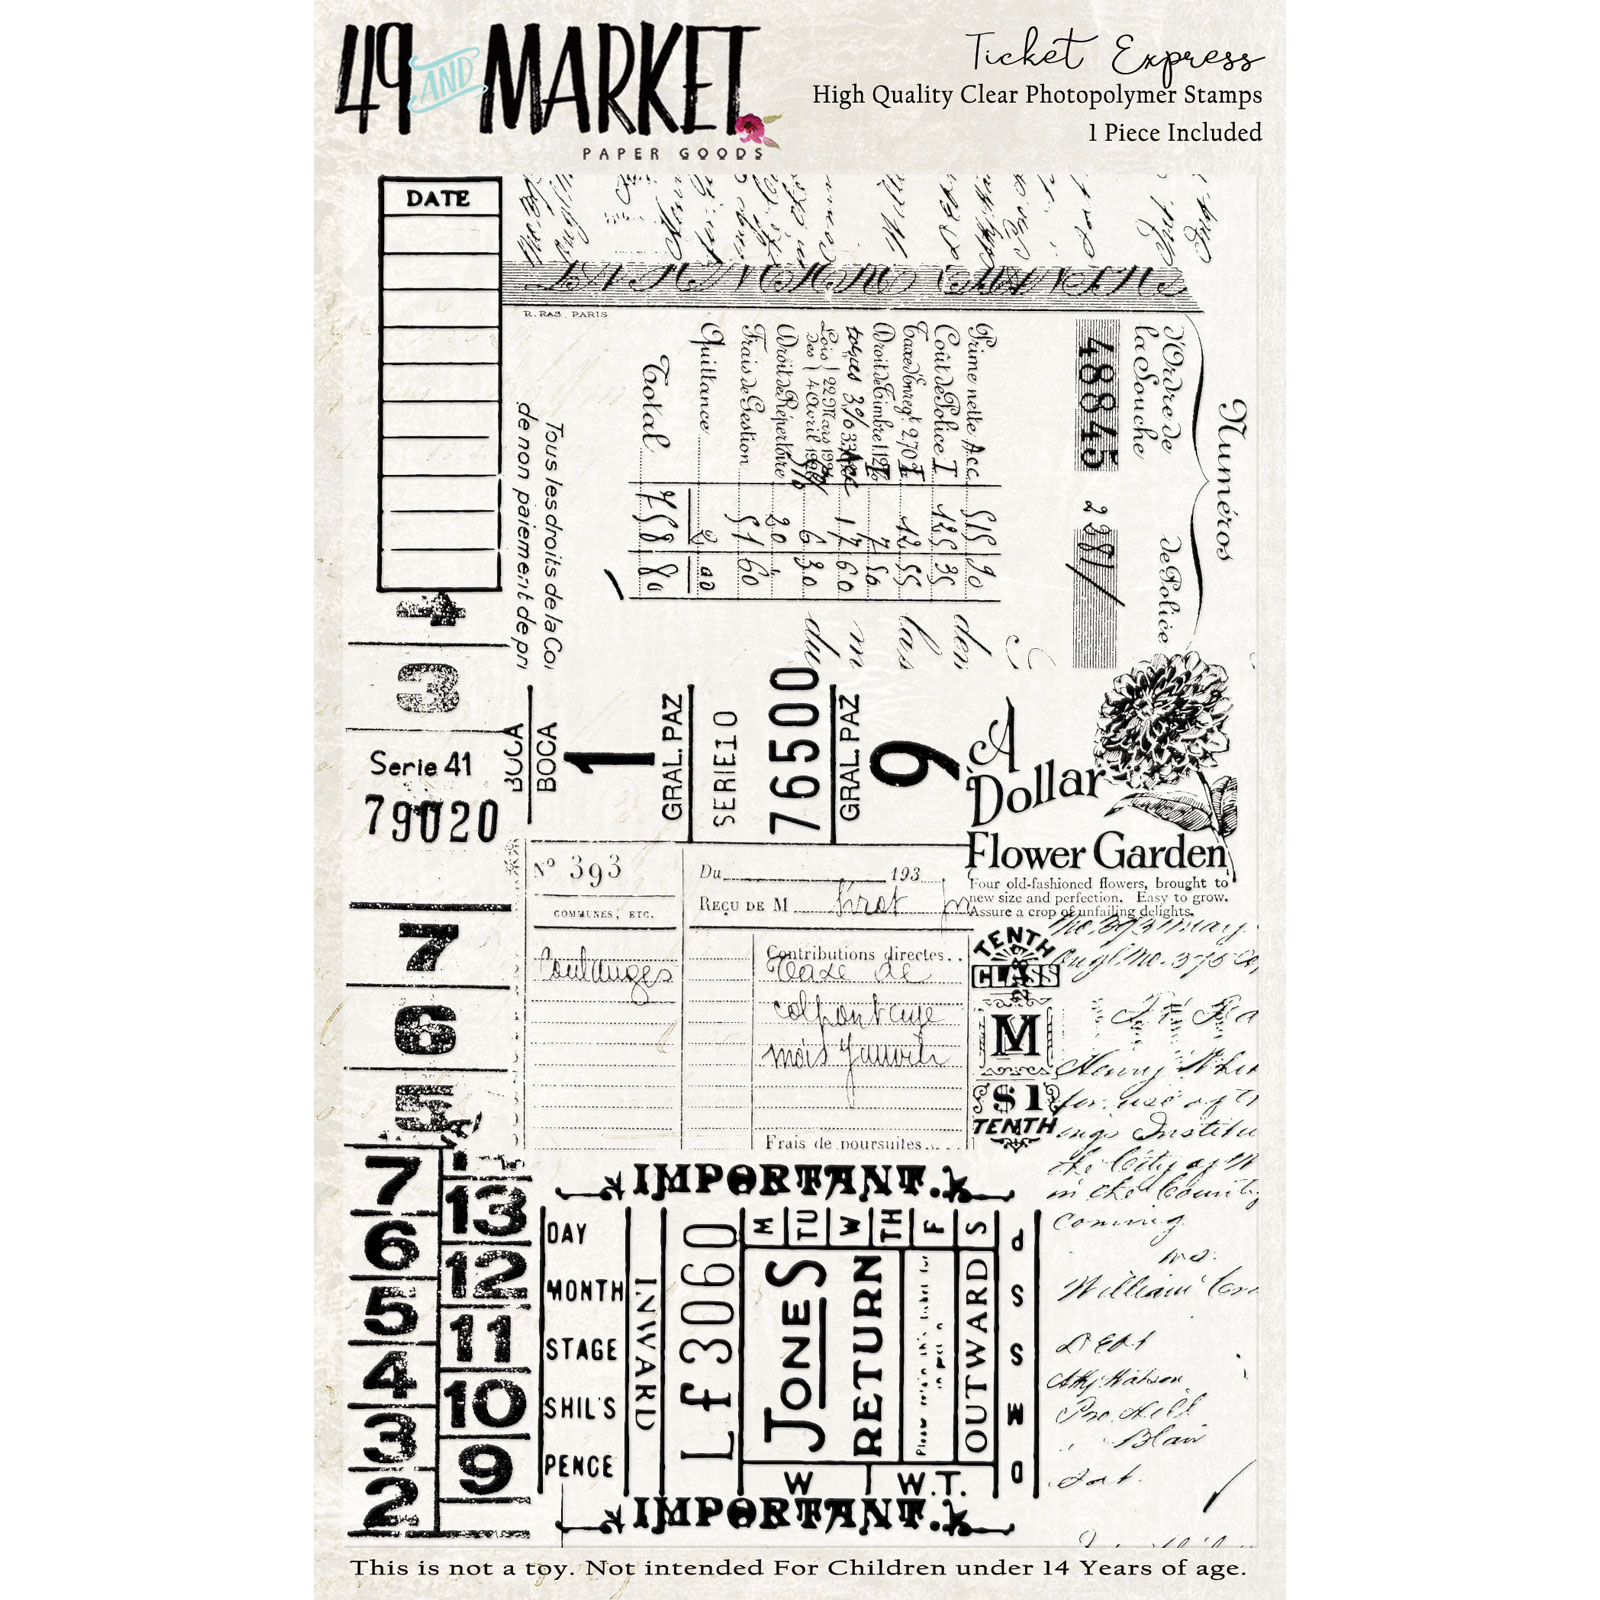
J'ai commencé par tamponner ici et là avec le tampon Ticket Express. Puis, j'ai protégé le fond d'une couche de gesso transparent. J'ai ajouté un motif à l'aide d'un pochoir et de deux pâtes composées de gel 3D brillant et de poudres de mica : l'une bleue, l'autre corail. 

First I stamped randomly with the Ticket Express Stamp. Next, I primed the background with clear gesso. I added a design with a stencil and two homemade pastes made with 3D gloss gel and mica powders: one blue, one coral.


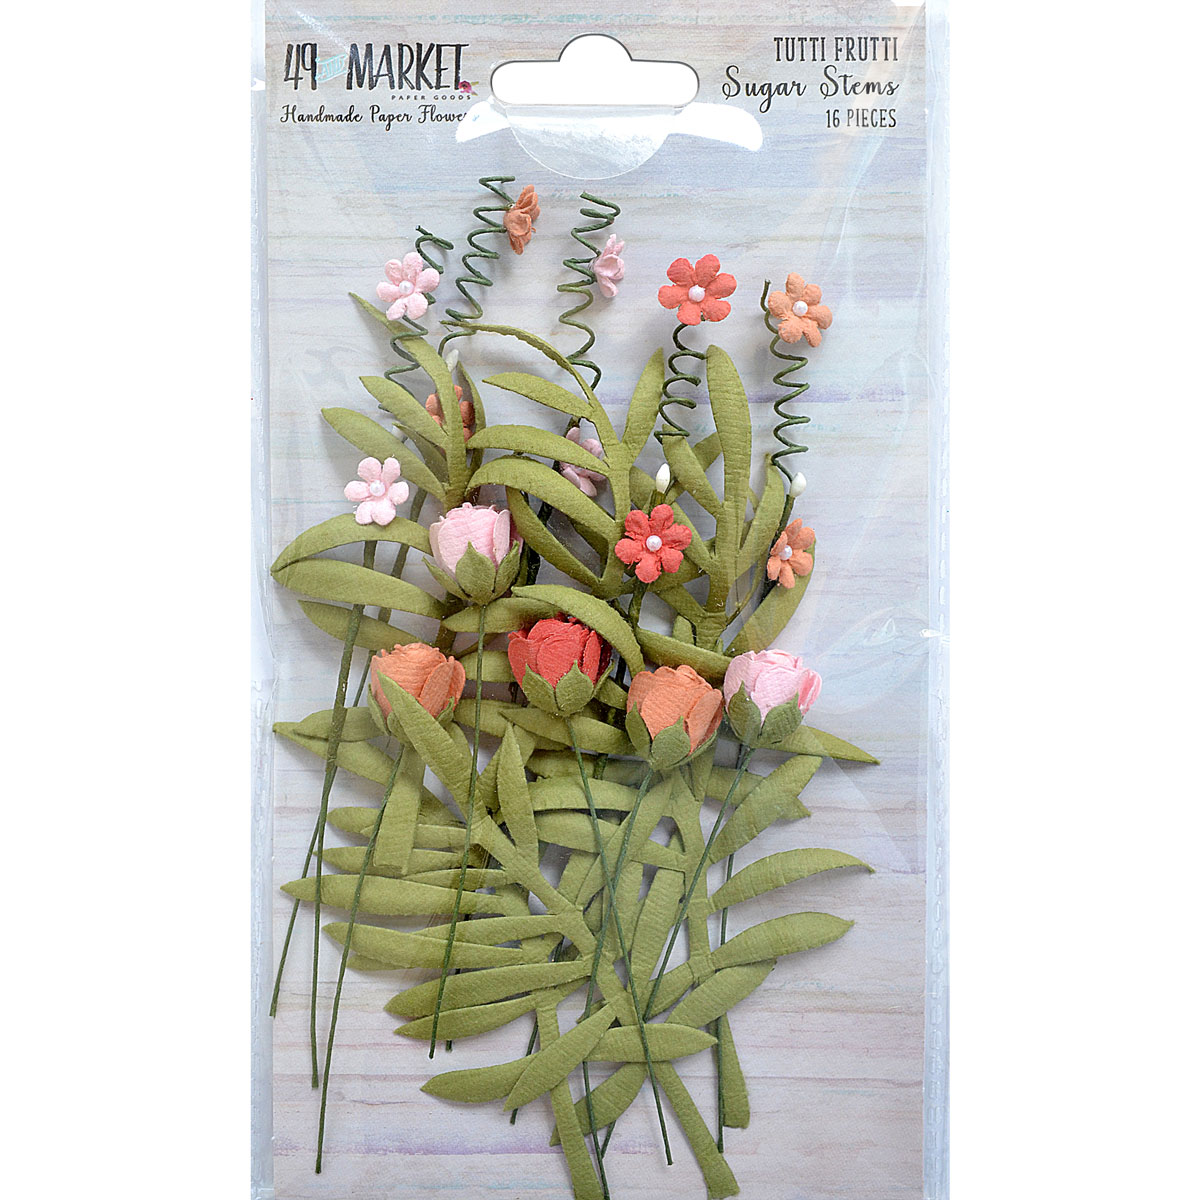
J'ai découpé des feuilles dans du papier aquarelle et je les ai coloré avec de l'encre Whale Watch Blue. J'ai également coloré les feuilles des Sugar Stems avec la même encre.

I die cut some leaves in watercolor paper and colored them with Whale Watch Blue ink. I colored the leaves from the Sugar Stems with the same ink. 


J'ai embossé le treillis et la dentelle du set de chipboard Treasure avec deux poudres à embosser bleu. 

I embossed the wire mesh and the lace from the Treasure Archival board with two blue embossing powders.  


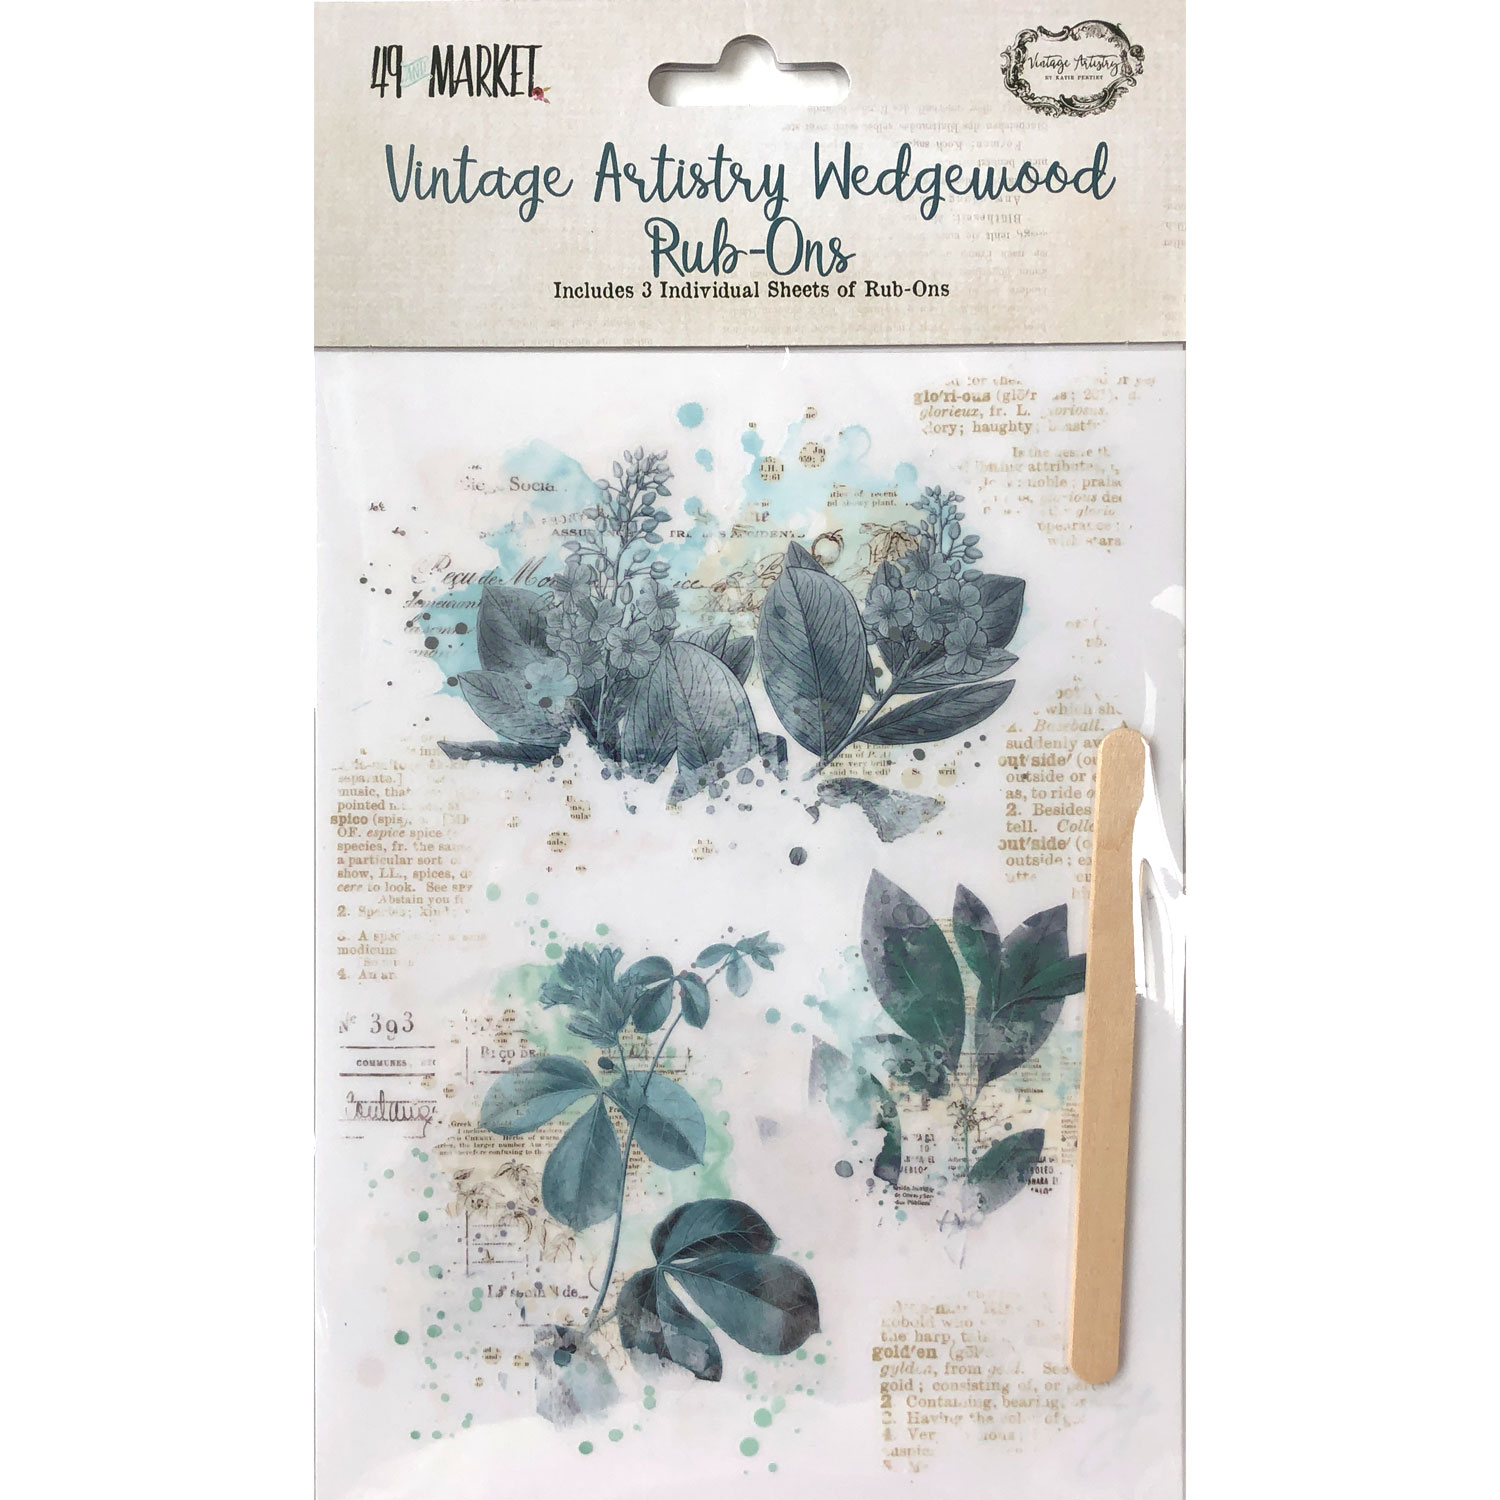
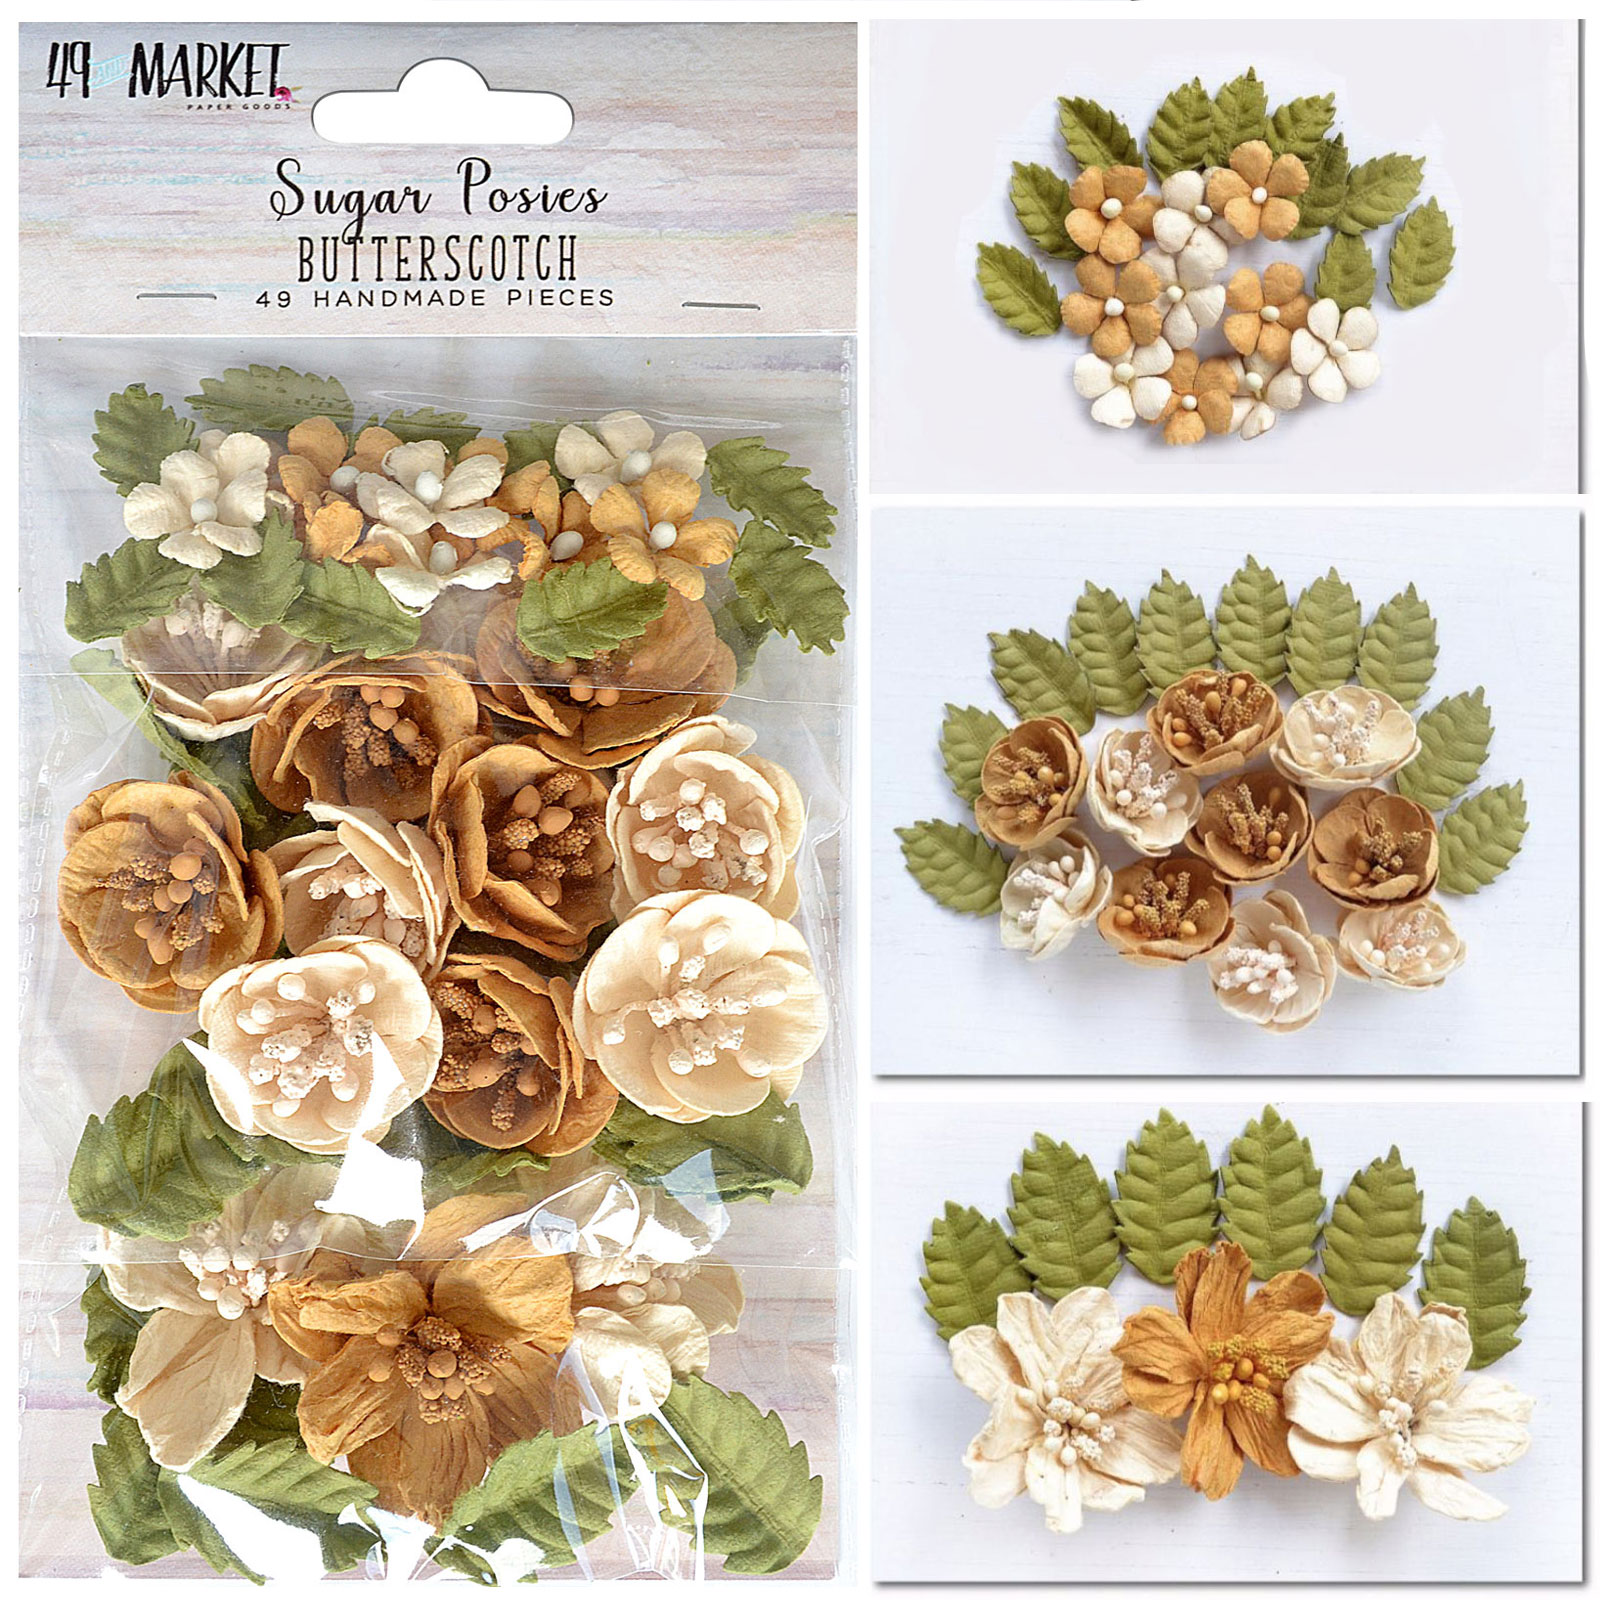
J'ai ajouté des rub-ons de la collecion Wedgewood autour du motif. Puis, j'ai commencé ma composition en ajoutant des fleurs Sugar Posies, Enchated Petals et Sugar Stems autour de la photo ainsi que les chipboard. 

I add some rub-ons from the Wedgewood collection around the design. Then, I started to build the composition around the photo with Sugar Posies, Enchanted Petals, and Sugar Stems flowers along with the chipboard. 


Une fois satisfaite du résultat, j'ai brossé à sec les fleurs avec du gesso blanc. Pour finir la mise en page, j'ai ajouté des perles de rocaille, des glass glitters et des glitters.

When happy with the result, I dry brush white gesso to tone down the color of the flowers. To finish the layout, I added glass beads, glass glitter, and glitter. 


J'espère que vous aimerez la vidéo / I hope you will enjoy the video:


Matériels / Materials:

49 and Market products:

VAW-33072 Vintage Artistry Wedgewood - Sublime
Vintage Artistry Wedgewood
 Sublime
VAC-33003 Vintage Artistry Wedgewood Rub-Ons
Vintage Artistry Wedgewood
Rub-Ons
AB-88718 Treasure Archival Chipboard
Treasure (White)
Archival Board
VAC-32310-Ticket-Express-Stamp
Ticket Express
Stamp
SUG-32433-Sugar-Posies-Butterscotch
Sugar Posies
Butterscotch
Enchanted Petals - Salmon
Enchanted Petals
Salmon
SSF-32327-Sugar-Stems-tutti-frutti
Sugar Stems
Tutti Frutti


Other products:
  • Starburst - Lindy's Gang (Whale Watch Blue);
  • Embossing Powders - Lindy's Gang (Don't Scream Aquamarine!, Lapis Lazuli Blue Gold);
  • Stencil - Dusty Attic (Flourish);
  • Art Ingredients - Finnabair Prima (Mica Powders: Deep Water, Oriental Set; Glass Beads: Plum; Glitter Luminous Set; Glass Glitter: Platinum);
  • Art Basics - Finnabair Prima (Clear Gesso, White Heavy Gesso, 3D Gloss Gel, 3D Matte Gel, Soft Gloss Gel).

J'espère que les moments difficiles que nous vivons suite à cette pandémie seront bientôt qu'un mauvais souvenir. 
Encore fois, je vous souhaite un très joyeux Noël.

I hope that the difficult time we are living with this pandemic will be soon just a bad memory. 

Again, I wish you all a Merry Christmas!


mardi 22 décembre 2020

Be Your Beautiful Self - Mixed media layout for Lindy's Gang

Bonjour à toutes,

Aujourd'hui je suis sur le blog de Lindy's Gang avec une nouvelle page mixed-media. J'ai bien évidemment suivi les couleurs de la photo pour cette page au couleurs rouge et turquoise. J'espère que vous aimerez. 

Hello Sweeties,

Today I'm up on Lindy's Gang blog with a new mixed media layout to share with you all. I was inspired by the colors in the photo to create something in turquoise and red, I hope you will like it.


Processus / Basic process:
  1. Tamponner ici et là avec de l'encre noire Archival et un tampon texte.
    Stamp randomly with black Archival ink and a text stamp.
  2. Une fois satisfait, protéger le fond d'une couche de gesso transparent.
    When done, prime the background with clear gesso.
  3. Ajouter une touche de couleur avec Time Travel Teal, Steel Shimmer, and Snazzle Sparkle.
    Add some color with Time Travel Teal, Steel Shimme, and Snazzle Sparkle. 
  4. Ajouter un motif sur un morceau de papier aquarelle avec de la pâte de texture et un pochoir.
    Add a design on a piece of watercolor with a stencil and modeling paste
  5. Une fois sec, colorer avec les couleurs Steel Shimmer, Scintillating Silver et Snazzle Sparkle. Sécher.
    When dry, color the paper with Steel Shimmer, Scintillating Silver, and Snazzle Sparkle Magical. Dry.
  6. Ajouter une touche de rouge avec Poincenia Red Flame et Queen Of Hearts Red.
    Add some red with Poincenia Red Flame and Queen of Hearts Red.


  7. Encrer un chipboard de fond avec la poudre chunky Chrome Doesn't Pay! 
    Ink a background chipboard with embossing ink and cover it with Chrome Doesn't Pay! Chunky EP.
  8. Embosser la poudre juste assez pour que la poudre commence à fondre et à faire des bulles pour obtenir un embossage grossier.
    Heat emboss the powder just enough so that the powder just starts to melt and makes some kind of bubbles to obtain a rough embossing.


  9. Découper des feuilles et des branches de pin. Colorer les feuilles de Ginlo avec les couleurs Time Travel Teal, Tainted Love Teal, and Steel Shimmer.
    Die-cut leaves and pine branches in a watercolor paper. Color the Ginko leaves with Time Travel Teal, Tainted Love Teal, and Steel Shimmer.
  10. Colorer les branches de pin avec Tainted Love Teal e Stormy Sky. Tant qu'elles sont encore humides, saupoudrer avec la poudre Desert Moon Turquoise et embosser.
    Color the pine branches with Tainted Love Teal and Stormy Sky. While they are still wet, sprinkle with Desert Moon Turquoise EP and heat emboss.
  11. Faire des tâches avec la poudre Scintillating Silver que un papier épais noir et découper des branches. 
    Splatter black cardboard with Scintillating Silver in which  die cut some branches;


  12. Recouvrir quelques éléments en résine avec du gesso noir, puis avec de la cire argent.
    Prime some resin medallions with black gesso and color them with silver wax.
  13. Coller tous les embellissements avec de la composition avec du gel 3D mat.
    Glue all the elements of the composition with 3D matte gel.
  14. Finir la mise en page avec des sequins et des glitters.
    Finish the layout with sequins and glitters.
J'espère que vous apprécierez cette vidéo / I hope you will enjoy the video:


Matériels / Materials:

Lindy's Gang products:
If you want to order some amazing Lindy's Gang products, follow the link to obtain a 10% discount!

Other products:
  • Flowers - 49 and Market (Garden Blooms - Alabaster);
  • Stencil - A.B. Studio (Stencil ID-87);
  • Chipboard - Dusty Attic (Geometrical Panel);
  • Foamiran - 14Craftbar (Red);
  • Die - Florilèges Design (Miss Charlotte Feuillage Deco);
  • Die - Dee's Distinctively (Pine Branches);
  • Molds - Prima (Curio Trinket, Seashore Treasures);
  • Art Alchemy Wax - Finnabair Prima (Old Silver);
  • Art Basics - Finnabair Prima (Clear Gesso, Modeling Paste, 3D Matte Gel, Soft Gloss Gel).

mardi 17 novembre 2020

Never Give Up ... - Mixed media panel for Lindy's Gang DT

Bonjour à toutes,

Aujourd'hui je suis sur le blog de Lindy's Gang avec une nouvelle vidéo où vous pourrez découvrir comment j'ai réalisé ce panneau mixed media avec des Magicals permanentes. 

Hello Sweeties,

Today I'm up on Lindy's Gang blog with a new video tutorial where I show you how I made this mixed media panel with permanent Magicals.  


J'ai recouvert la panneau MDF de gesso blanc. Puis, j'ai collé du papier de soie avec du gel mat que j'ai ensuite recouvert de gesso transparent. Une fois sec, j'ai ajouté un motif avec de la pâte à craqueler transparente et le pochoir Mind Game.

I primed the HDF bauble with white gesso. Next, I glue a piece of collage paper with a soft matte gel and covered it with clear gesso. When dry, I add a design with a clear crackle paste and the stencil Mind Game. 

J'ai recouvert les chipboards avec du gesso blanc. La lanterne a été embossée avec les poudres Don't Scream Aquamarine et Cool Man Copper.

I primed some chipboards elements with white gesso. I embossed the lantern with Don't Scream Aquamarine chunky EP and Cool Man Copper detail EP as I want to have more Copper.


J'ai mélangé du medium liquide avec des poudres Magical pour préparer plusieurs peintures acryliques liquides : Whale Watch Blue, Jana's Jade, Stormy Sky, Red Hot Poker Orange, Cattail Copper Brown, Dark Chocolate Truffle, et Show Stopper Copper. J'ai utlisé ces peintures pour colorer les chipboards.

I chose different Magicals that matched the lantern's colors: Whale Watch Blue, Jana's Jade, Stormy Sky, Red Hot Poker Orange, Cattail Copper Brown, Dark Chocolate Truffle, and Show Stopper Copper. As I want my colors to be permanent, I mixed each color with the liquid fluid medium to transform the Magical into liquid acrylic paints. I used these liquid paints to color the chipboards. 


Avant de coller tous les éléments avec du gel 3D mat, j'ai ajouté un peu de couleur au fond avec Whale Wtach Blue et Darl Chocolate Truffle. J'ai collé la photo sur une morceau de papier épais noir dont j'ai ciré les bords avec la cire Rich Copper.

Before gluing all the elements with a 3D Matte Gel, I added some color to the background with Whale Watch Blue and Dark Chocolate Truffle. I've glued the photo on black cardstock and waxed the edge with Rich Copper. 


Pour finir la composition, j'ai ajouté des glitters.

To finish the composition, I add some glitters.


J'espère que vous aimerez cette vidéo / I hope you will enjoy the video.


Matériels / Materials:

Lindy's Gang products: Other products:
  • Chipboards - Dusty Attic (Ferns, Lavender, Maiden Fern, Foliang #5, Spring Blooms #1);
  • HDF - Artistiko (BaubleTear Large, Lanterns)
  • Stencil - Finnabair Prima (Mind Game);
  • Collage Paper - Finnabair Prima (Carte Postale);
  • Art Alchemy - Finnabair Prima (Fluid Medium, Wax: Rich Copper);
  • Art Extravagance - Finnabair Prima (Clear Crackle Paste);
  • Art Basics - Finnabair Prima (Heavy White Gesso, Clear Gesso, Soft Matte Gel, 3D Matte Gel).

dimanche 26 août 2018

In my garden - Maja Design DT

Bonjour à toutes,

Aujourd'hui, je suis pour la dernière fois sur le blog de Maja Design; Après quatre ans, il est temps pour moi de dire au revoir et ce n'est jamais facile. Mais rassurez-vous vous continuerez à me voir sur le net. Et pour mon dernier projet, j'ai réalisé une page avec les collections Vintage Basics : j'ai choisi les collections d'été (Summer) et de printemps (Spring). J'ai travaillé avec une de mes photos de familles: sur la photo, prise par mon grand-père maternel,  on peut y voir sa mère et son frère.

Hello Sweeties

Today, I'm up on Maja Design blog for the last time. After 4 years, it's time for me to say goodbye and it's never easy, but don't worry, you will continue to see me on the web. And for my last project, I made a layout featuring the Vintage Basics collections: I used the Summer and Spring collections. I work with another of my family treasure: on the photo, taken by my maternal grandfather, you can see his mother with his brother. 


J'ai commencé par tamponné le fond avec une encre marron foncée et plusieurs tampons. Une fois fini, j'ai protégé le fond d'une couche de gesso transparent.

First I stamped randomly with a dark brown ink and different stamps. When done, I primed the background with clear gesso.


J'ai mélangé une poudre magical brune avec de la pâte à craqueler blanche pour ajouter un motif à l'aide d'un pochoir. Pour donner l'effet d'un motif qui s'efface avec le temps, j'ai utilisé mon couteau pour enlever une partie du motif que j'ai laissé séché naturellemnt pour permettre aux craquelures d'apparaitre.

I mixed together a brown magical with white crackle paste to add a design with a stencil. To give the effect of a peeling design I used my palette knife to remove some part of the design, that I let dry naturally to allow the crackle to appear. 


Penadant ce temps, j'ai fait tramper les chipboards fleurs pour leur donner plus de texture. Je l'es délicatement écarter sur les bords pour leurs donner plus de volume. Apres séchage, je les ai protégés avec une couche de gesso blanc et j'ai utilisé des encres bleues et brunes pour ajouter un peu de couleurs.

In the meantime, I soaked some flower chipboards in order to give them more dimension and texture.  I gently pulled apart the edges to add more texture.  After drying, I primed them with white gesso and I used blue and brown inks to add some colors.


J'ai juste ajouté un peu de reflet or aux fleurs blanches et de l'encre brune aux feuilles. J'ai également coloré les chipboards feuilles avec l'encre brune ainsi qu'un mélange de différentes tailles de Art Stones.

I just added some gold shimmer to the white flowers and some brown ink to the leaves. I colored also some leaves chipboards with the brown ink as well as a mix of different sizes of Art Stones. 


Une fois la pâte à craqueler sèche, j'ai ajouté un peu de couleur avec les mêmes encres au fond. Puis j'ai coupé quelques papiers pour mettre sous la photo avant de coller tous les embellissements.

When the crackle paste was dry, I added some colors with the same inks to the background. Next, I cut a few papers to add under the photo before gluing all the embellishments.  


Pour terminer la mise en page, j'ai ajouter des glitters ultra-fin sur les chipboards fleurs et les Art Stones.
To finish the layout I add some ultra-fine glitters on top of the flowers chipboards and the Art Stones. 


Est ce que je vous ai dit que je me suis inspirée du superbe Mood board de Dusty Attic :


Did I tell you that I follow the beautiful August's Dusty Attic Moodboard : 


Matériels / Materials:

Maja Design papers:

Vintage-Summer-Basics-P

1946

1914
Vintage-Spring-Basics-P

1st of March

6th of March

Other products:

  • Flowers - 49 and Market (Garden Blooms - Alabaster);
  • Stamps - 49 and Market (Pascale's Form, Pascale's tickets and numbers);
  • Stencil - A.B. Studio (Stencil #94);
  • Chipboards - Dusty Attic (Foliage #3, Spring Blooms #3);
  • Inks - Lindy's Gang (Whale Watch Blue, Smokey Sapphire, Blazing Sun);
  • Magical - Lindy's Gang (Steampunk Sepia);
  • Art Ingredients - Finnabair Prima (Art Stones, Mini Art Astones, Mega Art Stone, Art Sugar: Antique Silver); 
  • Art Extravagance - Finnabair Prima (White Crackle Paste);
  • ArtBasics - Finnabair Prima (Clear Gesso, Heavy White Gesso, Soft Matte Gel, 3D Matte Gel).


Did you know Maja Design is on Social Media?

Pinterest: Did you know that Maja Design has a Pinterest Page? You can find it right here.
Facebook: You can follow us on Facebook right here and of course "LIKE" us.
Instagram: Maja also has an Instagram account – majadesigninsweden.
(Use the hashtag #majadesigninsweden or the tag @majadesigninsweden
with your Maja papers so we can find you.)
YouTubehttps://www.youtube.com/user/MajaDesignChannel
Related Posts Plugin for WordPress, Blogger...