dimanche 24 novembre 2019

The Reader - 49 and Market DT

Bonjour à toutes,

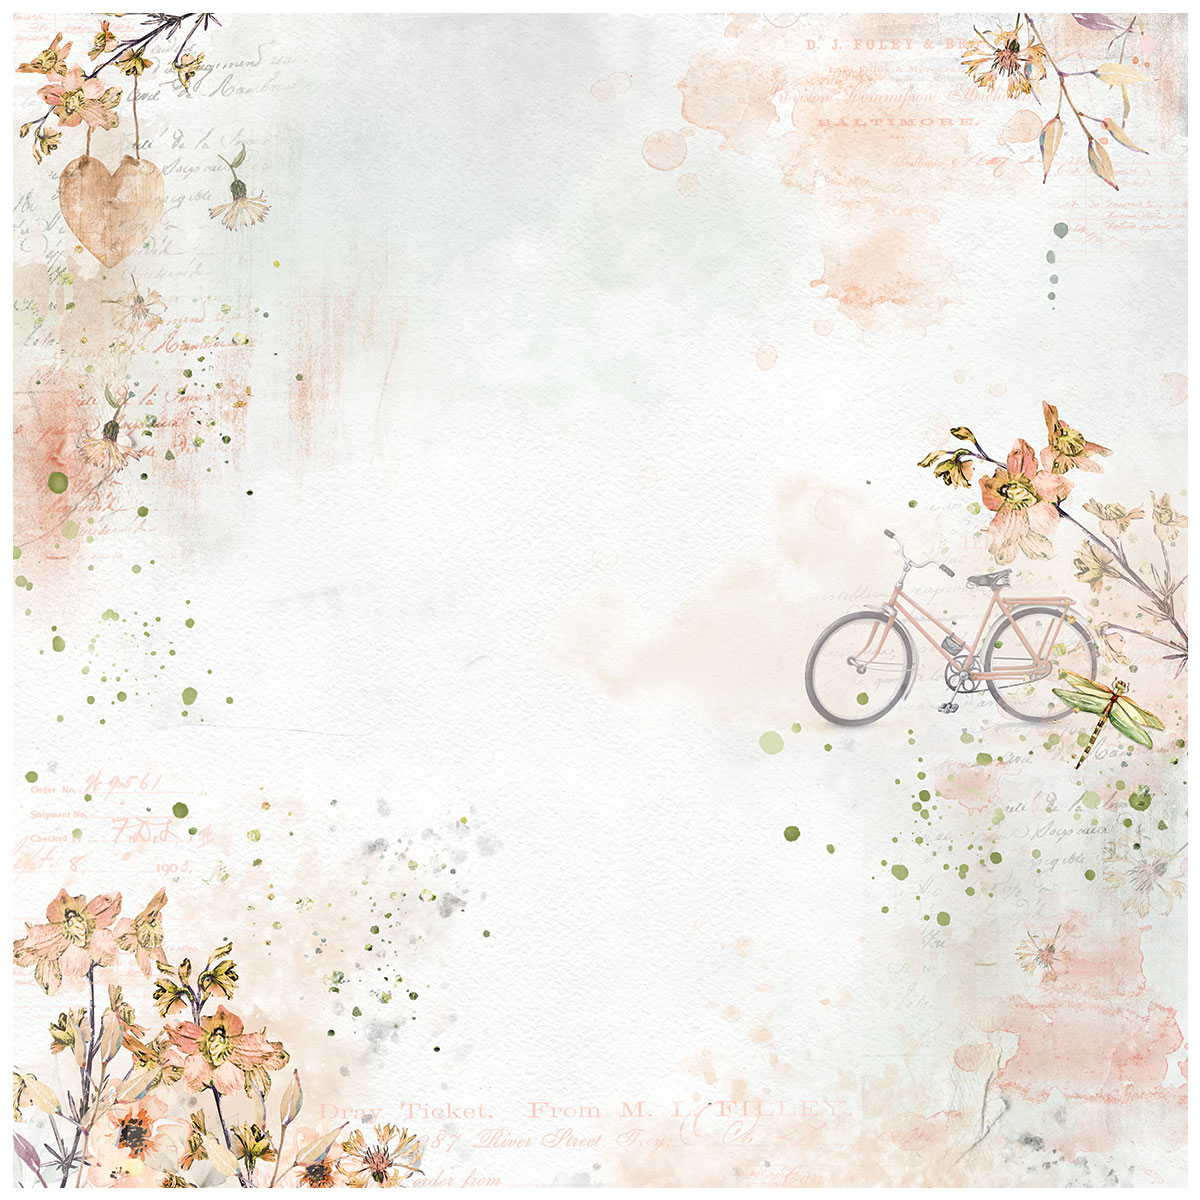
Aujourd'hui je suis sur le blog de 49 and Market avec une nouvelle page réalisée avec la mini-collection Old School.

Hello Sweeties,

Today, I'm up on 49 and Market blog with a new layout featuring the Old School mini-collection. 


J'ai tamponné ici et là avec le tampon 1787 et de l'encre Archival noire. Une fois satisfaite, j'ai protégé le fond d'une couche de gesso transparent. Puis, j'ai coloré le fond avec des encres bleues et violettes.

I stamped randomly with the 1787 stamp and black Archival ink. When happy with the result, I primed the background paper with clear gesso. Next, I colored the background with blue and purple inks.


J'ai mélangé des glitters noirs et violets avec du gel 3D brillant. J'ai utilisé cette pâte maison pour ajouter un motif à l'aide d'un pochoir.

I mixed together purple and black glitter with 3D gloss gel. I used this homemade paste to add a design with a stencil. 


J'ai découpé des feuilles dans du papier aquarelle. J'ai peint les feuilles en filigrane avec du gesso noir, puis avec une cire argent. J'ai simplement encré les autres avec des encres bleues et vertes.

I die cut some leaves in a watercolor paper. I colored the filigree leaves with black gesso then with silver wax. I simply inked the other ones with green and blue inks.


J'ai coloré le centre des Cotton Blooms avec une encre violette. J'ai également coloré les napperons avec les même encres bleues et violettes utilisées pour colorer le fond.

I colored the center of the Cotton Blooms with the purple ink. I colored the doilies with the same blue and purple inks I used for the background.


J'ai collé tous les embellissements avec du gel 3D mat ainsi que quelques éléments de la feuille laser-cut.

I glued all the embellishments I have prepared with a 3D Matte Gel as well as some elements from the laser-cut sheet.


Pour finir la mise en page, j'ai ajouté des microbilles.

To finish the layout, I added some microbeads.

Matériels / Materials:

49 and Market products:

Old School
Penmanship

Old School
Laser-cut sheet
Country Blooms - Cloud
Country Blooms
Cloud

1787
Stamp

Other products:
  • Starburst - Lindy's Gang (My Mojito Green);
  • Flat Fabio - Lindy's Gang (Tweedle Dee Denim);
  • Squirt - Lindy's Gang (Polite People Purple);
  • Stencil - A.B. Studio (Stencil ID-66);
  • Microbeads - Prills (Plum Crazy);
  • Die - Fantasy (Liseron);
  • Die - DIY & Cie (Feuilles fines);
  • Mini-doilies - Doodlebug Design;
  • Glitter - BFS (Eggplant, Soot);
  • Art Alchemy - Finnabair Prima (Wax: Brushed Iron);
  • Art Ingredients - Finnabair Prima (Microbeads: Silver);
  • Art Basics - Finnabair Prima (Clear Gesso, 3D Gloss Gel, Soft Matte Gel).

samedi 23 novembre 2019

Christmas Wreath - Lindy's Gang DT

Bonjour à toutes,

Aujourd'hui je suis sur le blog de Lindy's Gang blog avec une nouveau tutoriel en vidéo pour réaliser  une couronne de noël.

Hello Sweeties,

Today I'm up on Lindy's Gang blog with a new video tutorial: a Christmas wreath. 


Processus de base / Basic process:
  1. Couper deux tags dans le papier de votre choix ;
    Cut two tags in the paper of your choice;
  2. Coller les tags sur un carton et encrer les bords ;
    Glue the tags on cardboard and ink the edge;
  3. Colorer quelques rubans avec les encres Ponderosa Pines Olive, Frolic in the Forest Black, Cathedral Pines Green, and Mapple Syrup Bronze ;
    Color some ribbons to attach to the tags with Ponderosa Pines Olive, Frolic in the Forest Black, Cathedral Pines Green, and Mapple Syrup Bronze;
  4. Attacher les rubans et coller les tags sur la couronne ;
    Attach the ribbons and glue the tags to the wreath;
  5. Découper des branches de sapin et de houx, des baies et feuilles dans du papier aquarelle ;
    Die-cut branches of fir and holly, berries, and leaves in a watercolor paper;
  6. Colorer les feuilles et les branches de sapin avec les encres Cathedrale Pines Green, My Mojito Green, and Mapple Syrup Bronze
    Color the leaves and fir with Cathedrale Pines Green, My Mojito Green, and Mapple Syrup Bronze;
  7. Embosser les perles avec la poudre Holly Berry Red Gold ;
    Emboss small pebbles with Holly Berry Red Gold;
  8. Coller les sur les baies de la branche de houx ;
    Glue them on the holly berries branch;
  9. Colorer les baies avec l'encre Mapple Syrup Bronze ;
    Color the berries branches with Mapple Syrup Bronze;
  10. Puis embosser les baies avec la poudre King Midas Gold ;
    Next, emboss the berries with King Midas Gold EP;
  11. Colorer les branches avec Frolic in the Forest Black ;
    Color the branches with Frolic in the Forest Black;
  12. Coller tous les éléments de la composition ;
    Glue all the elements of the composition;
  13. pour finir, ajouter des microbilles et des glass glitters.
    To finish, add some microbeads and glass glitter.
Quelques gros plans / Some close-ups:


Et voici la video / And the video:


Matériels / Materials:

Lindy's Gang products:
Other products:
  • Paper - 49 and Market (Winter Edges -  Season's Greetings);
  • Flowers - 49 and Market (Blossom Blends: Poppy; Cottage Blooms: Poppy);
  • Microbeads - BFS (Deep Red);
  • Token - Idea-ology (Christmas);
  • Die - Mimi Cut (Herbarium 3);
  • Die - Impression Obsession (Pine Branch);
  • Art Alchemy - Finnabair Prima (Wax: Vintage Gold);
  • Art Ingredients - Finnabair Prima (Glass Glitter: Gold Rush; Pebbles);
  • Art Basics - Finnabair Prima (Soft Matte Gel).

samedi 16 novembre 2019

Smile - Lindy's Gang and A.B. Studio Blog Hop

Bonjour à toutes,

Venez rejoindre le Hop d'automne où les supers équipes créatives de A.B. Studio et Lindy's Gang combinent leur créativité pour un immense hop qui commence maintenant !

Le hop est à la fois sur les blogs et sur YouTube du 16 au 22 novembre. Il commence sur le blog de AB Studio et se termine sur celui de Lindy's Gang.

Pour gagner, les participants doivent laisser un commentaire sur le post et la vidéo et s'abonner. Les gagnants seront annoncé sur Instagram, sur les blogs et sur Facebook.

Hello Sweeties,


Come and join the Autumn Hop fun with the amazing Design Teams from Lindy's and AB Studio combining their creative forces for a massive blog hop and it’s starting RIGHT HERE and RIGHT NOW!

Our hop is a mixture of blog posts and YouTube videos with many gorgeous ideas, styles, and designs and runs from 16th to the 22nd of November. Our hop begins on the AB Studio Blog and ends on Lindy's blog with loads of amazing inspiration in between.


Processus de base / Basic process:
  1. Tamponner ici et là avec une encre Archival ;
    Stamp randomly with Archival ink;
  2. Protéger le fond d'une couche de gesso ;
    Prime the background with clear gesso;
  3. En recouvrir également quelques élémets en résine ;
    Prime some resin elements as well;
  4. Recouvrer un morceau du chipboard iD-17 avec de la pâte à craquler transparente ;
    Cover a piece of the chipboard ID-17 with clear crackle paste;
  5. Ajouter un motif à l'aide du pochoir ID-126 et de pâte de papier ;
    Add a design with the stencil ID-126 and paper paste;
  6. Découper des feuilles et des branches dans du papier aquarelle ;
    Die-cut some leaves and branches in a watercolor paper;
  7. Embosser les étoiles des branches avec la poudre Hibicus Rose Orange ;
    Emboss some part of the branches with Hibiscus Rose Orange;
  8. Colorer toutes les découpes avec diverses encres vertes et brunes : Green With Envy Green, My Mojito Green, Sea Mint Green, et Bodacious Blush ;
    Color all the die-cuts with different green and brown inks: Green With Envy Green, My Mojito Green, Sea Mint Green, and Bodacious Blush;
  9. Saupoudrer quelques feuilles avec la poudre Oakleaf Green et embosser ;
    Sprinkle some leaves with Oakleaf Green EP, and emboss;


  10. Colorer les fleurs avec les encres Bodacious Blush et Canadian Bacon Blush ;
    Color the flowers with Bodacious Blush and Canadian Bacon Blush;


  11. Colorer le chipboard avec l'encre Long John's Silver ;
    Color the chipboard with Long John's Silver;
  12. Ajouter un peu de couleurs au fond avec les encres Canadian Bacon Blush, Long John's SIlver et Bodacious Blush ;
    Add some color to the background with Canadian Bacon Blush, Long John's Silver, and Bodacious Blush;
  13. Colorer les éléments en résine avec l'encre Bodacious Blush et mettre en valeur les détails avec une cire or blanc
    Color the resin elements with Bodacious Blush and highlight the details with white gold wax
  14. Commencer votre composition ;
    Start to build your composition;
  15. Pour terminer la mise en page, ajouter des flocons de mica et des microbilles ;
    To finish the layout, add some mica flakes and microbeads.

Quelques détails / some close-ups:


Et voici la video / and here is the video:


Il y a 5 prix à gagner : 2 bons d'achat d'un valeur de 25$ chez A.B. Studio, 2 bons d'achat d'un valeur de 25$ chez Lindy's Gang et le dernier lot est: 1 bon d'achat de 25$ chez A.B. Studio + 1 bon d'achat de 25$ chez Lindy's Gang.
 Pour avoir une chance de gagner l'un des prix, vous devrez laisser un petit mot sur chaque post ou vidéo et vous abonnez aux blogs ou  chaines Youtube.

Le nom des gagnants seront publié sur les réseaux sociaux, alors soyez vigilants !

Bonne chance !

Did someone say PRIZES?

Well apart from seeing art from 26 AMAZING artists, Lindy's and AB Studio are offering some fabulous prizes!
There will be 4 small prizes and 1 major prize:
2 x $25 AB Studio vouchers
2 x $25 Lindy's vouchers and
1 MAJOR prize winner will get $25 from Lindy's and $25 from AB Studio.

To have a chance to win one of the prizes, you should leave a little love on each hop post or video, and subscribe to the amazing YouTube channels.
Winners will be posted on our Social Media accounts so keep an eye out for the announcement.

Good luck and enjoy looking at all the stunning art.

Previous stop -  https://youtu.be/ehdEsUm96tU
Next top -  https://lindysgang.blog/2019/11/12/ab-studio-and-lindys-autumn-hop/ ‎

Matériels / Materials:

Lindy's Gang products:
A.B. Studio products:
Other products:
  • Flowers - 49 and Market (Country Blooms);
  • Art Ingredients - Finnabair Prima (Mica Flakes:; Microbeads set);
  • Art Extravagance - Finnabair Prima (Paper Paste);
  • Art Basics - Finnabair Prima (Clear Gesso, Soft Matte Gel, 3D Matte Gel).


vendredi 8 novembre 2019

Perfection is overrated - 49 and Market DT

Bonjour à toutes,

Aujourd'hui je suis sur le blog de 49 and Market avec une page réalisée avec les mini-collections Ethereal et Serendipitous.

Hello Sweeties,

Today, I'm up on 49 and Market blog with a layout featuring the mini-collections Ethereal and Serendipitous.


J'ai commencé par tamponner le fond avec le set de tampons Rations. Une fois satisfaite, j'ai protégé le fond d'une couche de gesso transparent. Puis, j'ai ajouté un motif inversé à l'aide d'un pochoir et de peinture acrylique : j'ai peint le pochoir que j'ai ensuite posé sur le papier pour obtenir une image inversée du pochoir.

First, I stamped randomly with the Rations stamps set. When satisfied, I primed the background with clear gesso. Next, I added a reversed design with a stencil and acrylic paint: I painted the stencil and then I pressed it on the paper to obtain a reversed image of the stencil.


J'ai découpé le cadre de la collection Serendipitous que j'ai collé que le papier de fond.

I cut the frame from the Serendipitous collection and I glued it on top of the background. 


J'ai coloré les Cotton Blooms avec deux encres oranges. J'ai recouvert les rouages en résine avec du gesso noir, puis je les ai cirés avec une cire cuivre.

I colored the Cotton Blooms with two shades of orange inks. I primed some resin elements with black gesso, and I waxed them with a copper wax.


J'ai coloré le fond avec des encres orange et noire avant de coller les embellissements avec du gel 3D mat: les Cotton Blooms, les rouages, ainsi que des feuilles de la collection Ethereal.

I colored the background with orange and black inks, before gluing with 3D Matte Gel all the embellishments: Cotton Blooms, resin gears, and leaves from the Ethereal Layered Embellishments. 


J'ai coloré quelques Art Stones avec de l'encre de chine et je les ai également cirées avec le cire cuivre.

I colored some Art Stones with Indian ink. When dry, I waxed them with the copper wax. 


Pour finir la mise en page, j'ai ajouté des tâches à l'aide d'un mélange de glitter, d'eau et de gel mat ainsi qu'une plaque avec le titre du tableau.

To finish the layout, I added some splatters made of a mixture of glitter and soft matte gel, as well as a title's plate.

Matériels / Materials:

49 and Market products:


Ethereal
Daydream

Serendipitous
Mini collection

Ethereal
Layered Embellishments

Cotton Blooms
Cloud

Rations
Stamp Set

Other products:
  • Spray inks - Lindy's Gang (Frolic in the Forest);
  • Magical - Lindy's Gang (Cowabunga Copper, Red Hot Poker Orange);
  • Stencil - A.B. Studio (Stencil ID-90);
  • Molds - Finnabair Prima (Mechanica);
  • Mechanical - Finnabair Prima (Rusty Labels);
  • Art Ingredients - Finnabair Prima (Glitter: Luminous set; Art Stones, Micro Art Stones);
  • Art Alchemy - Finnabair Prima (Acrylic Paint: Flame; Wax: Rich Copper);
  • Art Basics - Finnabair Prima (Clear Gesso, Black Gesso, 3D Matte Gel, Soft Mate Gel).

lundi 4 novembre 2019

Look for the Magic - Lindy's Gang DT

Bonjour à toutes,

Aujourd'hui je suis sur le blog de Lindy's Gang avec une nouvelle page et sa vidéo.

Hello Sweeties,

Today I'm up on Lindy's Gang blog with a new layout with a step-by-step video.

Photo by JJ Jordan on Unsplash

Basic process:
  1. Tamponner ici et là avec de l'encre Archival noire;
    Add some random stamping with black archival ink;
  2. Protéger ensuite le fond d'une couche de gesso transparent;
    Next, prime the background with clear gesso;
  3. Préparer une pâte avec du gel 3D brillant et de la poudre Screamin' banshee Black;
    Prepare a paste with 3D Gloss Gel and Screamin' banshee Black Magical;
  4. Ajouter un motif avec cette pâte maison et un pochoir. Mettre de côté et laisser sécher naturellement.
    Add a design with this homemade paste and a stencil. Put aside and let it dry naturally;
  5. Pendant ce temps, colorer quelques fleurs avec les encres BuccanerBay Blue, Open Arms Amethyst et Violaceous Violet;
    In the meantime, color some flowers with Buccaneer Bay Blue, Open Arms Amethyst, and Violaceous Violet;


  6. Découper quelques feuilles, baies, branches, ... dans du papier aquarelle;
    Die-cut some leaves, berries, branches, ... in a watercolor paper;
  7. Colorer les découpes avec les encres Dark Chocolate Truffle, Screamin' banshee Black et Open Arm Amethyst;
    Color the die-cut elements with Dark Chocolate Truffle, Screamin' banshee Black, and Open Arms Amethyst.
  8. Recouvrir une abeille en résine avec du gesso transparent et colorer la avec les mêmes couleurs;
    Prime a resin bee with clear gesso and color it with the same colors;


  9. Coller tous les éléments avec du gel 3D mat;
    Glue all the elements with 3D Matte Gel;
  10. Ajouter des microbilles et des flocons de mica;
    Add some microbeads and mica flakes.
Quelques gros pans / Some close-ups:


Et voici la vidéo / And here is the video:


Matériels / Materials:

Lindy's Gang products:
A.B. Studio products:
Other products:
  • Flowers - 49 and Market (Cotton Blooms: Cloud);
  • Mould - Prima (Regal Findings); 
  • Sticker - Finnabair Prima (Sentiments)Art Ingredients - Finnabair Prima (Mica Flakes: Gold Leaf, Microbead Set);
  • Art Alchemy - Finnabair Prima (Waxes: Vintage Gold, Amethyst Magic);
  • Art Basics - Finnabair Prima (Clear Gesso, 3D Glos Gel, 3D Matte Gel, Soft Matte Gel).

vendredi 1 novembre 2019

November's Tag - Lindy's Gang DT

Bonjour à toutes,

Aujourd'hui je suis sur le blog de Lindy's Gang avec un nouveau tag aux couleurs du challenge de novembre.

Hello Sweeties,

Today I'm up Lindy's Gang blog with a new tag for the color 
challenge of November.


Et voici le combo de couleurs du mois de novembre :

And here the color combo of November: 


J'ai vaporisé un morceau de papier aquarelle avec les encres Greased Lightin' Green et Time Travel Teal, puis j'ai mélangé les couleurs ensemble à l'aide du lingette. Ensuite, j'ai posé un pochoir sur le papier que j'ai vaporisé d'eau. J'ai attendu un peu avant d'enlever l'eau et donc de la couleur à l'aide d'un sopalin. Une fois sec, j'ai ajouté un motif à l'aide de pâte à craqueler or et d'un pochoir.

I sprayed a piece of watercolor paper with Greased Lightin' Green and Time Travel Teal, and I blended the colors with a baby wipe. Next, I put a stencil on the watercolor paper and sprayed some water. I waited a little before removing the water and therefore some of the color with a paper towel. When dry, I added a design with a stencil and gold crackle paste.


J'ai coupé quelques feuilles dans du papier aquarelle. J'ai coloré certaines d'entre elles avec l'encre Time Travel Teal, dont j'ai embossé une partie avec la poudre King Midas Gold. Les autres ont été embossées avec les poudres Guten Tag Teal, puis King Midas Gold.

I die cut some leaves in watercolor paper. I colored some of them with Time Travel Teal, I embossed lightly some of those with King Midas Gold. The others were embossed with Guten Tag Teal first, then with King Midas Gold. 


J'ai peint le chipboard avec de gesso noir. Puis j'ai vaporisé de l'encre Time Travel Teal, enfin j'ai tamponné de l'encre Golden Doubloons. J'a vaporisé lesfleurs avec Golden Doubloons  pour ajouter un peu de brillant. Enfin, j'ai coloré deux morceaux de ruban.

I primed the chipboard with black gesso. Next, I sprayed Time Travel Teal and I dabbed some Golden Doubloons on it. I sprayed the flowers with Golden Doubloons to add some shimmer. And finally, I colored two pieces of binding ribbon.


J'ai collé le papier aquarelle sur un tag en carton, pis tous les embellissements. Et pour terminer, j'ai ajouté quelques perles.

I glued the watercolor paper on a cardboard tag, then all the embellishments. And to finish, I added a few pearls.

Matériels / Materials:

Lindy's Gang products:


Other products:

  • Stencil - A.B. Studio (Stencil ID-66, Stencil ID-159);
  • Flowers - 49 and Market (Mini-Serie Ginger);
  • Chipboard - Imagine If (Flourish with Curls);
  • Die - Alexandra Renke (Ornament Branch);
  • Art Extravagance - Finnabair Prima (Gold Crackle Paste);
  • Art Basics - Finnabair Prima (Black Gesso, 3D Matte Gel).


Related Posts Plugin for WordPress, Blogger...