Affichage des articles dont le libellé est Blossom Blends. Afficher tous les articles

dimanche 8 décembre 2019

XMas cards - 49 and Market DT

Bonjour à toutes,

Aujourd'hui je suis sur le blog de 49 and Market avec un set de 6 cartes. Même si elles semblent toutes similaires, chacune d'entre elles est unique.

Hello Sweeties,

Today I'm up on 49 and Market blog with a set of 6 cards. Even if they look similar each one is still unique.


J'ai découpé 6 cartes dans le papier Frolic et dans la feuille bonus de la collection Winter Edge que j'ai protégé d'une couche de gesso.

I cut 6 cards in Frolic and in the extra sheet from the Winter Edge collection and I primed them with clear gesso.


J'ai mélangé de la pâte de texture avec des glitter argent et j'ai utilisé cette pâte maison pour ajouter un motif à l'aide d'un pochoir.

I mixed some modeling paste with silver glitter and I used this homemade paste to add a design.


J'ai coupé pleins d'éléments divers tels que des branches de pin, des pommes de pin, du gui, des baies, ... dans du papier aquarelle. J'ai coloré tous ces éléments avec diverses nuances de vert et de marron. J'ai embossé certaines parts de ces découpes comme les baies, les boules de gui ou encore les pomme sde pin.

I die cut a lot of elements such as pine branches, pine cones, mistletoe, berries, ... in watercolor paper. I colored all these elements with different shades of green and brown, I emboss some part of the embellishments such as the berries, the mistletoe balls, or the pine cones.


J'ai coloré le fond avec des encres rouges, vertes, ou marron.

I colored lightly the background with red, green, or brown inks.


Ensuite, j'ai collé tous les embellissements que j'ai préparé ainsi que des éléments naturel et des fleurs rouges. J'ai ajouté quelques tamponnages.

Next, I glued all the elements I have prepared as well as some natural elements and different red flowers.I added some random stamping..


Pour finir les cartes, j'ai ajouté des microbilles, des glass glitters ainsi que des mini-étoiles.

To finish the cards, I added microbeads, glass glitters as well as some little stars to add more texture.


Matériels / Materials:

49 and Market products:


Winter Edge
Frolic

Winter Edge
Bonus Sheet

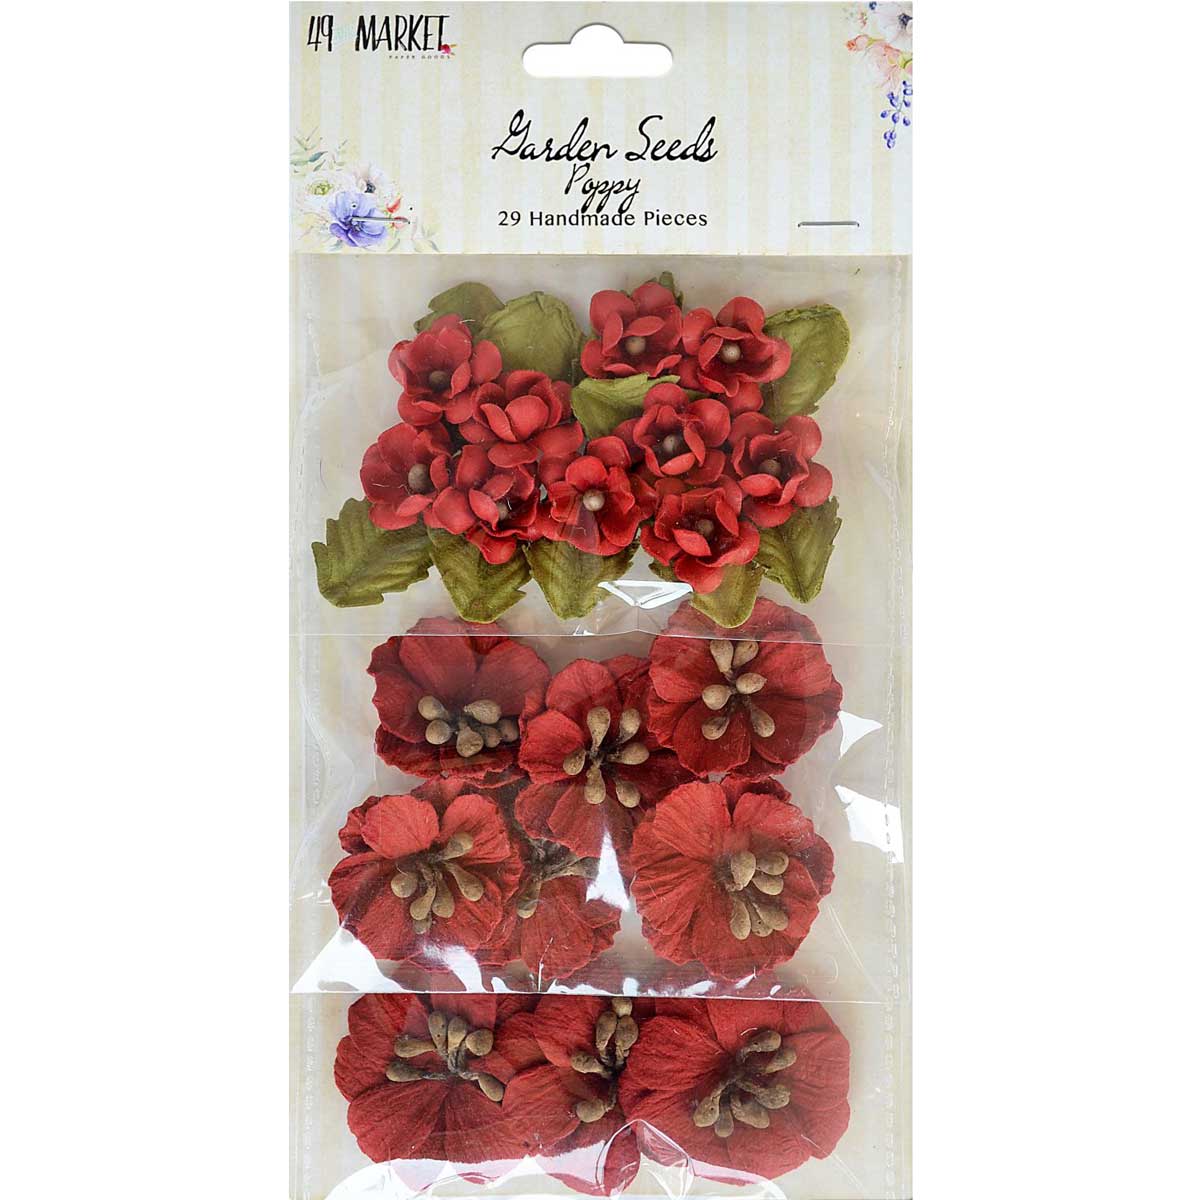
Garden Seeds
Poppy

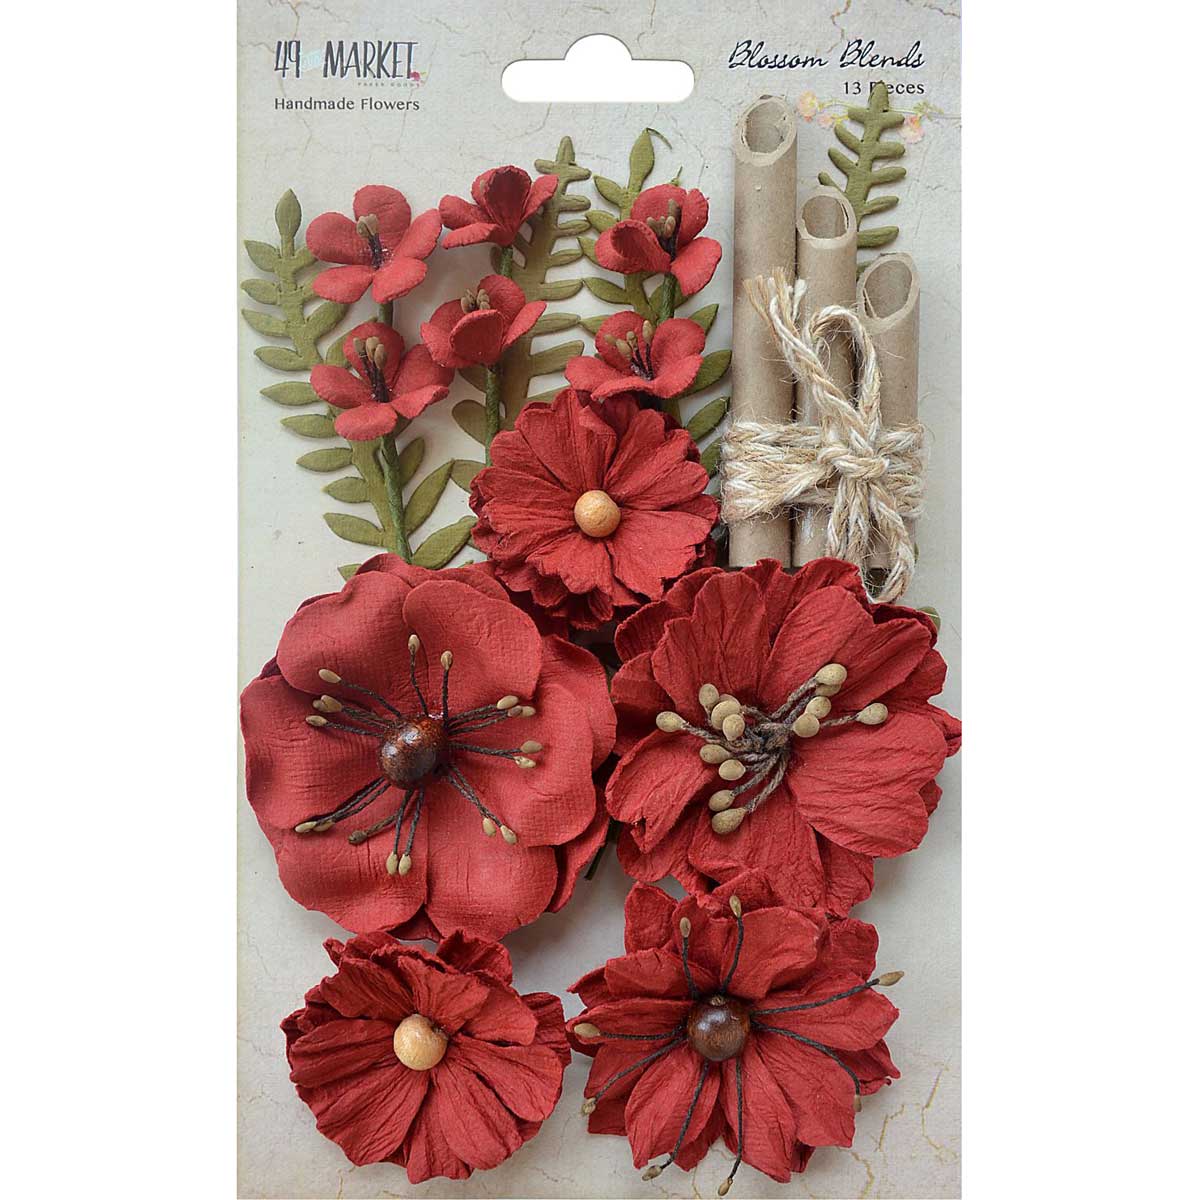
Blossom Blends
Poppy

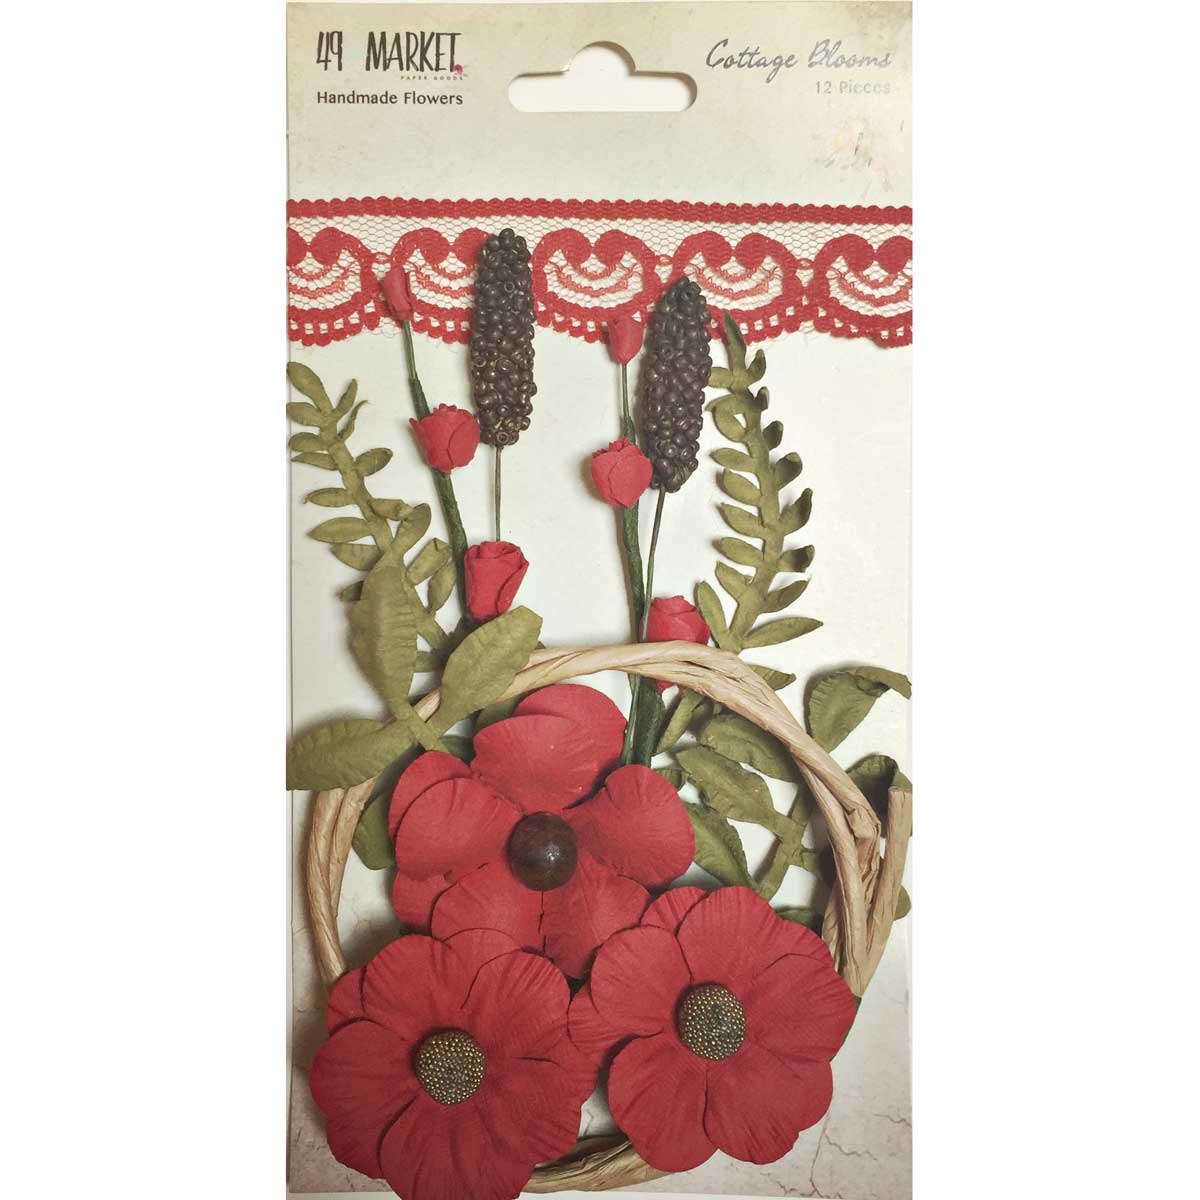
Cottage Blooms
Poppy

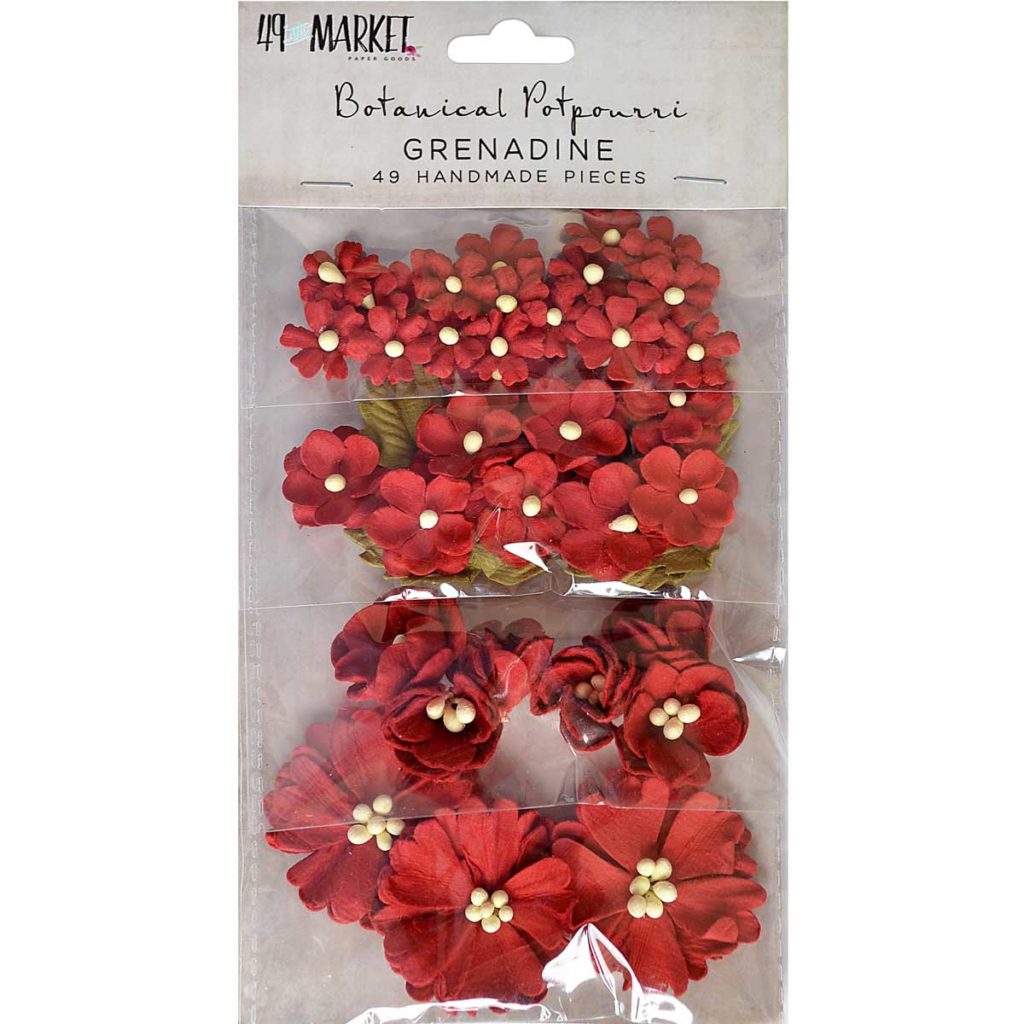
Botanical Potpourri
Grenadine

1787
Stamp

Pascale's Form
Stamp

Pascale's Grammar
Stamp


Other products:

  • Spray inks - Lindy's Gang (Cathedral Pines Green, Ponderosa Pines Olive, Dark Chocolate Truffle);
  • Magical - Lindy's Gang (Gag Me With a Spoon Gray (), Rizzo's Rowdy Red);
  • Embossing Powders - Lindy's Gang (Twilight Bronze Slate, Holly Berry Red Gold, Silver Moon Mistletoe);
  • Stencil - A.B. Studio (Stencil ID-160);
  • Art Ingredients - Finnabair Prima (Microbeads: Silver, Bronze, microbeads set; Glass Glitter: Sterling, Copper, Gold Rush; Glitter: Luminous set);
  • Art Basics - Finnabair Prima (Clear Gesso, Modeling Paste, 3D Matte Gel).


samedi 23 novembre 2019

Christmas Wreath - Lindy's Gang DT

Bonjour à toutes,

Aujourd'hui je suis sur le blog de Lindy's Gang blog avec une nouveau tutoriel en vidéo pour réaliser  une couronne de noël.

Hello Sweeties,

Today I'm up on Lindy's Gang blog with a new video tutorial: a Christmas wreath. 


Processus de base / Basic process:
  1. Couper deux tags dans le papier de votre choix ;
    Cut two tags in the paper of your choice;
  2. Coller les tags sur un carton et encrer les bords ;
    Glue the tags on cardboard and ink the edge;
  3. Colorer quelques rubans avec les encres Ponderosa Pines Olive, Frolic in the Forest Black, Cathedral Pines Green, and Mapple Syrup Bronze ;
    Color some ribbons to attach to the tags with Ponderosa Pines Olive, Frolic in the Forest Black, Cathedral Pines Green, and Mapple Syrup Bronze;
  4. Attacher les rubans et coller les tags sur la couronne ;
    Attach the ribbons and glue the tags to the wreath;
  5. Découper des branches de sapin et de houx, des baies et feuilles dans du papier aquarelle ;
    Die-cut branches of fir and holly, berries, and leaves in a watercolor paper;
  6. Colorer les feuilles et les branches de sapin avec les encres Cathedrale Pines Green, My Mojito Green, and Mapple Syrup Bronze
    Color the leaves and fir with Cathedrale Pines Green, My Mojito Green, and Mapple Syrup Bronze;
  7. Embosser les perles avec la poudre Holly Berry Red Gold ;
    Emboss small pebbles with Holly Berry Red Gold;
  8. Coller les sur les baies de la branche de houx ;
    Glue them on the holly berries branch;
  9. Colorer les baies avec l'encre Mapple Syrup Bronze ;
    Color the berries branches with Mapple Syrup Bronze;
  10. Puis embosser les baies avec la poudre King Midas Gold ;
    Next, emboss the berries with King Midas Gold EP;
  11. Colorer les branches avec Frolic in the Forest Black ;
    Color the branches with Frolic in the Forest Black;
  12. Coller tous les éléments de la composition ;
    Glue all the elements of the composition;
  13. pour finir, ajouter des microbilles et des glass glitters.
    To finish, add some microbeads and glass glitter.
Quelques gros plans / Some close-ups:


Et voici la video / And the video:


Matériels / Materials:

Lindy's Gang products:
Other products:
  • Paper - 49 and Market (Winter Edges -  Season's Greetings);
  • Flowers - 49 and Market (Blossom Blends: Poppy; Cottage Blooms: Poppy);
  • Microbeads - BFS (Deep Red);
  • Token - Idea-ology (Christmas);
  • Die - Mimi Cut (Herbarium 3);
  • Die - Impression Obsession (Pine Branch);
  • Art Alchemy - Finnabair Prima (Wax: Vintage Gold);
  • Art Ingredients - Finnabair Prima (Glass Glitter: Gold Rush; Pebbles);
  • Art Basics - Finnabair Prima (Soft Matte Gel).

samedi 23 février 2019

Tell me your story - 49 and Market DT

Bonjour à toutes,

Aujourd'hui je suis sur le blog de 49 and Market avec une nouvelle page réalisée avec les collections Winter Edges et Tattered Gardens.

Hello Sweeties

Today I'm up on 49 and Market blog with a new layout featuring Winter Edges and Tattered Gardens collections. 


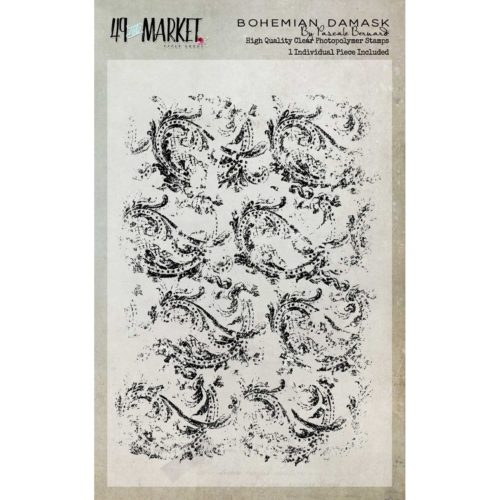
J'ai commencé par protéger le fond avec une couche de gesso transparent. Puis, j'ai tamponné ici et là avec les tampons Bohemian Damask et 1787 avec deux encres. Ensuite, j'ai mélangé une encre bordeaux, du gel 3D et de la poudre de texture pour obtenir une pâte. A l'aide d'un pochoir et de cette pâte,  j'ai ajoué un motif.

First I primed the background with clear gesso. I stamped randomly with Bohemian Damask and 1787 with two inks. Next, I mixed together a burgundy ink, 3D gel, and texture powder to obtain a paste. I used this paste with a stencil to add a design. 


J'ai changé les pistils et légérment coloré les fleurs en ton sur ton.

I changed the pistils and added some color to the flowers.


J'ai coupé deux morceaux de papiers de la collection tattered Garden dont j'ai embossé les bords avec une poudre bordeaux qui rappelle la photo.

I cut two pieces of paper from the Tattered Garden collection whose edges I embossed with a burgundy powder to remind the photo. 


J'ai collé tous les embellissements, fleurs, feuilles, écorce et mousse avec un gel 3D.

I glued all the embellishments flowers, leaves, bark and moss with a 3D gel.


J'ai coloré des Art Stones avec de l'encre de Chine et une encre brune.

I colored some Art Stones with brown and Indian ink. 


Pour terminer la mise en page, j'ai collé les Art Stones ainsi que des microbilles et des glass glitters.

To finish the layout, I glued the Art Stones along glass glitter and microbeads.

Matériels / Materials:

49 and Market products:
WE-87896G Good Cheer
Winter Edges
Good Cheer
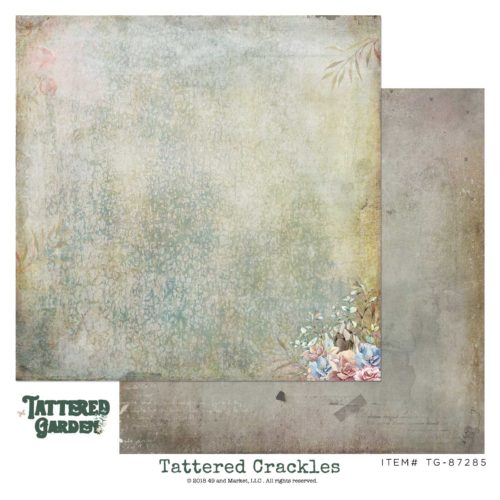
TG-87285-Tattered-Crackles
Tattered Gardens
Tattered Crackles
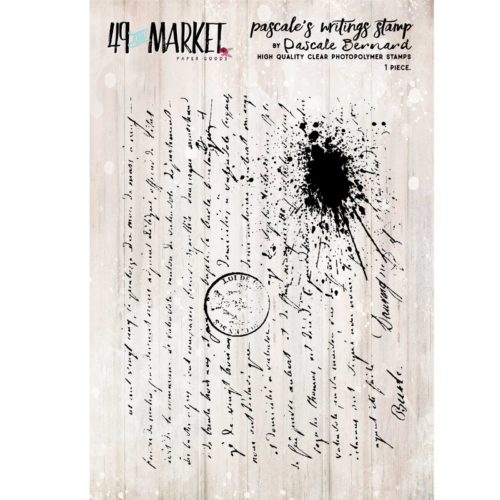
PB-86660 Pascale's Writings Stamp (3x4)
Pascale's Writing
Stamp
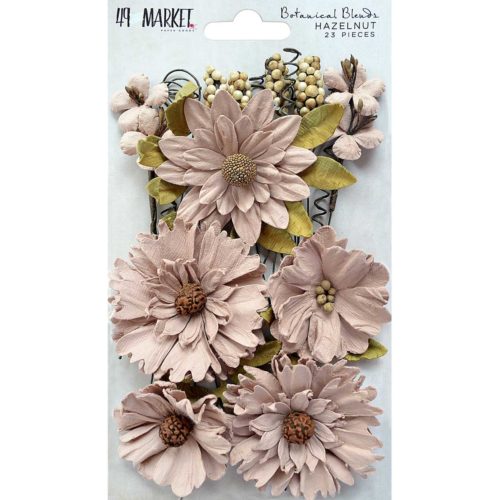
BB-86912-Botanical-Blends-Hazelnut
Blossom Blends
Hazelnut
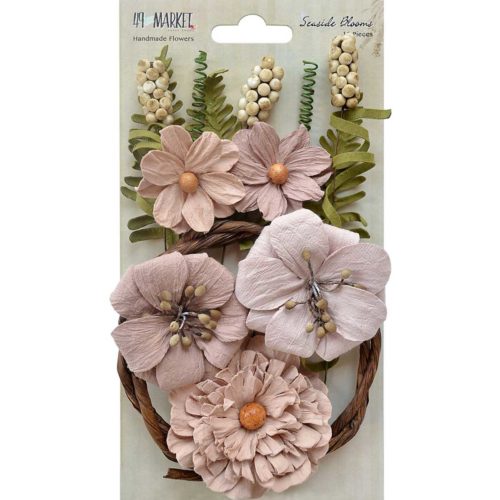
SB-86066 Seaside Blooms - Sandcastle
Seaside Blooms
Sandcastle
PB-87483-Bohemian-Damask-Stamp
Bohemian Damask
Stamp

Other products:
  • Stencil - AB Studio (Stencil ID-64);
  • Magicals - Lindy's Gang (Bratwurst Brown, Cowabunga Copper);
  • Squirts - Lindy's Gang (Oh Canadian Crimson, Canadian Bacon Blush);
  • Embossing Powder - Lindy's Gang (Gilded Burgundy Brass);
  • Art Ingredients - Finnabair Prima (Texture Powder, Art Stones, Mega Art Stones, Glass Glitter: Silver);
  • Art Basics - Finnabair Prima (Clear Gesso, Soft Matte Gel).

mardi 18 décembre 2018

Christmas Star - Lindy's Gang DT

Bonjour à toutes,

Aujourd'hui je suis sur le blog de Lindy's Gang avec un home décor pour Noël. J'ai travaillé sur une étoile en bois.

Hello Sweeties,

Today I'm up on Lindy's Gang blog with a Christmas home decor. I work on a wooden star that a brought in a dollar store. 


J'ai commencé par protéger l'étoile en bois d'une couche de gesso.
Une fois sec, j'ai ajouté une couche inégale de pâte à craqueler blanche pour obtenir un effet vieilli : plus la couche est fine, plus les craquelures sont fines; plus lacouche est épaisse, plus les craquelures sont larges. J'ai laissé sécher naturellment.

First I primed the wooden star with white gesso. 
When it was dry, I added a non-even layer of white crackle paste as I want to obtain a distressed look: the thinner the layer is, the finer the crackles are; the thicker the layer is the larger the crackles are. I let it dry on its own.


Pendant que la pâte séchait, j'ai recouvert quelques fleurs ainsi que des embellissements en pâte de papier avec du gesso blanc.

While the paste was drying, I primed some flowers as well as some paper clay embellishments with white gesso. 


Une fois satisfaite du résultat, j'ai tout collé avec un gel épais.
J'ai coloré les éléments en pâte de papier et les feuilles avec Cathedral Pine Green et Tainted with Love Teal. POur les fleurs, j'ai utilisé Hag's Wart Orange.

When happy with the result, I glued everything with a heavy body gel.
I colored the paper clay embellishments and the leaves with Cathedral Pines Green and Tainted wit Love Teal. For the flowers, I used Hag's Wart Orange.


J'ai séché l'ensemble avant d'ajouter des Art Stones de différentes tailles avec du gel 3D mat.
J'ai rajouté encore plus de couleurs, en particulier sur les fleurs avec Tears my Pillow Tangerine et Grab a Guy Gold.

I dry everything before adding different sizes of Art Stones with 3D Matte Gel.
I added more colors especially the flowers with Tears my Pillow Tangerine and Grab a Guy Gold. 


Ensuite j'ai embossé quelques diamants avec Fiesta Pumpkin EP. La poudre étant transparente, j'ai embossé chaque pierre deux fois.
Après avoir collé les diamants, j'ai brossé à sec l'ensemble des éléments avec du gesso blanc pour donner plus de profondeur au projet.

Next, I embossed a few diamond pebbles with Fiesta Pumpkin EP. As the embossing powder is clear, I embossed each pebble twice. 
After gluing the pebbles in place, I dry brush everything with white gesso to add more depth to the project. 


Quelques gros plans / Some close-ups:


Et la video / 

And the step-by-step video:


Matériels / Materials:

Lindy's Gang products:
Other products:
  • Flowers - 49 and Market (Blossom Blends: Cantaloupe);
  • Molds - Prima (Baroque 1, Baroque 6);
  • Art Ingredients - Finnabair Prima (Art Pebbles - Diamonds, Art Stones - Mini, Mega);
  • Art Extravagance - Finnabair Prima (White Crackle Paste);
  • Art Basics - Finnabair Prima (White Heavy Gesso, Heavy Body Gel, 3D Matte Gel).


lundi 12 mars 2018

The Forest Beauty - Maja Design DT

Bonjour à toutes,

Aujourd'hui je suis sur le blog de Maja Design avec une nouvelle page réalisée avec la collection Celebration. J'ai choisi un photomontage que j'ai réalisé.

Hello Sweeties

Today I'm up on Maja Design blog with a new layout featuring the Celebration collection. I chose a photomontage I've made. 


J'ai commencé par protéger le fond avec une couche de gesso transparent. Puis, j'ai embossé un motif tamponné. J'ai également ajouté un motif à l'aide d'un pochoir et de pâte à craqueler blanche.

I primed the background with clear gesso. Next, I embossed a stamp design. I added also a design with a stencil and white crackle paste. 


Pendant que la pâte à craqueler séchait, j'ai peint des feuilles et des fleurs avec du gesso blanc,  et d'autres avec des encres.

While the crackle paste was drying, I primed some leaves and flowers with white gesso, while I painted others with inks.  


J'ai également coloré des Art Stones avec de l'encre de chine et une encre brune ainsiq ue des découpes.

At the same time, I colored Art Stones with drawing ink and a brown ink. I painted some die cut with the same inks. 


J'ai ensuite coloré le fond avec diverses encres.

Next, I added some color to the background with different inks. 


J'ai coupé quelques papiers pour metre sous la photo et j'ai collé tous les embellissements.

I cut a few papers to add under the phot, and I glued all the embellishments. 


Et pour terminer la mise en page, j'ai légérement coloré les fleurs et les feuilles et j'ai ajouté les Art Stones.

To finish the layout, I colored lightly the flowers and the leaves, and I added the Art Stones. 

Matériels / Materials:

Maja Design papers:


Celebration 

Birthday

Glamour bs

6x6 Paper Pad

Other products:
  • Flowers - 49 and Market (Blossom Blends: Watermelon, Garden Blooms: Alabaster);
  • Stamps - 49 and Market (Faded Damask, Pascale's Form);
  • Spray Inks - Lindy's Gang (Starburst: Bodacious Blush, Moon Shadow: Silhouette Silver);
  • Embossing powder - Lindy's Gang (Café au Lait);
  • Stencil - TCW (6x6 Victorian Sketchbook);
  • Art Ingredients - Finnabair Prima (Art Stones, Mega Stones); 
  • Art Extravagance - Finnabair Prima (White Crackle Paste);
  • Art Basics - Finnabair Prima (Clear Gesso, Heavy White Gesso, Soft Matte Gel).
 

Where can you purchase MajaDesign Papers?

MajaDesign collections are sold all around the world - 33 countries and growing with new stores being added often. Are you looking for a store location that sells Maja collections? Here is a helpful Store Finder link to help you shop. If your favorite store is not on this list, consider asking them to carry MajaDesign.
Related Posts Plugin for WordPress, Blogger...