mardi 30 novembre 2021

Purple Lantern - Mixed media home decor for Finnabair

Hello Sweeties,

Today I'm very excited to share with you my first project as Finnabair Brand Ambassador. The theme for this month is Purple. As Christmas is approaching very fast, I decided to alter this lantern that would decorate my table. 

First, I primed the lantern with white gesso as I need a base to which the white crackle paste will adhere. 


When the paste was dry, I glued all the embellishments with Heavy Body Gel. I primed them with white gesso and colored them with Purple liquid acrylic, Frozen Berries metallique paint, and Iris Potion Sparks. To add some depth to the composition, I added also some Raven Sparks.

I added a few Diamond pebbles, whose bottom I covered with Iris Potion Sparks. 


I added a design with the Gothic stencil and Crushed Ice Effect paste to the windows. When dry, I added here and there some silver metallic flakes on top of the Crushed Ice paste. 


To finish, I added some glitters. 

Materials:
  • Mould - Prima (Meadow Hare);
  • Crystal Flowers - Prima;
  • Mechanical - Finnabair Prima (Winter Trinket, Metal Blooms, Hardware Accents);
  • Stencil - Finnabair Prima (Gothic);
  • Art Ingredients - Finnabair Prima (Glitter Set: Luminous; Metallic Flakes: Sparkling; Diamond Art Pebbles);
  • Art Alchemy Paints - Finnabair Prima (Sparks: Iris Potion, Raven Black; Metallique: Frozen Berries; Liquid Acrylic: Purple);
  • Art Alchemy Waxes- Finnabair Prima (Old Silver, White Pearl, White Gold);
  • Art Extravagance - Finnabair Prima (White Crackle Paste, Crushed Ice Effect Paste, Gilding Glue);
  • Art Basics - Finnabair Prima (White Heavy Gesso, Heavy Body Gel, Soft Gloss Gel).

mercredi 24 novembre 2021

Up - Mixed media layout for 49 and Market DT

Hello Sweeties,

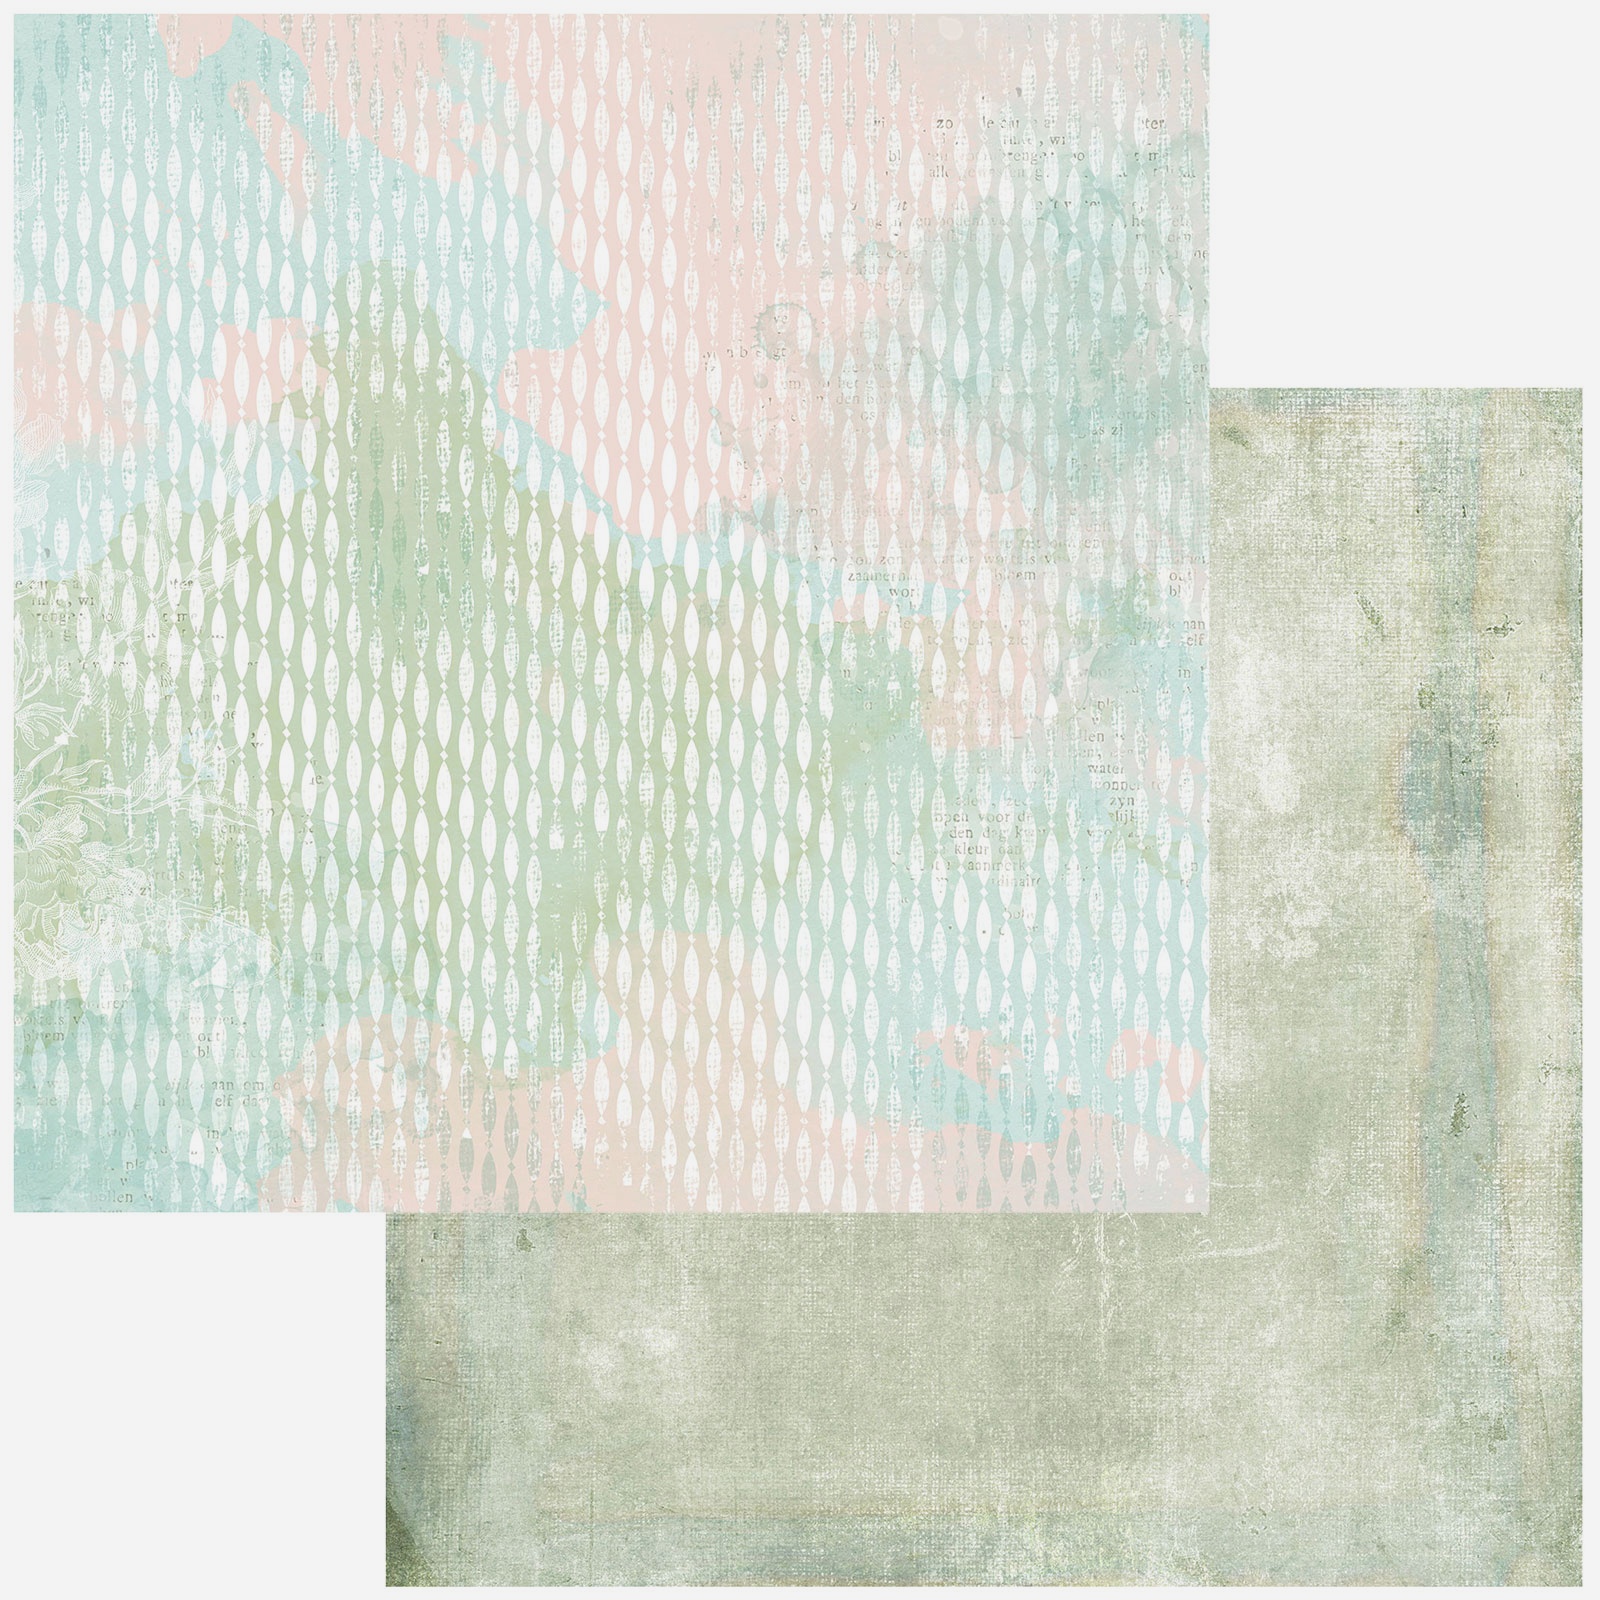
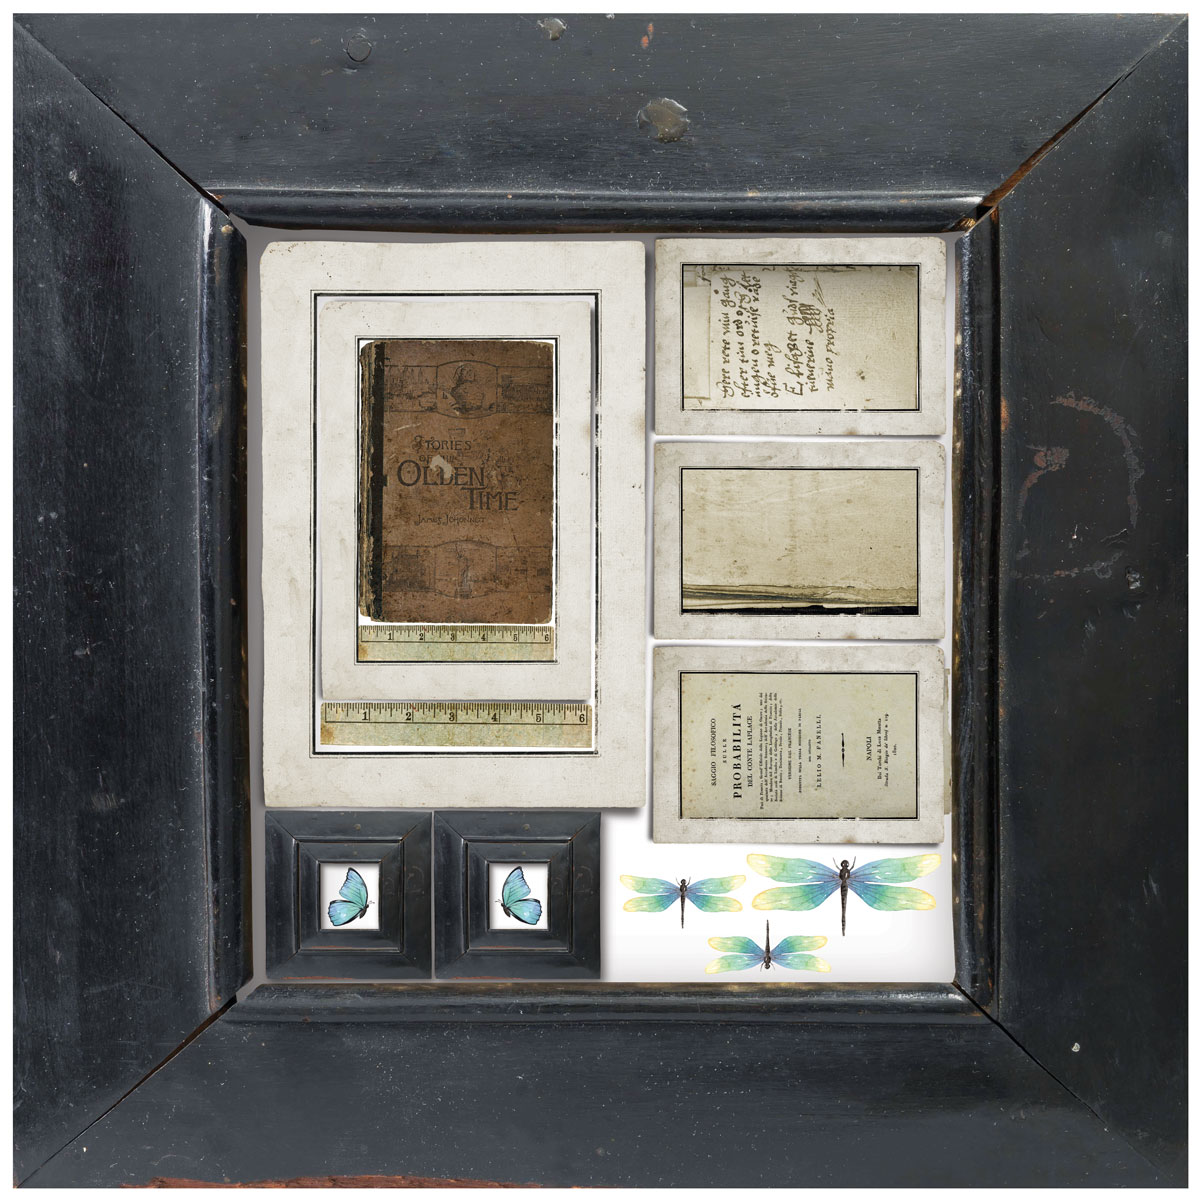
Today I'm up on 49 and Market blog with a new layout. I used the frame from one of our old collections: Serendipitous. 


I primed the background with clear gesso. Next, I added a reversed design with a stencil and red paint. To obtain the reversed design, I painted the stencil with the paint, then I applied it to the background. The result is very subtle. Next, I added some color with red and green inks. Finally, I glued the frame from the Serendipitous on top of the background paper.


I die cut different kinds of leaves in a watercolor paper: ferns, pine branches, leaves, ... which I colored with the same inks I used to color the background.


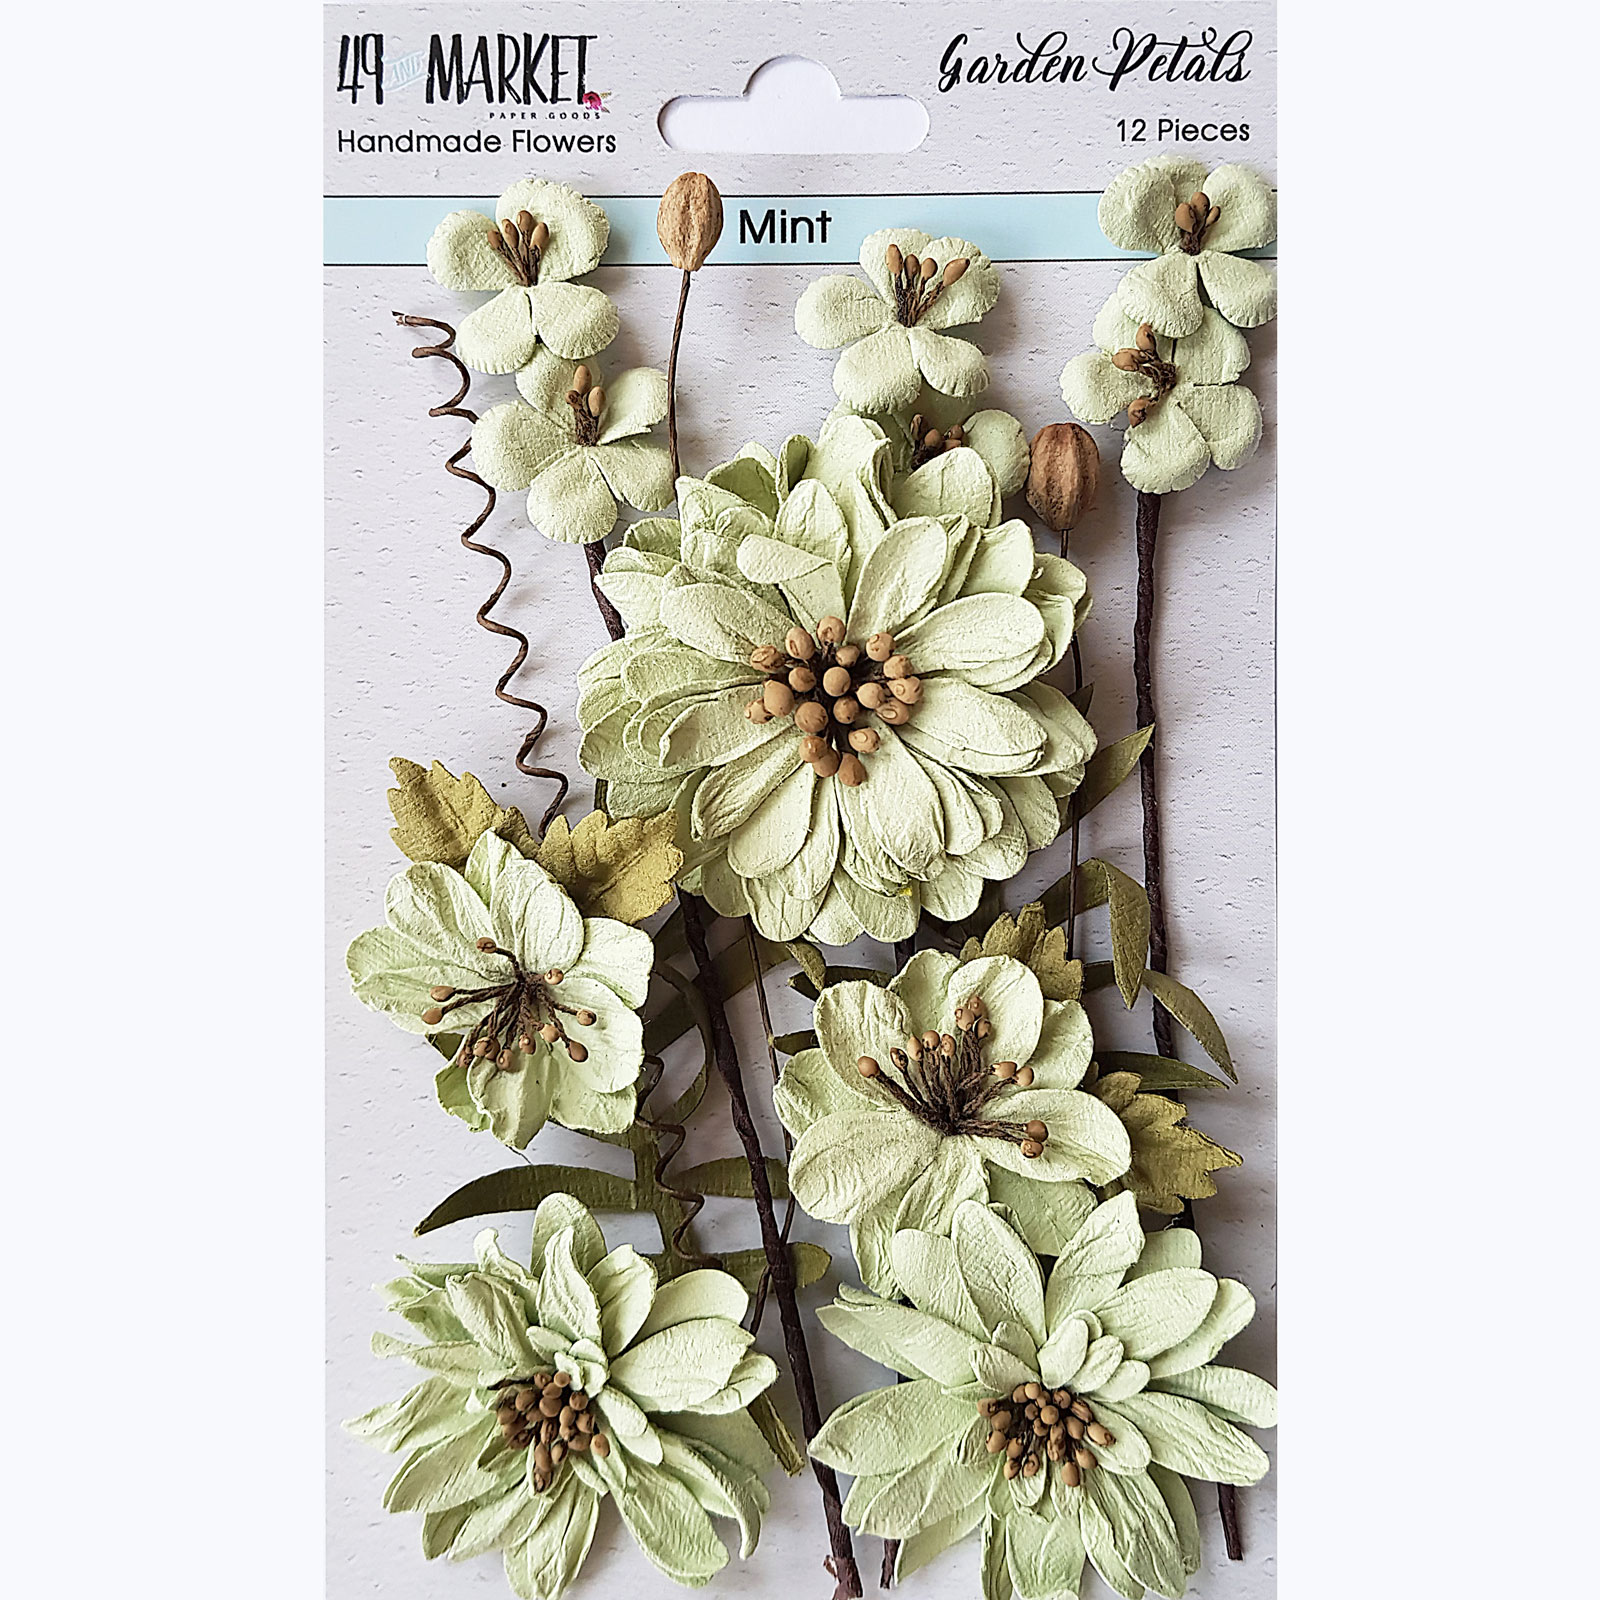
I colored the Mint Garden Petals to obtain the color I was looking for. 


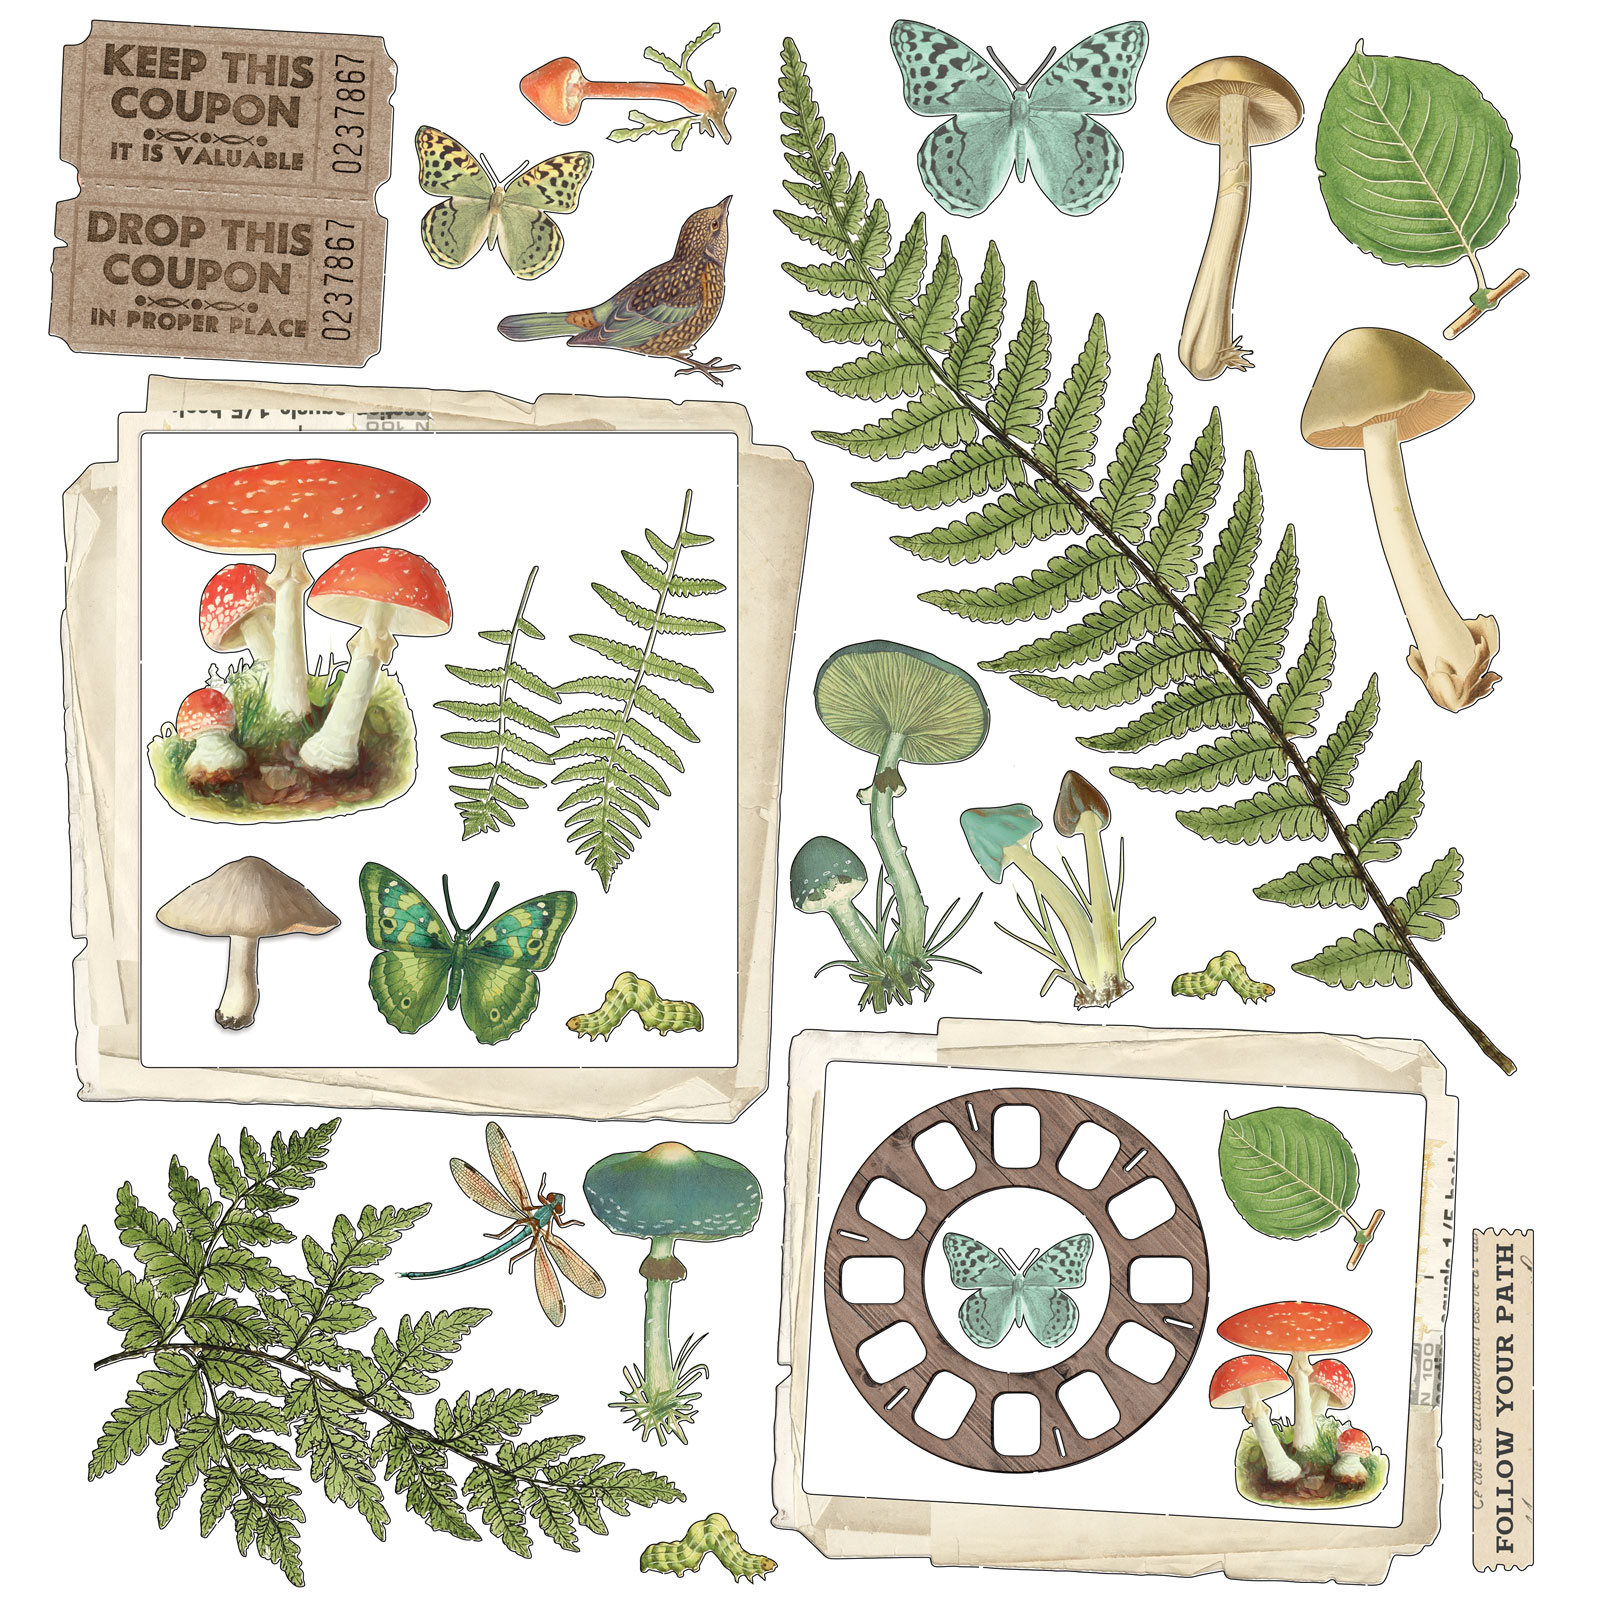
I framed the photo with a Whitewash Chipboard Frame and added a few Ephemera from the VA Naturalist collection.


When the elements of the composition were glued, I added a few laser-cut mushrooms from the VA Hike More collection and some Sage Whishing Bubbles. 


To finish, I added some glitter.

49 and Market products:

VAC-33546 Vintage Artistry in Color Collectors Set Vol. 1 - Paper 5
Vintage Artistry Collectors 1
Paper 5
SC-88800-serendipitous-easy-cut-images
Serendipitous
Bonus Sheet

Vintage artistry Hike More
12x12 Collection Pack

Vintage Artistry Naturalist
Ephemera Bits

Vintage Artistry Essentials
Whitewash Chipboard Frames
Garden Petals - Mint
Garden Petals
Mint
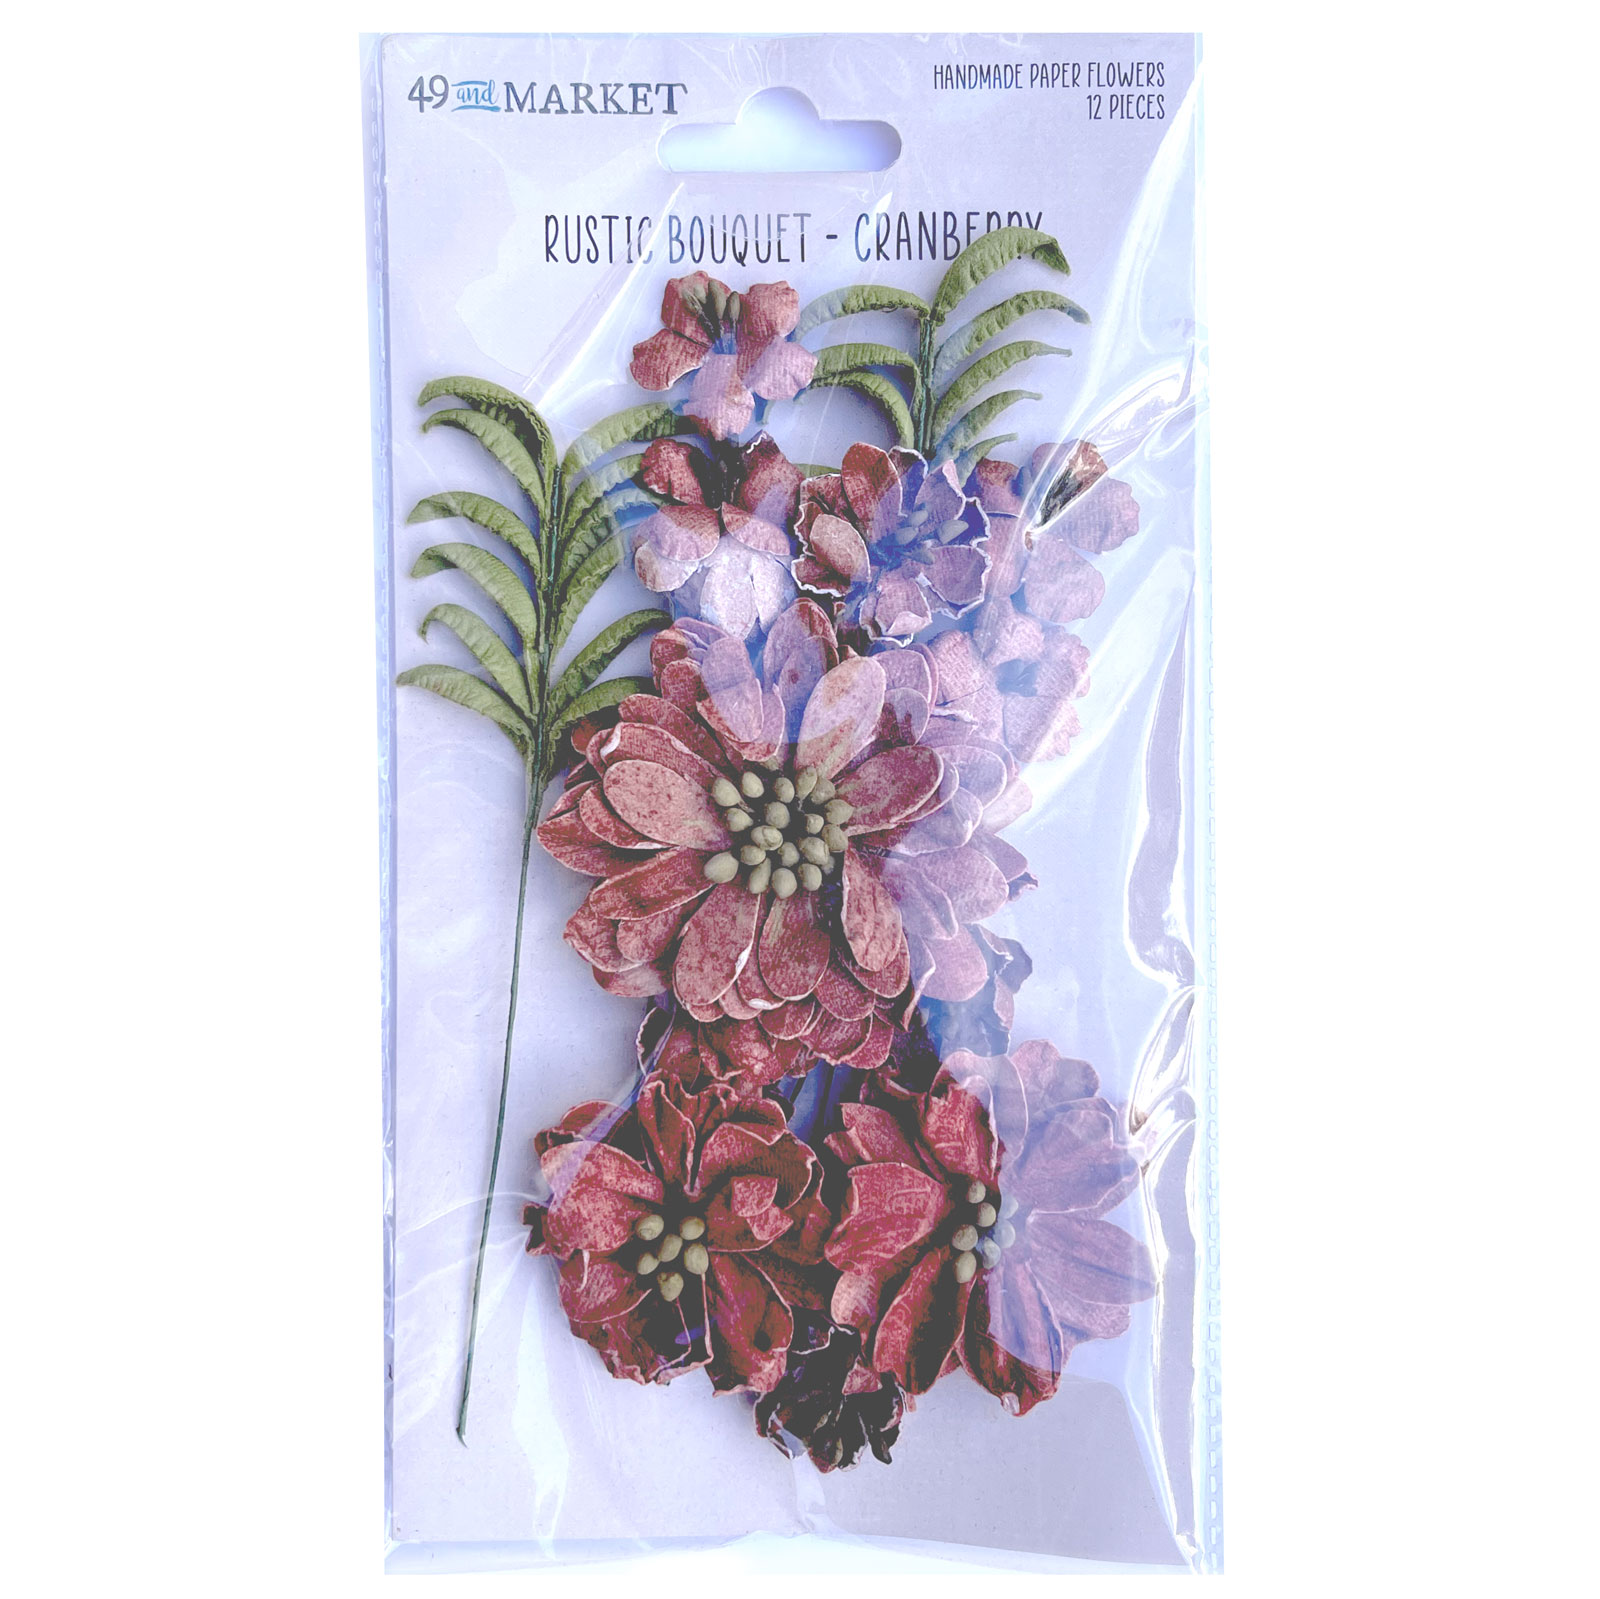
RB-34895 Rustic Bouquet - Cranberry
Rustic Bouquet
Cranberry
MV-32457-Mauras-Vineyard-Rose
Maura's Vineyard
Rosé
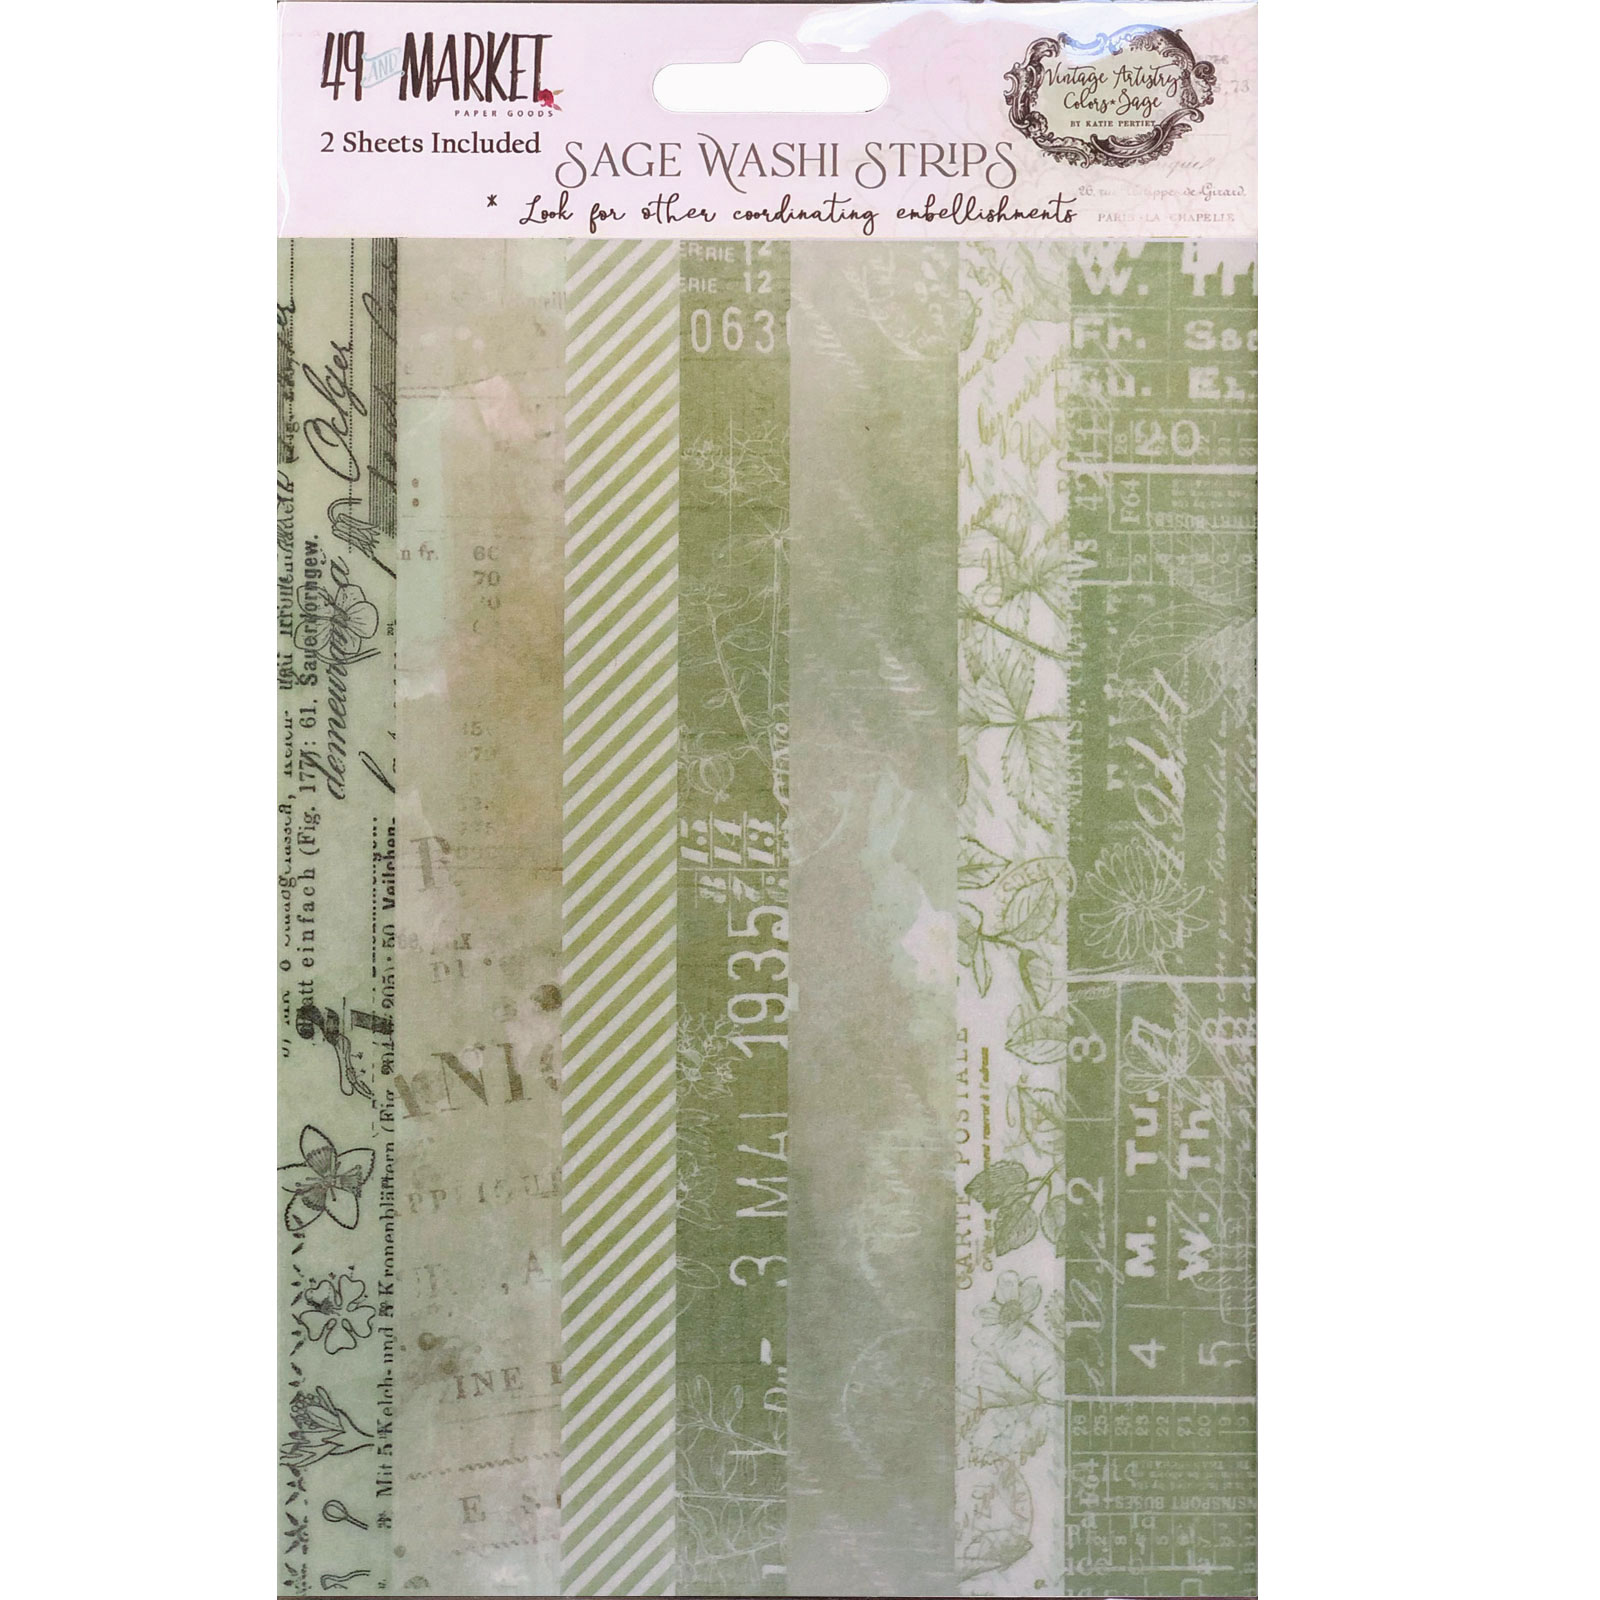
  VAC-32037-Sage-Washi-Strips
Vintage Artistry Sage
Washi Tape
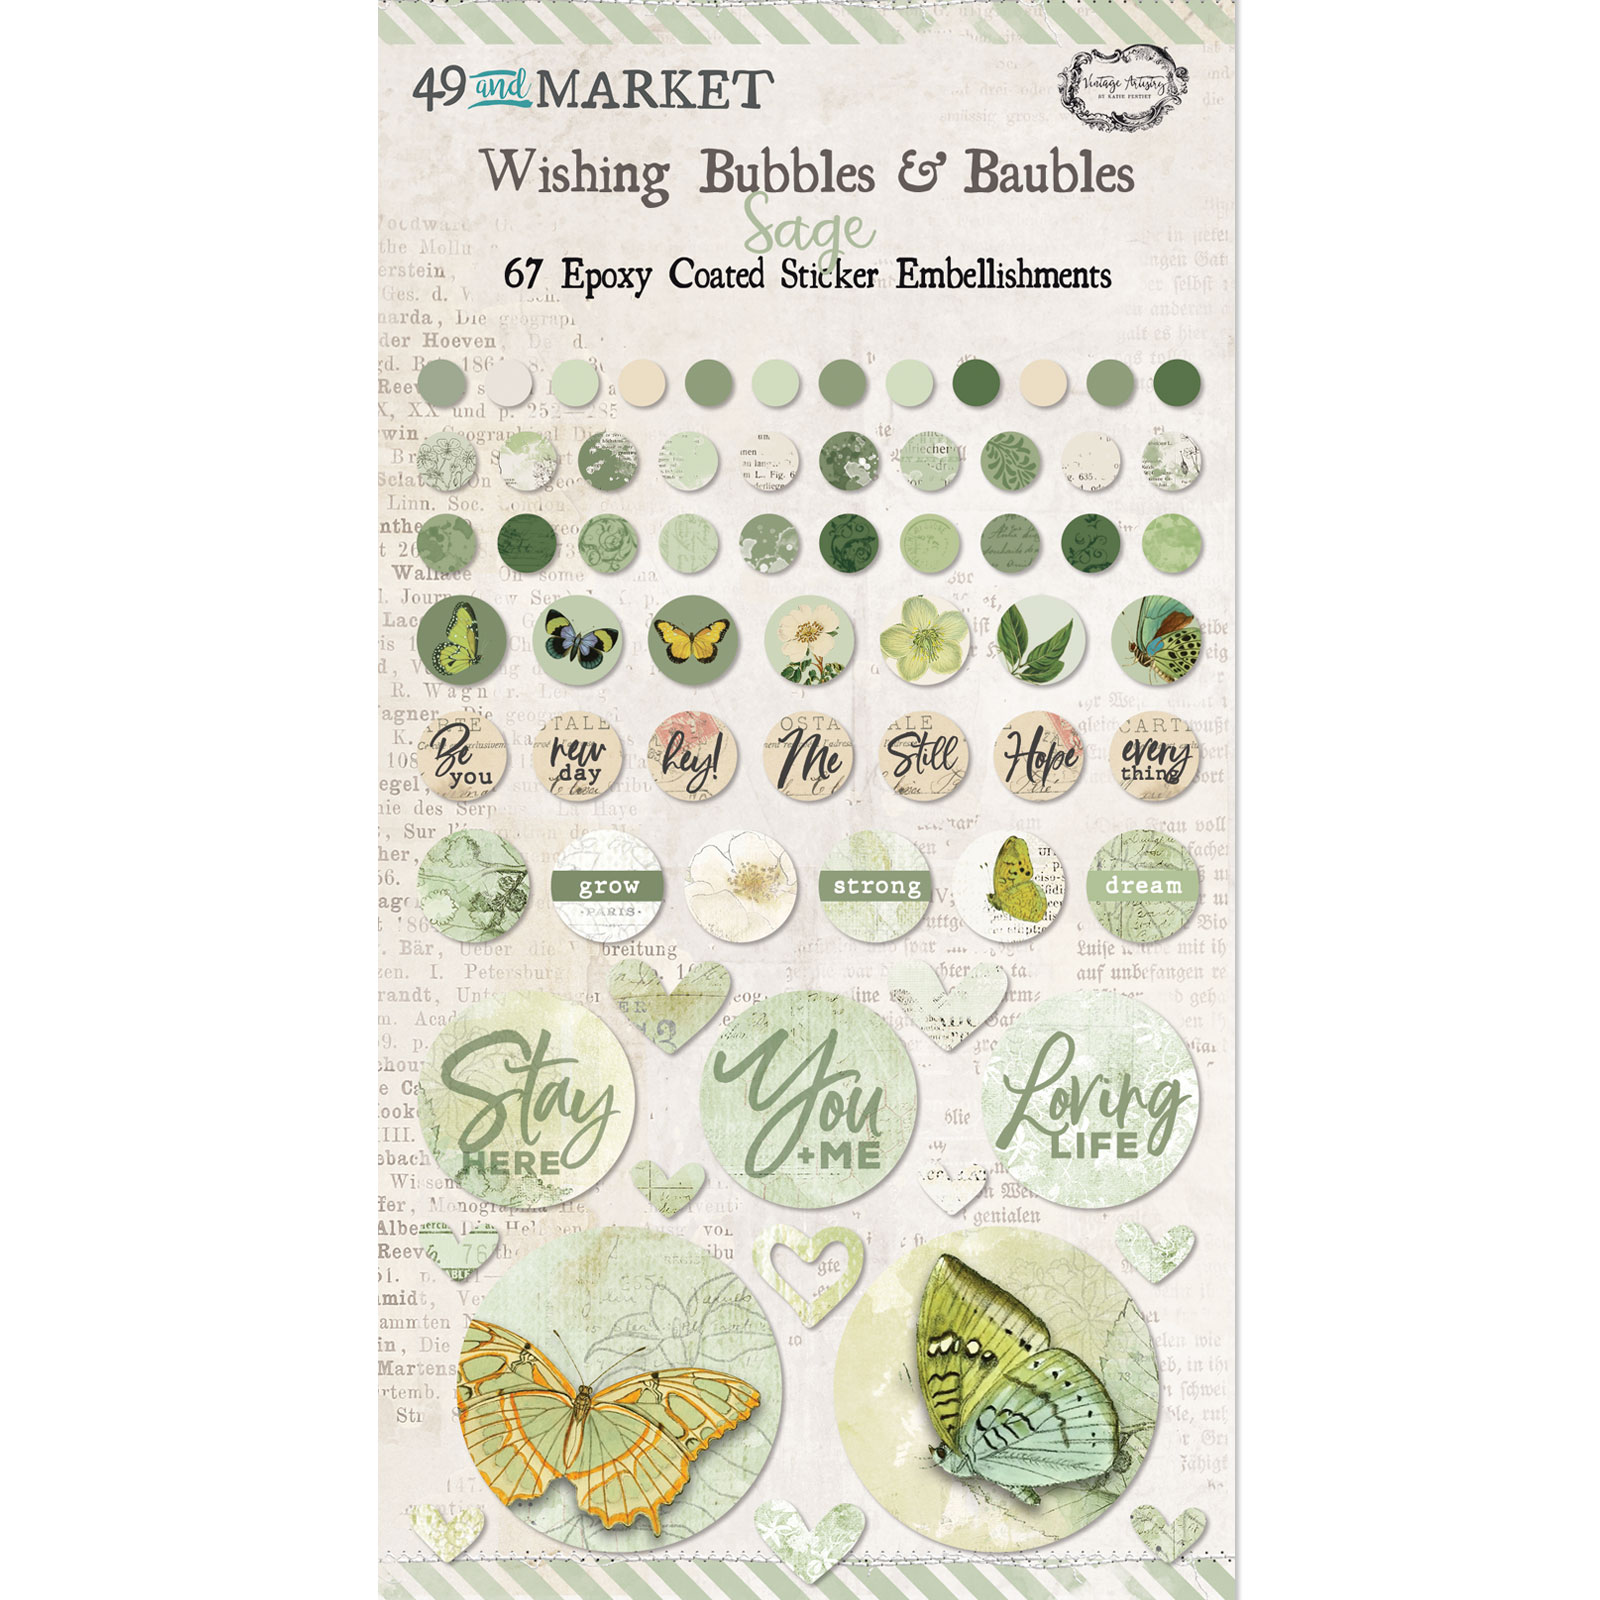
VAC-33447 Wishing Bubbles and Baubles - Sage
Wishing Bubbles & Baubles
Sage
 
Other products:
  • Magical - Lindy's Gang (Whale Watch Blue, Ponderosa Pine Olive, Peony Scarlet Red, Bodacious Blush);
  • Stencil - A.B. Studio (Stencil ID-91);
  • Art Alchemy Paint - Finnabair Prima (Royal Red);
  • Art Basics - Finnabair Prima (Clear Gesso, 3D Matte Gel, Soft Gloss gel).


jeudi 18 novembre 2021

Reality has limits ... - Mixed media panel for Dusty Attic DT

Hello Sweeties,

Today, I'm up on Dusty Attic blog with a new mixed media panel. 


To start, I glued different papers like tissue paper, kraft, book pages which I blended with white gesso. Next, I added a design with the Lace stencil and white crackle paste.


I primed all the chipboards with white gesso. I added a design on the Oval Frame Journal Box with the Flourish stencil and Paper paste. 


First I glued the Oval Frame Journal Box, then the biggest Decorative Frame #1. I continued with some Tropical Foliage #9, Foliage #4, and Ferns. In between, I added the smallest Decorative Frame #1. I added the main element of the canvas a big metallic flower and some pebbles which I covered with white gesso too. 


Next, I started to color the composition with blue and purple paints. When happy with the result, I dry brush the composition with white gesso to tone down the color. I used silver and gold waxes to highlight the details. 


To finish, I added some Golden Dragon Effect paste. 


Dusty Attic products:


Frame Journal Box Oval
DA0212

Decorative Frame #1
DA0207

Foliage #4
DA1294

Tropical Foliage #9
DA2537

Ferns
DA0507

Flourish Stencil
DA2662

Lace Stencil
DA1310

Other products:
  • Paper Tissue - Finnabair Prima (Moda);
  • Mechanical - Finnabair Prima (Desert Flowers);
  • Art Alchemy Paints - Finnabair Prima (Liquid Acrylic: Purple, Ultramarine, Prussian Blue; Metallque: Frozen Berries, Midnight);
  • Art Alchemy Waxes - Finnabair Prima (Old Silver, White Gold, Vintage Gold)
  • Art Extravagance - Finnabair Prima (White Crackle Paste, Golden Dragon Effect Paste);
  • Art Basics - Finnabair Prima (White Heavy Gesso, 3D Matte Gel, Soft Gloss Gel).
mardi 16 novembre 2021

Don't Worry Kids .... - Mixed media panel for Lindy's Gang DT

Hello Sweeties,

Today I'm up on Lindy's Gang blog with a Xmas mixed media panel. I worked with another photo from the talented Christina Fisher. On this one, you can read "Don't worry kids ... He will certainly come this year."


First, I glued different kinds of paper with soft gel. I used white gesso to blend them together. Next, I added two designs with two stencils and two pastes: Paper and White Crackle pastes.


While the crackle paste was drying, I die cut different leaves and branches in watercolor paper. I colored the leaves with Long John's Silver and the pine branches with Long John's Silver and Stormy Sky.

I colored the berry branches with Rizzo's Rowdy Red, but I wasn't really happy with the result. I used my glue gun to make 3D berries. While the glue was still hot, I covered it with Candy Cane Red Gold EP. I waited until the glue was cold before melting the embossing powder.


I primed the chipboards with white gesso. I colored them with Sandra Dee Sepia with the minimum of water as I wanted them to be dark. I embossed the flowers with Lapis Lazuli Blue Gold and added some waxes as well on the leaves.


In the meantime, the crackles have had time to appear. I colored the background with Long John's Silver, Silhouette Silver, Stormy Sky, and Sandra Dee Sepia. When everything was completely dry, I dry brushed lightly some white gesso to highlight the designs. 


After gluing everything with a 3D gel, I finished the composition with glitters. 

I hope you will enjoy the video tutorial:


Materials:

Lindy's Gang products:
To obtain a 10% discount on all your purchase at Lindy's Gang, use the code PASCALE_B.

Other products:
  • MDF - Artistiko;
  • Flowers - 49 and Market (Rustic Bouquet: White Heron);
  • Chipboard - Finnabair Prima (Mechanical Flourish);
  • Stencils - Finnabair Prima (Ghost Writer, Victorian Tiles);
  • Art Ingredients - Finnabair Prima (Luminous Glitter Set);
  • Art Alchemy Waxes - Finnabair Prima (Bronze Age, White Gold);
  • Art Extravagance - Finnabair Prima (White Crackle Paste, Paper Paste);
  • Art Basics - Finnabair Prima (White Gesso, Soft Gloss Gel, 3D Matte Gel).

jeudi 4 novembre 2021

You Shine - Mixed media layout for Dusty Attic DT

Hello Sweeties,

Today I'm up on Dusty Attic blog with a mixed media layout inspired by the color of the November color combo.


Here is the November color combo


I follow the November sketch from 49 and Market as well.


I primed the background with clear gesso. Next, I mixed the gel with three colors of mica powder to make three different pastes. I used them to add a design with the Flourish stencil. 


I primed all the chipboards with white gesso. I covered the Antique Frames and the Iron Garnish #6 with white crackle paste. When dry, I colored them with Umber and Ink Black liquid acrylic paints. I glued a piece of paper under both Antique Frames


For the Foliage #9, I used Avocado and Umber liquid acrylic. For the Branches and Berries, I used Burnt Sienna and Avocado, and just a  little bit of Burnt Sienna for the succulent #4.


I cut a piece of clear acetate the width of the page. I added some embellishments under the acetate or on top of it to add more dimension to the page. 


To finish I added some glitter and paints to the background.


Dusty Attic products:


Antique Frame
DA1563

Iron Garnish #6
DA2136

Branches and berries
DA0729

Foliage #9
DA1871

Succulents #4
DA1883

Mini Tabs #3 Black
DA1805

Flourish Stencil
DA2662

Other products:
  • Papers - 49 and Market (Vintage Artistry Natural: Painted Ladies; Vintage Artistry Essentials: Affirmative);
  • Flowers - 49 and Market (Marble Royal Posies, Olive; Royal Spray)
  • Art Ingredients - Finnabair Prima (Mica Powder: Green Bottle, Rust, Opal Magic Gold);
  • Art Alchemy Liquid Acrylic (Umber, Burnt Sienna, Black Ink, Avocado);
  • Art Extravagance - Finnabair Prima (White Crackle Paste);
  • Art Basics - Finnabair Prima (Clear Gesso, White Heavy Gesso, 3D Matte Gel, Soft Gloss Gel).
Related Posts Plugin for WordPress, Blogger...