mercredi 24 mars 2021

LIfe in Pictures - Waterfall album for 49 and Market DT

Hello Sweeties,

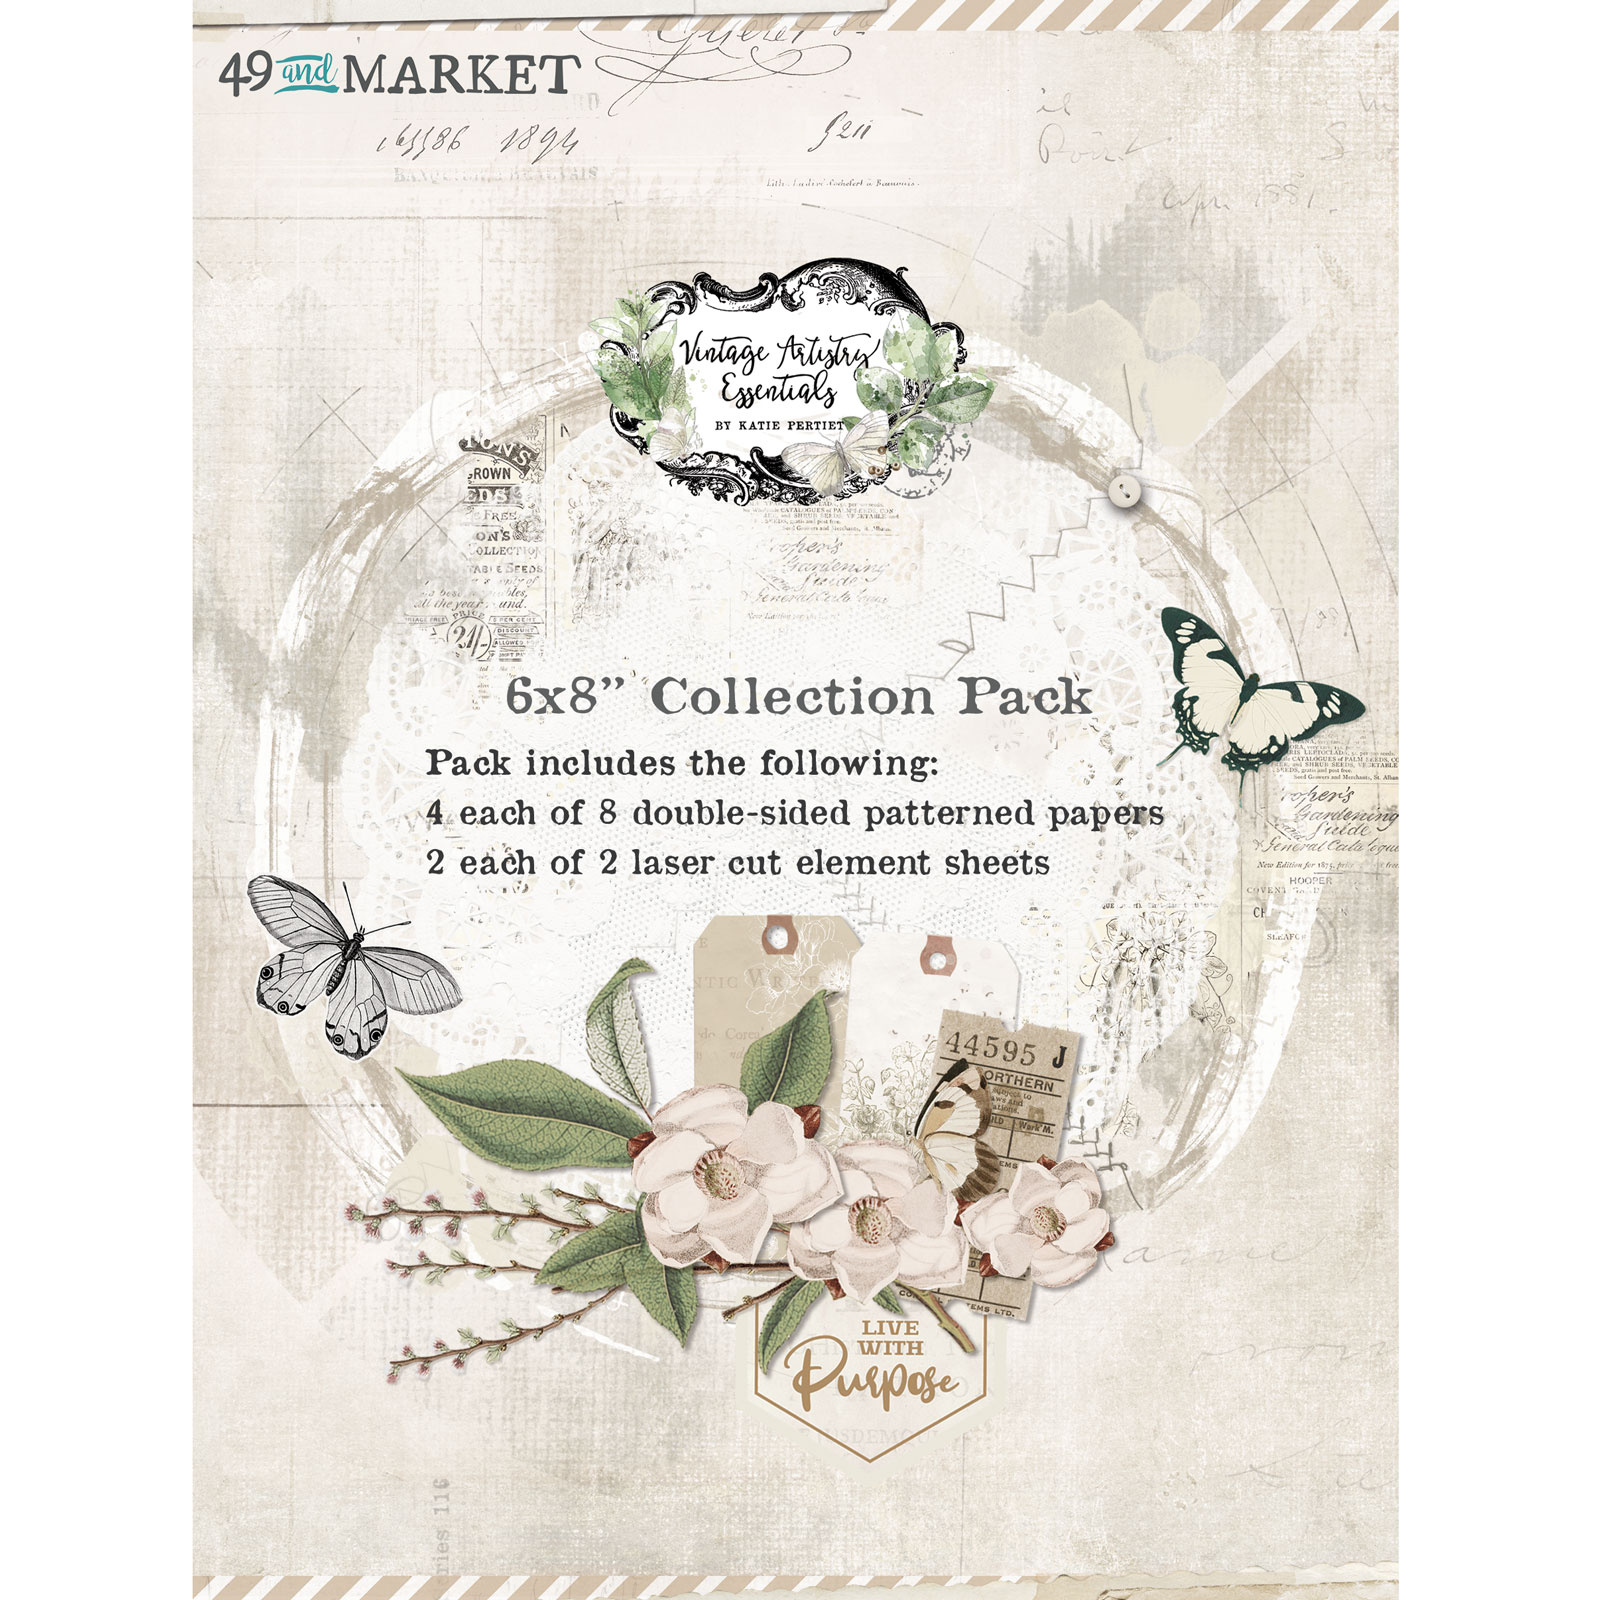
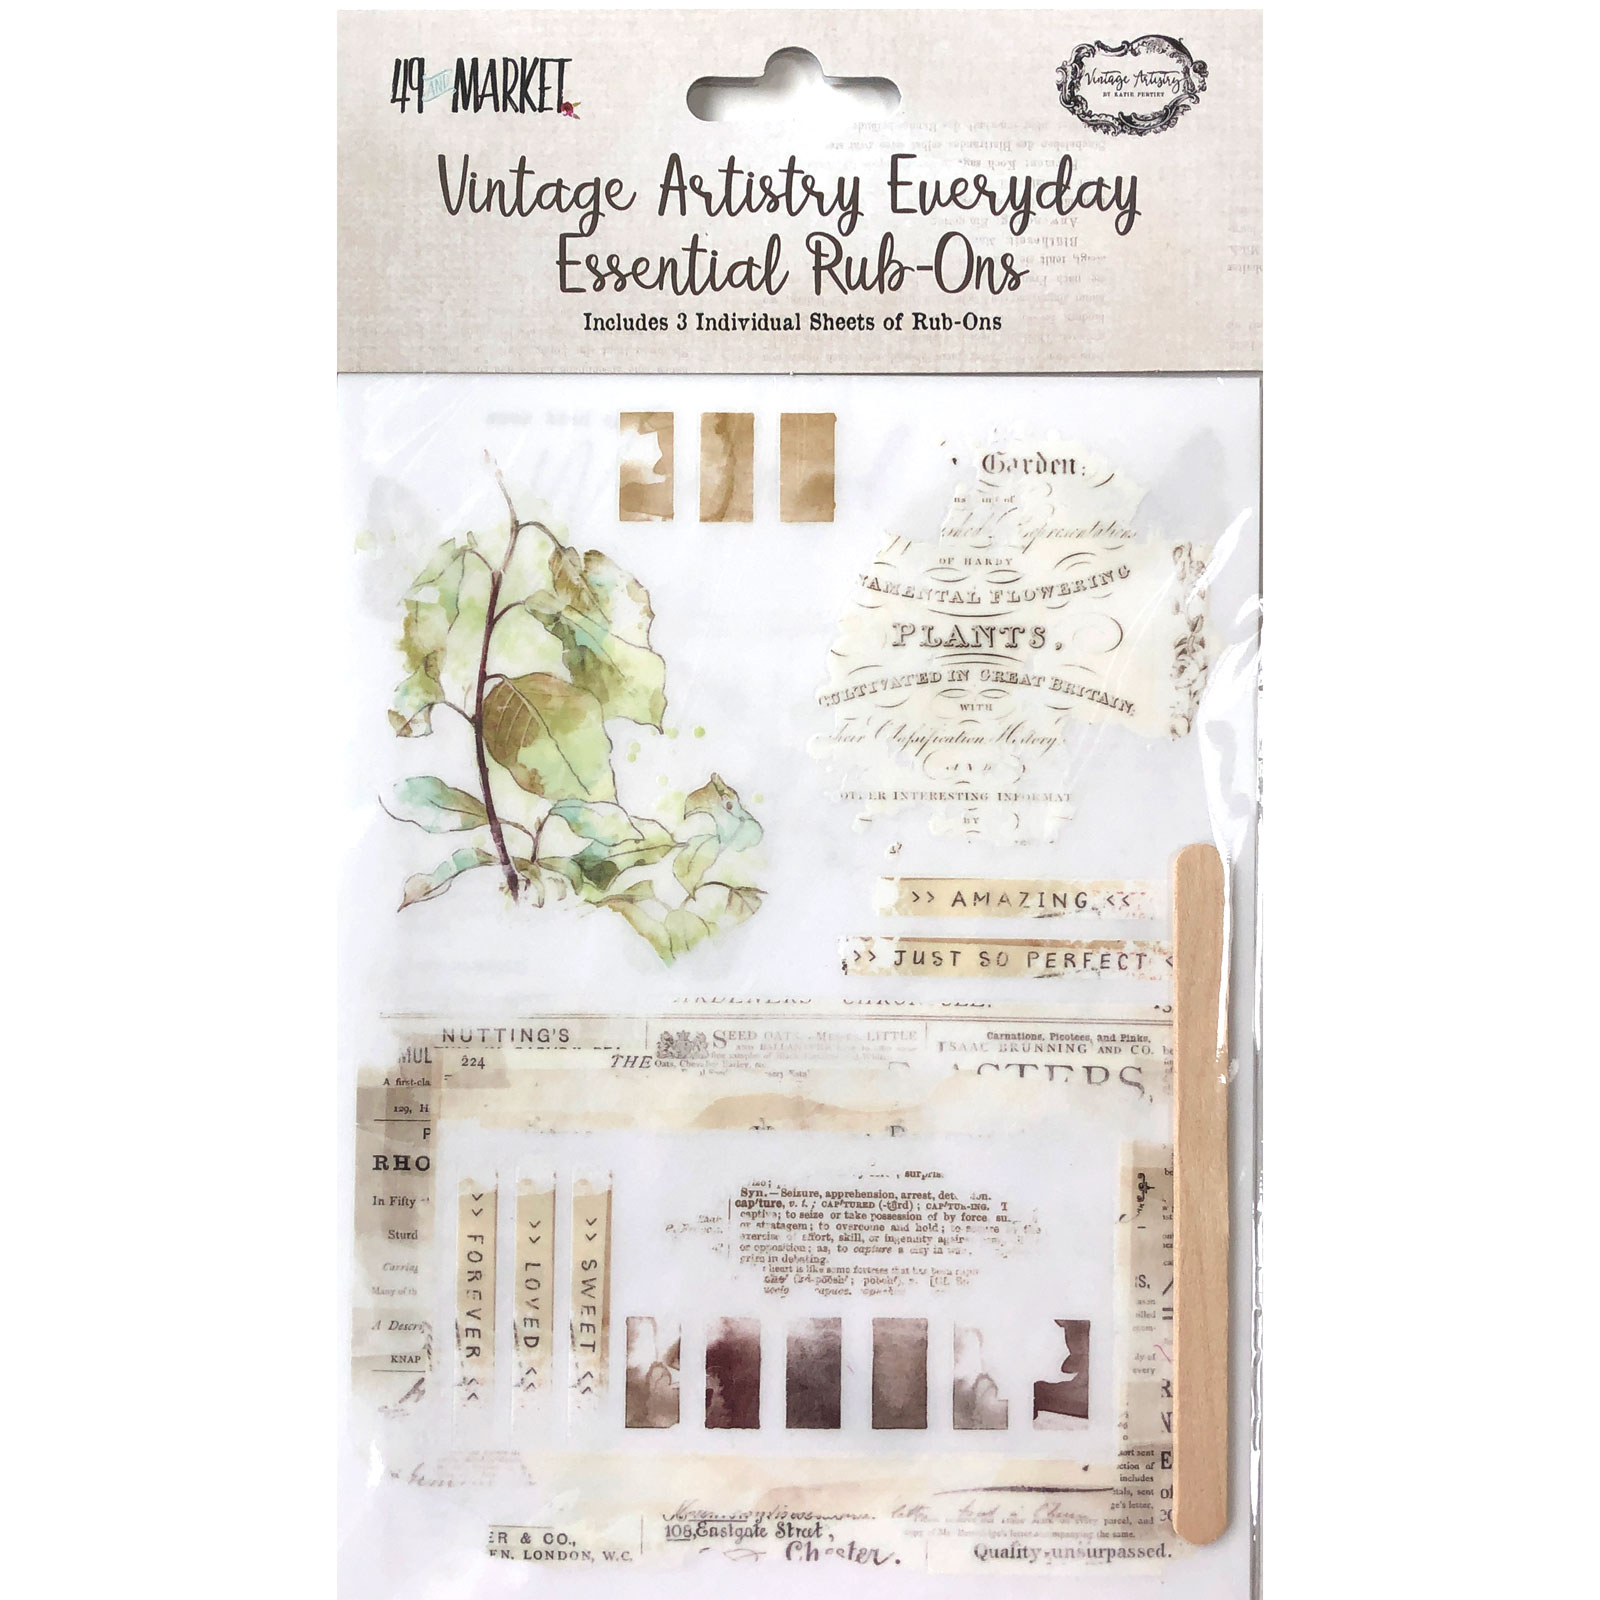
Today I'm up on 49 and Market blog with a small project: a tiny album. The base is the new Foundations Waterfall Enclosure. There are two of them in each packet. I used the 6x8 Vintage Artistry Essentials collection pack to decorate the waterfall. Then I played with different elements from the same collection. On the cover, I added some rub-ons from the Vintage Artistry Everyday pack.


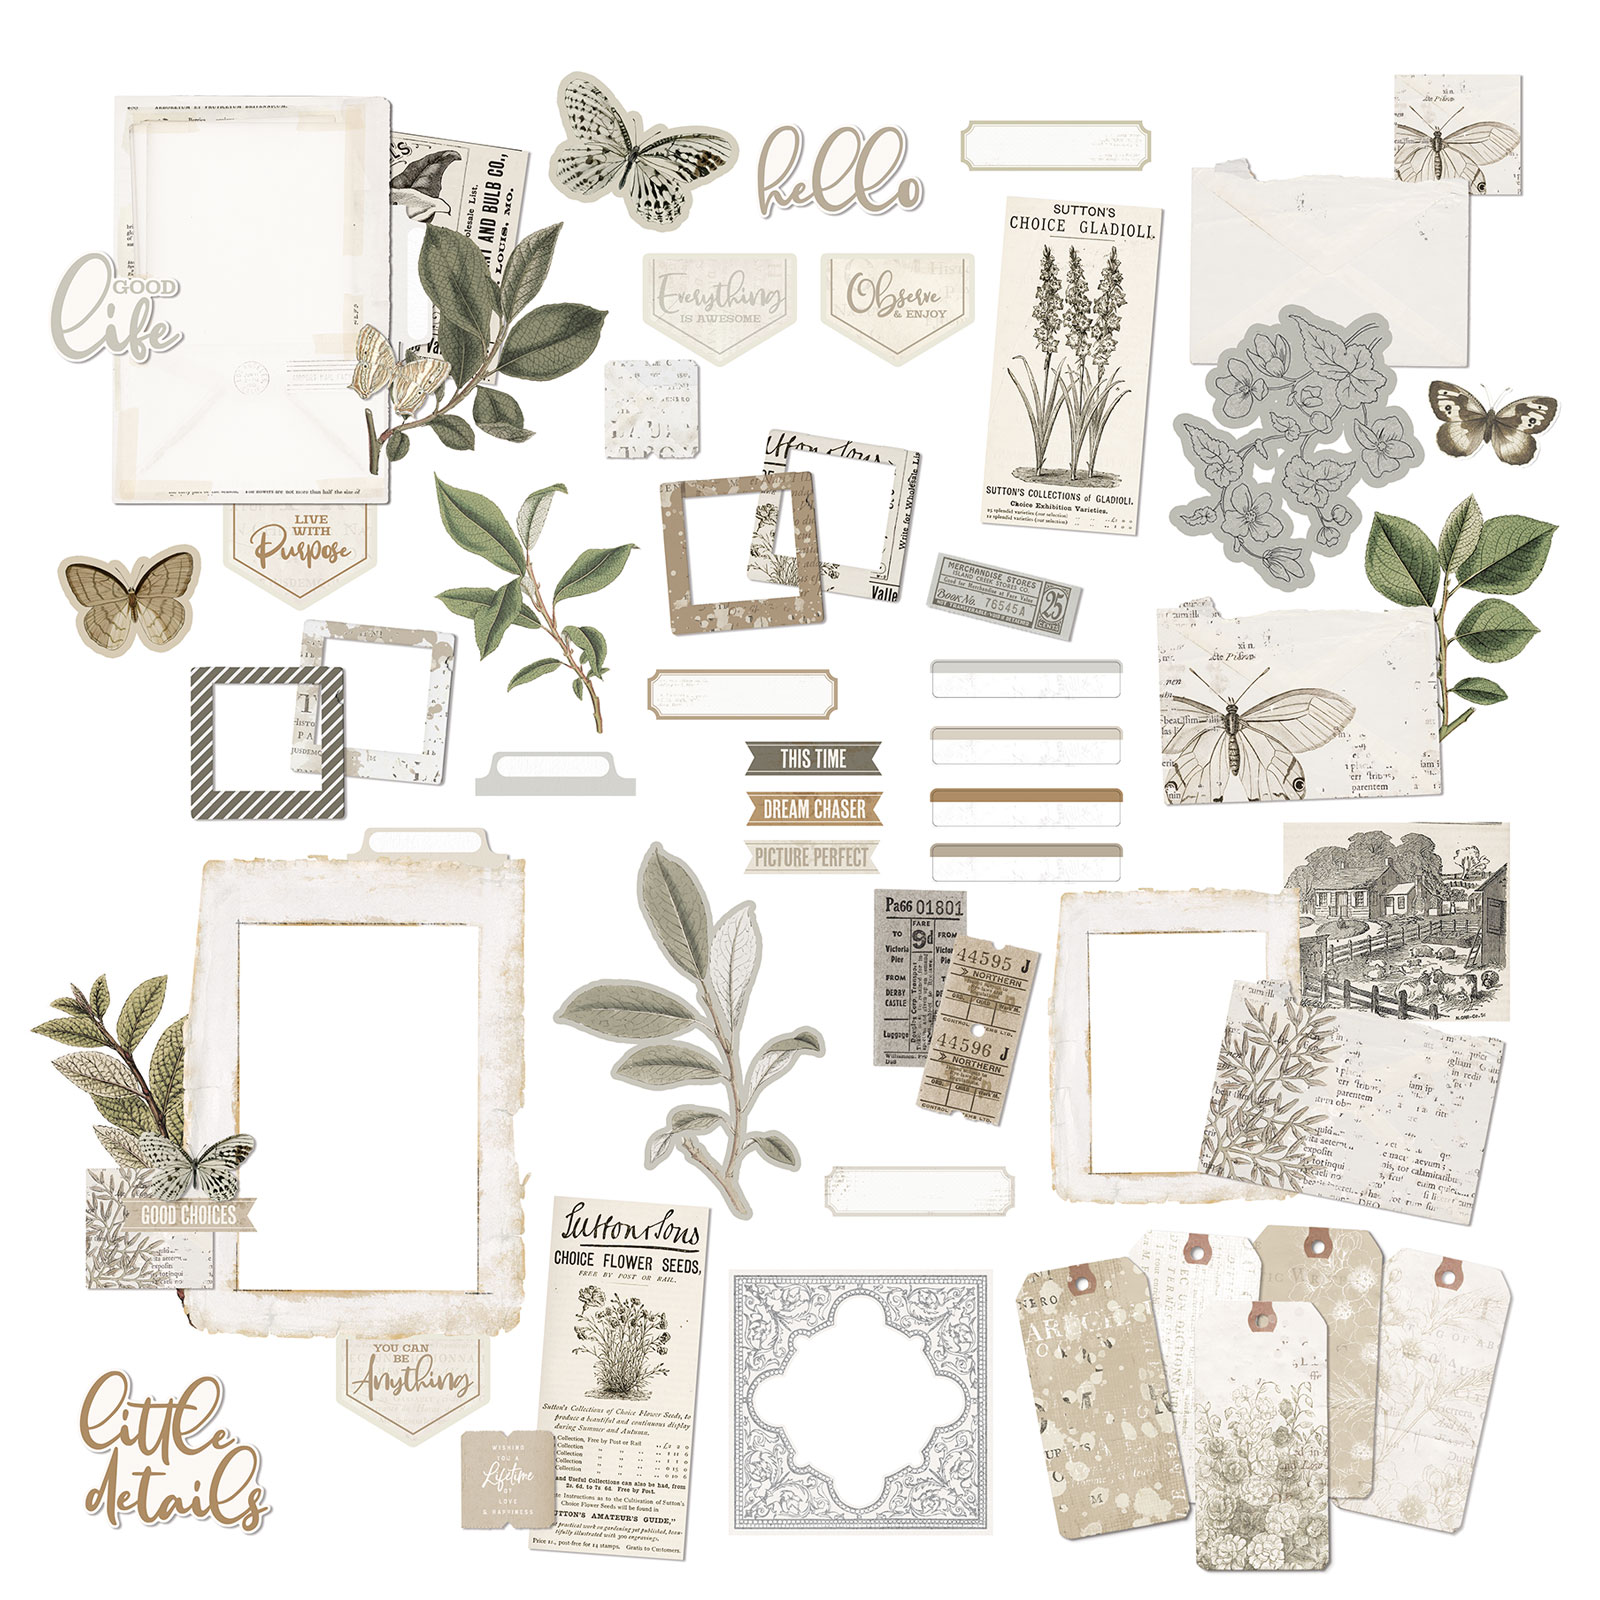
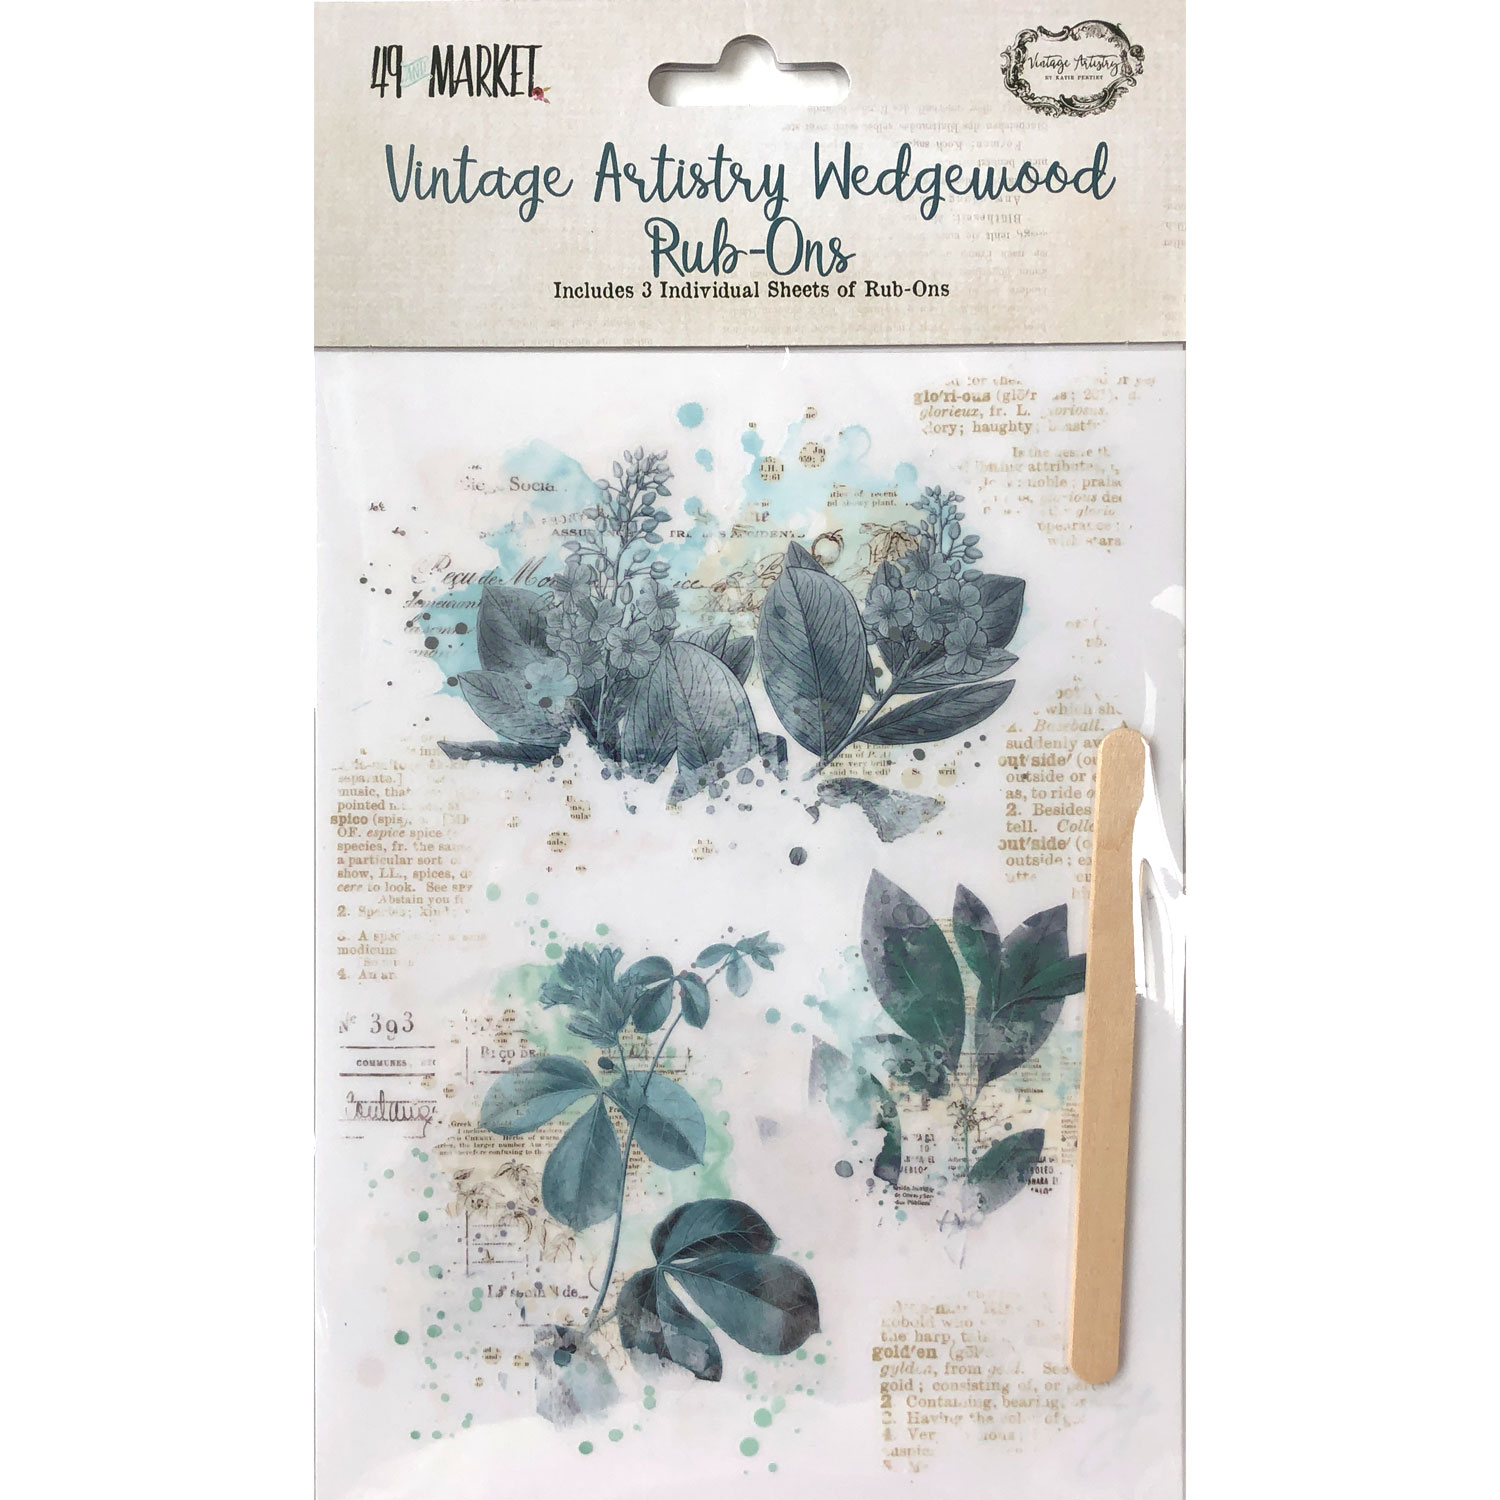
The rub-ons from the VA Wedgewood are perfect to complement the VA Essentials collection.  I add some elements from the new Ephemera BIts. I cut two butterflies from the VA Essentials Whishing Bubbles & Trinkets to add under the paper dolls.


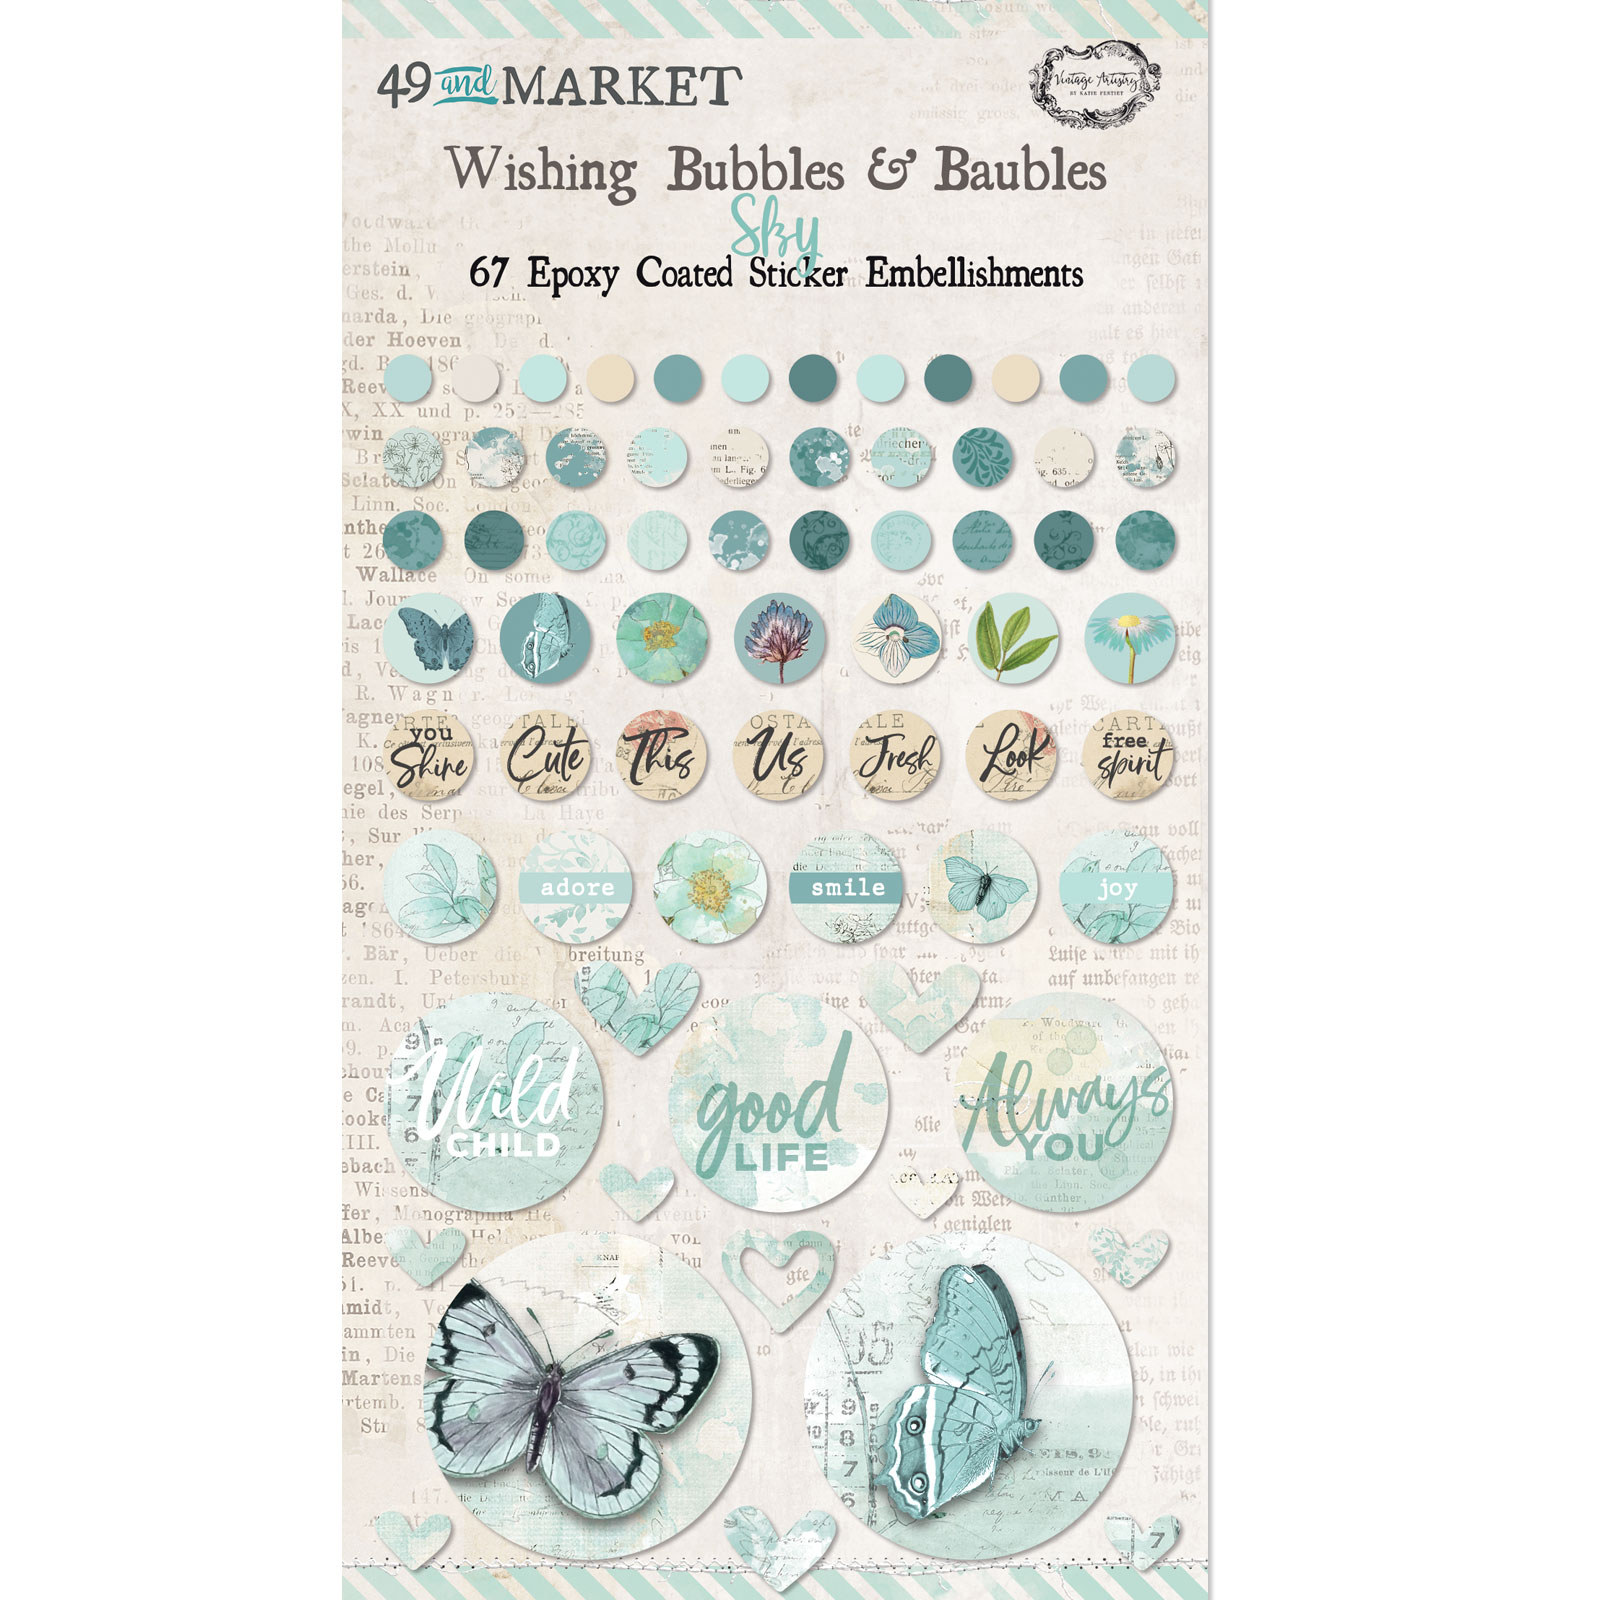
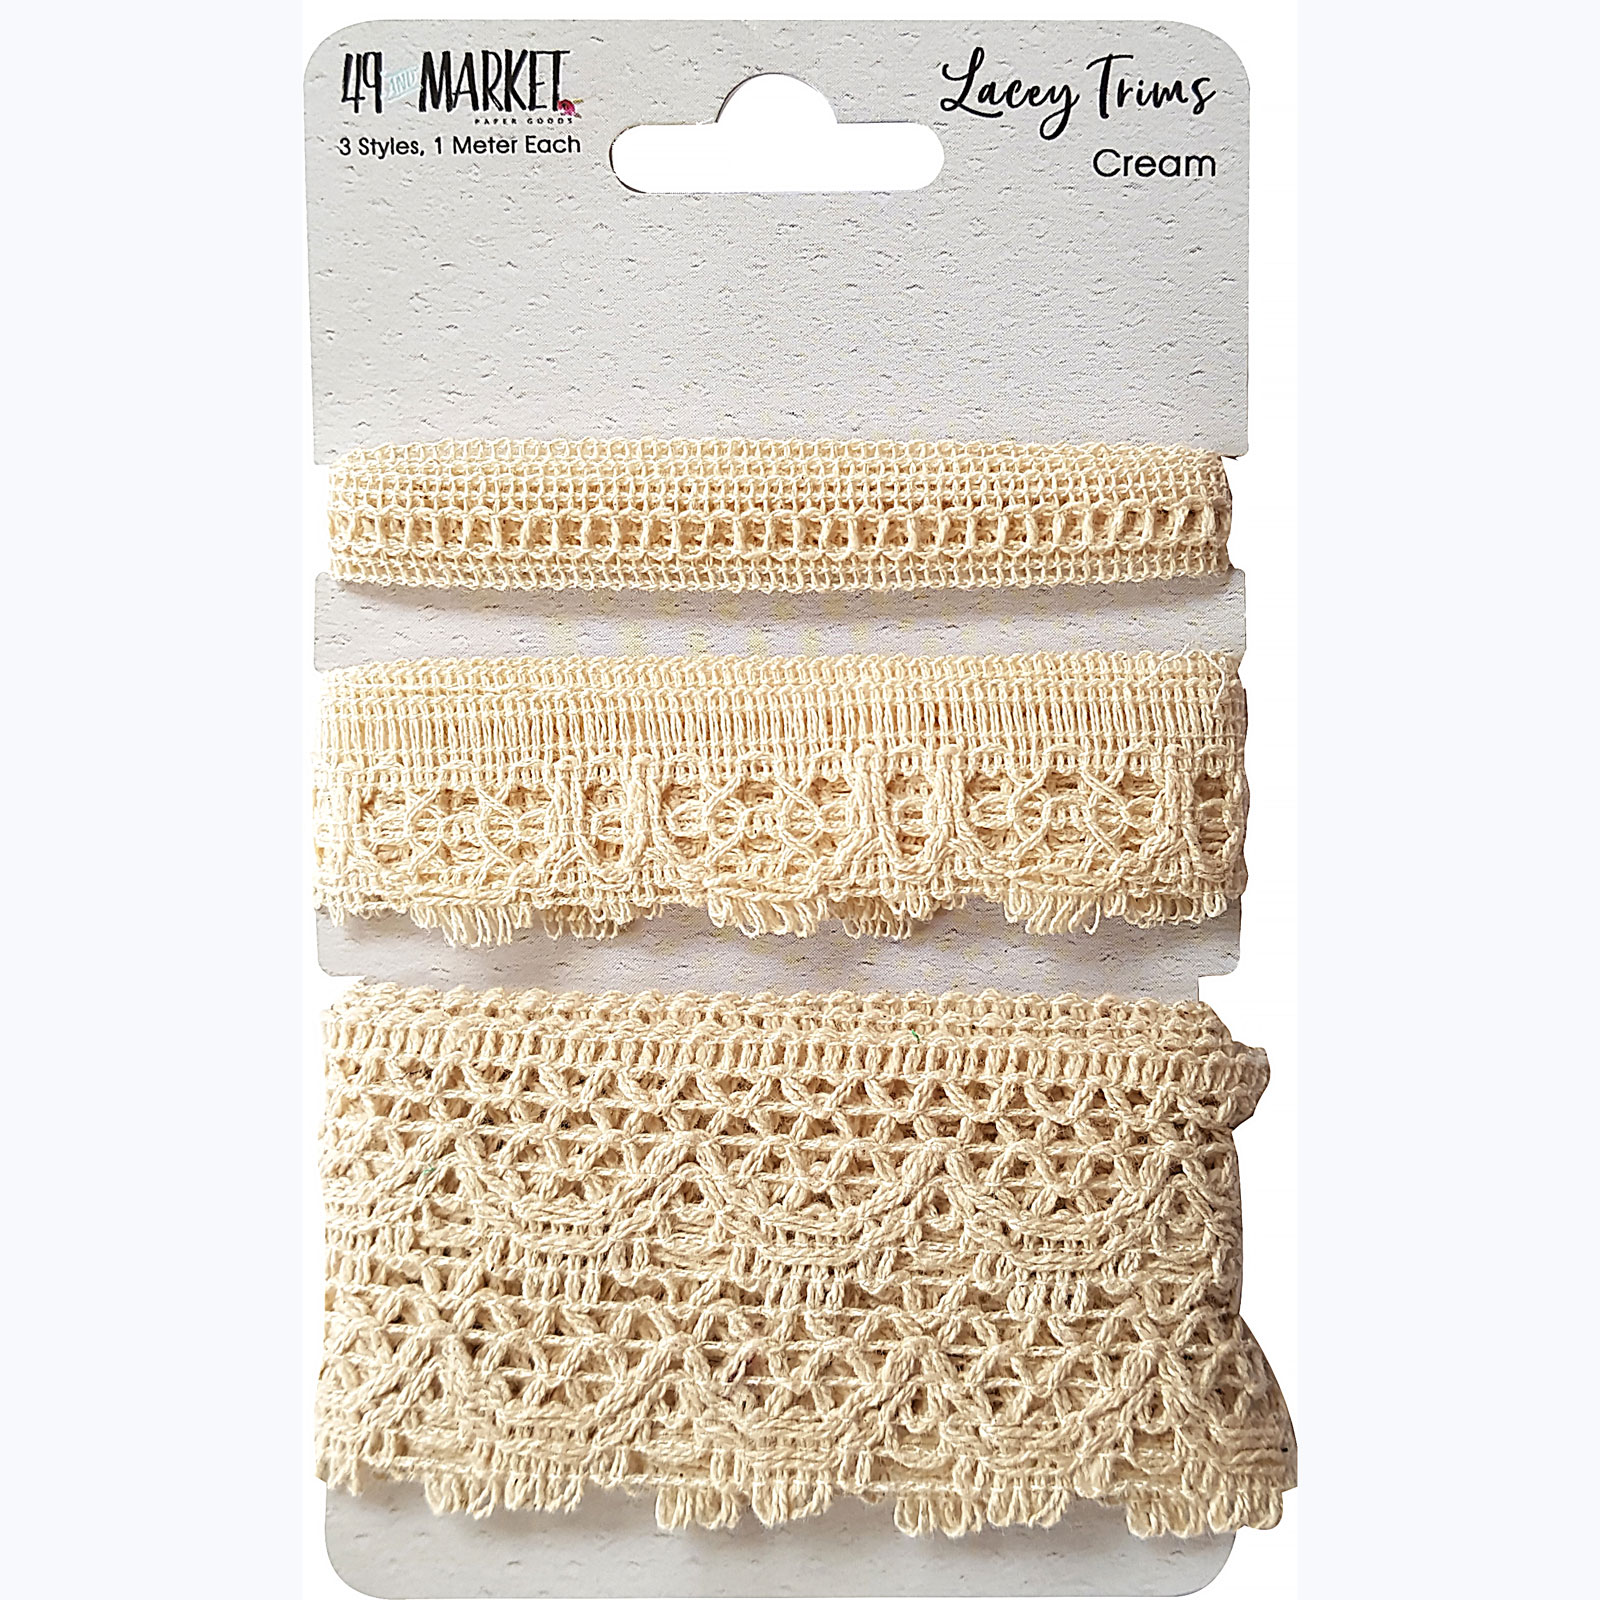
The VA Sky / Navy rub-ons are also perfect to complement the Essentials collection. I mixed the Ephemera bits with the laser cut from the 6x8 pack. I added also some scrap of Lacey Trim. I finished these two pages with elements from the Sky Wishing & Baubles pack.


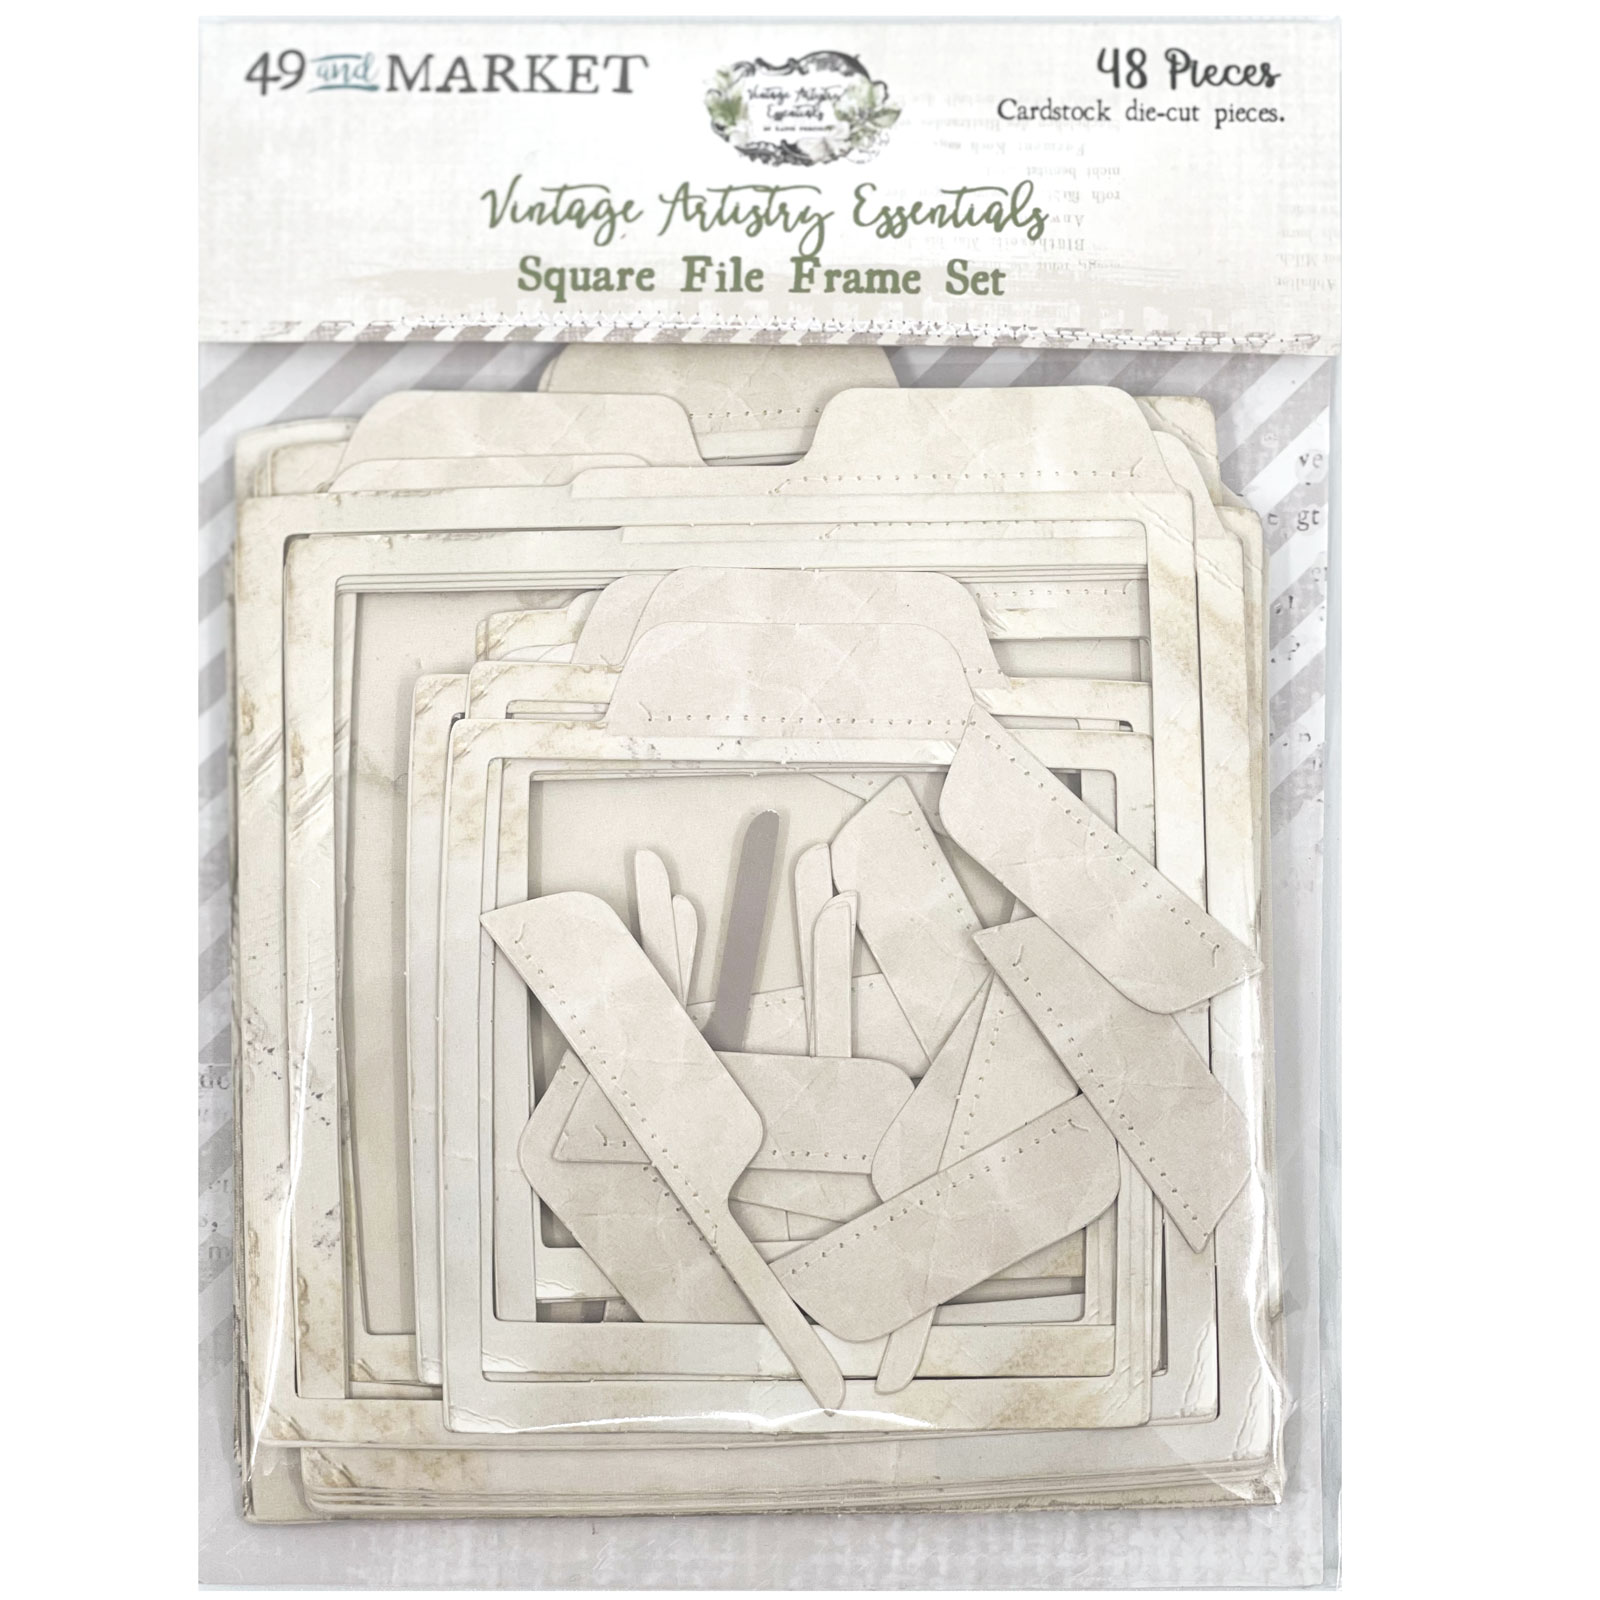
I cut two Square File Frame Set to add under the paper dolls along with laser-cut elements and Wishing Bubbles.


I added the die-cut flowers from the new VA Essentials Washi Tape. I teared up the second sheet to add some pieces along with Wedgewood rub-ons. 


Again, I added Wedgewood rub-ons, butterfly wings, and different elements from the Ephemera Bits

Walkthrough video:

49 and Market products:


 Foundations Waterfall Enclosure
4x6 Kraft


 Vintage Artistry Essentials
6x8 Collection Pack


Vintage Artistry Essentials
Square File Frame Set


Vintage Artistry Essentials
Ephemera Bits


 Vintage Artistry Essentials
Washi Tape
VAC-33003 Vintage Artistry Wedgewood Rub-Ons

 Vintage Artistry Wedgewood
Rub-Ons
VAC-32990 Vintage Artistry Everyday Rub-Ons

 Vintage Artistry Everyday
Rub-Ons
VAC-33386 Vintage Artistry Sky / Navy Rub-On Transfers

 Vintage Artistry Sky / Navy
Rub-Ons


 Vintage Artistry Essentials
Wishing Bubbles & Trinkets
VAC-33454 Wishing Bubbles and Baubles - Sky

 Wishing Bubbles & Baubles
Sky
Lacey Trim - Cream

 Lacey Trim
Cream


 Binder Clips
Antique Bronze

Other products:
  • Paper Dolls - Idea-Ology.


jeudi 18 mars 2021

The Lady's Boudoir - Mixed media layout for Dusty Attic DT

Bonjour à toutes,

Aujourd'hui je suis sur le blog de Dusty Attic avec une nouvelle page. J'ai essayé de rendre justice à la superbe photo de Christina Fisher appelé Le Boudoir de la Dame.

Hello Sweeties,

Today I'm up on Dusty Attic blog with a new layout. I try to do justice to the beautiful photo of Christina Fisher call The Lady's Boudoir.


J'ai tamponné ici et là avec un tampon texte, puis j'ai protégé les fonds avec du gesso transparent? J'ai ajouté un motif avec pochoir floral, de la pâte Icing Vintage Gold et de la pâte à craqueler transparente.

I stamped randomly with a text stamp, then I primed the background with clear gesso. I added a design with a floral stencil, Vintage Gold Icing paste, and clear crackle paste. 


J'ai recouvert tous les chipboardsavec du gesso blanc et je les ai coloré avec diverses encres : le cadre, la volute, la montre et les pinceaux avecl'encre Bluebeard Blue Violet, la plante grasse (Succulent #4) avec l'enre Sea Moss Green, et la pointe des înceaux avec l'encre Tea Pot Purple.

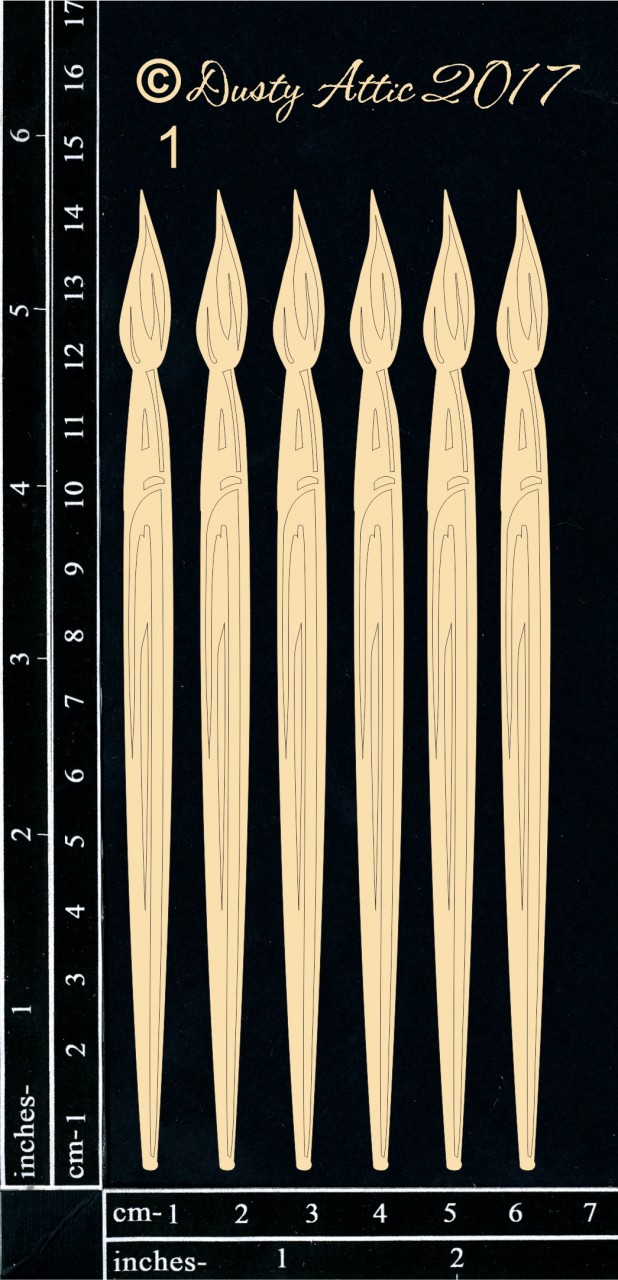
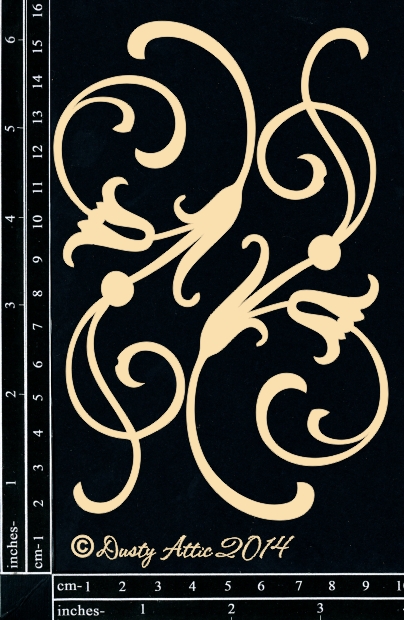
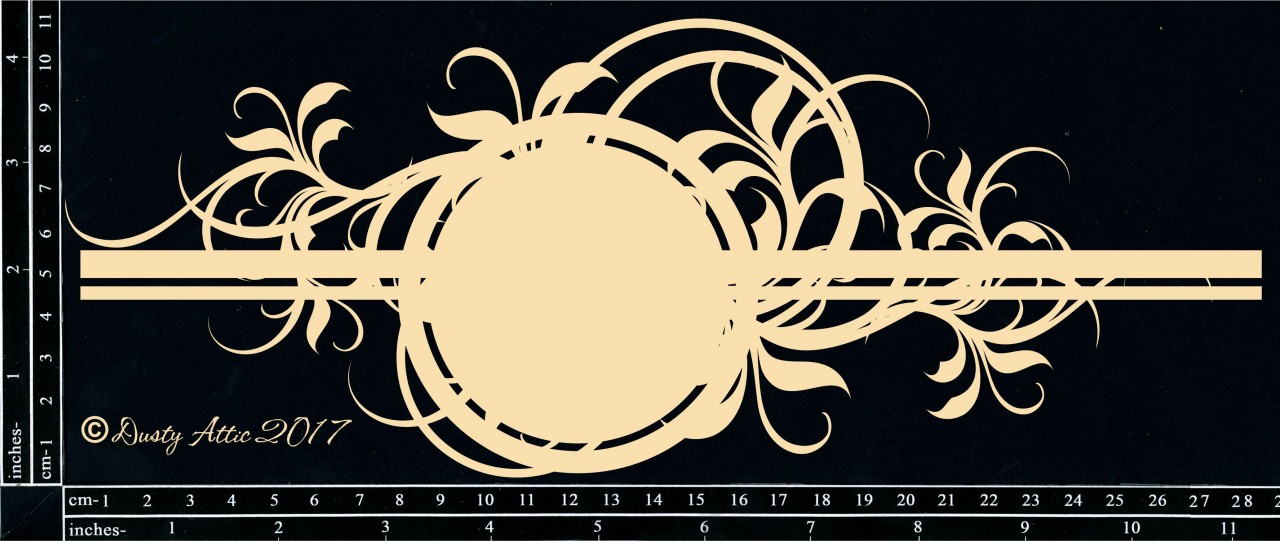
I primed all the chipboard with white gesso and colored them with different inks: the Layered Swirl Frame, the Small Scroll #2, the Clock Face and the Paint Brushes #1 with the Bluebeard Blue Violet, the Succulent #4 with Sea Moss Green, the tip of the brushes with Tea Pot Purple ink. 


J'ai ciré le cadre avec Amethyst Magic, Aged Brass et White Gold, la montre et les piéces avec Aged Brass? J'ai embossé la votule et le manche des pinceaux avec de la UTEE.

I waxed the Layered Swirl Frame with Amethyst Magic, Aged Brass, White Gold, the Clock face and the Old Coins with Aged Brass. I embossed the Small Scroll and the Paint Brushes with UTEE. 


J'ai peint quelques cabochons avec la peinture French Lavender ainsi que les fleurs sauvages. Avant de coller tous les embellissements de la composition, j'ai coloré al zone autour du motif avec les encres Tea pot Purple, Pop Rock Purple et Bluebeard Blue Violet.

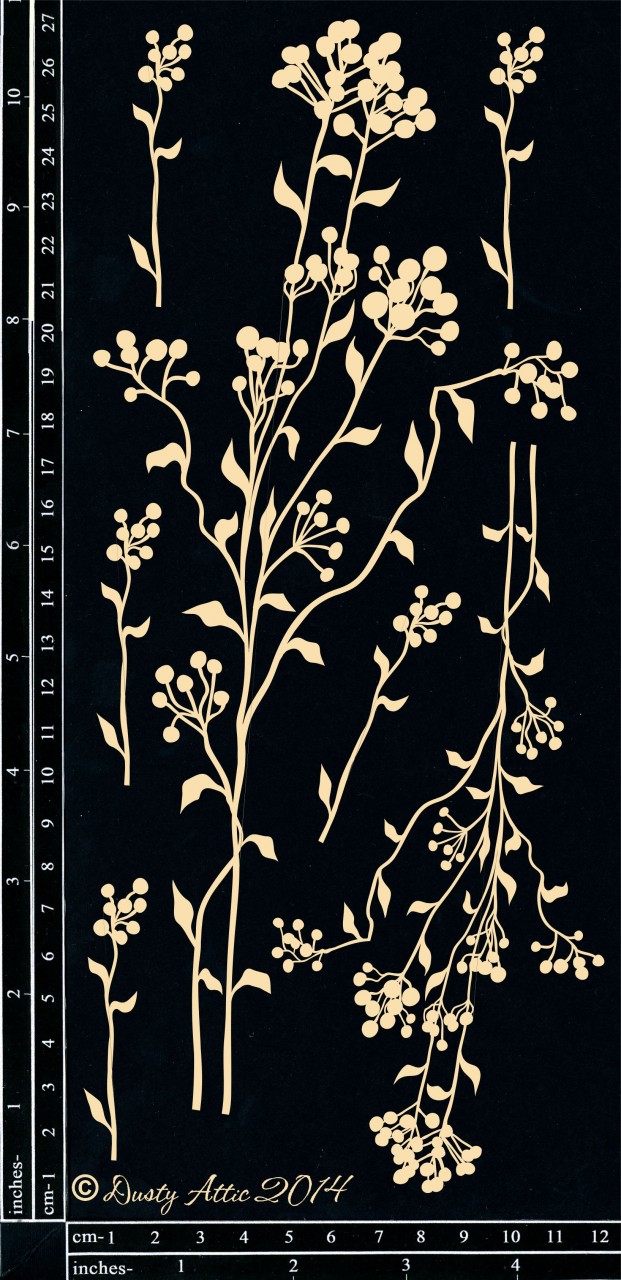
I colored a few pebbles with French Lavender paint as well as the Wildflowers #3. Before gluing all the elements of my composition, I colored the area around the design with Tea Pot Purple, Pop Rock Purple, and Bluebeard Blue Violet.


J'ai brossé à sec les fleurs avec du gesso blanc pour atténuer leur couleur. Puis j'ai ajouté une touche de cire White Pearl pour leur donner un peu de brillance.

I dry brushed the Country Blooms with white gesso to tone down their color. Then I added White Pearl wax to add some shine. 


Pour finir la mise en page, j'ai ajouter des Prills et des glitters.

To finish the layout, I added Prills and glitter.s

Matériels / Materials:

products:


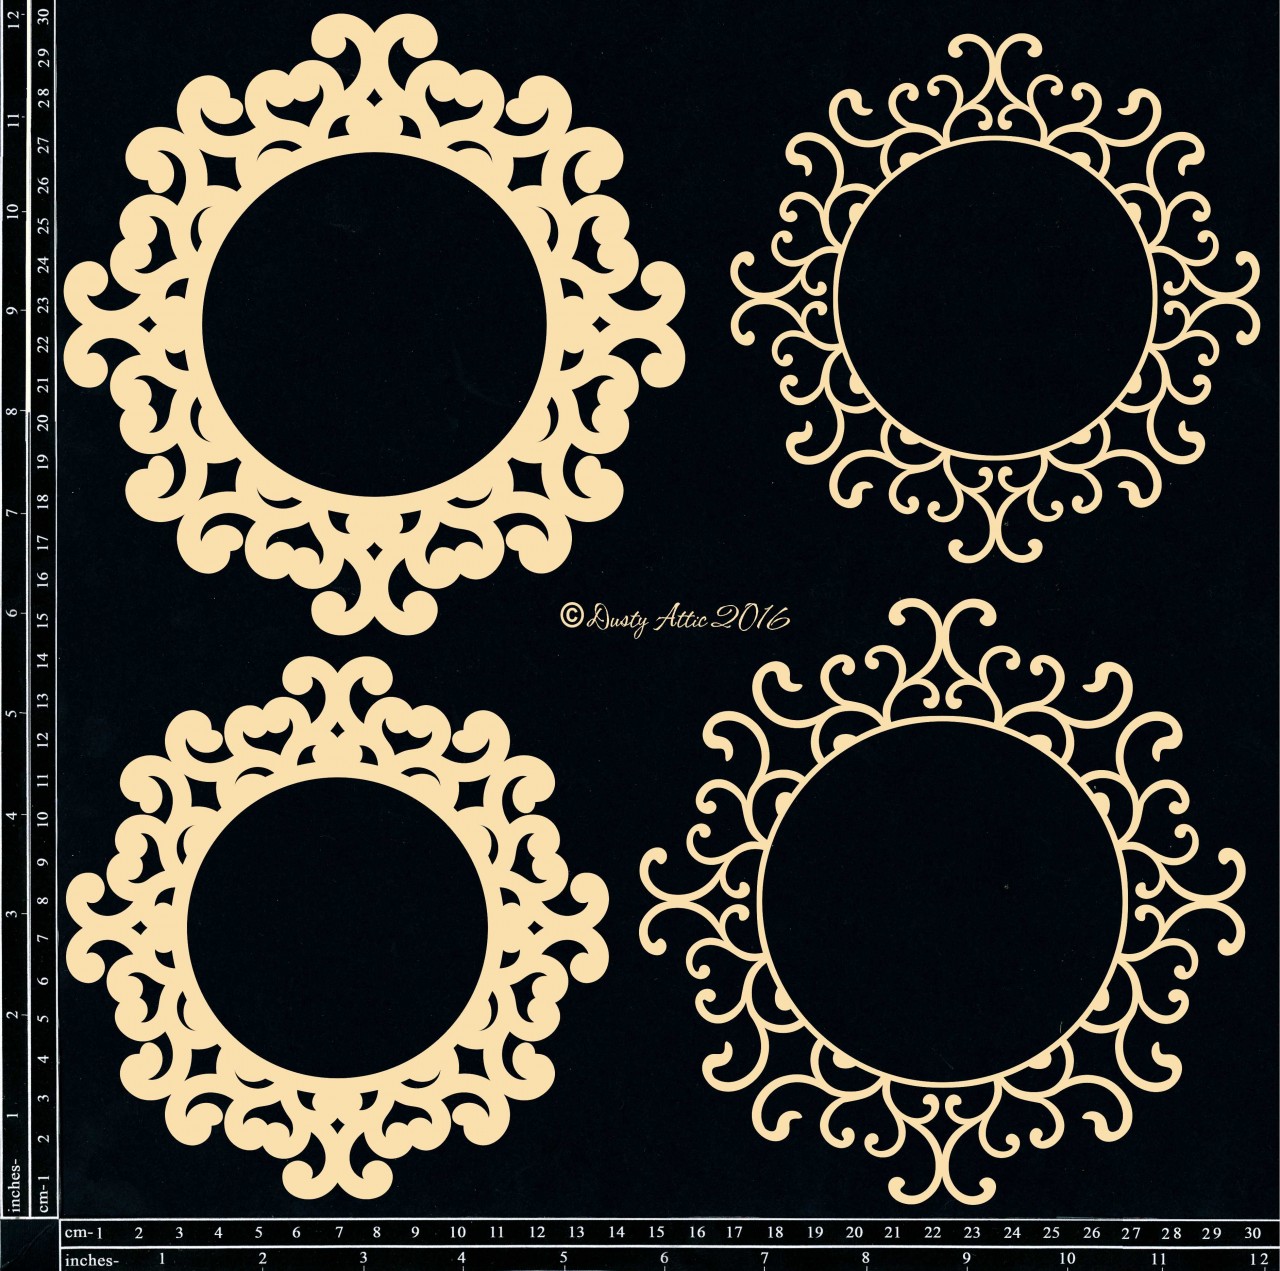
Layered Swirl Frame
DA1530

Mini Old Coins
DA1903

Paint Brushes #1
DA1740

Clock Faces and Hands
DA0391

Small Scroll #2
DA 0335

Wildflowers #3
DA1143

Succulents #4

Other products:
  • Paper - 49 and Market (Vintage Artistry Everyday: Garden Variety);
  • Flowers - 49 and Market (Country Blooms: Violet);
  • Stamp - 49 and Market (1787);
  • Starburst - Lindy's Gang (Tea Pot Purple, Sea Grass Green);
  • Flat Fabio - Lindy's Gang (Pop Rock Purple);
  • Moonshadow Mist  - Lindy's Gang (Bluebeard Blue Violet);
  • UTEE - Ranger;
  • Stencil - Prima (Floral Petite);
  • Prills (Plum Crazy);
  • Art Ingredients - Finnabair Prima (Glitter Luminous Set);
  • Metallic Paint Art Alchemy - Finnabair Prima (French Lavender);
  • Waxes Art Alchemy - Fnnabair Prima (White Pearl, White Gold, Aged Brass, Amethyst Magic);
  • Art Extravagance - Finnabair Prima (Vintage Gold Icing Paste, Clear Crackle Paste);
  • Art Basics - Finnabair Prima (Clear Gesso, Heavy White Gesso, Soft Gloss Gel, 3D Matte Gel).

mardi 16 mars 2021

Eiffel Tower - Mixed media layout for Lindy's Gang

Bonjour à toutes,

Aujourd'hui je suis sur le blog de Lindy's Gang avec un nouvelle page. J'ai travaillé autour d'une photo de la Tour eiffel sous la neige prise par Vincent.

Hello Sweeties,

Today I'm up on Lindy's Gang blog with a new mixed media layout. I worked with a photo of the Eiffel tower under the snow taken by Vincent.


Processus / Basic process:
  1. Recouvrir le fond avec du gesso transparent pour le protéger de toutes les encres et media que nous allons appliquer ;
    Primed the background with clear gesso to protect the paper from all the inks and media we will apply;
  2. Colorer le fond avec Whale Watch Blue, Silent Night Silver, French Lilac Violet, Banff Blue et Hockey Puck Black. Utuliser une lingette pour fondre les couleurs entre elles ;
    Color the background with Whale Watch Blue, Silent Night Silver, French Lilac Violet Banff Blue, and Hockey Puck Black. Use a baby wipe to blend the color together;

  3. Une fois sec, ajouter un motif avec de la pâte Graphite ;
    Why dry, add a design with Graphite paste;

  4. Sélectionner quelques éléments en résine et le recouvrir de gesso blanc ;
    Select a few resin elements and prime them with white gesso.
  5. Colorer les avec Hckey Puck Black, Whale Watch Blue, Silent Night Silver et Banff Blue ;
    Color them with Hockey Puck BlackWhale Watch BlueSilent Night Silver, and Banff Blue;
  6. Mettre en valeur les détails avec les cires Graphite et Old Silver;
    Highlight them with Graphite and Old Silver waxes;

  7. Découper quelques feuilles dans du papier aquarelle ;
    Die cut some leaves in a watercolor paper;
  8. Les colorer avec les encres Silent Night Silver, Whale Watch Blue et French Lilac Violet ;
    Color them with Silent Night SilverWhale Watch Blueand French Lilac Violet;


  9. Tant que la pâte Graphite est encore humide par endroit, la recouvrir de poudre à embosser Chrome Doesn't Pay! et embosser ;
    While the Graphite paste was still wet in place, cover it with Chrome Doesn't Pay and heat embossed;
  10. Commencer votre composition avec les plus gros éléments et coller le tout avec du gel 3D mat ;
    Start your composition with the biggest elements and glue everything with 3D Matte Gel;

  11. Pour finir la mise en page, ajouter des glitters et des microbeads.
    To finish the layout, add glitters and microbeads.
Here the whole process video, I hope you will enjoy watching it!


Matériels / Materials:

Lindy's Gang products:
Other products:
  • Paper - 49 and Market (Old School: High Scool);
  •  Flowers - 49 and Market (Cotton Blooms: Storm);
  • Stencil - A.B. Studio (Stencil ID-67);
  • Art Ingredients - Finnabair Prima (Microbead: Silver);
  • Art Extravagance - Finnabair Prima (Graphite Paste);
  • Art Basics - Finnabair Prima (Clear Gesso, White Heavy Gesso, 3D Matte Gel, Soft Gloss Gel).

lundi 15 mars 2021

Trust Yourself - Mixed media panel for Finnabair GDT

Bonjour à toutes,

Je suis trés heureuse d'être invitée aujourd'hui sur le blog de Finnabair. Voici mon projet pour le Art recipe du mois de mars. 

Hello Sweeties,

I'm thrilled to be a guest designer for Finnabair. Here is my project for the March Art Recipe.


Les régles sont très simple. le challenge consiste en une palette de couleurs et de produits. Vous devez respecter la palette de couleurs  et utliser au moins 2 des produits listés pour le challenge.

The rules are very simple. Each challenge consists of a color palette and products. You need to stick to the color palette and use at least 2 of the products listed in a challenge. 

 Products to choose from:
 Pebbles 
Icing Pastes 
Mechanicals 
Tissue Papers 
 The colors: dark green, latte brown, dark teal 


Avant de coller le papier Wilderness, j'ai protégé le panneau MDF avec du gesso blanc. Puis, j'ai ajouté un ùotif avec le pochoir Mind Games, j'ai utilisé l'Icing paste White Gold et la pâte Crushed Iced.

Before gluing the Wilderness paper, I primed the HDF panel with heavy white gesso. Next, I added a design with the Mind Games stencil, I used both the White Gold Icing paste and Crushed Ice Effect paste.


J'ai recouvert la fenêtre et quelques éléments en résine comme le cadre et la poignée avec du gesso noir, les autres avec du gesso transparent. Une fois sec, j'ai commencé ma composition avec les éléments les plus gros: le cadre et le bain à oiseau. Pour faire ce dernier, j'ai chauffé la poignée en résine et je l'ai ajusté autour d'une poignée en métal jusqu'à ce qu'elle refroidisse.

I primed the window and some resin elements like the frame and the handle with black gesso, the others with clear gesso. When it was done, I started to build the composition around the biggest elements: the frame and the birdbath. To make the latter, I heated the resin handle and pressed it around a metallic drawer handle until it cooled.


Une fois satisfaiite avec la composition, j'ai commencé par peindre les éléments en résine du set Aviary avec des acryliques liquides : Avocado Green pour les feuilles, Burnt Sienna pour les fleurs et Prussian Blue pour l'oiseau.

When I was happy with the composition, I started to paint the Aviary elements with liquid acrylic paint: Avocado Green for the leaves, Burnt Sienna for the flowers, and Prussian Blue for the bird.


J'ai coloré le bain à oiseau et le cadre avec les cires Patina Blue et Patina Green. Puis j'ai ajouté des cires métalliques : Bronze Age, Aged Brass et enfin White Gold pour faire ressortir les détails. J'ai utilisé les mêmes cires ainsi que l'Emerald pour colorer la fenêtre et l'oiseau. J'ai ajouté les cires Patina Green et White Gold sur les feuilles. 

I colored the birdbath and the frame with Patina Blue and Patina Green waxes . Then I added metallic waxes: Bronze Age, Aged Brass, and White gold to highlight the details. I used the same metallic waxes as well as the Emerald to color the window and the bird. I added some Patina Green and White Gold waxes to the leaves. 


J'ai coupé une morceau de rhodoïd aux dimensions de la fenête sur lequel j'ai ajouté un motuf avec le pochoir Read My Letter et de la pâte de texture. Un fois sec, je l'ai teinté avec la peinture Burnt Sienna. 
Une fois satisfaite, j'ai ajuté les derniers éléments de la composition: les fleurs, la fenêtre et les Mechanicals. 

I cut a piece of rhodoïd to add under the window. I added a design with the stencil Read My Letter and modeling paste. When dry, I colored it with the Burnt Sienna liquid paint.
Once satisfied, I added the last elements of the composition: the flowers, the window, and the Mechanicals. 


J'ai ombré le contour de la composition avec les peintures Burnt Sienna et Prussian Blue. Pour finir le panneau, j'ai ajouté des flocons de mica, des microbilles et des glitters. 

I added a shadow around the elements of the composition with the Burnt Sienna et Prussian Blue. To finish the panel, I added some mica flakes, microbeads, and glitters. 
Matériels / Materials:

Finnabair products linked to Mixed Media Place online store:
Other products:
  • MDF - Artistiko (Grand Medaillon, Window);
  • Flowers - Prim (Vintage Emporium);
  • Moulds - Prima (Aviary, Vincennes Hardware);

vendredi 5 mars 2021

Sunrise at Venise - Mixed media panel for Dusty Attic DT

Bonjour à toutes,

Aujourd'hui je suis sur le blog de Dusty Attic avec un panneau mixed media. J'ai cette photo trouvé sur Pixbay depuis un certain temps, mais je n'avais pas trouvé l'inspiration pour l'utiliser jusqu'a ce que je vois le combo de couleurs du mois de mars. 

Hello Sweeties,

Today I'm up on Dusty Attic blog with a mixed media panel. I have this photo found on Pixabay for a very long time, but I haven't found the right way to use it until I saw the March combo of color.


Qu'en pensez-vous ? N'est-il pas parfait pour cette photo ? Même si cette photo est partiellement grise, il y a cette pointe de couleur orange-coral sur le chapeau de la lanterne qui fait toute la différence.

What do you think? Isn't it perfect for this photo? Even if the photo is mostly gray, there is a hint of the orange-coral color on the top of the lantern that makes all the difference. 


J'ai commencé par recouvrir le panneau de gesso noir. Pendant qu'il séchait, j'ai découpé un papier de la forme du panneau en enfin en petits morceaux. J'ai tamponné tous les côtés des morceaux de papier et les ai encré avec de l'encre noire. Un fois staifaite, j'ai collé tous les morceaux sur le panneau et les ai protégé d'une couche de gesso transparent. Enfin, j'ai ajouté un motif avec le pochoir Lace et de la pâte de papier. Si vous voulez voir comment j'ai réalisé le fond, vous pouvez regarder cette vidéo où j'ai utilisé la même technique. 

The first thing I've done was to prime the panel with heavy black gesso. While it was drying, I cut the paper to the form of the panel and in small pieces. I stamped all the edges of the paper pieces and inked their edges with black ink. When done, I glued all the pieces to the panel and primed them with clear gesso. Finally, I added a design with the Lace Stencil and Paper Paste. If you want to see how I made the background, you can watch this video where I used the same technic. 


J'ai recouvert tous les chipboards de gesso blanc. J'ai embossé deux fois les Leafy Garland avec de la UTEE. Puis j'ai ajouté des touches de peinture métallique cuivre et j'ai de nouveau embossé à chaud jusqu'a ce que la UTEE fonde de nouveau. 

I primed all the chipboards with white gesso. Next, I embossed twice the Leafy Garland with UTEE. I added some touch of a copper paint and heat embossed again until the UTEE melt again.


J'ai coloré les fleurs butterscotch avec la peinture acrylique liquide Carmin pour rappeler les couleurs du coucher de soleil. Puis, j'ai collé tours les embellissements en commençant par le Mystic Frame #1, puis les fleurs, et enfin, les Foliage #4, les Tropical Leaves #9, et the Leafy Garland.

I colored the butterscotch flowers with the Carmin liquid acrylic paint to match the sunset colors. Next, I glued all the embellishments starting with the Mystic Frame #1, then the flowers, and finally the Foliage #4, the Tropical Leaves #9, and the Leafy Garland. 


Une fois que tout a été parfaitement collé, j'ai peint les chipboards avec des peintures acryliques liquides. J'ai également ajouté les mêmes couleurs sur le fond.

When everything was properly glued, I painted all the chipboard elements with acrylic paints. I added some color to the background as well with the same paints. 


Pour finir la composition, j'ai ajouté des glitters.

To finish the composition, I added some glitters. 

Matériels / Materials:

Dusty Attic products:


Mystic Frame #1
DA1744

Foliage #4
DA1294

Tropical Foliage #9
DA2537

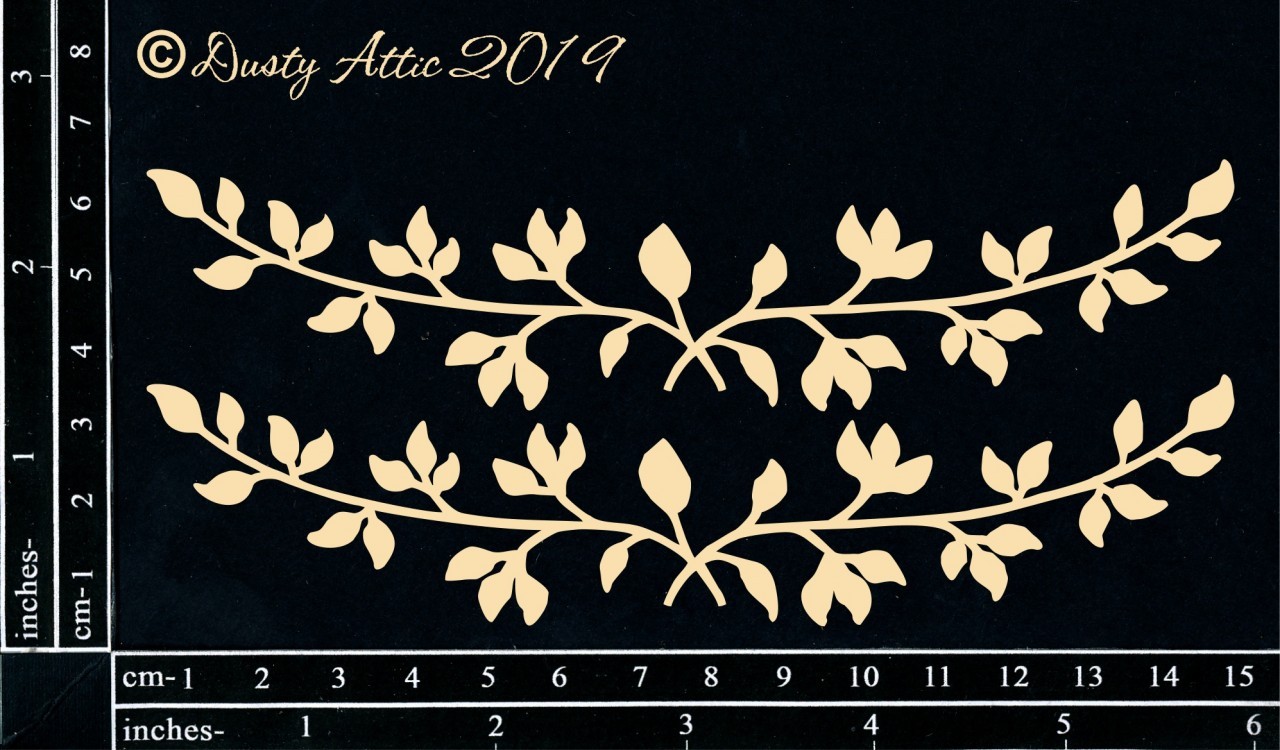
Leafy Garland
DA2380

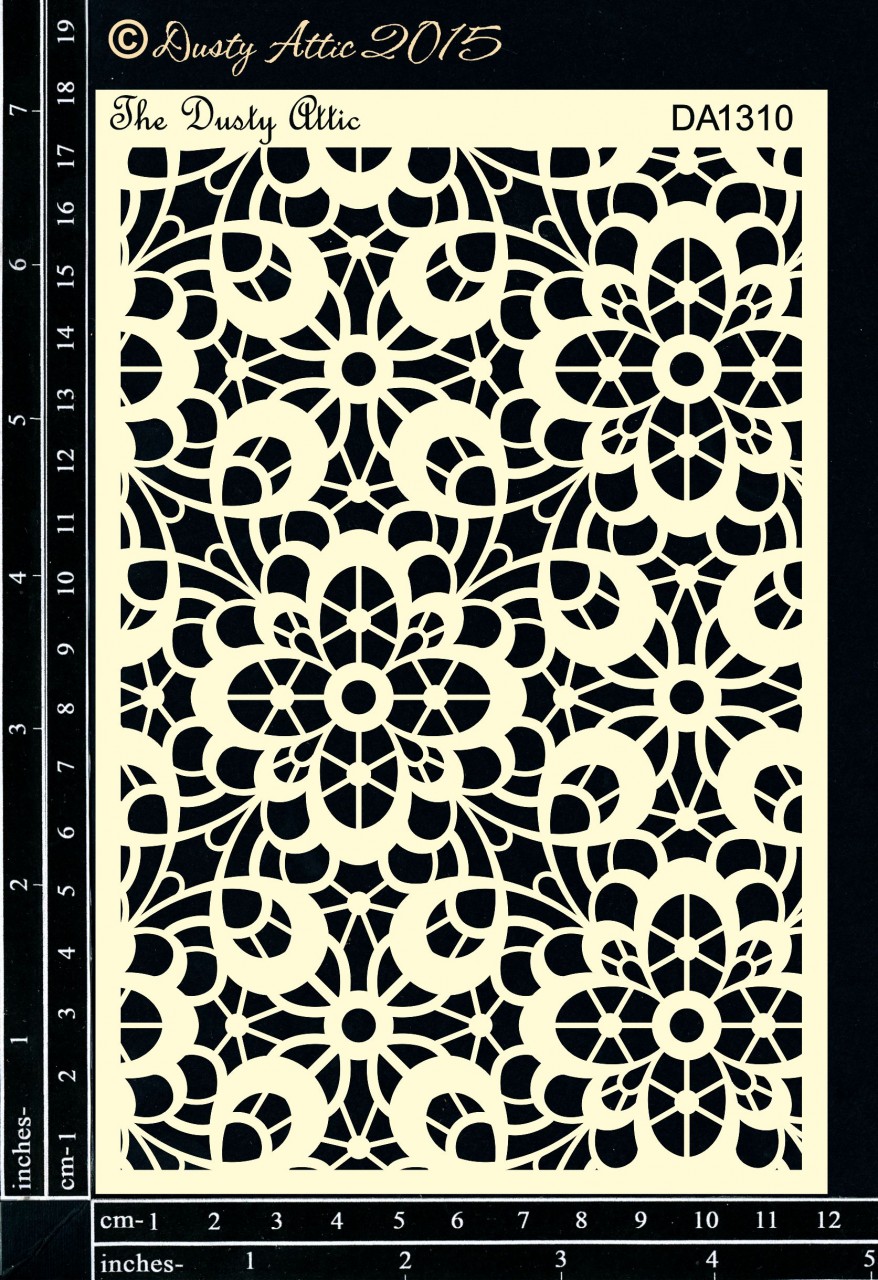
Lace Stencil
DA1310


Other products:
  • Paper - 49 and Market (VA Butter: Serenity);
  • Flowers - 49 and Market (Sugar Posies: Butterscotch);
  • Magical - Lindy's Gang (Bodacious Blush);
  • Embossing Powders - Ranger (UTEE);
  • Stencil - A.B. Studio (Stencil ID-90);
  • Art Ingredients - Finnabair Prima ();
  • Metallic Paint Art Alchemy- Finnabair Prima (Steampunk Copper);
  • Liquid Acrylic Art Alchemy- Finnabair Prima (Carmin, Nude, Tiger Orange, Purple, Liquid Fluid Medium);
  • Art Extravagance - Finnabair Prima (Paper Paste);
  • Art Basics - Finnabair Prima (Clear Gesso, Black Heavy Gesso, White Heavy Gesso, 3D Matte Gel, Soft Gloss Gel).


Related Posts Plugin for WordPress, Blogger...