Bonjour à toutes,
Aujourd'hui je suis sur le blog de Lindy's Gang avec un nouveau projet inspiré du superbe combo de couleur de décembre.
Hello Sweeties,
Today I'm up on Lindy's Gang blog with a new project: a star inspired by the beautiful color of December's combo.
Aujourd'hui je suis sur le blog de Lindy's Gang avec un nouveau projet inspiré du superbe combo de couleur de décembre.
Hello Sweeties,
Today I'm up on Lindy's Gang blog with a new project: a star inspired by the beautiful color of December's combo.

Processus / Basic process:
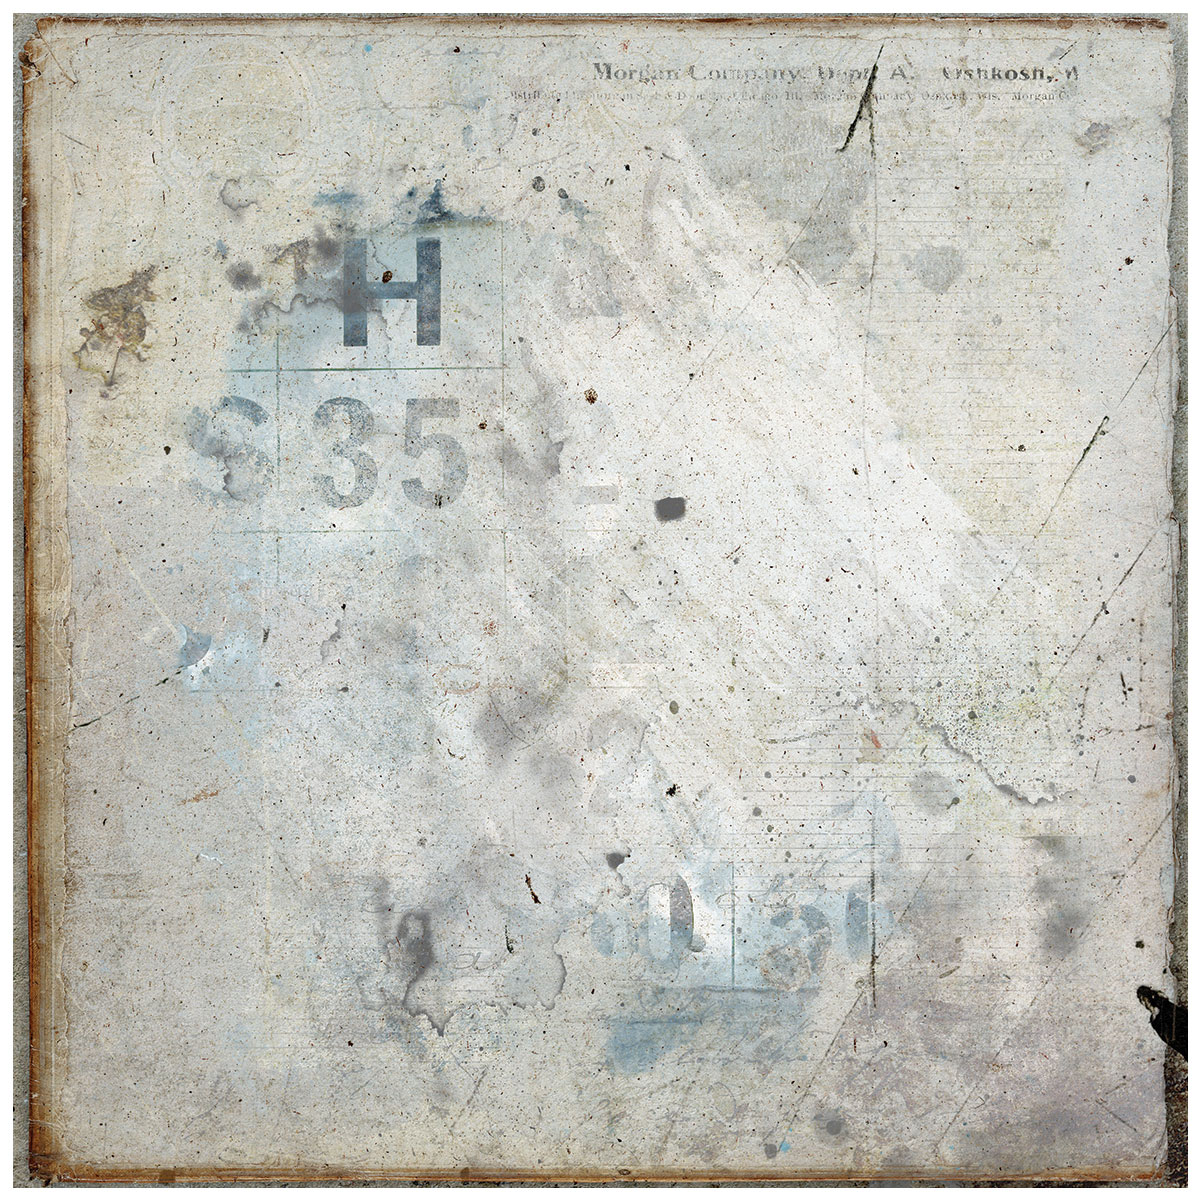
- Colorer un papier aquarelle avec Polite Peaople et Banff Blue ;
Color a watercolor paper with Polite People Purple and Banff Blue; - COuper e papier à la taille de l'étoile
Cut the paper to the size of the star; - Puis coller le sur l'étoile ;
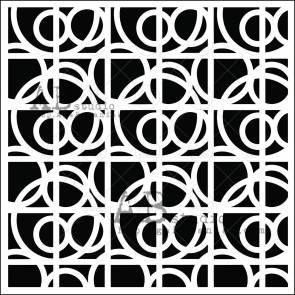
Then glue it to the star; - Ajouter un motif à l'aide d'un pochoir et de pâte à craqueler or ;
Add a design with gold crackle paste; - une fois sec, ajouter un peu de Hockey Puck Black ;
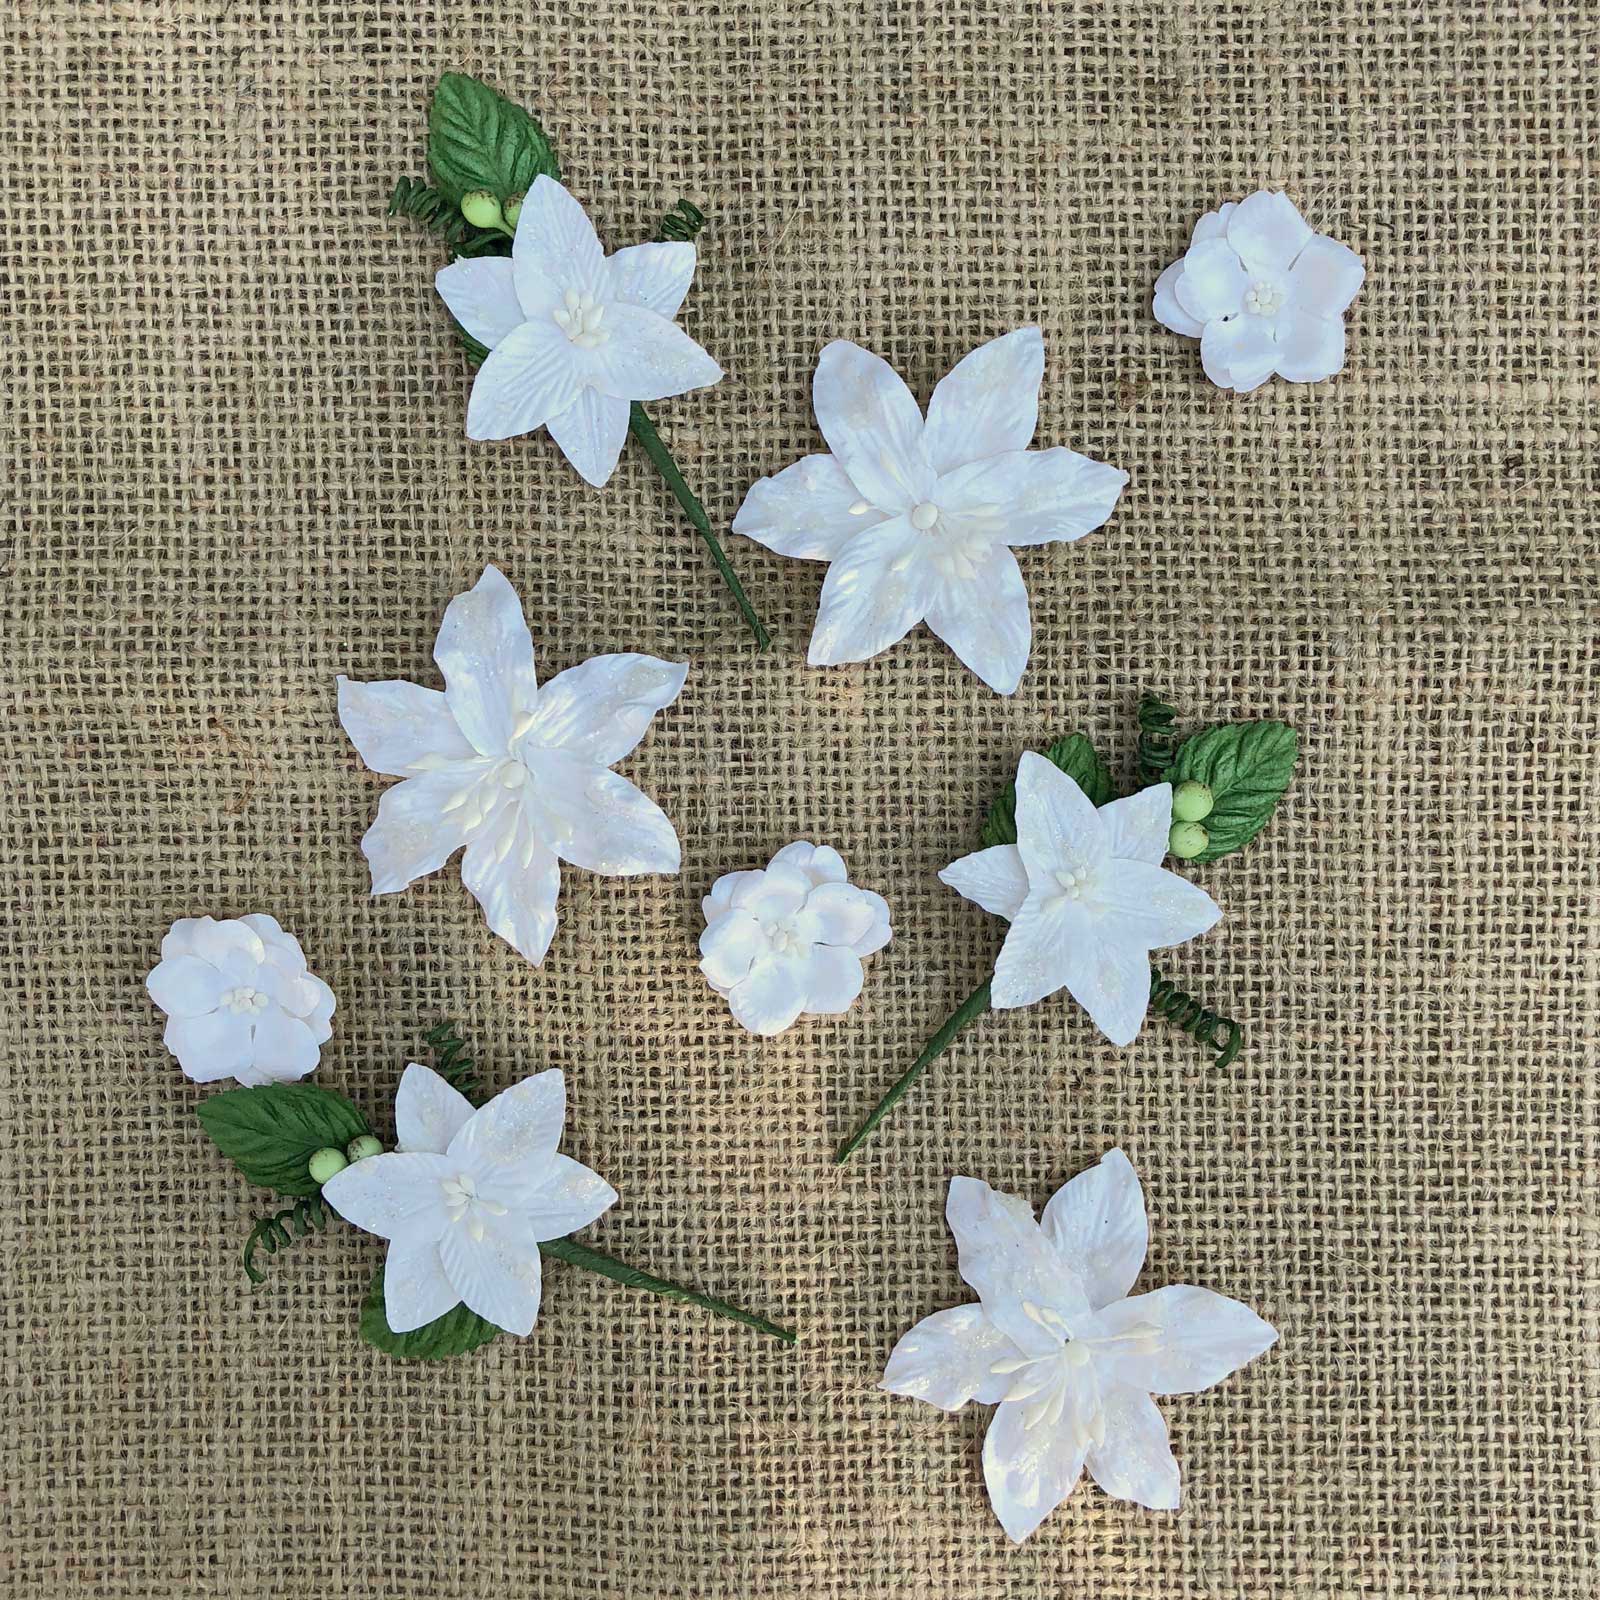
When dry, add some Hockey Puck Black; - Colorer quelques fleurs avec Polite People Purple ;
Color some flowers with Polite People Purple;

- Vaporiser quelques feuilles avec Ponderosa Pines Olive ;
Spray some leaves with Ponderosa Pines Olive; - Découper quelques baies, feuilles et brindilles dans un papier aquarelle ;
Die-cut some berries, leaves, and sprigs in a watercolor paper; - Colorer les découpes avec les encres utilisées précédemment ;
Color the die-cut elements with the previous inks;

- Embosser les baies avec Aurora Amethyst EP ;
Emboss the berries with Aurora Amethyst EP;

- Embosser les brindilles avec King Midas Gold ;
Emboss the sprigs with King Midas Gold EP; - Colorer un cadre en resine préalablement recouvert de gesso transparent avec Hockey Puck Black et Banff Blue ;
Color a resin frame primed with clear gesso with Hockey Puck Black and Banff Blue;

- Puis accentuer les détails avec de la cire or ;
Then add gold wax to highlight the texture; - Coller tous les éléments ;
Time to glue all the elements; - Cirer les bords de l'étoile ;
Add gold wax to the edge of the star; - a=Pour finir, ajouter des min-étoiles or, des glitters et des microbilles.
To finish add gold mini-stars, glitters, and microbeads.

Et voici la vidéo / And the video:
Matériels / Materials:
Lindy's Gang products:
- Starburst - Ponderosa Pines Olive;
- Squirts - Banff Blue, Polite People Purple, Hockey Pockey Black;
- Embossing powders - Aurora Amethyst, King Midas Gold.
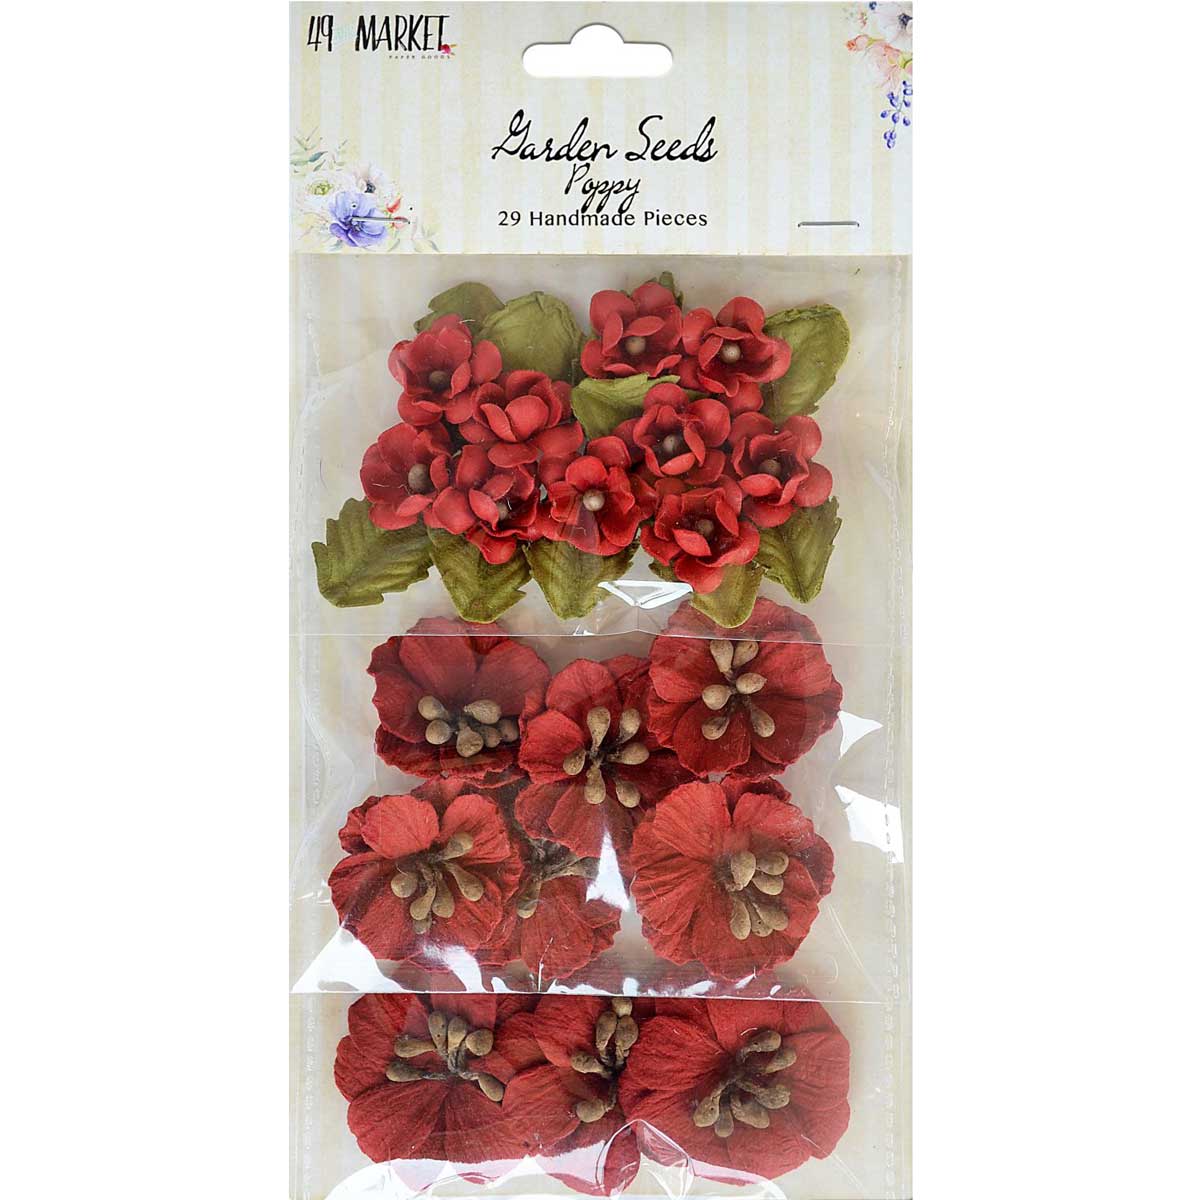
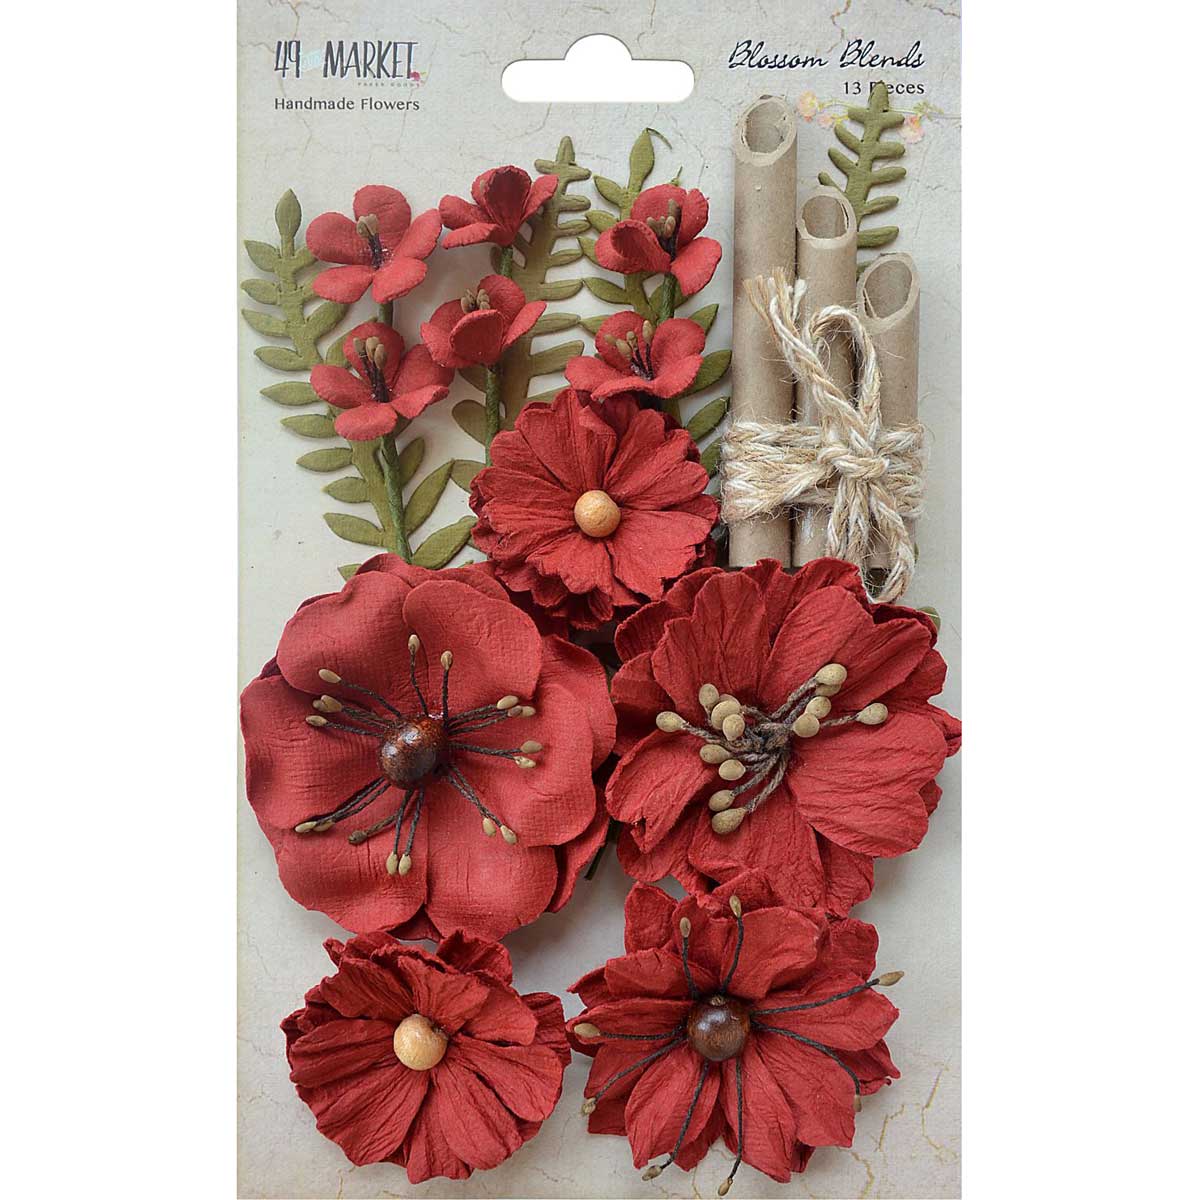
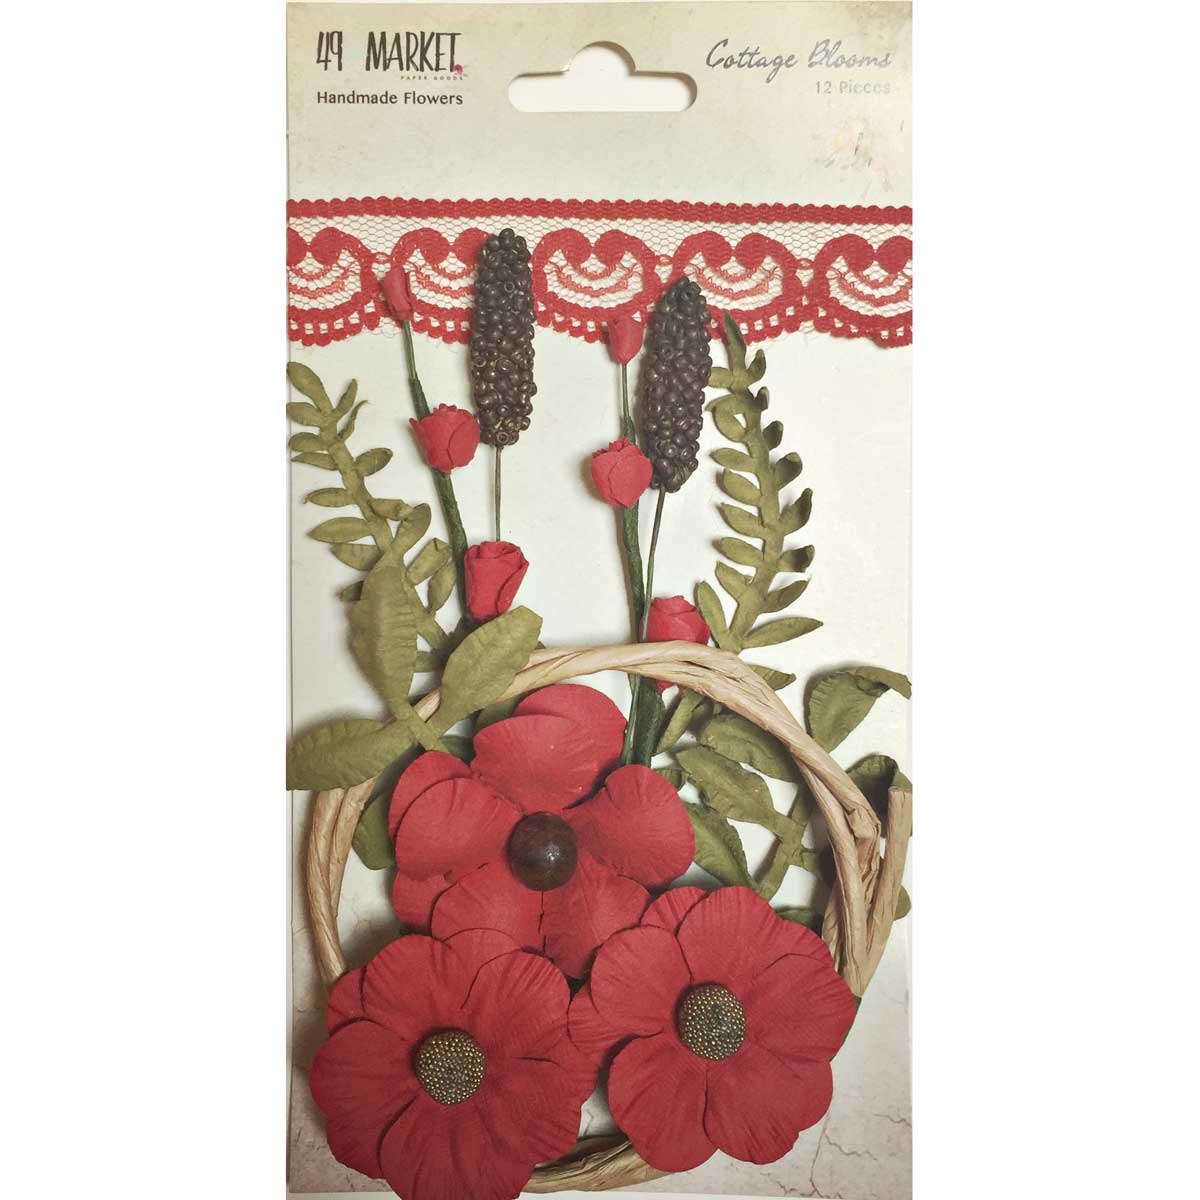
- Flowers - 49 and Market (Cotton Blooms);
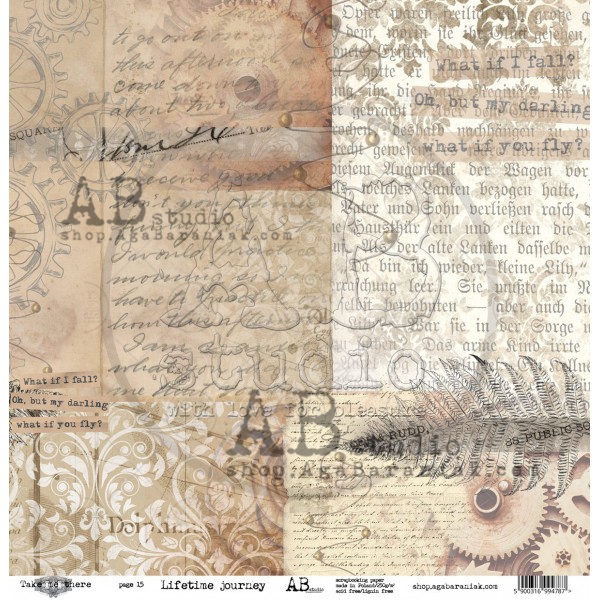
- Stencil - A.B. Studio (Stencil ID-90);
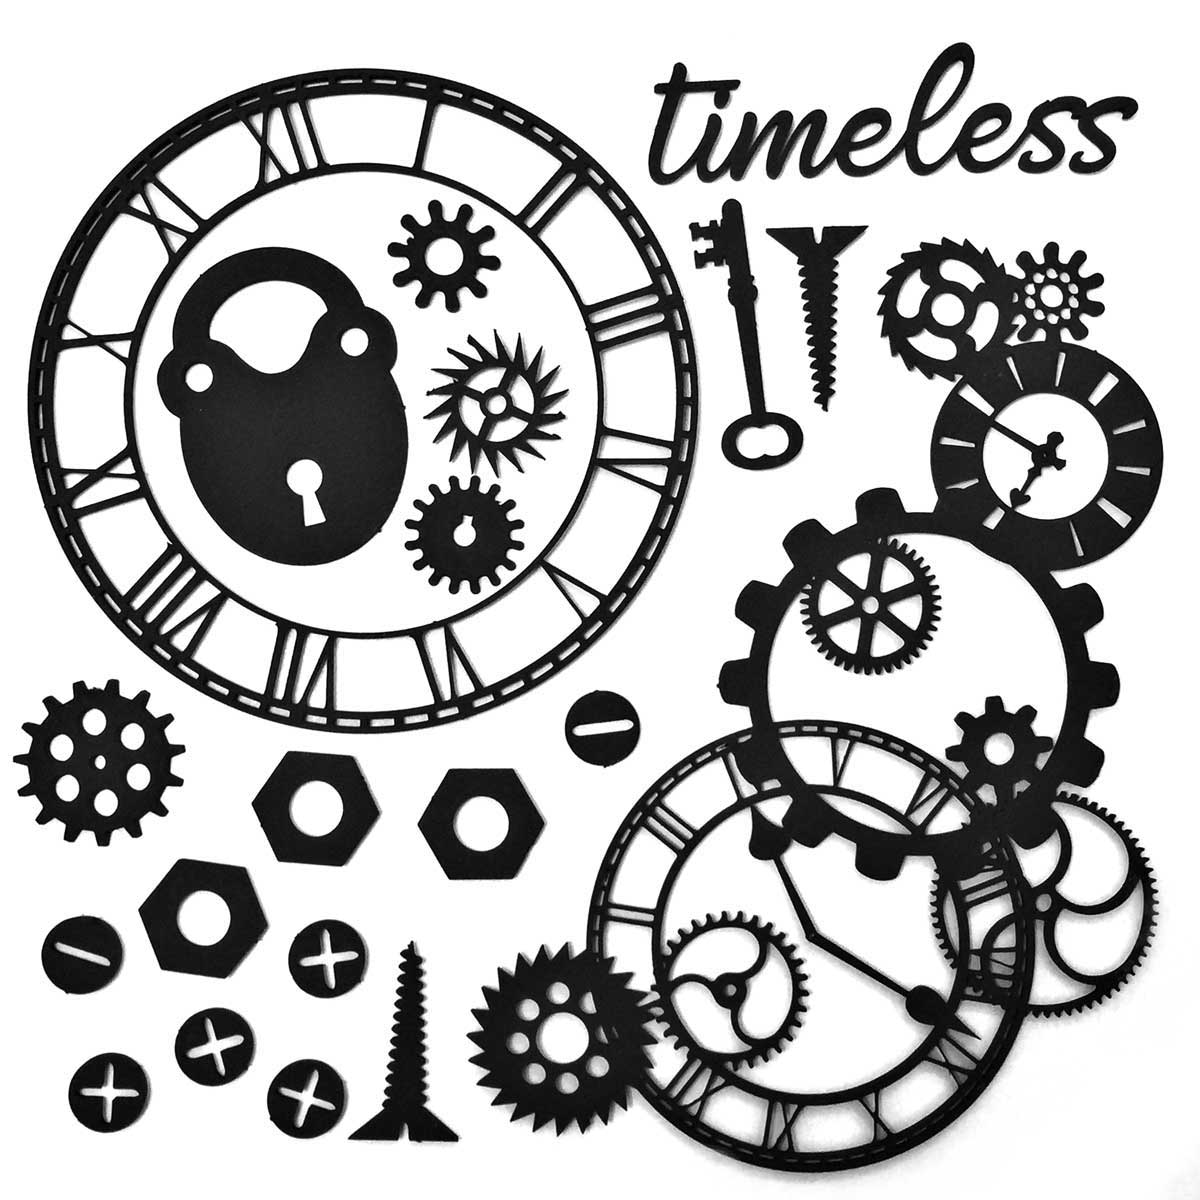
- Die - Alexandra Renke (Berries and Seeds);
- Die - Mimi Cut (Herbarium);
- Art Ingredients - Finnabair Prima (Mica Flakes: Gold Leaf; Glitter: Luminous Set);
- Art Alchemy (Wax: Vintage Gold);
- Art Extravagance - Finnabair Prima (Gold Crackle Paste);
- Art Basics - Finnabair Prima (3D Matte Gel, Soft matte Gel).