Bonjour à toutes,
Aujourd'hui je suis sur le blog de Lindy's Gang avec un nouveau tutoriel en vidéo : une page.
Hello Sweeties,
Today I'm up on Lindy's Gang blog with a new video tutorial: a gorgeous scrapbook layout.
Aujourd'hui je suis sur le blog de Lindy's Gang avec un nouveau tutoriel en vidéo : une page.
Hello Sweeties,
Today I'm up on Lindy's Gang blog with a new video tutorial: a gorgeous scrapbook layout.

Processus / Basic process:
- Protéger le fond d'un couche de gesso transparent ;
Prime the background with clear gesso; - Ajouter un motif à l'aide d'un pochoir et de pâte de papier ;
Add a design with a stencil and paper paste; - Une fois sec, colorer le fond avec Maple Syrup Bronze, Grab a Guy Gold, and Silhouette Silver ;
When dry, color the background with Maple Syrup Bronze, Grab A Guy Gold, and Silhouette Silver; - Colorer les fleurs avec les mêmes couleurs ;
Color the flowers with the same colors; - Découper quelqes feuilles dans du papier aquarelle et colorer les avec Sea Grass Green, Maple Syrup Bronze et Grab a Guy Gold ;
Die-cut some leaves in a watercolor paper and color them with Sea Grass Green, Maple Syrup Bronze and Grab a Guy Gold; - Avec que les encres ne séchent, saupoudrer les avec la poudre Orbit live Green, et embosser ;
While the inks are still wet, sprinkle some Orbit Olive Green powder, and heat set; - Découper quelques fioritures dans du papier aquarelle, et embosser les deux fois avec la poudre Midnight Gold ;
Die-cut some flourishes in watercolor paper, and emboss them twice with the Midnight Gold powder. - Couper quelques papiers pour mettre sous la photo et viellissez les;
Cut some papers in to add under the photo and distress them; - Colorer le cadre avec Maple Syrup ;
Color the frame with Maple Syrup Bronze. - Une fois sec, recouvrer de pâte à craqueler transparente ;
When dry, cover it with clear crackle paste; - Coller tous les embellissements avec du gel épais ;
Glue all the embellishments with a heavy body gel; - Ajouter différentes tailles de Art Stones ;
Add different sizes of Art Stones; - Ajouter égaement des microbilles ;
Add some microbeads as well; - Pour finir la mise en page, faire des taches avec un mélange d'eau, de gelmedium mat et de glitter or.
To finish the layout, splatter a mix of gold glitter, soft gloss gel, and water.
Quelques gros plans / Some close-ups:


Et voici la vidéo / And here is the video:
Matériels / Materials:
Lindy's Gang products:
- Starburst - Grab a Guy Gold;
- Moon Shadow Mist - Silhouette Silver;
- Squirts - Maple Syrup Bronze;
- Magical - Sea Grass Green (Nantucket Pearls Set);
- Embossing powders - Orbit Olive Green, Midnight Gold.
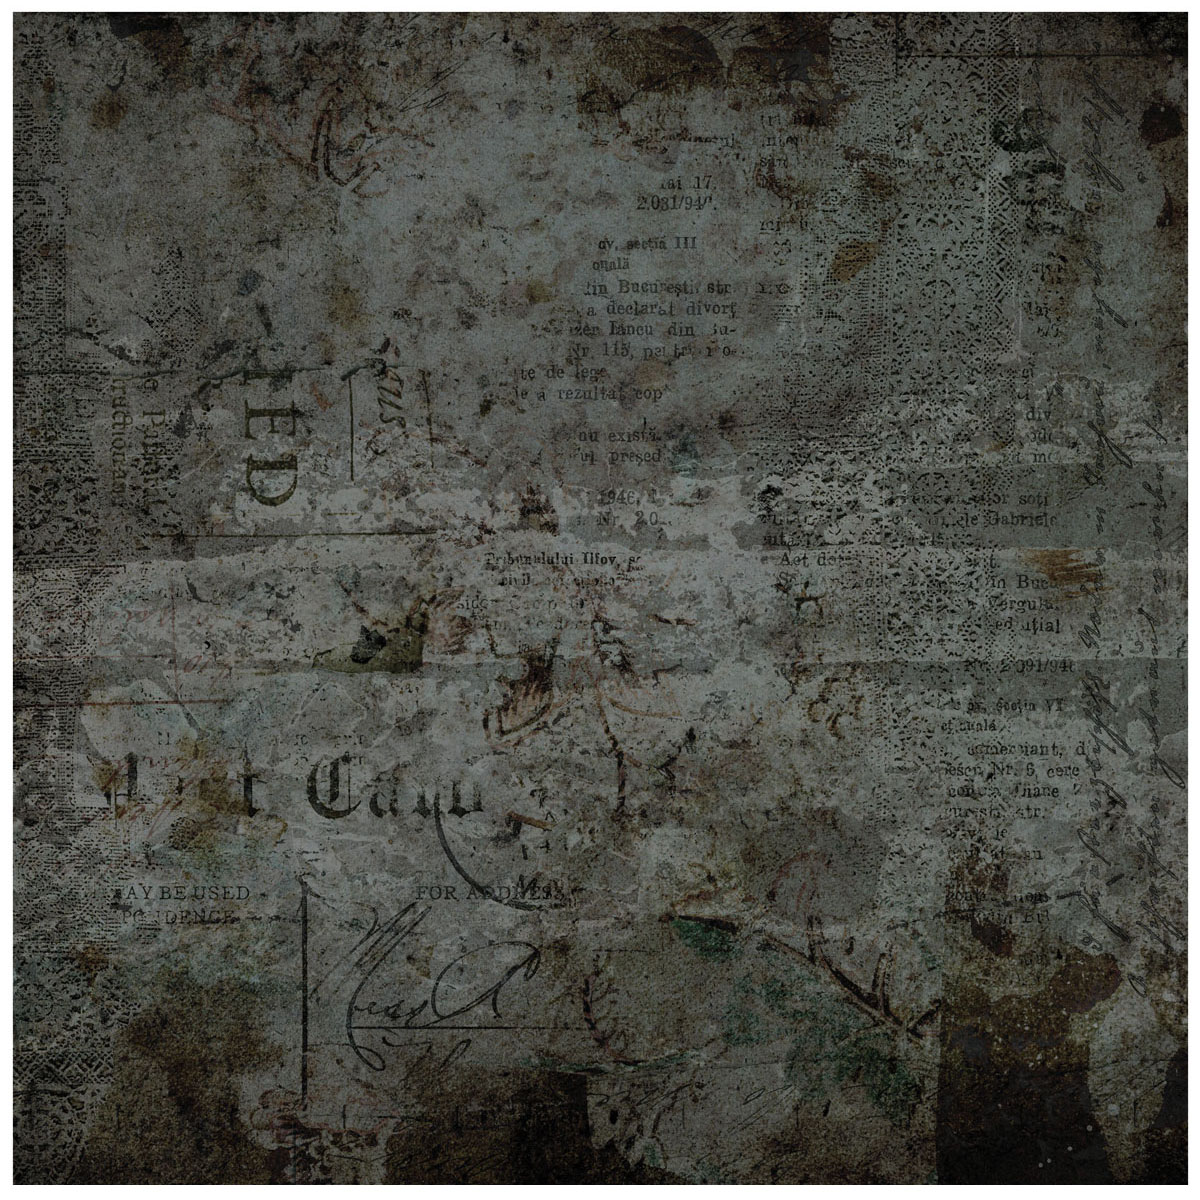
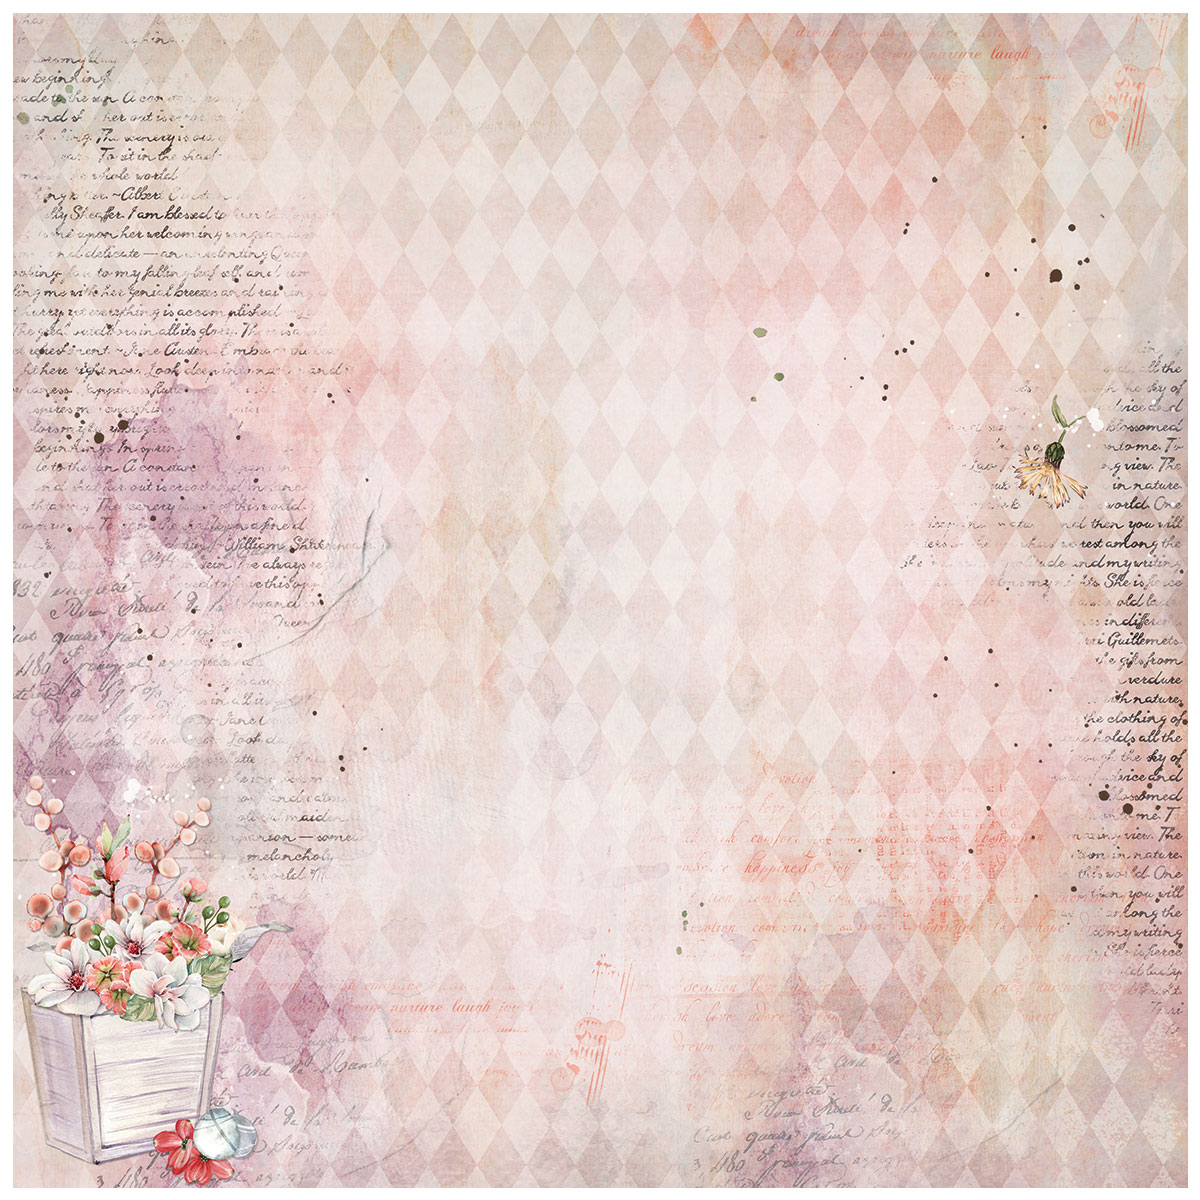
- Papers - Behind Closed Doors (Your Way, Close Doors);
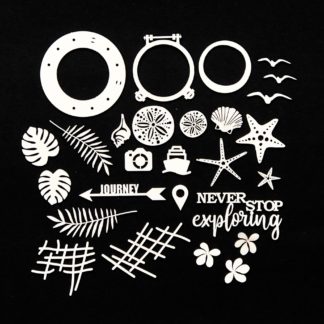
- Stencil - Stencil ID-68;
- Chipboard - Chipboard ID-1.
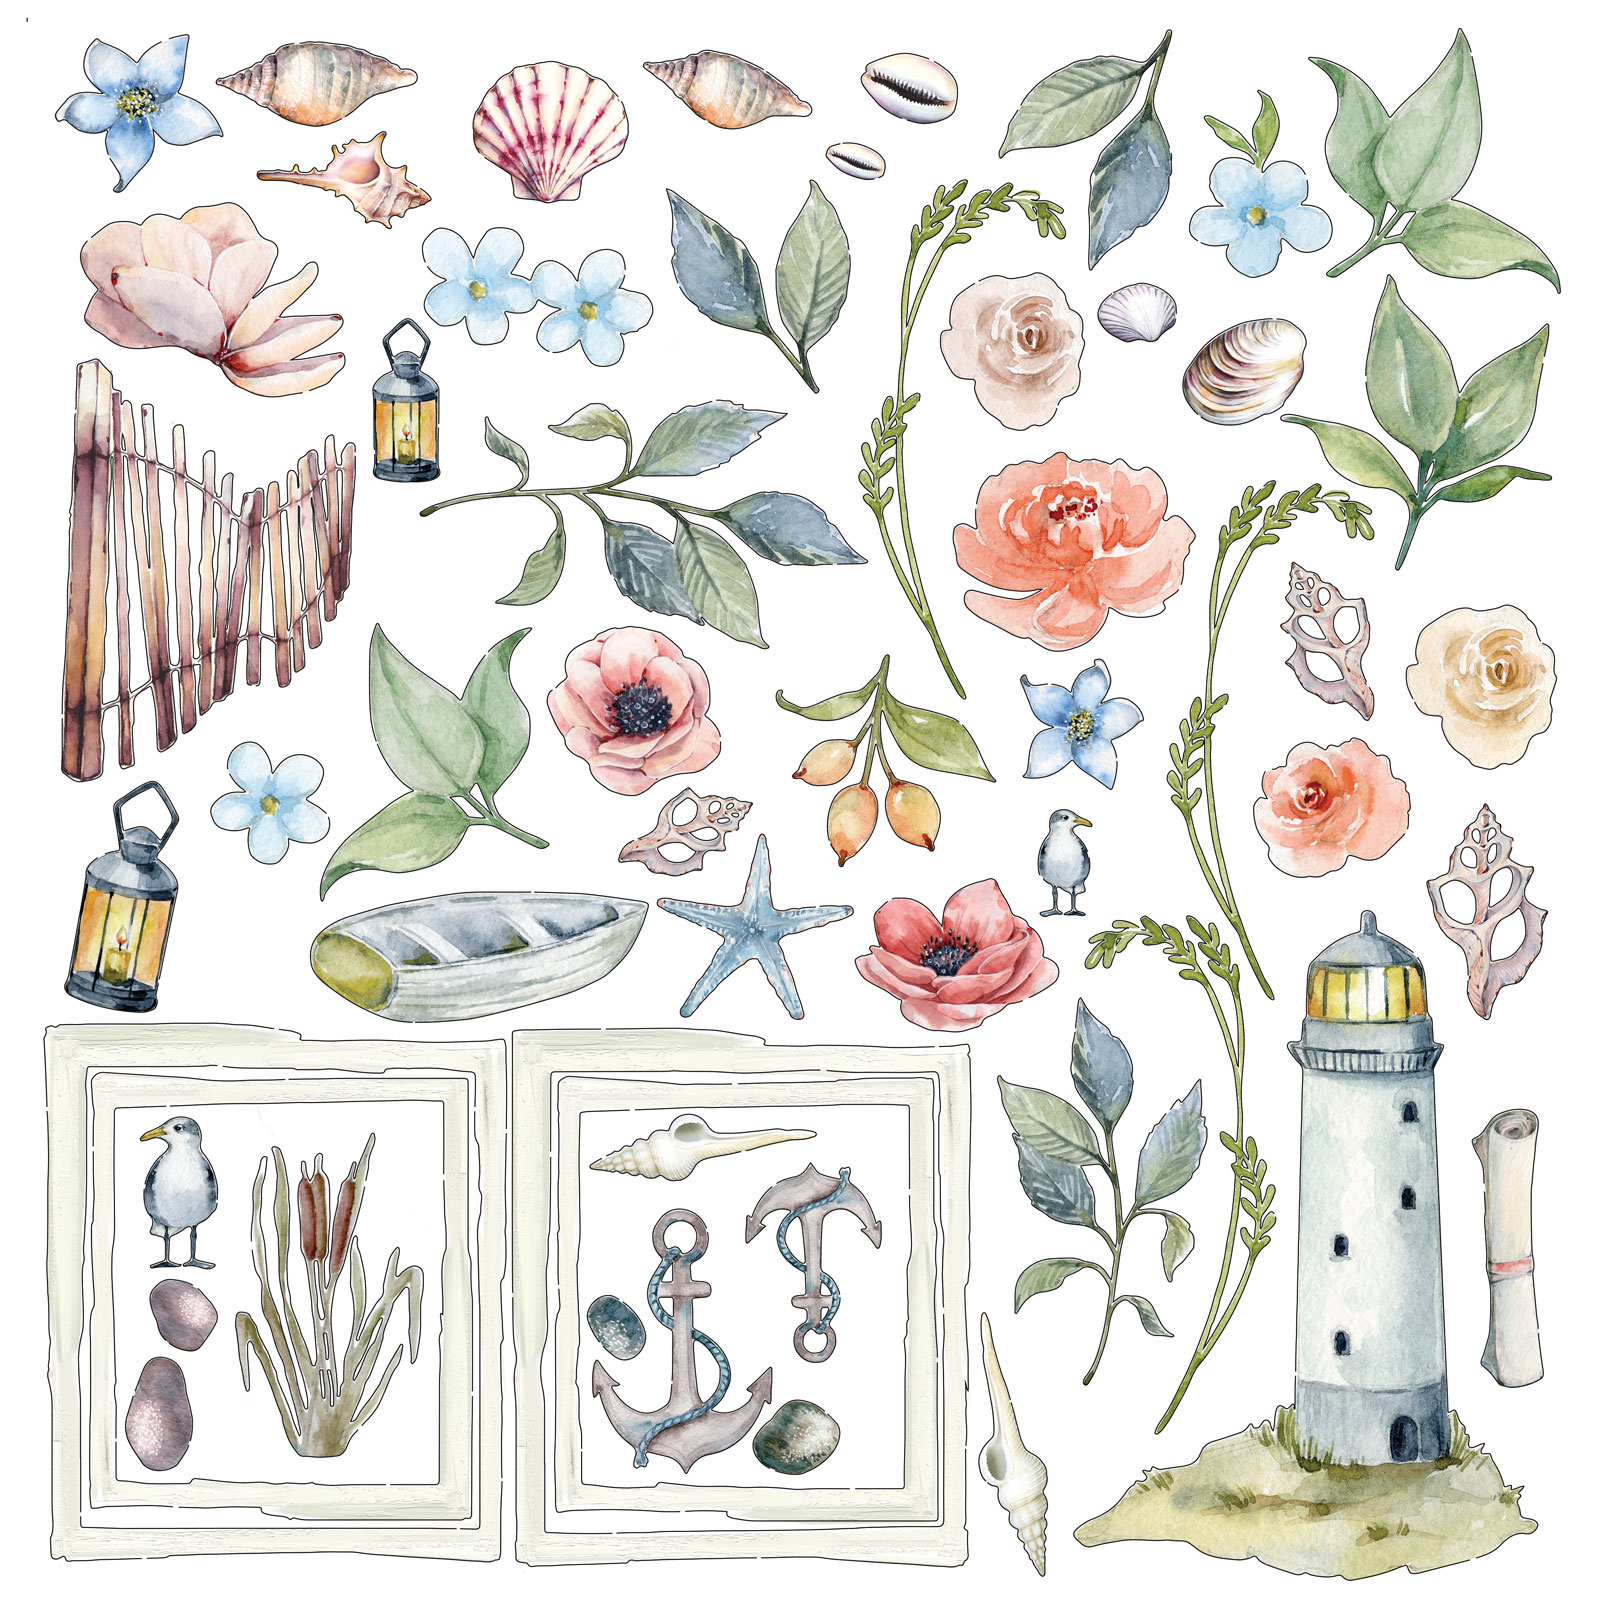
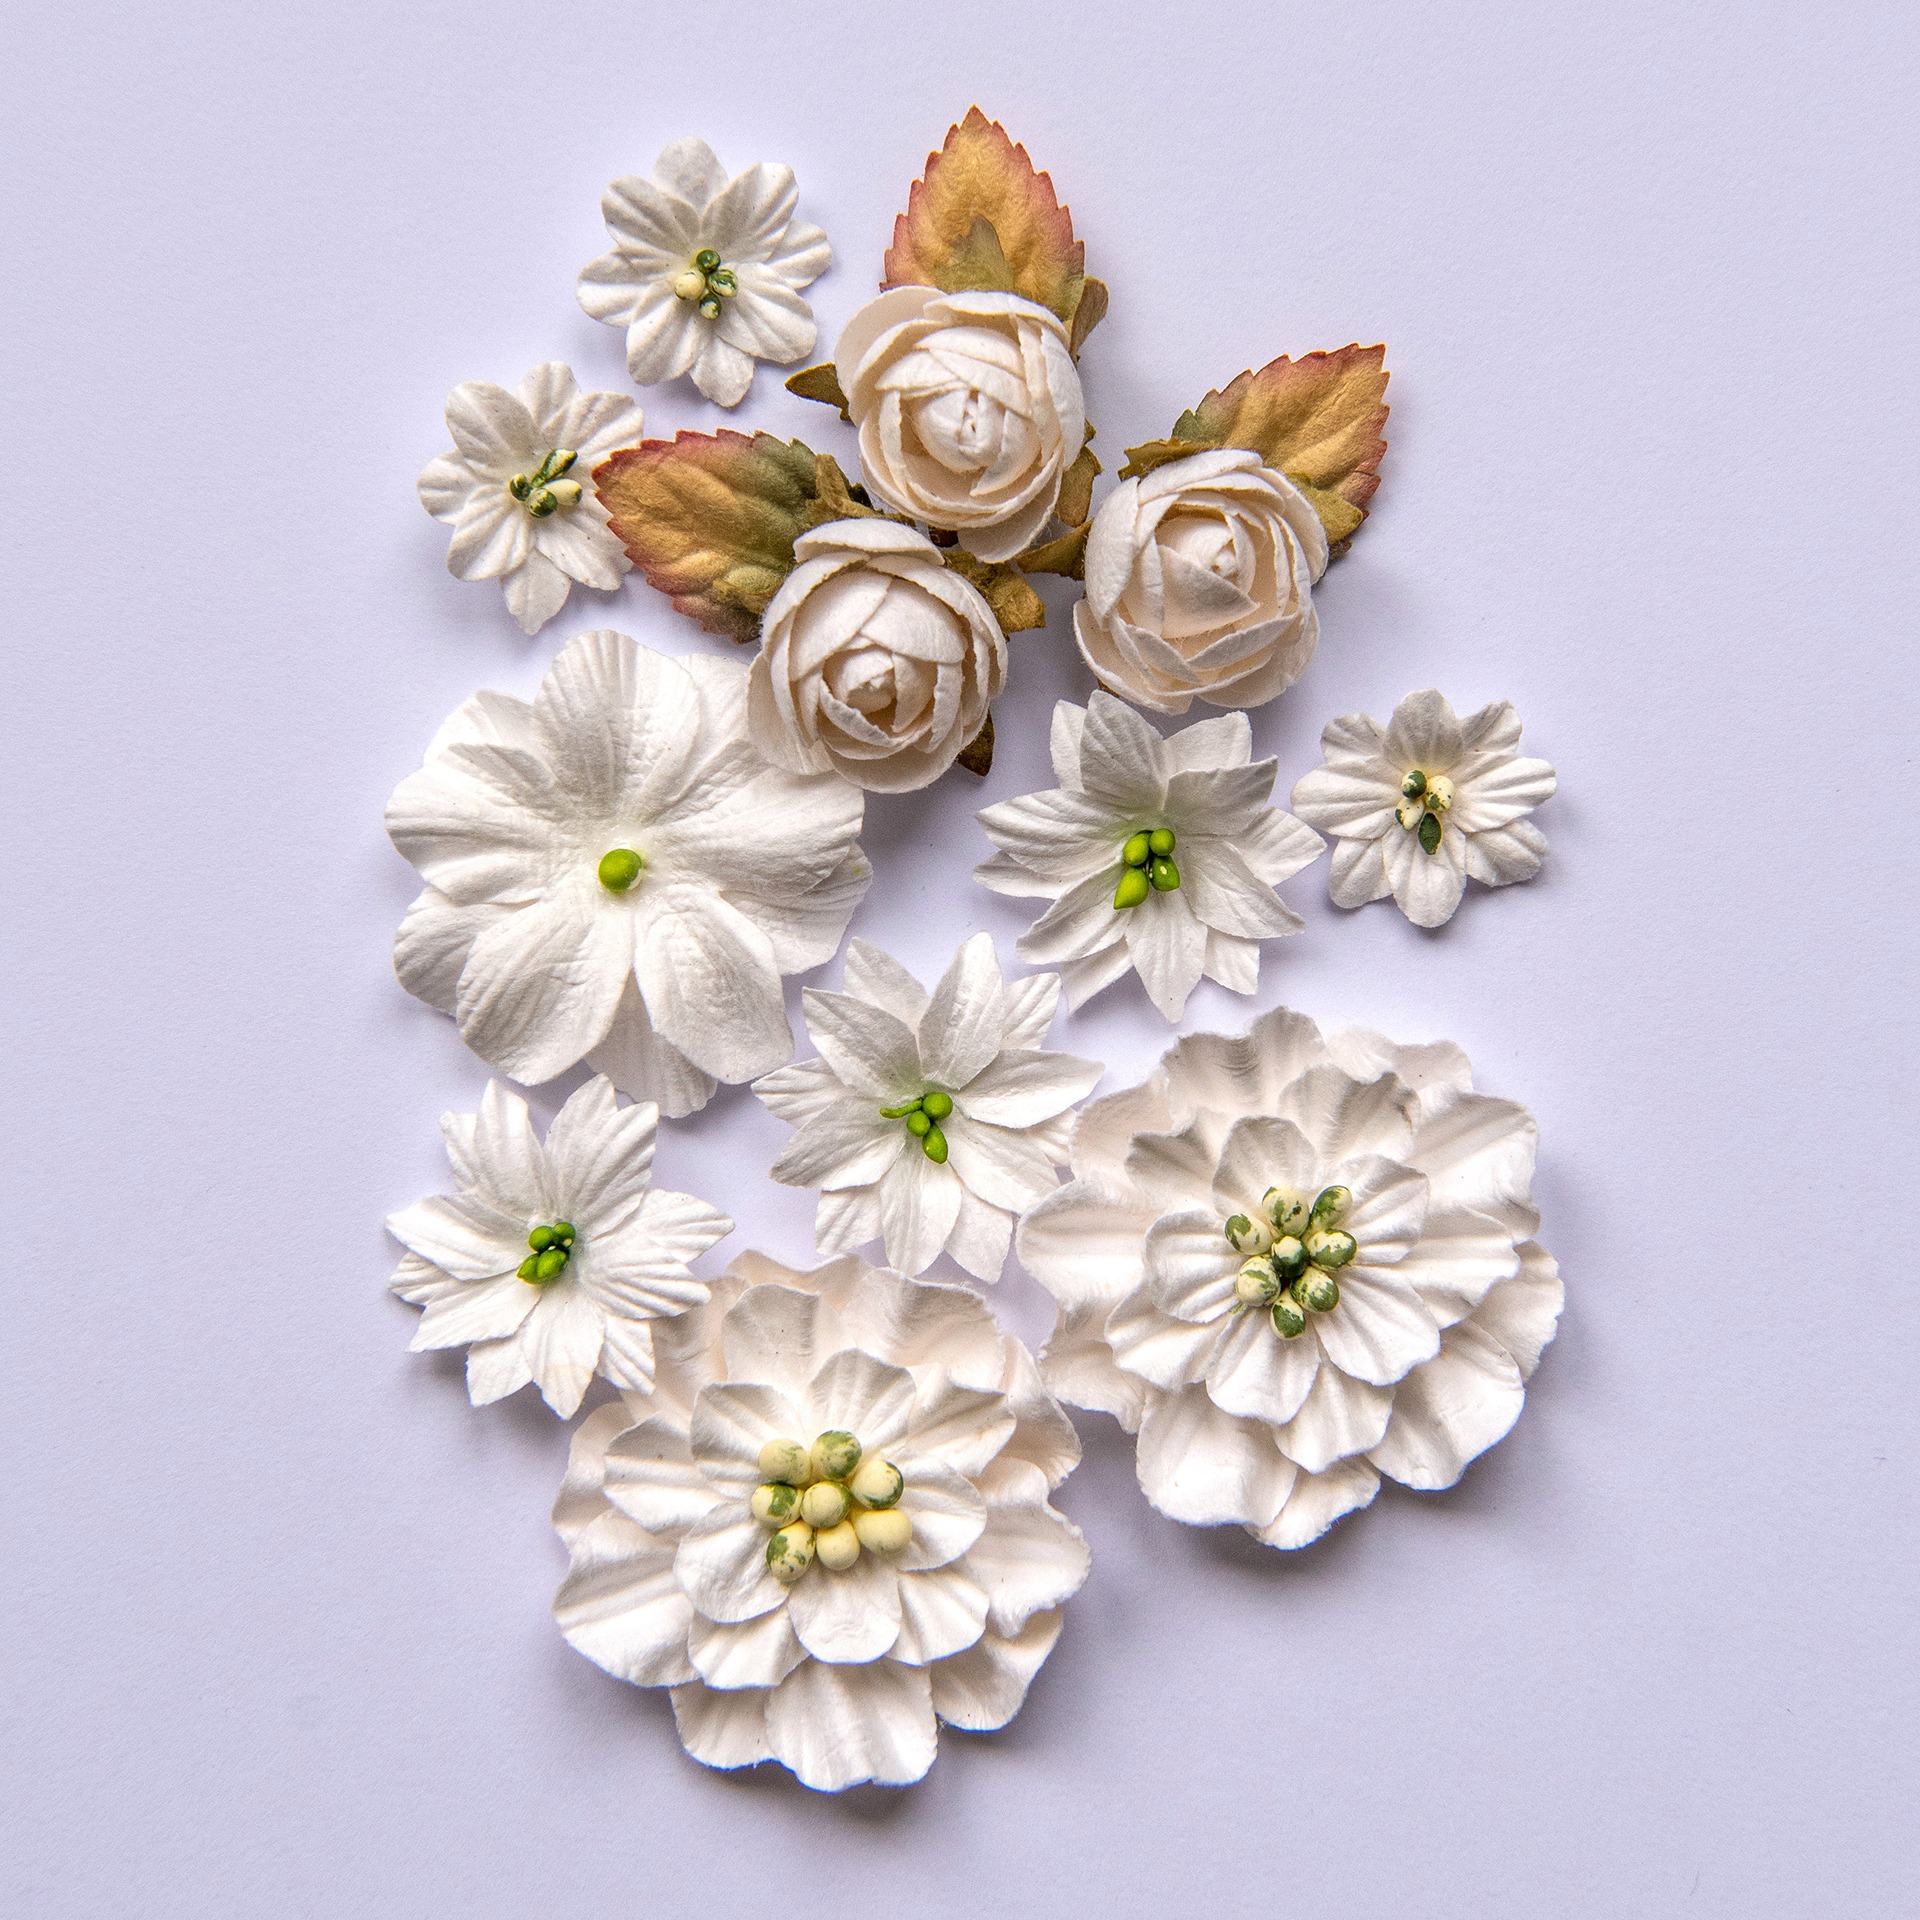
- Flowers - 49 and Market (Country Blooms, Wild Flowers);
- Die - Sizzix (Adorned);
- Die - Magnolia DooHickey (Summer Foliage);
- Findings - 7 Gypsie (Wings);
- Art Ingredients - Finnabair Prima (Art Stones, Mini Art Stones, Mega Art Stones, Microbead: Copper, Glitters: Luminous set);
- Art Extravagance - Finnabair Prima (Paper Paste);
- Art Basics - Finnabair Prima (Clear Gesso, Heavy Body Gel, Soft Matte Gel).