samedi 29 février 2020

Encourage your hope: a mixed media canvas - A.B. Studio DT

Bonjour à toutes,

Aujourd'hui c'est un canvas mixed media pour A.B. Studio que je vous propose.

Hello Sweeties

Today it's a mixed media canvas for AB Studio that I have to share with you.  


Photo by Alice Alinari on Unsplash

J'ai travaillé sur l'envers du chassis que j'ai entièrement peint avec du gesso noir. J'ai ensuite collé de la dentelle et des découpes de feuilles dans le fond du chassis pour donner de la texture.

I worked on the back of the canvas which I primed with black gesso. Next, I glued some lace and die-cut leaves in the background to add some texture


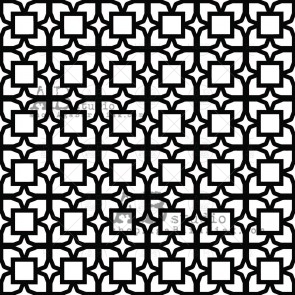
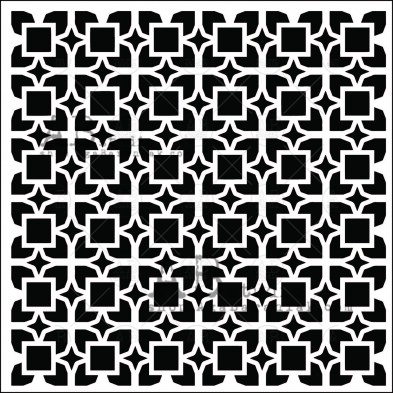
J'ai utilisé le set Stone Effect et de la pâte Black Sand pour ajouter de la texture sur le bord du chassis et j'y ai intégré un morceau du chipboard n°20. A l'aide du pochoir n°66, j'ai répété le motif du chipboard avec de la pâte à craqueler or. J'ai ensuite collé divers embellisments : fleur métallique, bouton, fioritures en résine.

I used the Stone Effect set and the Black Sand paste to add some texture to the canvas borders and I add a piece of the Chipboard ID-20. With the stencil ID-66, I repeated the design of the chipboard with a Gold Crackle paste. Next, I glued some embellishments: metallic flowers, resin flourishes, button.


Une fois sec, j'ai recouvert l'ensemble de gesso noir, que j'ai partiellement enlevé sur la pâte à craqueler or. Puis j'ai commencé à ajouter e a couleur avec diverses peintures acryliques.

When everything was dry, I covered the whole canvas with black gesso, which I removed partially from the Gold Crackle paste. Then, I started to add some color with different acrylic paints. 


J'ai fait ressortir les détails de la texture à l'aide des cires Mint Sparkle, Lucky Emerald et White Gold.

I highlight the details of the texture with the waxes Mint Sparkle, Lucky Emerald, and White Gold.


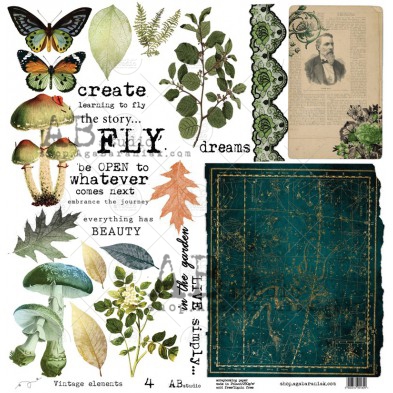
J'ai découpé quelques éléments de la feuille n°4 des Vintage Elements que j'ai ajouté à la composition ainsi que du lichen. Pour terminer, j'ai ajouté des microbilles et des sequins.

I cut out some elements from the Paper n°4 of the Vintage Elements which I added to the composition as well as some lichen. To finish, I added some microbeads and sequins. 


Matériels / Materials:

A.B. Studios products:

Vintage Elements
Paper n°4
Chipboard background 20x20...
Chipboard background
ID-20

Stencil ID-66


Other products:
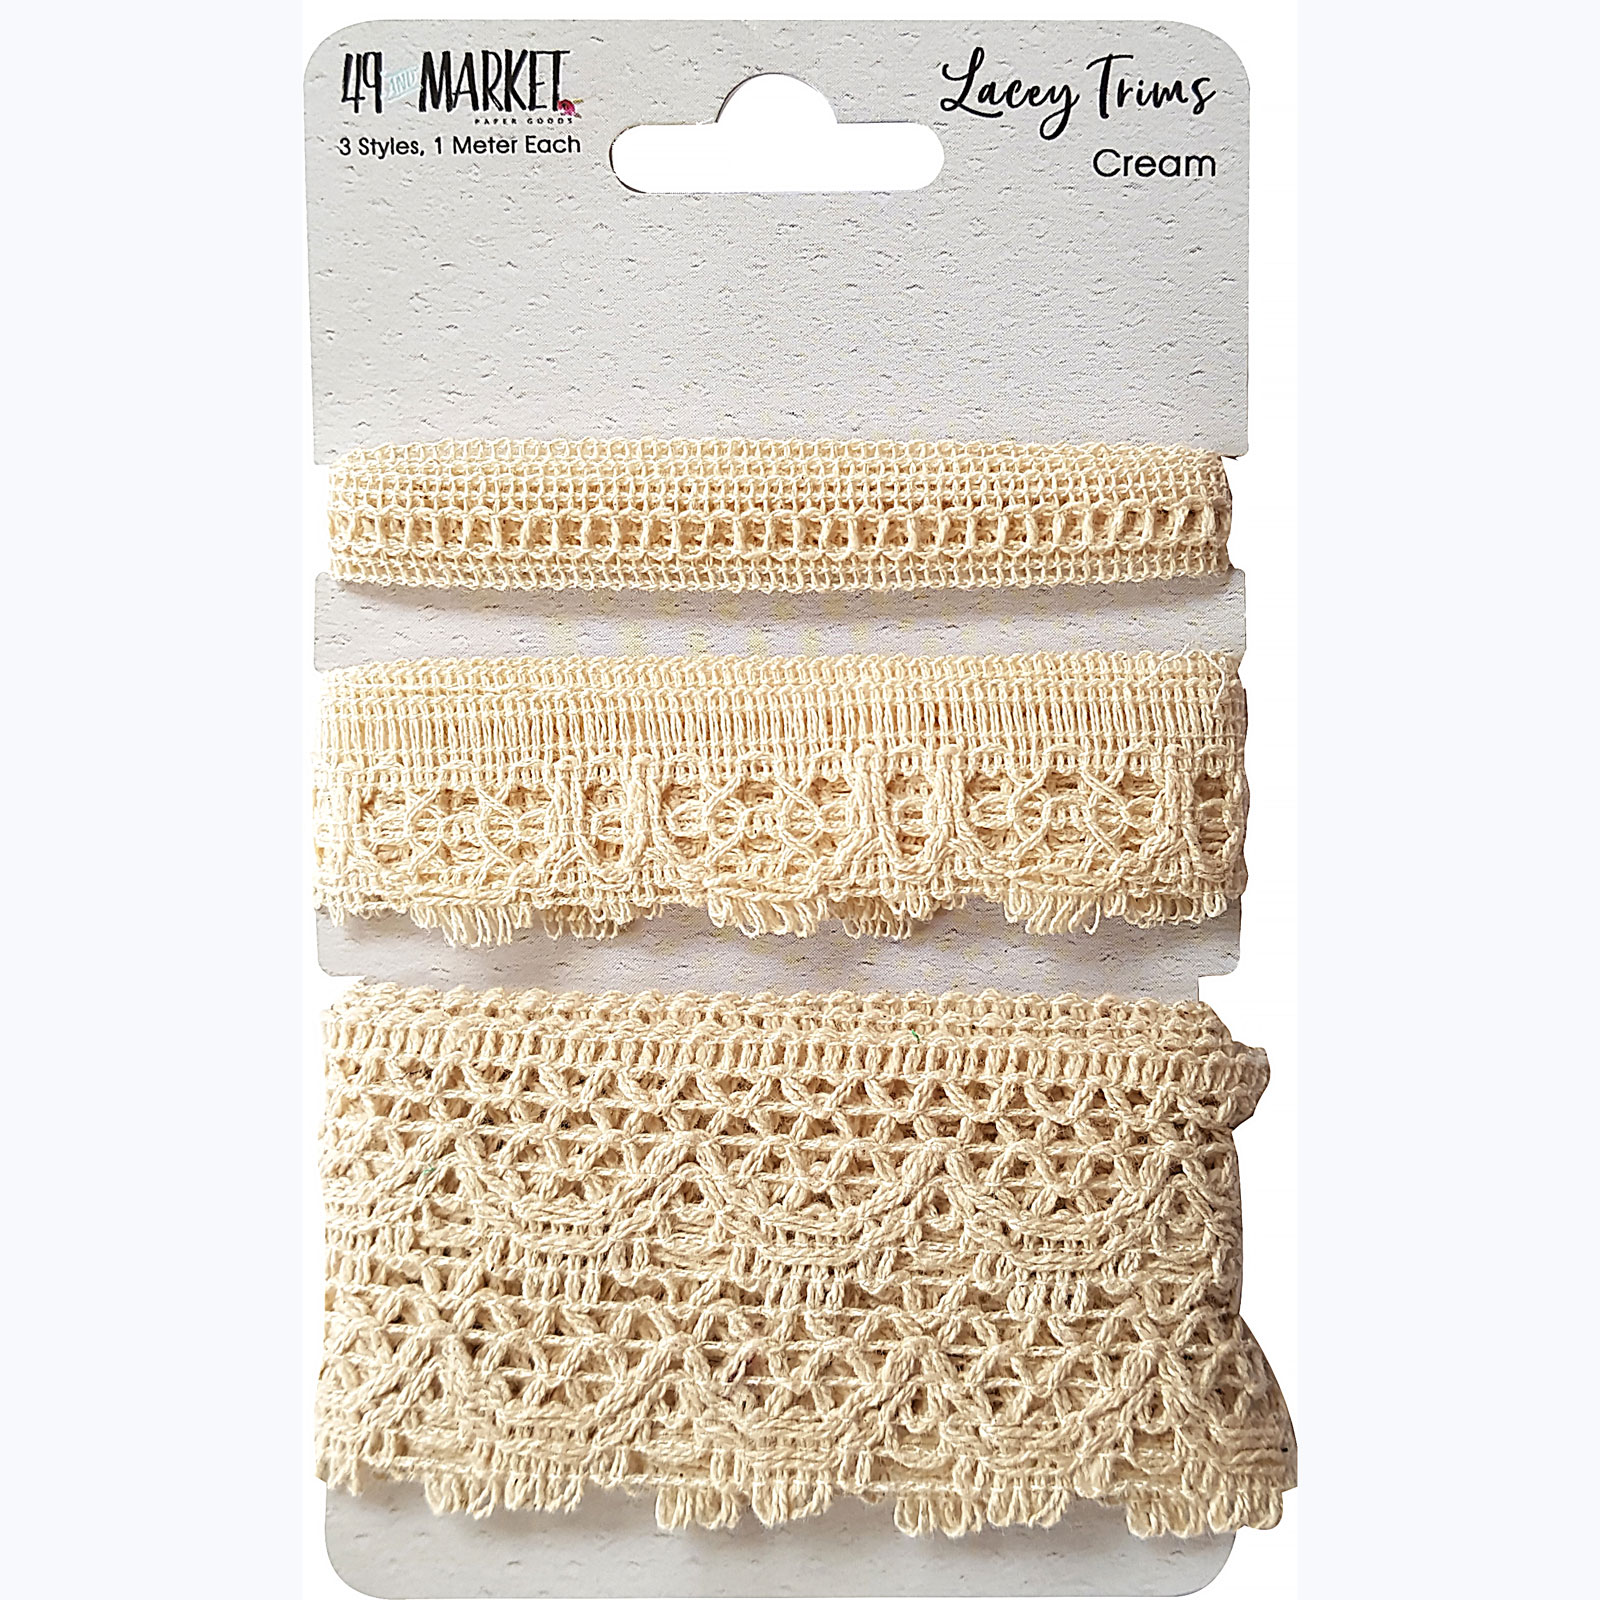
  • Lace - Blue Fern Studio (Lace n°2);
  • Label - Idea-Ology (Word Bands);
  • Die - Sizzix (Skeleton Leaves);
  • Molds - Prima - (Baroque #5);
  • Mechanicals - Finnabair Prima (Flowers);
  • Art Alchemy Liquid Acrylic - Finnabair Prima (Avocado Green, Burnt Umber, Carmine);
  • Art Alchemy Metallic Acrylic - Finnabair Prima (Green Olive);
  • Art Alchemy Waxes - Finnabair Prima (White Gold, Lucky Emerald, Mint Sparkle); 
  • Art Ingredients - Finnabair Prima (Art Stones: Normal, Mega, Mini; );
  • Art Extravagance - Finnabair Prima (Gold Crackle Paste, Stone Effect Set, Black Sand);
  • Art Basics - Finnabair Prima (Black gesso, Clear Gesso, Heavy Body Gel, Soft Gloss Gel).

lundi 24 février 2020

Album Cover - 49 and MArket DT

Bonjour à toutes,

Aujourd'hui je suis sur le blog de 49 and Market avec un nouveau projet. Cette fois c'est la couverture d'un album qui fait environ 31 x 31 cm.

Hello Sweeties,

Today I'm up on 49 and Market blog with a new step-by-step project. This time, it is an album cover that is a little over12"1/2 by 12"1/2. 


Processus / Basic process:
  1. Ajouter un motif à l'aide d'un pochoir et de pâte Icing Vintage Gold ;
    Add a design with a stencil and Vintage Gold  Icing paste;
  2. Découper quelques fioritures dans du papier aquarelle et embosser les avec les poudres LapisLazuli Blue Gold et King Midas Gold ;
    Die-cut some flourishes in a watercolor paper and embossed them with Lapis Lazuli Blue Gold and King Midas Gold;
  3. Encrer un cadre en résine, préalablement recouvert de gesso transparent, avec l'encre Burnished Brass ;
    Color a resin frame, primed with clear gesso, with the Burnished Brass ink;
  4. Utiliser le reste de l'encre pour colorer quelques fleurs Country Blooms et de la Mini-serie ;
    Color some Country Blooms and mini-series flowers with the leftover Burnished Brass ink;
  5. Accentuer les détails du cadre avec les cires Denim Blue et Vintage Gold ;
    Highlight the details of the frame with the waxes Denim Blue and Vintage Gold;
  6. Découper la feuille Dear John en plusieurs morceaux et quelques tickets du Set Frame n°02 ;
    Cut the Dear John sheet in several pieces and some tickets from the Frame Set n°02;
  7. Coller tous les éléments de la composition avec du gel 3D mat ;
    Glue all the elements of your composition with 3D Matte Gel; 
  8. Ajouter des perles et des microbilles,
    Add some pearls, micro-pearls, microbeads;
  9. Pour finir la couverture, tamponner autour de la composition avec de la peinture acrylique Gold Rush et le tampon 1787 ;
    To finish the cover, stamp around the composition with the Gold Rush acrylic paint and the stamp 1787;
  10. N'oublier de décorer la tranche de l'album et d'ajouter de la dentelle et de la corde.
    Don't forget to decorate the spine of the album and add some lace and jute cording.


Quelques gros plans / Some close-ups:


Et voici la vidéo / And the video:


Matériels / Materials:

49 and Market products:


Bold and Beautiful
Dear John

Laser Cut
Frame Set n°2

1787
Stamp

Country Blooms
Cloud

Mini Flowers Serie n°01
Mushroom

Wild Flowers
Sky

Lacey Trim
Cream

Jute Cording
5 Ply

Jute Cording
1 Ply

Other products:
  • Moon Shadow Mist - Lindy's Gang (Burnished Brass);
  • Embossing Powders - Lindy's Gang (King Midas Gold, Lapis Lazuli Blue Gold);
  • Stencil - A.B. Studio (Stencil ID-97);
  • DIe - Sizzix (Adorned);
  • Art Ingredients - Finnabair Prima (Microbeads: Copper);
  • Art Alchemy - Finnabair Prima (Waxes: Vintage Gold, Denim Blue; Metallic: Gold Rush);
  • Art Extravagance - Finnabair Prima (Vintage Gold Icing Paste);
  • Art Basics - Finnabair Prima (3D Matte Gel).

samedi 15 février 2020

Soul Whispers - A.B. Studio DT

Bonjour à toutes,

Aujourd'hui c'est une page pour A.B Studio que je propose avec une page et sa vidéo.

Hello Sweeties,

Today I have a layout I made for A.B. Studio with a step-by-step video. 

Photo by Petr Ovralov on Unsplash

Processus / Basic process:
  1. Tamponner ici et là le fond avec divers tampons et encres ;
    Stamp randomly the background with different stamps and inks; 
  2. Puis protéger le fond avec du gesso transparent ;
    Then prime the paper with clear gesso;
  3. Ajouter de la couleur au fond en accord avec la photo ;
    Add some colors to the background that match the photo;
  4. Ajouter un motif avec de la pâte de papier et un pochoir ;
    Add a design with paper paste and stencil ID-64;
  5. Saupoudrer de poudre à embosser la pâte à papier humide et
    While the paper paste is still wet, sprinkle embossing powder and heat set; 
  6. a
    Die-cut some leaves in the Future Memories and Closed Doors from the Behind Closed Doors collection;


  7. a
    Wax some resin frames already primed with black gesso with different colors;
  8. a
    Wax some green twigs as well;


  9. a
    Build your composition and glue all the elements with 3D matte gel;
  10. a
    To finish the layout, add some sequins and microbeads. 
Quelques gros plans / Some close-ups:


Et voici la vidéo / And here is the step-by-step video:


Matériels / Materials:

A.B. Studio products:


Rustical Journey
Day Without Rain

Behind Closed Doors
Closed Doors

Behind Closed Doors
Future Memories

Stamp ID-208

Stamp ID-204

Stamp ID-242

Stencil ID-64

Other products:

  • Moon Shadow Mist - Lindy's Gang (Gossamer Gold);
  • Starburst - Lindy's Gang (Green with Envy);
  • Embossing Powders - Lindy's Gang (Golden Angel Wings);
  • Flowers - 49 and Market (Enchanted Petals: Parchment; Garden Petals: Parchment);
  • Die - Sizzix (Skeleton leaves);
  • Resin Elements - Prima (Square Frames);
  • Art Alchemy - Finnabair Prima (Waxes: Vintage Silk, Vintage Gold, White Gold);
  • Art Ingredients - Finnabair Prima (Microbeads set);
  • Art Extravagance - Finnabair Prima (Paper Paste);
  • Art Basics - Finnabair Prima (Clear Gesso, Black Gesso, 3D Matte Gel, Soft Gloss Gel).


mardi 11 février 2020

Look - Lindy's Gang DT

Bonjour à toutes,

Aujourd'hui j'ai un nouveau video tutorial pour Lindy's Gang à vous proposer.

Hello Sweeties

Today, I'm up on Lindy's Gang blog with a new video tutorial. 


Processus / Basic process: 
  1. Tamponner le fond avec plusieurs tampons et des encres noire et grise ;
    Stamp with different stamps with grey and black ink;
  2. Protéger le fond d'une couche de gesso transparent ;
    Primed the background with clear gesso;
  3. Colorer le fond avec Tainted Love Teal, Burnished Brass et Hockey Puck Black. Utiliser une lingette pour fondre les couleurs entre elles ;
    Color the background with Tainted Love Teal, Burnished Brass, and Hockey Puck Black. Use a baby wipe to blend the colors;
  4. Puis ajouter un motif avec un pochoir et de la pâte de texture ;
    Next, add a design with a stencil and modeling paste;
  5. Embosser le chipboard de fond avec Silence is Golden ;
    Emboss the background chipboard with Silence is Golden EP;


  6. Colorer légérement les fleurs avec Hockey Puck Black ;
    Color lightly the flowers with Hockey Puck Black;


  7. Découper diverses feuilles et colorer les avec différentes encres ;
    Die cut different leaves and color them with the different inks;
  8. Ajouter une goutte de colle chaude au bout de chaque brindille et saupoudrer de poudre Caesar's Gold ;
    Add a drop of hot glue at the end of each twig and sprinkle with Caesar's Gold EP;


  9. Embosser avec attention pour éviter de faire fondre la colle chaude ;
    Heat emboss carefully to avoid the hot glue to melt;
  10. Embosser les branches fleuries avec Desert Moon Turquoise ;
    Emboss the flowery branches with Desert Moon Turquoise EP;
  11. Commencer votre composition et coller avec du gel 3D mat ;
    Start to build your composition and glue everything with 3D Matte gel;
  12. Pour finir la mise en page, ajouter des microbilles et des sequins.
    To finish the layout, add some microbeads ad sequins. 

Quelques gros plans / Some close-ups:


Et voici la vidéo / And here is the video


Matériels / Materials:

Lindy's Gang products:
Other products:
  • Paper - 49 and Market (Vintage Artistry Sky: Bibliophile)
  • Collage Stacks - 49 and Marlet (Natural);
  • Flowers - 49 and Market (Enchanted Petals: Sea Glass, Mini Flowers Serie n°01: Ginger);
  • Stamps - 49 and Market (Snapshots of Yesterday, Pascale' Ration, Pascale's Formula);
  • Chipboard - Dusty Attic (Small Grid Number);
  • Die - Craft Emotions (Tropical Leaves);
  • Stencil - A.B. Studio (Stencil ID-57);
  • Art Ingredients - Finnabair Prima (microbeads: Copper);
  • Art Basics - Finnabair Prima (Clear Gesso, Modeling Paste, 3D Matte Gel, Soft Gloss Gel).


dimanche 9 février 2020

Find Yourself - 49 and Market DT

Bonjour à toutes,

AUjourd'hui, je suis sur le blog de 49 and Market avec une page réalisée avec la collection Vintage Artistry Sky.

Hello Sweeties,

Today, I'm up on 49 and Market blog with a layout featuring the Sky Vintage Artistry collection.

Photo by JJ Jordan on Unsplash

J'ai commencé par ajouter une fine couche de gesso blanc. Une fois sec, j'ai ajouté un motid avec le gesso et un pochoir. J'ai également ajouté unpeu de gaze, là où mes embellissements seront collés.

I started to add a thin layer of white gesso. When dry, I added a design with the gesso and a stencil. I added some cheesecloth as well, where my embellishments will be glued.


J'ai découpé quelques morceaux de bois que j'ai collé sur la gaze. Je les ai également blanchi avec du gesso. Puis, j'ai coloré les branches et le fond avec les encres Long John's Silver et Tibetan Poppy Teal. J'ai décidé d'enrouler de la ficelle autour de quelques morceaux de bois pour rappeler la photo.

I cut some branches into small pieces, which I glued onto the cheesecloth. I dry brush them with the gesso too. Next, I colored the branches and the background with Long John's Silver and Tibetan Poppy Teal inks. I decided to wind a jute cording around a few pieces of wood.


J'ai découpé quelques feuillages dans du papier aquarelle, que j'ai coloré avec l'encre Long John's Silver. J'ai coloré les fleurs Enchanted Petals avec la même encre.

I die cut a few leaves in a watercolor paper, which I colored with Long John's Silver. I colored the Enchanted Petals with the same ink. 


J'ai ciré quelques éléments métalliques avec la cire Old Siler ainsi que le feuillage. J'ai embossé l'envers de quelques pierres avec la poudre Geranium Coral Blush pour rappeler la touche de corail de la photo.

I waxed some metallic elements with Old Silver wax as well as the leaves. I embossed the back of a few pebbles with Geranium Coral Blush EP to remind the small touche of coral from the photo. 


J'ai collé tous les embellissements que j'ai préparé ainsi que des plumes pour rappeler la photo. J'ai légérement blanchi les fleurs avec le gesso.

I glued all the embellishments I have prepared as well as feathers to remind the photo. I added a little bit of white gesso on top of the flowers. 


Pour finir la mise en page, j'ai ajouté des glass glitter, des microbilles et des taches de glitter turquoise.

To finish the layout, I added glass glitter, microbeads, and splatters of teal glitter.

Matériels / Materials:

49 and Market products:

Vintage Artistry - Sky
Ambrosial 

Natural
Collage Stacks

Enchanted Petals
Parchment

Pascale's Form
Stamp

Jute Cording
Single Ply

Other products:

  • Starburst - Lindy's Gang (Tibetan Poppy Teal);
  • Moon Shadow - Lindy's Gang (Long John's Silver);
  • Embossing Powder - Lindy's Gang (Geranium Coral Blush);
  • Stencil - A.B. Studio (Stencil ID-59);
  • Glitter - BFS (Carribean);
  • Mechanical - Finnabair Prima (Antiques Label, Steampunk Blades, Steampunk Gear);
  • Art Alchemy - Finnabair Prima (Waxes: Old Silver);
  • Art Ingredients - Finnabair Prima (Glass Glitter: Sterling, Art Pebbles);
  • Art Basics - Finnabair Prima (White Heavy Gesso, 3D Matte Gel, Soft Matte Gel).

Related Posts Plugin for WordPress, Blogger...