Bonjour à toutes,
Aujourd'hui, c'est un set de cartes pour A.B. Studio réalisées avec la collection Never Never Land que je vous propose.
Hello Sweeties
Today I have a set of cards for A.B. Studio featuring the Never Never Land collection to share with you.
Aujourd'hui, c'est un set de cartes pour A.B. Studio réalisées avec la collection Never Never Land que je vous propose.
Hello Sweeties
Today I have a set of cards for A.B. Studio featuring the Never Never Land collection to share with you.

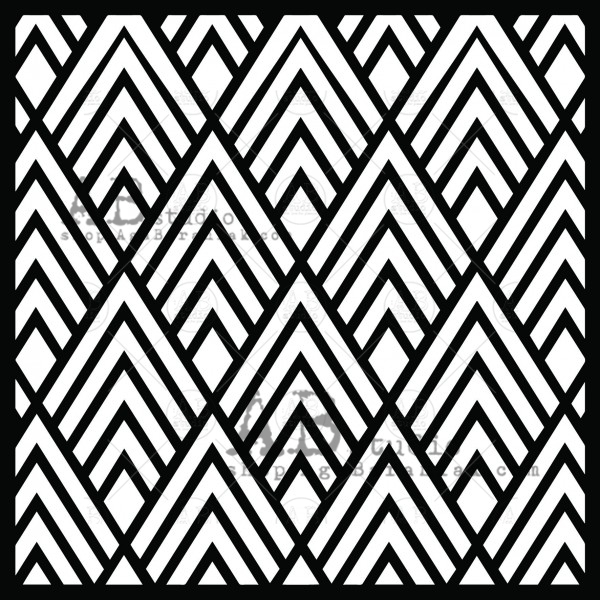
J'ai coupé deux cartes dans le papier Stronger Together de la collection Never Never Land collection. Après les avoir recouvert de gesso transparent, j'ai ajouté un motif à l'ai des des pochirs n°84 et 87 et des pâtes Icing Vintage Gold et Rose Gold.
I cut two cards in the Stronger Together sheet from the Never Never Land collection. I primed them with clear gesso. When dry I added a design with vintage Gold and Rose Gold Icing pastes and the stencils ID-84 and ID-87.
I cut two cards in the Stronger Together sheet from the Never Never Land collection. I primed them with clear gesso. When dry I added a design with vintage Gold and Rose Gold Icing pastes and the stencils ID-84 and ID-87.

J'ai recouvert quelques rouages en résine de gesso noir. puis j'ai utilisé plusieurs cires pour les colorer. J'ai coloré quelques fleurs avec l'encre Open Arms Amethyst.
I primed a few resin gears with black gesso. Then I used different waxes to color them. I colored some flowers with Open Arms Amethyst ink.
I primed a few resin gears with black gesso. Then I used different waxes to color them. I colored some flowers with Open Arms Amethyst ink.

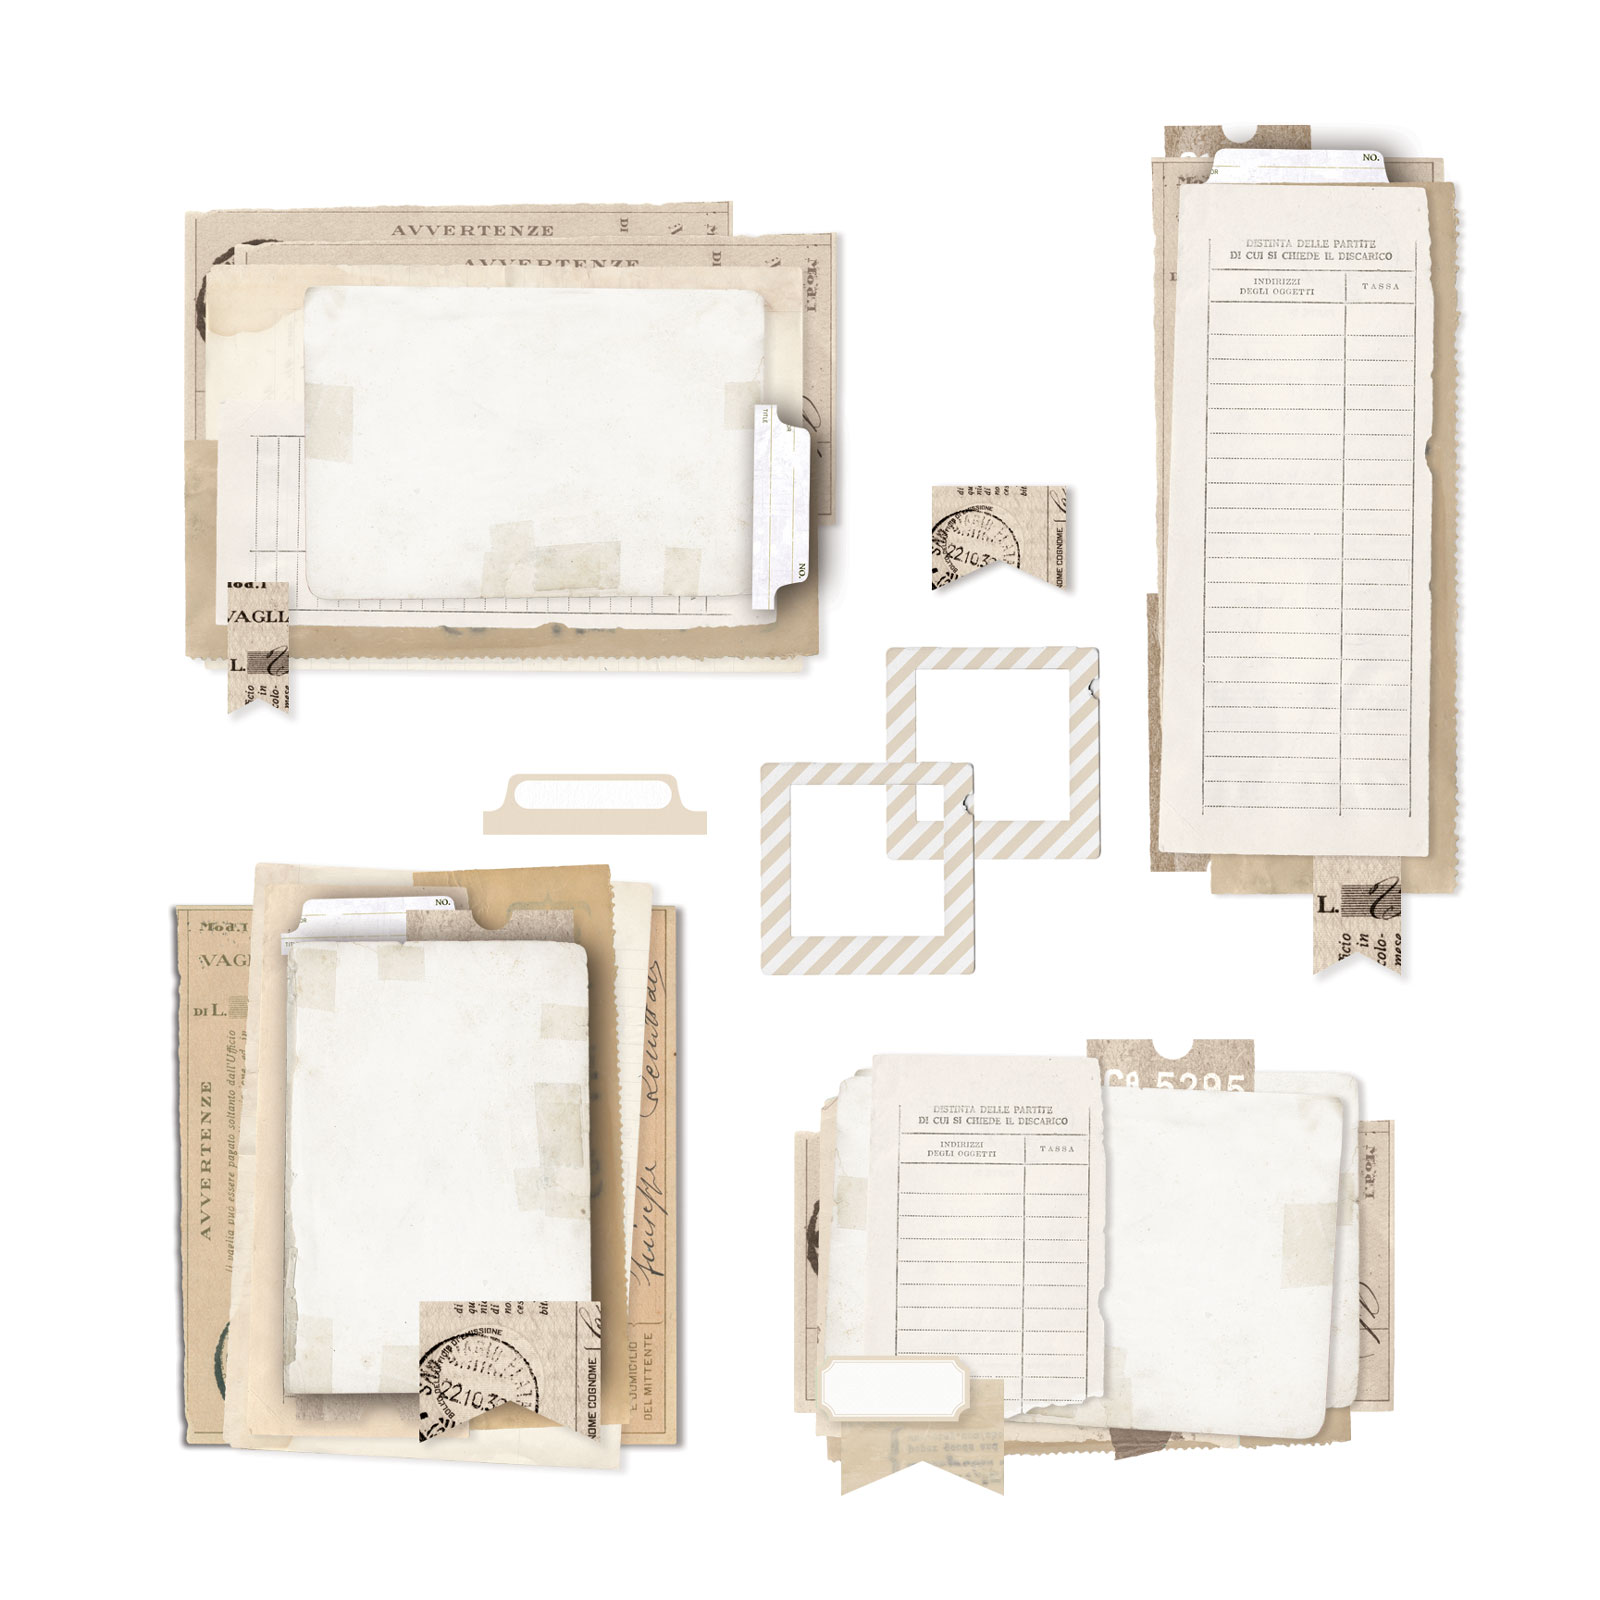
J'ai découpé des feuilles te des boutons de roses dans la feuille bonus. Puis, j'ai collé tous les éléments avec du gel très épais.
I fuzzy cut some leaves and rosebuds from the bonus sheet. I glued all the elements with heavy body gel.
I fuzzy cut some leaves and rosebuds from the bonus sheet. I glued all the elements with heavy body gel.

J'ai terminé les deux cartes avec des glass glitter et des sequins.
I finish both cards with glass glitter and sequins.
I finish both cards with glass glitter and sequins.
Matériels / Materials:
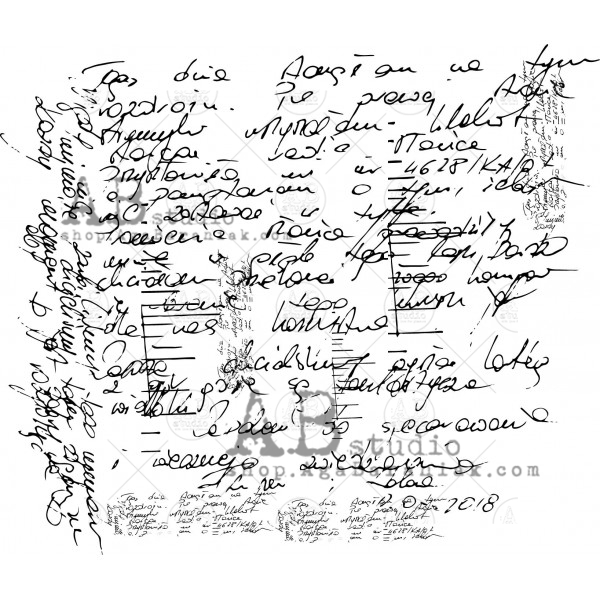
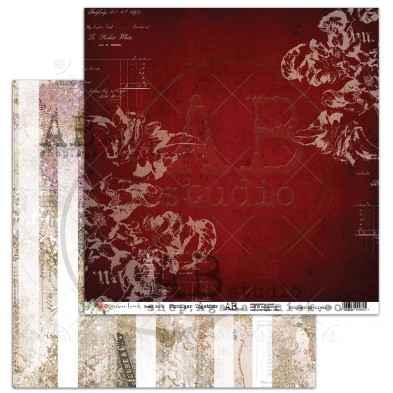 Never Never Land Stronger Together | 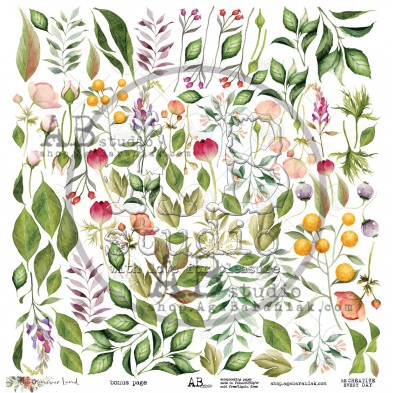 Never Never Land 2x12 Collection - Bonus Sheet |  Stencil ID-85 |  Stencil ID-87 |
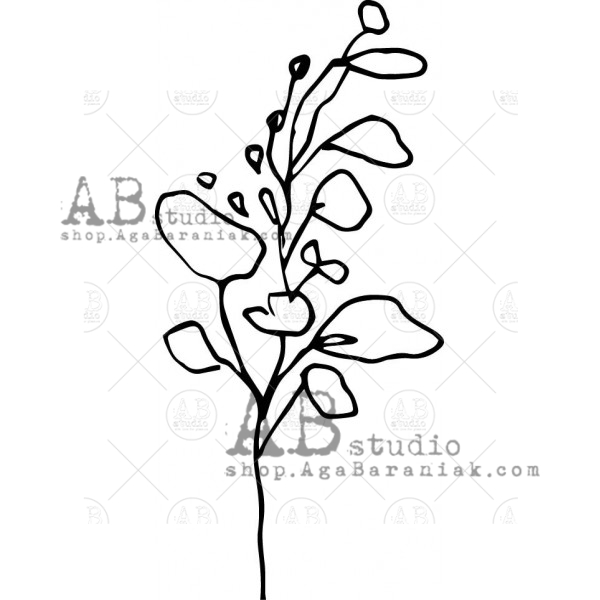
 Stamp ID-208 | |||
Other products:
- Flowers - Prima (Pretty Pale: Dry Desert);
- Molds - Finnabair Prima (Cogs and Wings, Mechanica);
- Art Ingredients - Finnabair Prima (Glass Glitter: Gold Rush);
- Art Alchemy - Finnabair Prima (Waxes: Brown Rust, Red Rust, Charcoal Black, Vintage Gold, Rose Gold);
- Art Extravagance - Finnabair Prima (Icing Paste: Vintage Gold, Rose Gold);
- Art Basics - Finnabair Prima (Black Gesso, Soft Matte Gel, Heavy Body Gel).