samedi 24 avril 2021

Together - Mixed media layout for 49 and Market DT

Hello Sweeties,

Today I'm up on 49 and Market blog with a new layout featuring the Vintage Artistry Essentials. This new collection is just amazing to work with and especially with vintage photos. This one is a family treasure taken in the '20s of one of the great-grandmothers of my children with her sister. 

I tore the Affirmative paper from the VA Essentials in two and I glued one piece on top of the Airy paper. Then I primed the background with clear gesso.  I added some VA Essentials rub-ons. 


I primed some resin elements with black gesso. Next, I colored them with different waxes starting with the darkest (Bronze Age) and finishing with the brightest (White Gold). I applied the same waxes to the metallic embellishments. I glued a laser-cut butterfly from the 6x8 VA Essentials Pack under a cabochon and selected a few elements from the Essentials Ephemera Bits and the Foliage pack that I wanted to add to my layout. The Foliage pack is a mix of plastic leaves and butterflies. 


I started the composition with the biggest elements: the frame and the biggest Enchanted Petals flowers. Then, I continued with the smallest. I layered the flowers, the resin elements, and the metallic pieces with Ephemera Bits, Foliage, and laser-cut elements.


When everything was glued, I added glass glitters, microbeads, and glitters. To finish, I added some color around the composition in grey-green shades to match the color of the Affirmative paper that I've glued at the top of the background.


I had a change of mind and decided that the contrast between the color of the flowers and the rest of the composition was too important. So I decided to add some color but not too much. I applied first white gesso, then Bodacious Blush ink. Sorry I didn't record this last part of the process. 


As usual, I recorded the process of making this layout. I hope you will enjoy it.


49 and Market products:


Vintage Artistry Essentials
Affirmative

Vintage Artistry Essentials
Airy

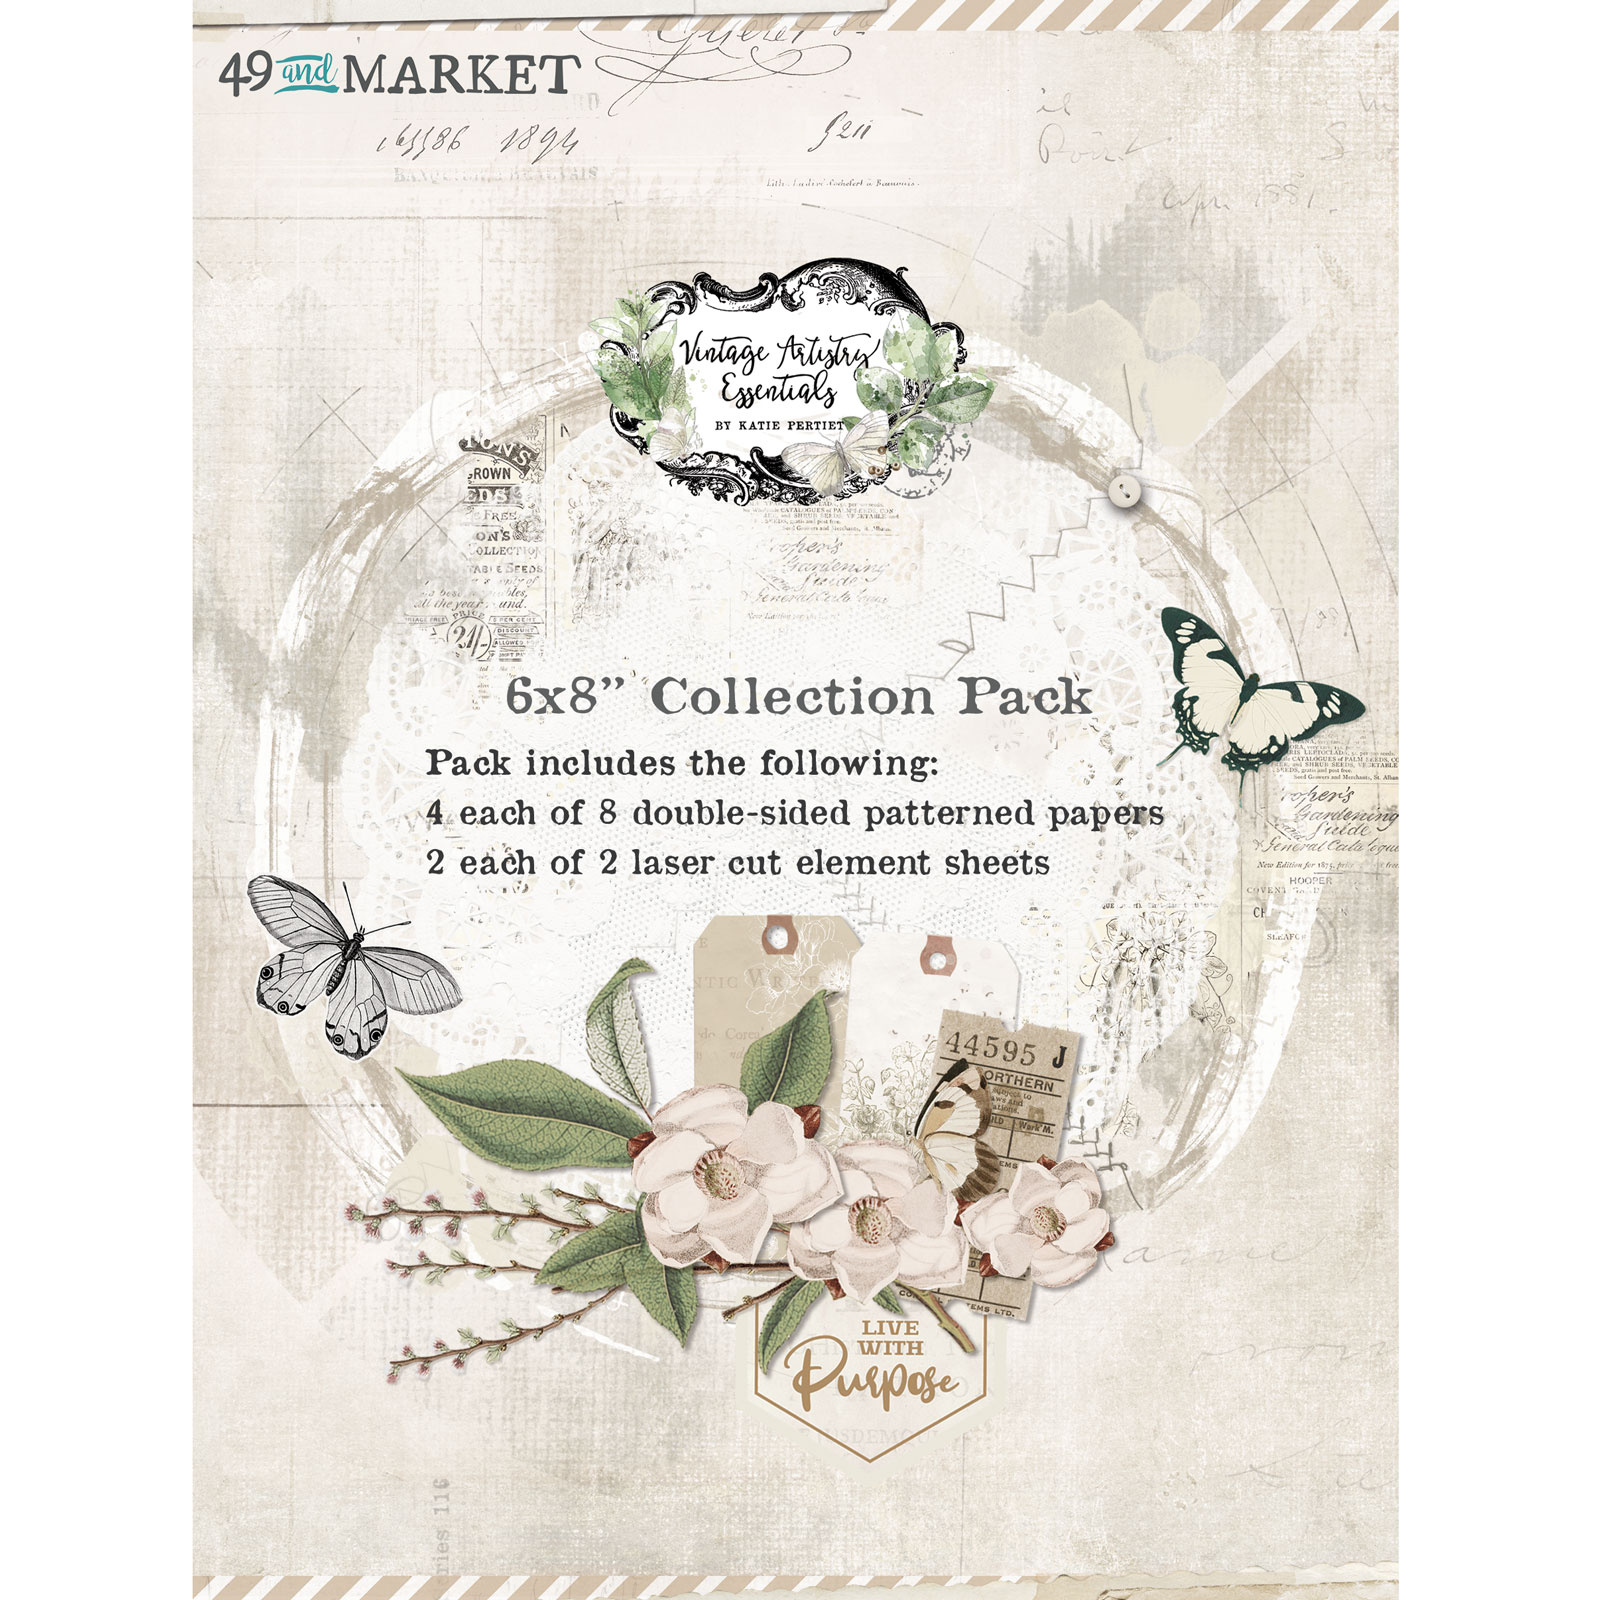
Vintage Artistry Essentials
6x8 Collection Pack

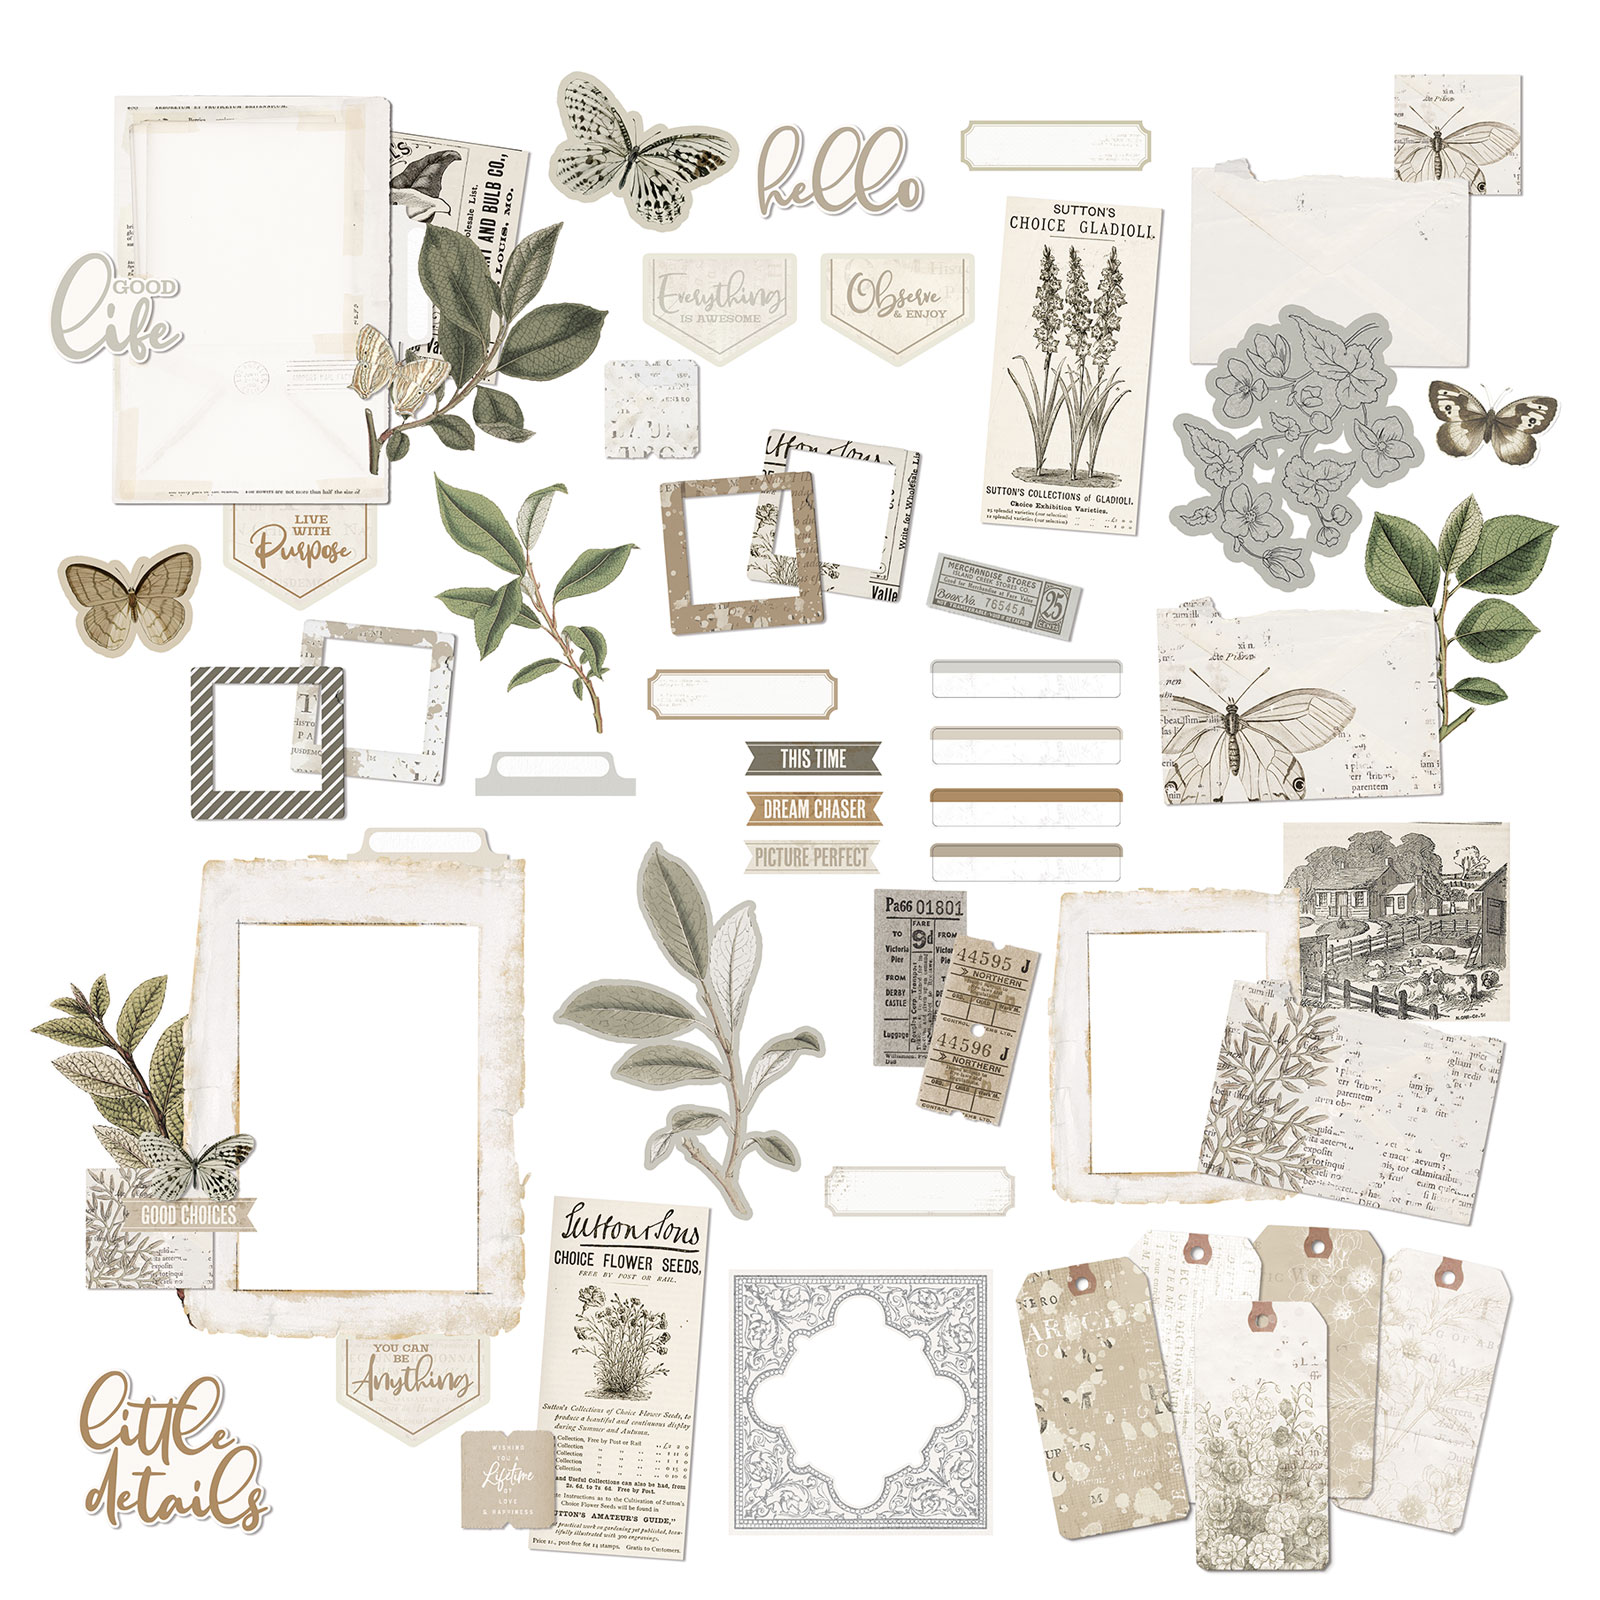
Vintage Artistry Essentials
Ephemera Bits

Vintage Artistry Essentials
Foliage

Vintage Artistry Essentials
Rub-Ons

Binder Clips Antique
Bronze
Enchanted Petals - Parchment
Enchanted Petals
Parchment
MV-32471-Mauras-Vineyard-Chardonnay
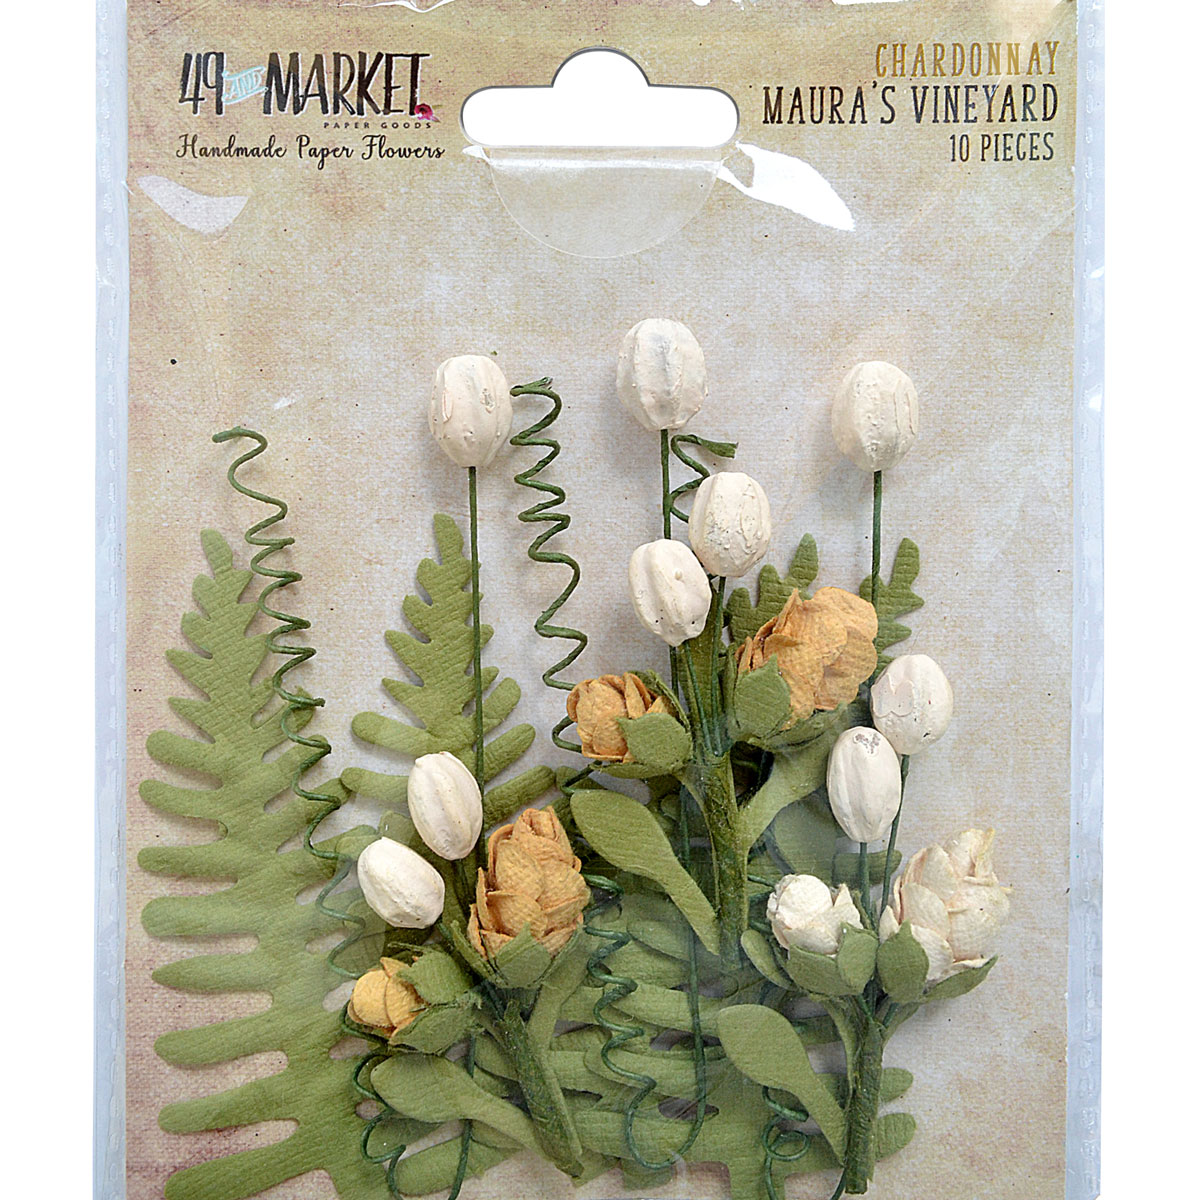
Maura's Vineyard
Chardonnay

Other products:
  • Starburst - Lindy's Gang (Sea Moss Green, Green With Envy, Silent Night Silver, Bodacious Blush);
  • Moonshadow Mist (Malachite Green);
  • Moulds - Prima (Vincennes Hardware, Grungy Frames);
  • Art Alchemy Waxes - Finnabair Prima (Bronze Age, Aged Brass, Vintage Gold, White Gold);
  • Art Basic - Finnabair Prima (Clear Gesso, Black Gesso, White Gesso, ).

I hope you enjoy reading this post and watching the video.
See you soon!


mardi 20 avril 2021

What happens when you mix Magical with ... - Lindy's Gang DT

Hello Sweeties,

Today I'm up on Lindy's Gang blog to show how you can make your own color paste and what to expect. 
For all the samples, I used the same three Magicals: Sandra Dee Sepia Flat Magical, Karin's Coral Magical, and Rizzy Rose Gold Glitzy Magical. I mixed each Magical with the select paste which I applied through a stencil.

I decided to not waste these samples and to use them to make a tiny album. I cut all the samples to the album size and darken the edge with the Black Hole Black and the Sandra Dee Sepia Magicals.

Here is the result of the different pastes I made. With the Clear Crackle Paste, the colors are very intense.

The result is three shiny and glossy pastes with the 3D Gloss Gel. The colors are even more intense.

Next, I mixed the three Magicals with 3D matte gel. The result is three matte pastes. The colors are still intense and transparent, but they are matte.

I continue with an opaque modeling paste. This time, the colors of the pastes are still intense and they are no more transparent.

I used a paper paste this time. The colors are pastel and soft.

As I needed two more pages to complete the album, I decided to make two more samples.

This time, I mixed the 3 Magicals with Ice Crushed paste. It's a paste based on 3D Gloss Gel mixed with clear microbeads and clear glitter. The result is a transparent and texture paste.

For the last sample, I mixed the 3 Magicals with a plaster paste. The colors are really pastel with a smooth touch.

Of course, I used the same Magicals to make the cover. But this time instead of mixing the magical with a paste, I simply applied the Opaque Modeling Paste through a stencil. I wait until the paste was dry to color it with the Magicals.

Lindy's Gang products: Other products:
  • Stencils - A.B Studio (Stencil ID-66, (Stencil ID-68, Stencil ID-92, Stencil ID-94, Stencil ID-160);
  • Stencil - TCW (Cut Circle);
  • Stencil - EchoPark (Quilted Stitch);
  • Stencil - Stencil Girl (Square Celtic Knots);
  • Clear Crackle Paste, 3D Gloss Gel, 3D Matte Gel, Modeling Paste, Paper Paste, Plaster Paste, Ice Crushed Paste - Finnabair Prima;
  • Paperdoll - Idea-ology;
  • Dies  - Sizzix (Wildflowers, Wildflower Stems 1, Wildflower Stems 2).

dimanche 18 avril 2021

One Winged Angel - Mixed media panel for Dusty Attic DT

Bonjour à toutes,

Aujourd'hui je suis sur le blog de Dusty Attic avc une nouvelle photo de Christina Fisher qui s'appelle « One Winged Angel ».

Hello Sweeties,

Today I'm up on Dusty Attic blog with a new mixed media panel. I work with another photo of Christina Fisher call the "One Winged Angel".


Après avoir recouvert le panneau MDF de gesso blanc, j'ai collé un morceau de papier de soie sur la partie inférieure. J'ai ajouté un motif avec le pochoir Flourish et de la pâte de texture. Une fois sec, j'ai recouvert la partie supèrieur avec un mélange de peinture marron et gesso noir.

After priming the HDF panel with white gesso, I glued a piece of tissue paper on the lower half. On the upper half. I added a design with the flourish stencil and modeling paste. When dry, I cover the upper half with brown paint mixed with black gesso. 


J'ai peint tous les chipboards et les éléments en résine avec le même mélange de peinture marron et de gesso noir. J'ai embossé le cadre avec la poudre Silence is Golden.

I painted all the chipboards and the resin elements with the same brown paint mixed with black gesso. I embossed the ATC Frame #4 with Silence is Golden EP. 


Avant de coller quoi que ce soit, j'ai légérement cirée la parties supérieur du fond avec la cire Bronze Age pour mettre en valeur les détails du motif qui avaient disparu avec la peinture marron foncé. Puis j'ai commencé ma composition avec quelques branches, puis le cadre. A partir de là, j'ai continué avec les chipboards : Spring Blooms #1, Foliage #23, Small Branches #4, Leafy Corners, et Mini Feathers.

Before starting to glue anything, I waxed lightly the upper half of the background with Bronze Age wax to highlight the details of the design which have disappeared under the dark brown paintThen, I started my composition. First, I glued some natural branches, then the frame. From there, I continued with the chipboards: Spring Blooms #1, Foliage #23, Small Branches #4, Leafy Corners, and Mini Feathers.


Une fois tous les éléments collés, je le l'ai coloré avec des cires en commençant par le plus foncé. J'ai utilisé les cires Bronze Age, Aged Brass, Vintage Gold et White Gold.

When all the elements were glued, I colored them with different waxes starting with the darkest. I used Bronze Age, Aged Brass, Vintage Gold, and finally White Gold waxes. 


J'ai décidé d'ajouter encore quelques éléments naturels comme du lichen peint avec une peinture métallique cuivre et des fleurs d'hortensia séchées.

I decided to add more natural elements like lichen painted with copper metallic paint and dry hydrangea flowers.  


J'ai terminé la composition avec des perles or, des flocons de mica et des glitters. 

I finished the composition with gold pearls, mica flakes, and glitters.

Matériels / Materials:

Dusty Attic products:


Leafy Corners
DA2689


Foliage #23
DA2594


Spring Blooms #1
DA1282


ATC Frame #4
DA0876


Mini Feathers
DA0650


Branch #4 small
DA1184


Flourish Stencil
DA2662

Other products:
  • MDF - Artistiko ();
  • Flowers - 49 and Market (Cotton Blooms: Ginger);
  • Embossing Powders - Lindy's Gang (Silence is Golden);
  • Moulds - Prima (Vincennes Hardware, Escucheons);
  • Tissue paper - Finnabair Prima (Carte Postale); 
  • Art Ingredients - Finnabair Prima (Gold Leaf);
  • Art Alchemy Waxes - Finnabair Prima (Bronze Age, Aged Brass, Vintage Gold, White Gold);
  • Art Alchemy Metallique Paint - Finnabair Prima (Steampunk Copper);
  • Art Basics - Finnabair Prima (White Heavy Gesso, Black Heavy Gesso, 3D Matte Gel, Soft Matte Gel, Modeling Paste).


dimanche 4 avril 2021

Dream - Mixed media layout for Dusty Attic DT

Hello Sweeties,

Today I'm up on Dusty Attic blog with a new layout inspired by the beautiful April color combo.


Aren't the colors gorgeous? The last ray of sunlight just before nightfall.


First, I added some random stamping before priming the background paper with clear gesso. Next, I colored the background with coral and orange inks.


I added a design on a piece of watercolor with Modeling paste and the Lace stencil. When dry, I sprayed the paper with Bombshell Black, Black Orchid Silver, Tea Pot Purple, and Whale Watch Blue. The color I obtained matched the color of the sky in the photo.


I embossed the big Skeleton Face Clock with two chunky EP: first Tin Roof, Rusted!, then Silence is Golden. Next, I worked on the cogs. I used the Rust Paste Effect to alter them. When happy with the result, I added some metallic effects with the Brushed Iron wax. 


I altered the other chipboards and some die-cut leaves with Raven Black Sparks, Dark Velvet, and a hint of Steampunk Copper metallic paints. I finished them off with White Gold wax. I colored two flowers as well. 


When all my embellishments were ready, I started to glue my composition. I began with the biggest elements: the Skeleton Clock Face which I cut into two pieces, then the Clock Face, the Foliage #6, the Spring Bloom #1. I finished with the smallest elements like the cogs and the flowers. 


I added more color to the background with Black Orchid Silver and Bombshell Black. Finally, I added glass glitter, mica flakes, and glitter. 

Dusty Attic products:


Lace Stencil
DA 1310

Skeleton Clock Faces
DA0430

Cogs #1
DA0001

Small Scroll #2
DA0335

Clock Faces & Hands
DA0391

Foliage #6
DA1715

Spring Blooms #1
DA1282

Blueprint Wordpack
DA2225

Other products:
  • Starburst - Lindy's Gang (Fuzzy Navel Peach, Dark Chocolate Truffle, Whale Watch Blue, Tea Pot Purple);
  • Flat Fabio - Lindy's Gang (Bombshell Black);
  • Embossing Powders - Lindy's Gang (Silence is Golden, Tin Roof, Rusted!);
  • Art Ingredients - Finnabair Prima (Mica Flakes: Gold Leaf, Glass Glitter: Copper);
  • Art Alchemy - Finnabair Prima (Raven Black Sparks, Dark Velvet, Steampunk Copper);
  • Art Basics - Finnabair Prima (Clear Gesso, Modeling Paste, 3D Matte Gel, Soft Gloss Gel).

Related Posts Plugin for WordPress, Blogger...