Bonjour à toutes,
Aujourd'hui je suis sur le blog de Lindy's Gang avec un nouveau pas-à-pas : une page de mon Family Journal.
Hello Sweeties
Today I'm up on Lindy's Gang blog with a new step-by-step page of my family journal.
Aujourd'hui je suis sur le blog de Lindy's Gang avec un nouveau pas-à-pas : une page de mon Family Journal.
Hello Sweeties
Today I'm up on Lindy's Gang blog with a new step-by-step page of my family journal.

J'ai commencé par couvrir le fond d'une couche de gesso transparent. Ensuite, j'ai tamponné le fond avec deux encres : Guten Tag Teal et Witch's Potion Purple. J'ai ajouté la troisième couleur avec un autre tampon : Tawny Turquoise.
J'ai séché la page, avant d'ajouter plus d'encre brune avec un brayer.
First I covered the background with clear gesso. Next, I stamped the background with two inks: Guten Tag Teal and Witch's Potion Purple. I added the third color with another stamp: Tawny Turquoise.
I dried the page, before adding more of the brown ink with a brayer.
J'ai séché la page, avant d'ajouter plus d'encre brune avec un brayer.
First I covered the background with clear gesso. Next, I stamped the background with two inks: Guten Tag Teal and Witch's Potion Purple. I added the third color with another stamp: Tawny Turquoise.
I dried the page, before adding more of the brown ink with a brayer.

Ensuite j'ai ajouté un motif à l'aide d'un pochoir et de pâte de papier.
Pendant que la pâte était encore humide, j'ai saupoudré avec deux poudres à embosser : C'est la vie Cerise et Weeping Willow Green que j'ai embossé à chaud.
My next step was to add a design with a stencil and paper paste.
While the paste was still wet, I sprinkled two embossing powders: C'est la vie Cerise and Weeping Willow Green which I heat embossed.
Pendant que la pâte était encore humide, j'ai saupoudré avec deux poudres à embosser : C'est la vie Cerise et Weeping Willow Green que j'ai embossé à chaud.
My next step was to add a design with a stencil and paper paste.
While the paste was still wet, I sprinkled two embossing powders: C'est la vie Cerise and Weeping Willow Green which I heat embossed.

J'ai ajouté plus d'encre brune et j'a fait des tâches avec les encres turquoise et violette.
J'ai collé quelques morceaux de papiers ensemble pour mettre sous la photo et j'ai vérifié où je devais rajouter des encres.
I added more of the brown ink and splattered the purple and teal inks.
I've glued together some paper scraps and I checked to see where I need to add more inks.
J'ai collé quelques morceaux de papiers ensemble pour mettre sous la photo et j'ai vérifié où je devais rajouter des encres.
I added more of the brown ink and splattered the purple and teal inks.
I've glued together some paper scraps and I checked to see where I need to add more inks.

Une fois satisfaite, j'ai colé la photo et les papiers ainsi que du fil noir et des chipboards.
Finalement j'ai décidé de colorer les chipboards plutôt que de les laisser naturels.
When happy, I glued the photo and the papers as well as a black thread and a few chipboards.
I decided to color the chipboards afterward rather than living them raw.
Finalement j'ai décidé de colorer les chipboards plutôt que de les laisser naturels.
When happy, I glued the photo and the papers as well as a black thread and a few chipboards.
I decided to color the chipboards afterward rather than living them raw.

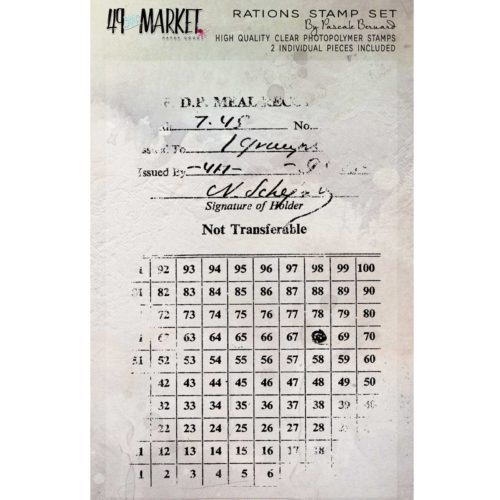
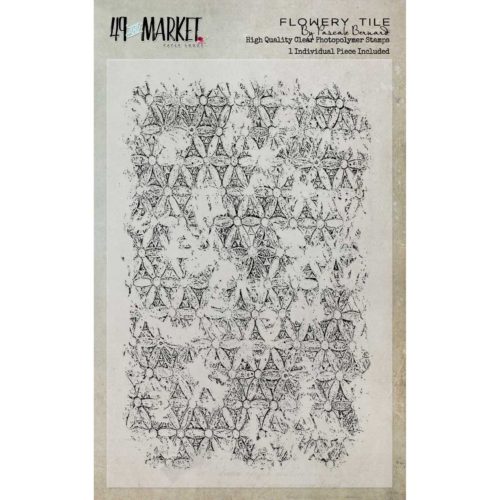
Ensuite, j'ai tamponné avec divers tampons et deux couleurs d'encres Archival.
Pour terminer la mise en page, j'ai ajouté des microbilles.
Next, I stamped again with different stamps and two colors of Archival ink.
To finish the layout I added some microbeads.
Pour terminer la mise en page, j'ai ajouté des microbilles.
Next, I stamped again with different stamps and two colors of Archival ink.
To finish the layout I added some microbeads.

Et voici quelques gros plans / And here are some close-ups


La video / The step_by_step video:
Matériels / Materials:
Lindy's Gang products:
- Moonshadow Mist - Tawny Turquoise;
- Starburst - Witch's Potion Purple;
- Magical Shaker - Guten Tag Teal;
- Embossing Powders - Weeping Willow Green, C'est la vie Cerise.
- Stencil - A.B. STudio (Stencil ID68);
- Chipboard - Wycinanka (The Look of Nature 2);
- Art Ingredients - Finnabair Prima (Microbeads: Bronze, Berries);
- Art Extravagance - Finnabair Prima (Paper Paste);
- Art Basics - Finnabair Prima (Clear Gesso, Soft Matte Gel).