Bonjour à toutes,
Aujourd'hui c'est un canvas mixed media pour A.B. Studio que je vous propose.
Hello Sweeties
Today it's a mixed media canvas for AB Studio that I have to share with you.

Aujourd'hui c'est un canvas mixed media pour A.B. Studio que je vous propose.
Hello Sweeties
Today it's a mixed media canvas for AB Studio that I have to share with you.
Photo by Alice Alinari on Unsplash
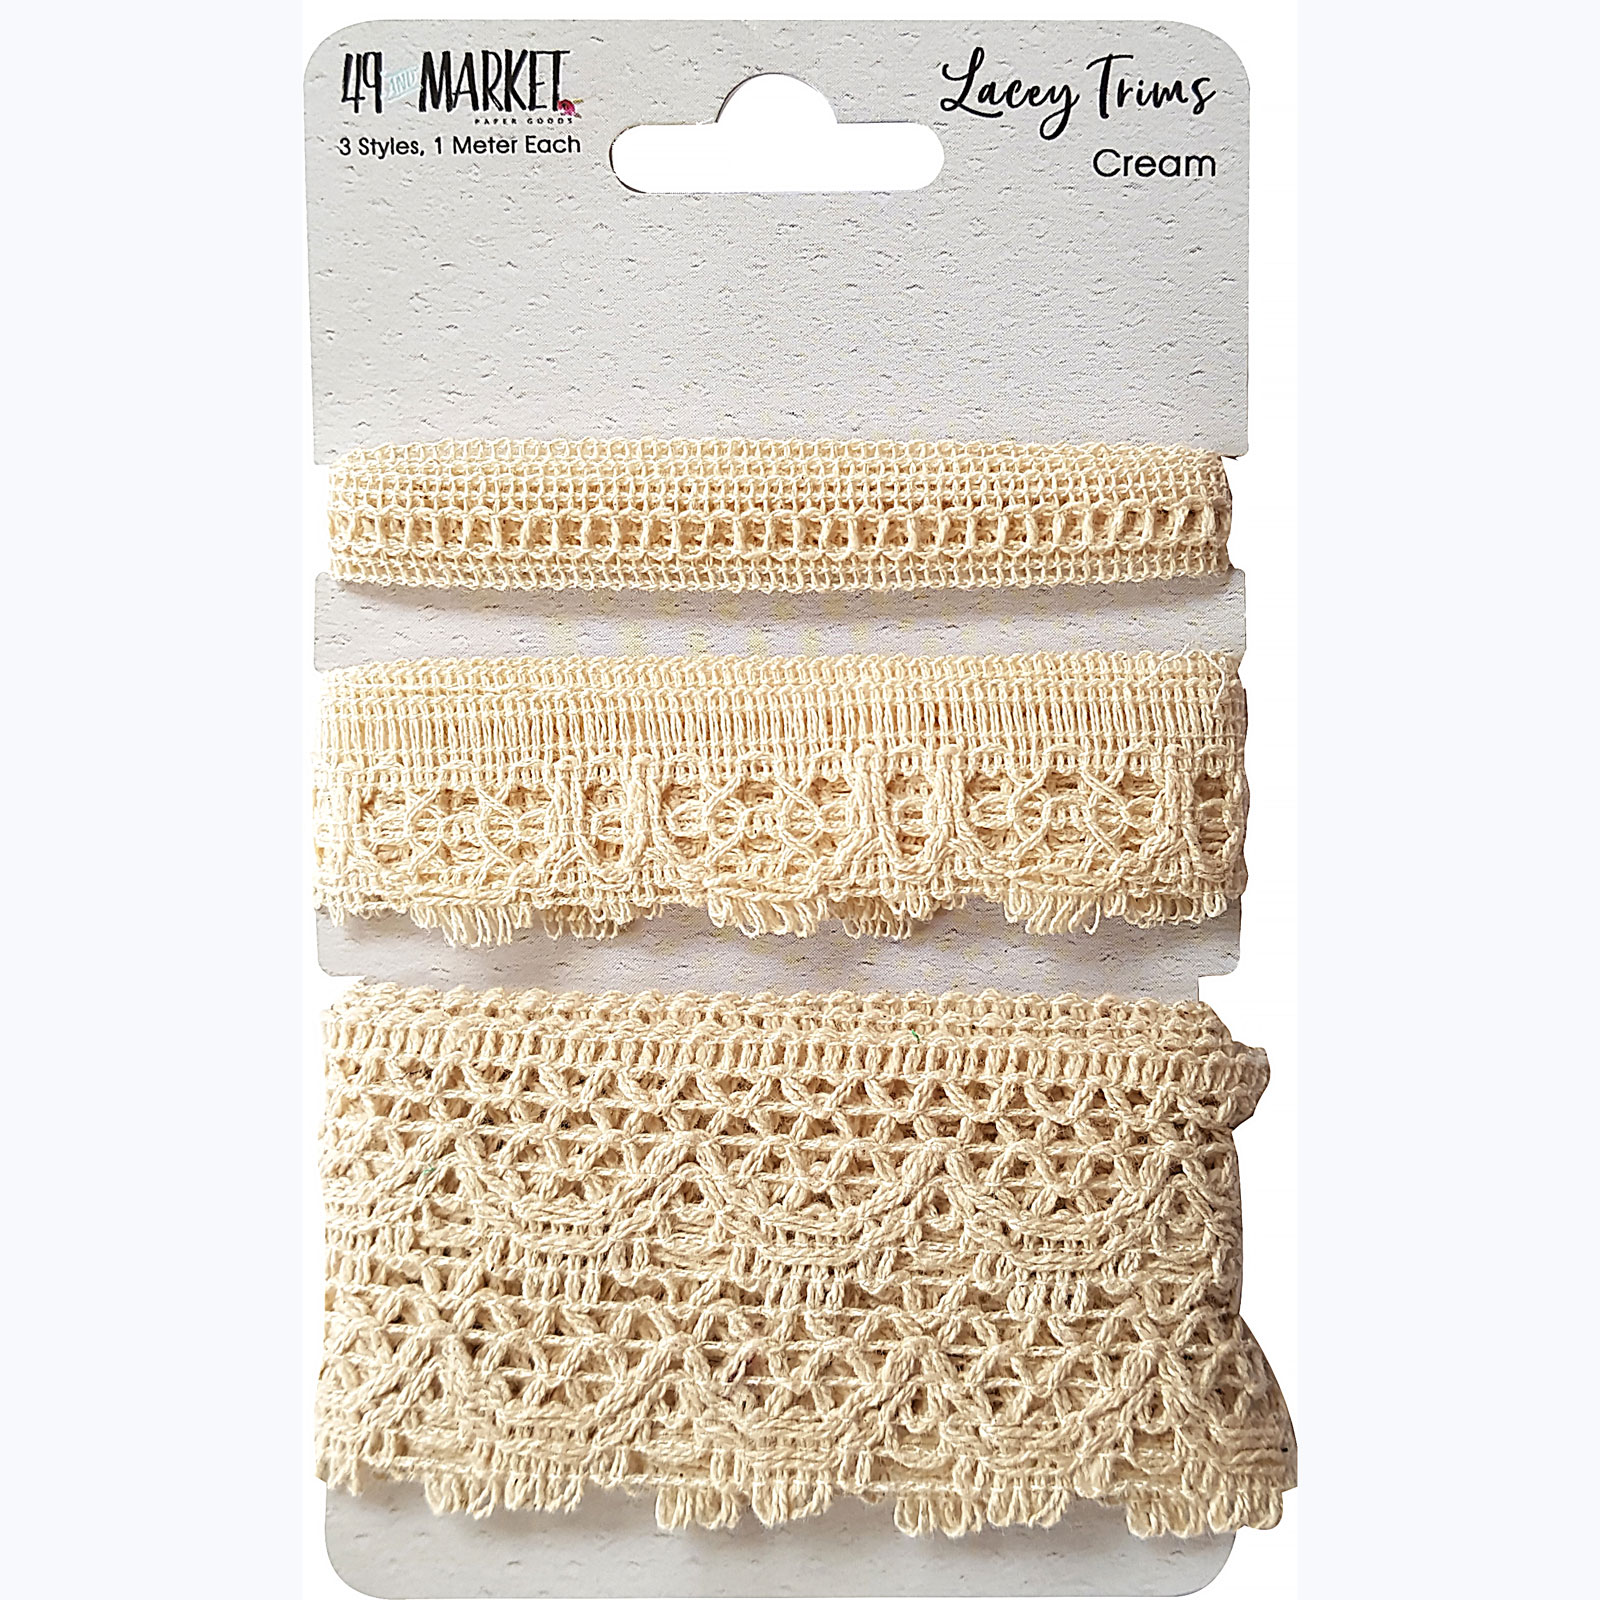
J'ai travaillé sur l'envers du chassis que j'ai entièrement peint avec du gesso noir. J'ai ensuite collé de la dentelle et des découpes de feuilles dans le fond du chassis pour donner de la texture.
I worked on the back of the canvas which I primed with black gesso. Next, I glued some lace and die-cut leaves in the background to add some texture
I worked on the back of the canvas which I primed with black gesso. Next, I glued some lace and die-cut leaves in the background to add some texture

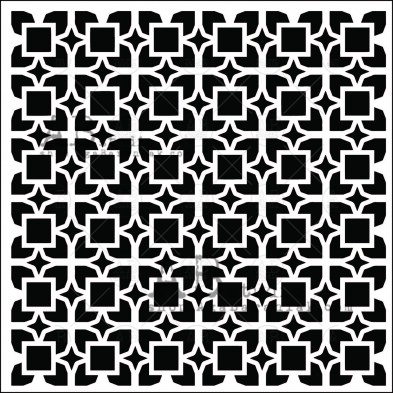
J'ai utilisé le set Stone Effect et de la pâte Black Sand pour ajouter de la texture sur le bord du chassis et j'y ai intégré un morceau du chipboard n°20. A l'aide du pochoir n°66, j'ai répété le motif du chipboard avec de la pâte à craqueler or. J'ai ensuite collé divers embellisments : fleur métallique, bouton, fioritures en résine.
I used the Stone Effect set and the Black Sand paste to add some texture to the canvas borders and I add a piece of the Chipboard ID-20. With the stencil ID-66, I repeated the design of the chipboard with a Gold Crackle paste. Next, I glued some embellishments: metallic flowers, resin flourishes, button.
I used the Stone Effect set and the Black Sand paste to add some texture to the canvas borders and I add a piece of the Chipboard ID-20. With the stencil ID-66, I repeated the design of the chipboard with a Gold Crackle paste. Next, I glued some embellishments: metallic flowers, resin flourishes, button.

Une fois sec, j'ai recouvert l'ensemble de gesso noir, que j'ai partiellement enlevé sur la pâte à craqueler or. Puis j'ai commencé à ajouter e a couleur avec diverses peintures acryliques.
When everything was dry, I covered the whole canvas with black gesso, which I removed partially from the Gold Crackle paste. Then, I started to add some color with different acrylic paints.
When everything was dry, I covered the whole canvas with black gesso, which I removed partially from the Gold Crackle paste. Then, I started to add some color with different acrylic paints.

J'ai fait ressortir les détails de la texture à l'aide des cires Mint Sparkle, Lucky Emerald et White Gold.
I highlight the details of the texture with the waxes Mint Sparkle, Lucky Emerald, and White Gold.
I highlight the details of the texture with the waxes Mint Sparkle, Lucky Emerald, and White Gold.

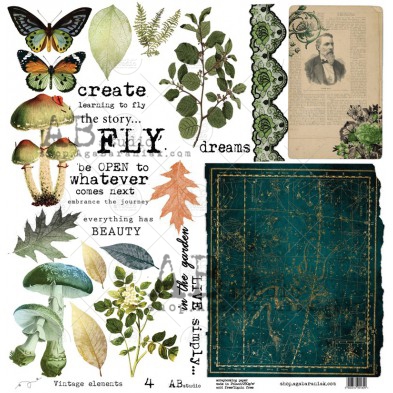
J'ai découpé quelques éléments de la feuille n°4 des Vintage Elements que j'ai ajouté à la composition ainsi que du lichen. Pour terminer, j'ai ajouté des microbilles et des sequins.
I cut out some elements from the Paper n°4 of the Vintage Elements which I added to the composition as well as some lichen. To finish, I added some microbeads and sequins.
I cut out some elements from the Paper n°4 of the Vintage Elements which I added to the composition as well as some lichen. To finish, I added some microbeads and sequins.

Matériels / Materials:
A.B. Studios products:
Other products:
- Lace - Blue Fern Studio (Lace n°2);
- Label - Idea-Ology (Word Bands);
- Die - Sizzix (Skeleton Leaves);
- Molds - Prima - (Baroque #5);
- Mechanicals - Finnabair Prima (Flowers);
- Art Alchemy Liquid Acrylic - Finnabair Prima (Avocado Green, Burnt Umber, Carmine);
- Art Alchemy Metallic Acrylic - Finnabair Prima (Green Olive);
- Art Alchemy Waxes - Finnabair Prima (White Gold, Lucky Emerald, Mint Sparkle);
- Art Ingredients - Finnabair Prima (Art Stones: Normal, Mega, Mini; );
- Art Extravagance - Finnabair Prima (Gold Crackle Paste, Stone Effect Set, Black Sand);
- Art Basics - Finnabair Prima (Black gesso, Clear Gesso, Heavy Body Gel, Soft Gloss Gel).