Bonjour à toutes,
Voici mon deuxième projet de décembre pour blog. Comme Noël arrive rapidement j'ai pensé qu'un peu de décoration pourrait être sympa. J'ai donc décidé de faire un centre de table avec les collections Vintage Christmas. Rien de très compliqué, mais quelque de simple et élégant, j'espère que vous aimerez.
Hello Sweeties
Here is my second monthly project for blog. As Christmas is coming fast I was thinking about decoration. So I decided to make a table center with the beautiful Vintage Christmas collections. Nothing really complicated, but something simple and elegant, I hope you will agree.
Vous aurez besoin d'une bande de papier épais 12" x 6" et d'un carré de 6" x 6". Pliez la bande en deux, ouvrez, et pliez en amenant les coins du haut vers le milieu pour former des triangles. Pliez également le carré en deux pour former un triangle. Vous pouvez coller le carré selon le modèle.
You will need one band of cardstock 12" x 6" and one square 6" x 6". Fold the band in two, open, and fold again the top corners to the middle in order to form a triangle. Fold the square in a triangle too. You can glue the square as the model.
You will need one band of cardstock 12" x 6" and one square 6" x 6". Fold the band in two, open, and fold again the top corners to the middle in order to form a triangle. Fold the square in a triangle too. You can glue the square as the model.
Ensuite, vous pouvez coller les papiers. Avec une crop-a-dile, faire des trous ici et là : si vous voulez placer un lumignon sous le centre de table, cela permettra de voir la lumière.
Next, you can glue the papers. With a crop-a-dile, I made some holes: if you want to put a small light under the table center, the light will be visible.
Next, you can glue the papers. With a crop-a-dile, I made some holes: if you want to put a small light under the table center, the light will be visible.
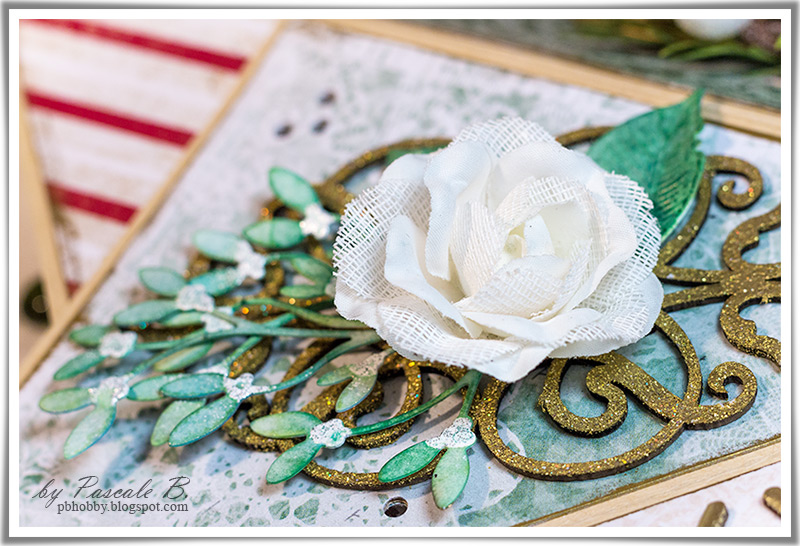
J'ai embossé les chipboard avec différentes poudres or.
I embossed the chipboards with different gold powders.
I embossed the chipboards with different gold powders.
J'ai découpé des feuilles dans du papier aquarelles et je les ai encrées. J'ai embossé le gui avec la poude Icicle.
I die cut some leaves in a watercolor paper and inked them. I embossed the mistletoes with the Icicle powder.
I die cut some leaves in a watercolor paper and inked them. I embossed the mistletoes with the Icicle powder.
Pour créer les baies, j'ai ajouté de la colle chaude que j'ai immédiatement trempé dans le pot de glitter.
To create the berry, I added hot glue and I dipped it immediately in the glitter.
To create the berry, I added hot glue and I dipped it immediately in the glitter.
Matériels / Materials:
Blue Fern Studios products:
Vintage Christmas Auld Lang Syne | Vintage Christmas Magical | Vintage Christmas 2 Twas the Night | Vintage Christmas 2 Let it snow |
Winter Flakes | Antique Gold | Phoenix | Homespun Blossoms |
Classic Ornament | 14 Karat | Icicle | Happy Roses |
Tree Toys | Ginger | Christmas Blooms | |


j'adore les cartes teepee et la tienne est vraiment réussie!!!! mais je n'en doutais pas!!!!
RépondreSupprimer