Bonjour à toutes,
Aujurd'hui je suis sur le blog de 49 and Market avec un projet pour Noël avec la collection Winter Edges.
Hello Sweeties
Today I'm up on 49 and Market blog with an Xmas project featuring the Winter Edges collection.
Aujurd'hui je suis sur le blog de 49 and Market avec un projet pour Noël avec la collection Winter Edges.
Hello Sweeties
Today I'm up on 49 and Market blog with an Xmas project featuring the Winter Edges collection.
J'ai coupé un tag dans le papier Season's Greeting et je l'ai recouvert d'une couche de gesso transparent. Puis j'ai ajouté un motif à l'aide d'un pochoir et de pâte Icing Vintage Gold.
I cut a tag in the Season's Greeting paper that I primed with clear gesso. Next, I added a design with a stencil and Vintage Gold Icing Paste.
I cut a tag in the Season's Greeting paper that I primed with clear gesso. Next, I added a design with a stencil and Vintage Gold Icing Paste.
En même temps, j'ai protégé le chipboard de fond avec du gesso transparent et j'ai ajouté une couche inégale de pâte à craqueler blanche.
At the same time, I primed the background chipboard with clear gesso and I added a non-even layer of white crackle paste.
At the same time, I primed the background chipboard with clear gesso and I added a non-even layer of white crackle paste.
J'ai commencé à construire ma composition avec divers éléments naturels: mini pommes de pin, écorce, ... et quelques Garden Seeds coquelicot. Je les ai coloré avec une encre rouge pour les foncer légérement. Puis j'ai collé le tag sur le fond ainsi que'un autre morceau de papier.
I started to build my composition with different natural elements: mini pine cone, bark, ... and a few Poppy Garden Seeds. I colored them with a red ink to darken them. Then I glued the tag on the background with as well as another piece of paper.
I started to build my composition with different natural elements: mini pine cone, bark, ... and a few Poppy Garden Seeds. I colored them with a red ink to darken them. Then I glued the tag on the background with as well as another piece of paper.
J'ai embossé le lierre du set d'Archival Board Love avec une poudre à embosser verte. Je les ai ajouté ainsi que divers éléments laser cut à la composition.
I embossed the ivy from the Love Archival Board set with a green embossing powder. I added them as well as some laser cut elements to the composition.
I embossed the ivy from the Love Archival Board set with a green embossing powder. I added them as well as some laser cut elements to the composition.
Une fois tous les éléments en place, j'ai légérement colré le fond aec des encres rouge et verte. Une fois satisfaite du résultat, j'ai ajouté de la cire or.
When all the elements were in place, I colored lightly the background with red and green inks. When happy with the result, I added some vintage gold wax.
Pour terminer la mise en page, j'ai ajouté des microbilles.
To finish the layout, I added some microbeads
Matériels / Materials: To finish the layout, I added some microbeads
49 and Market products:
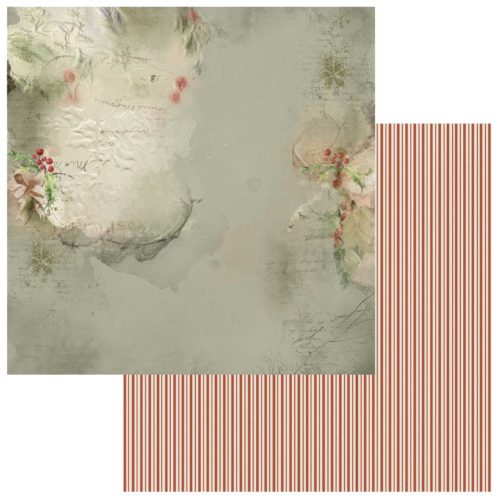 Winter Edges Season's Greetings | 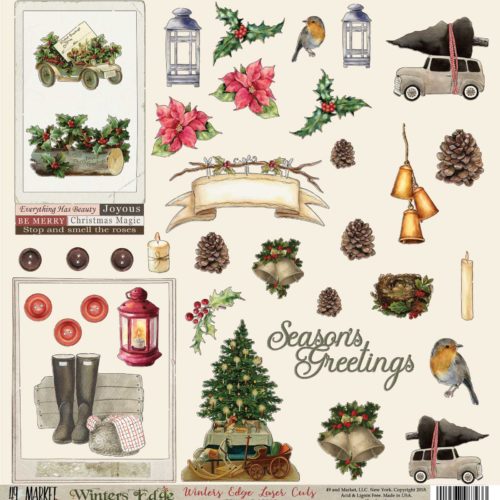 Winter Edges Laser Cut Sheet | 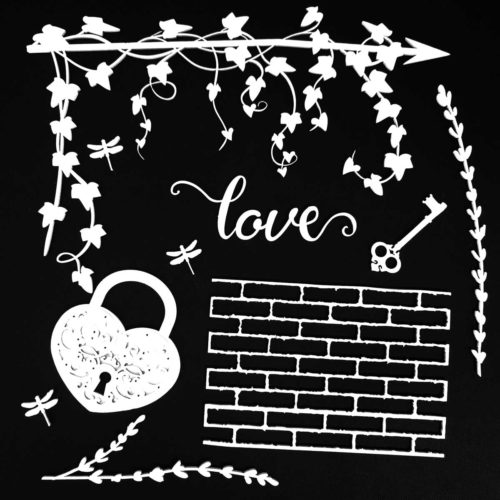 Archival Board Love | |||
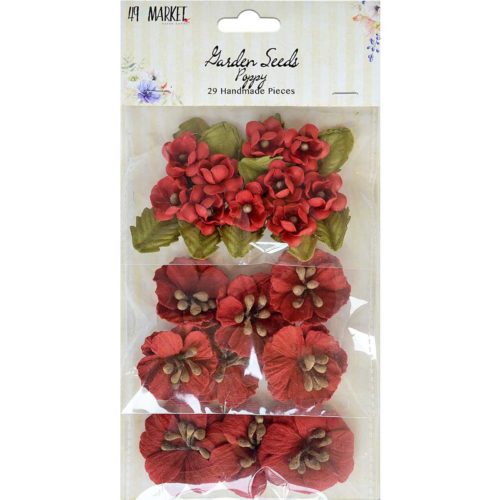 Garden Seeds Poppy | 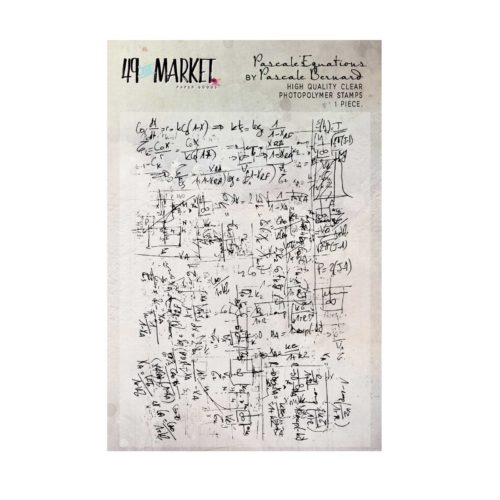 Pascale's Equations Stamp | ||||
- Chipboard - A.B. Studio (Background ID-6 20x20);
- Stencil - A.B. Studio (Stencil ID-94);
- Spray Inks - Lindy's Gang (Rizzo's Rowdy, Green with Envy Green);
- Embossing Powder - Lindy's Gang (Oakleaf Olive);
- Art Ingredients - Finnabair Prima (Microbeads: Bronze);
- Ard Alchemy - Finnabair Prima (Wax: Vintage Gold);
- Art Extravagance - Finnabair Prima (Icing Paste: Vintage Gold; Crackle Paste: White);
- Art Basics - Finnabair Prima (Clear Gesso, Heavy Body Gel, Soft Matte Gel).


Aucun commentaire:
Enregistrer un commentaire
Merci pour vos commentaires qui font chaud au coeur.
A très bientôt